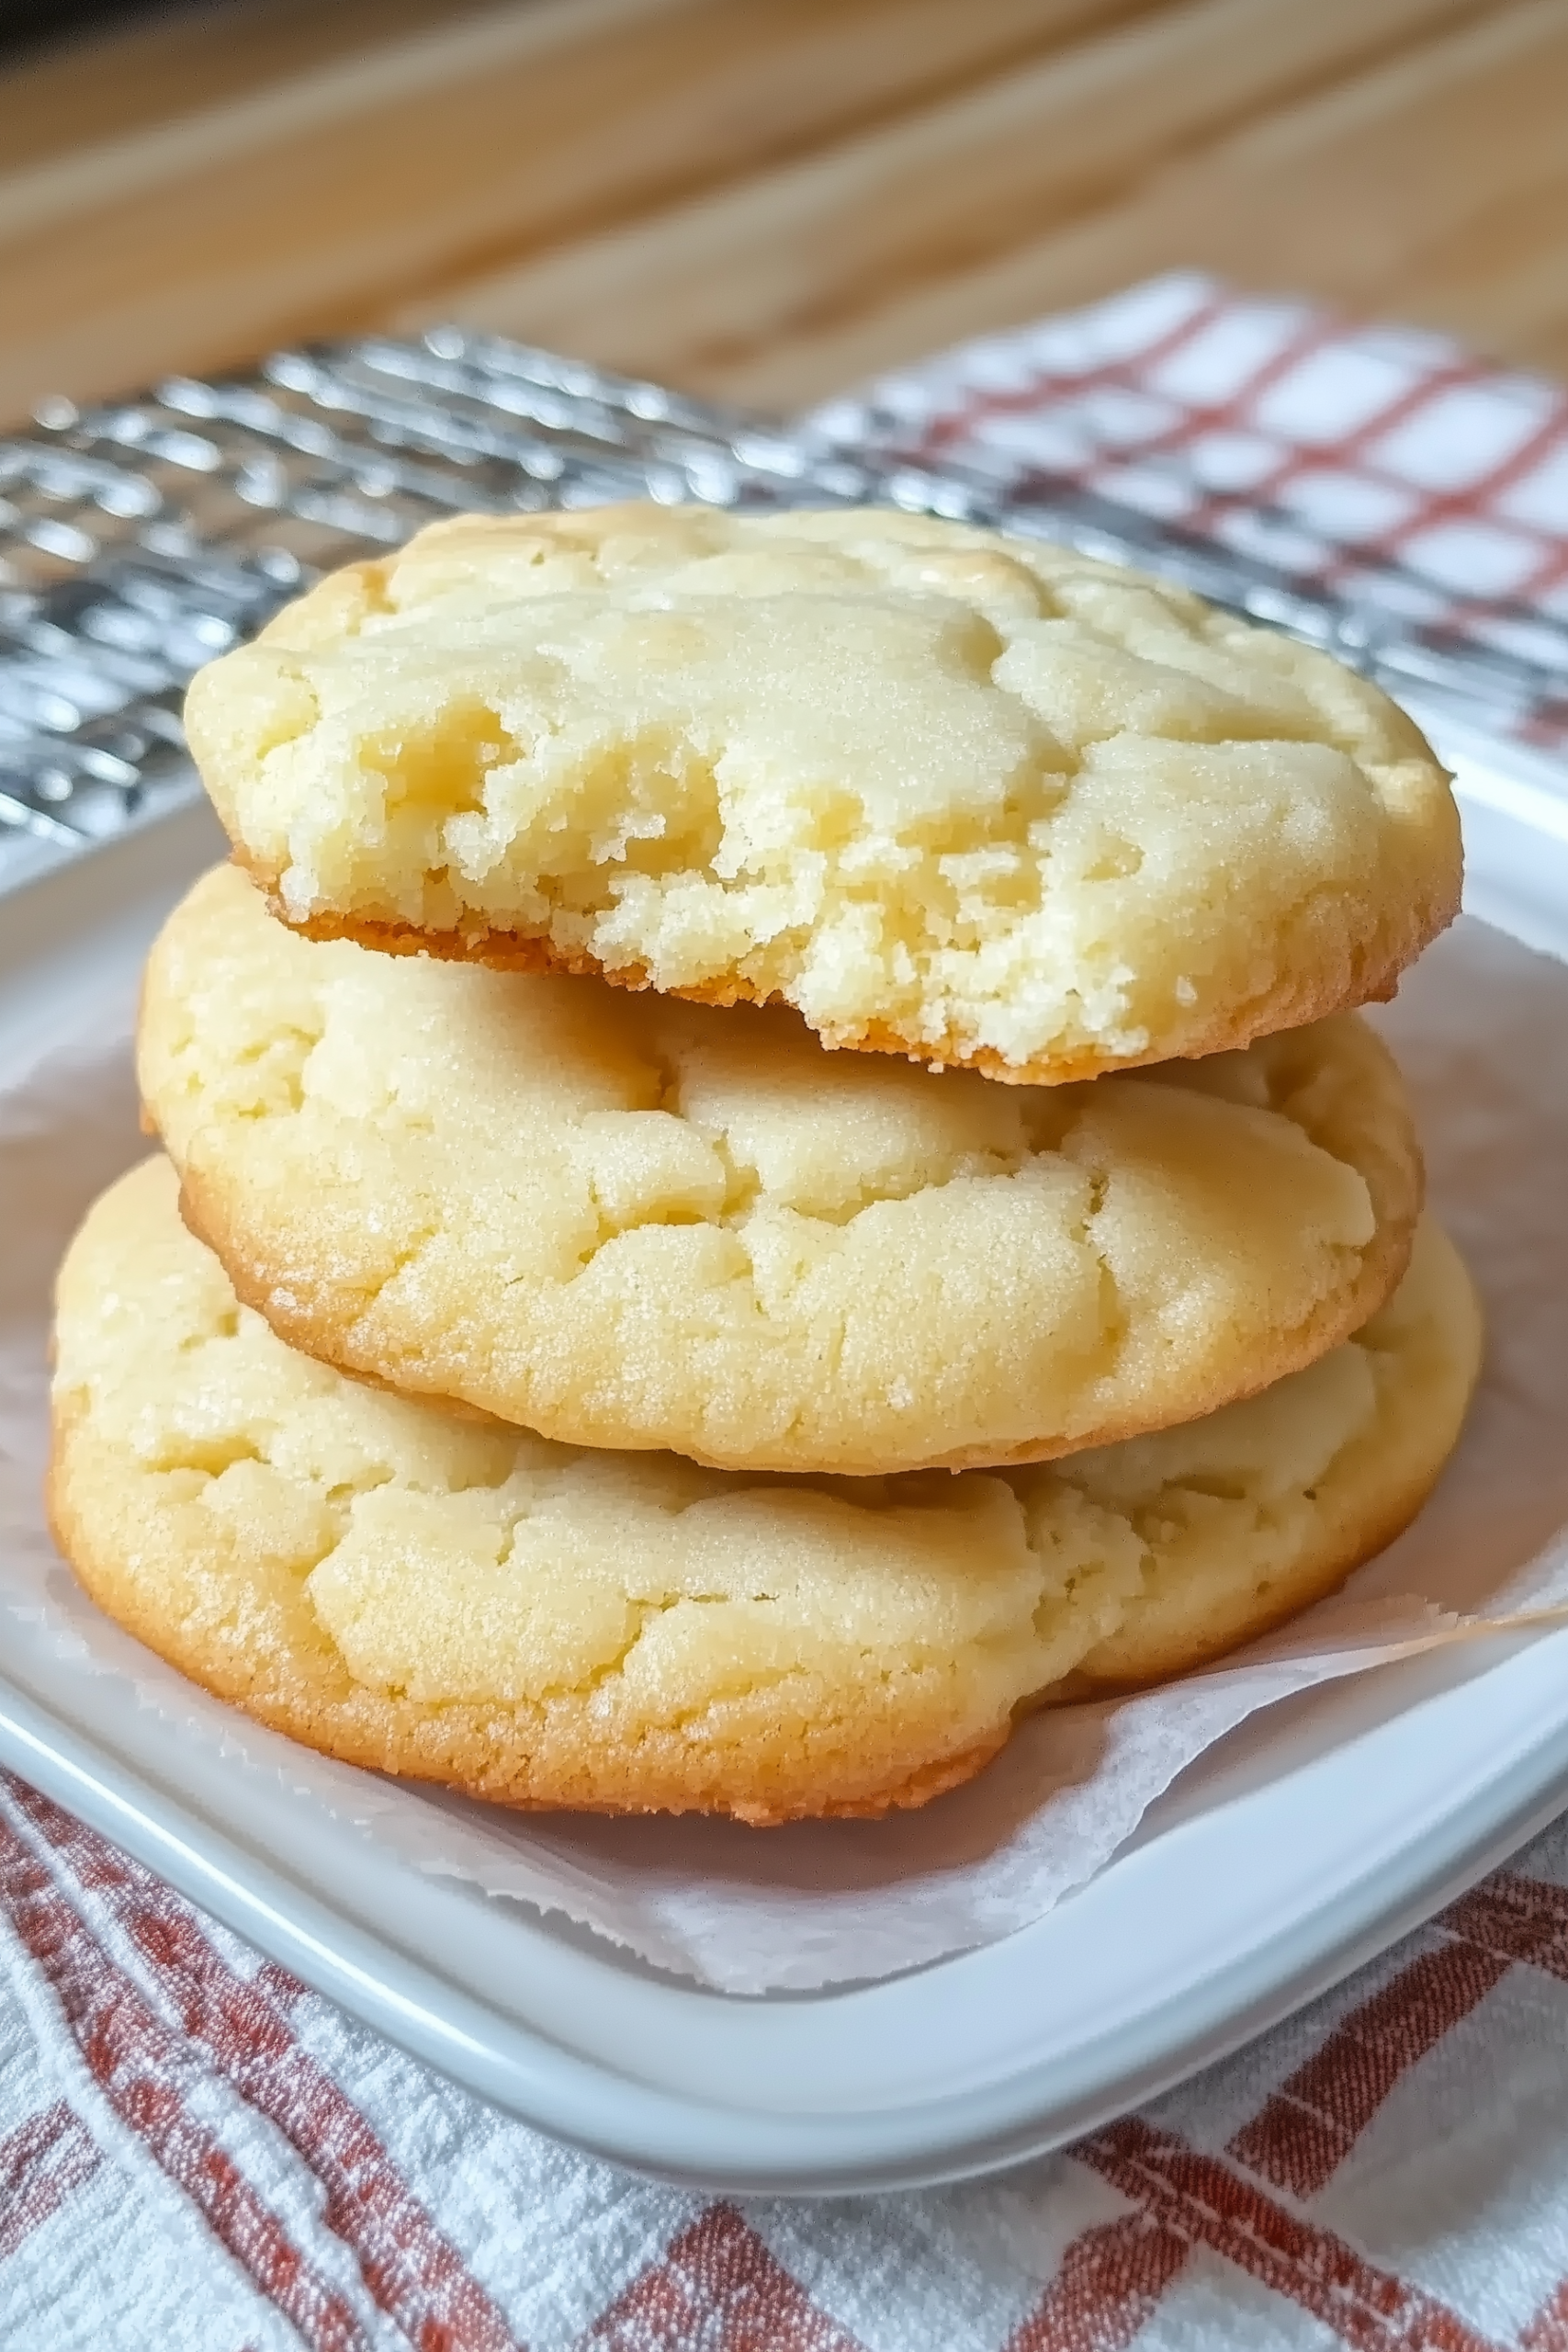
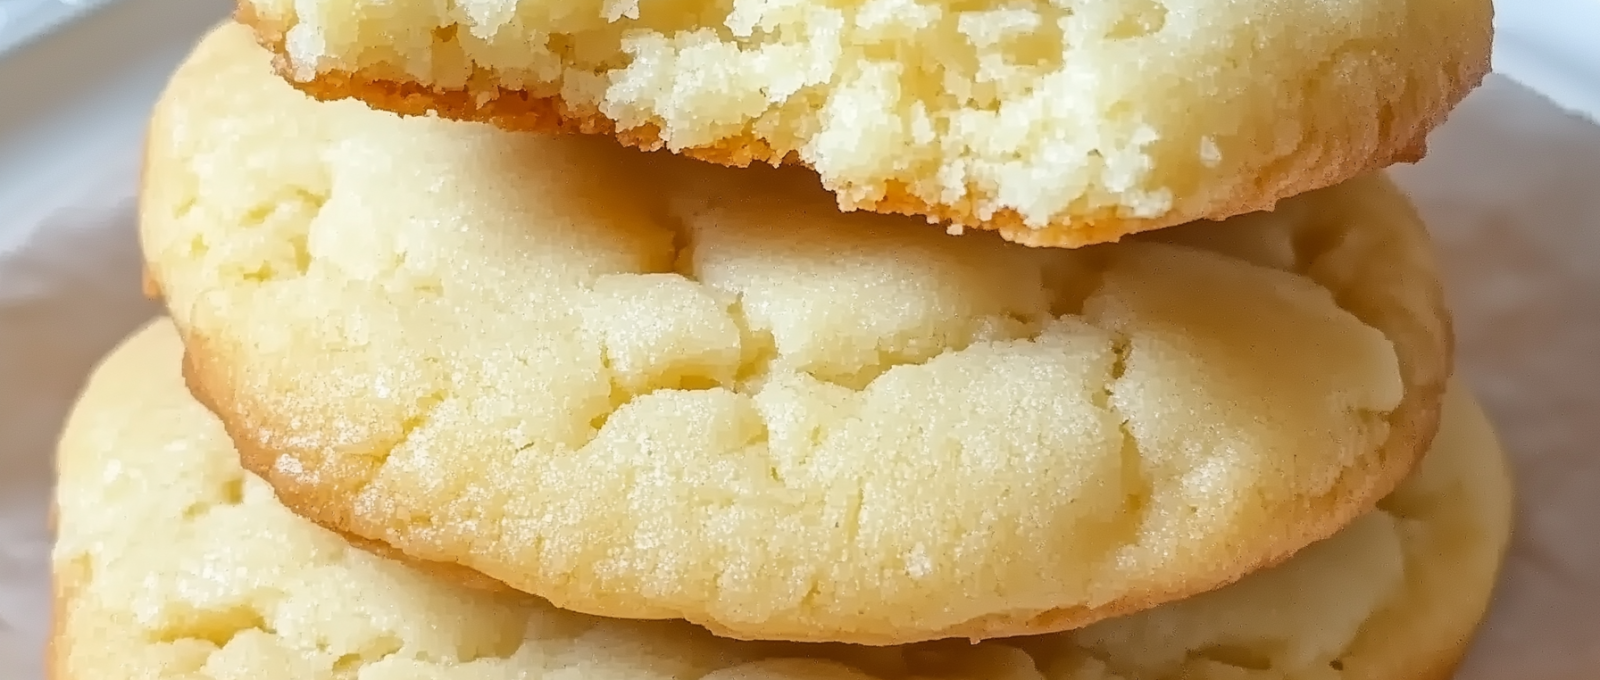
If you grew up in Chicago, chances are you remember the famous Chicago Public School Butter Cookies. These iconic treats were served in cafeterias for decades, leaving a lasting memory for countless students. With their rich, buttery flavor, melt-in-your-mouth texture, and signature finger-pressed tops, they’ve earned a special place in the hearts of many.
This recipe brings that same nostalgia into your kitchen. Made with just five simple ingredients, these cookies are proof that sometimes the simplest recipes are the most delicious. With a crisp edge, soft center, and golden finish, these butter cookies are perfect for dunking in milk, enjoying with coffee, or serving as a sweet afternoon snack.
Why You’ll Love These Cookies
- Just 5 ingredients and no fancy equipment needed
- Nostalgic flavor that takes you right back to school days
- Melt-in-your-mouth texture with a crisp golden edge
- Easy to prepare, with minimal steps
- A big batch of cookies—perfect for sharing with family and friends

Ingredients
- 1 pound unsalted butter, softened
- 1 cup granulated sugar
- 2 tablespoons vanilla extract
- ½ teaspoon fine salt
- 4 cups all-purpose flour
Instructions
- In a large mixing bowl, beat together the softened butter and sugar until light, fluffy, and smooth.
- Scrape down the bowl, then mix in vanilla extract until incorporated.
- Gradually add the salt and flour, mixing until no streaks of flour remain.
- Using a large spoon or ice cream scoop, portion the dough into 24 balls about the size of a small tangerine.
- Press the tops of each dough ball with three fingers, leaving indentations.
- Place the shaped cookies on a tray and refrigerate for at least 1 hour.
- Preheat oven to 375°F. Line two large baking sheets with parchment paper.
- Arrange cookies on prepared baking sheets, spacing them 2–3 inches apart.
- Bake for 15–18 minutes, until edges are lightly golden.
- Let cookies rest on the baking tray for 5 minutes before transferring to a wire rack to cool completely.
Storage
- Store in an airtight container at room temperature for up to 5 days.
- Freeze baked cookies for up to 2 months; thaw before serving.
- For make-ahead convenience, shape and refrigerate dough balls overnight before baking.
Pro Tips
- Make sure the butter is softened—not melted—for the best texture.
- Chill the dough as directed; it helps the cookies hold their shape.
- Use real vanilla extract for the most authentic flavor.
- Bake in the middle rack of the oven to prevent over-browning.
Variations
- Dust with powdered sugar for an extra-sweet finish.
- Dip half of each cookie in melted chocolate for a modern twist.
- Add a sprinkle of coarse sugar or cinnamon before baking.
- Shape smaller cookies for bite-sized treats.
FAQ
Why are they pressed with three fingers? The three-finger indentations are a signature of Chicago school butter cookies, giving them their iconic look and nostalgic feel.
Can I make these cookies smaller? Yes, just adjust baking time by a few minutes.
Why do I need to refrigerate the dough? Chilling helps firm the dough so the cookies don’t spread too much while baking.
Can I use salted butter? Yes, but reduce or omit the added salt.
Are these the same as shortbread cookies? Similar, but these are slightly softer and sweeter than traditional shortbread.
Wrapping It Up
Chicago Public School Butter Cookies are a nostalgic treat with a timeless flavor. Rich, buttery, and simple to make, they’re the perfect cookies for sharing with loved ones or reliving sweet memories from the past. Whether you grew up enjoying them in the cafeteria or you’re discovering them for the first time, this recipe will quickly become a household favorite.
Chicago Public School Butter Cookies
Ingredients
- 1 pound unsalted butter softened
- 1 cup granulated sugar
- 2 tablespoons vanilla extract
- ½ teaspoon fine salt
- 4 cups all-purpose flour
Instructions
Step 1: Cream the Butter and Sugar
- In a large mixing bowl, beat together the softened butter and sugar until light, fluffy, and smooth.
Step 2: Add Vanilla
- Scrape down the sides of the bowl and mix in the vanilla extract until fully incorporated.
Step 3: Mix in Dry Ingredients
- Gradually add the salt and flour, mixing until no streaks of flour remain and the dough comes together.
Step 4: Portion the Dough
- Using a large spoon or ice cream scoop, portion the dough into 24 balls, each about the size of a small tangerine.
Step 5: Press the Cookies
- Press the tops of each dough ball with three fingers, leaving indentations for the classic Chicago Public School cookie look.
Step 6: Chill the Dough
- Place the shaped cookies on a tray and refrigerate for at least 1 hour to help them hold their shape while baking.
Step 7: Prepare the Oven and Baking Sheets
- Preheat oven to 375°F. Line two large baking sheets with parchment paper. Arrange cookies on the sheets with 2–3 inches of space between them.
Step 8: Bake the Cookies
- Bake for 15–18 minutes, or until the edges are lightly golden.
Step 9: Cool the Cookies
- Let the cookies rest on the baking tray for 5 minutes before transferring to a wire rack to cool completely.





Leave a Comment