There’s something about the cozy scent of cinnamon sugar wafting through the kitchen that makes everything feel like home. Growing up in a household where sweets were made from scratch and snacks were shared around a crowded table, I learned early on that the simplest treats often make the biggest impact. These Churro Snacks are inspired by that philosophy—easy, nostalgic, and perfect for any season.
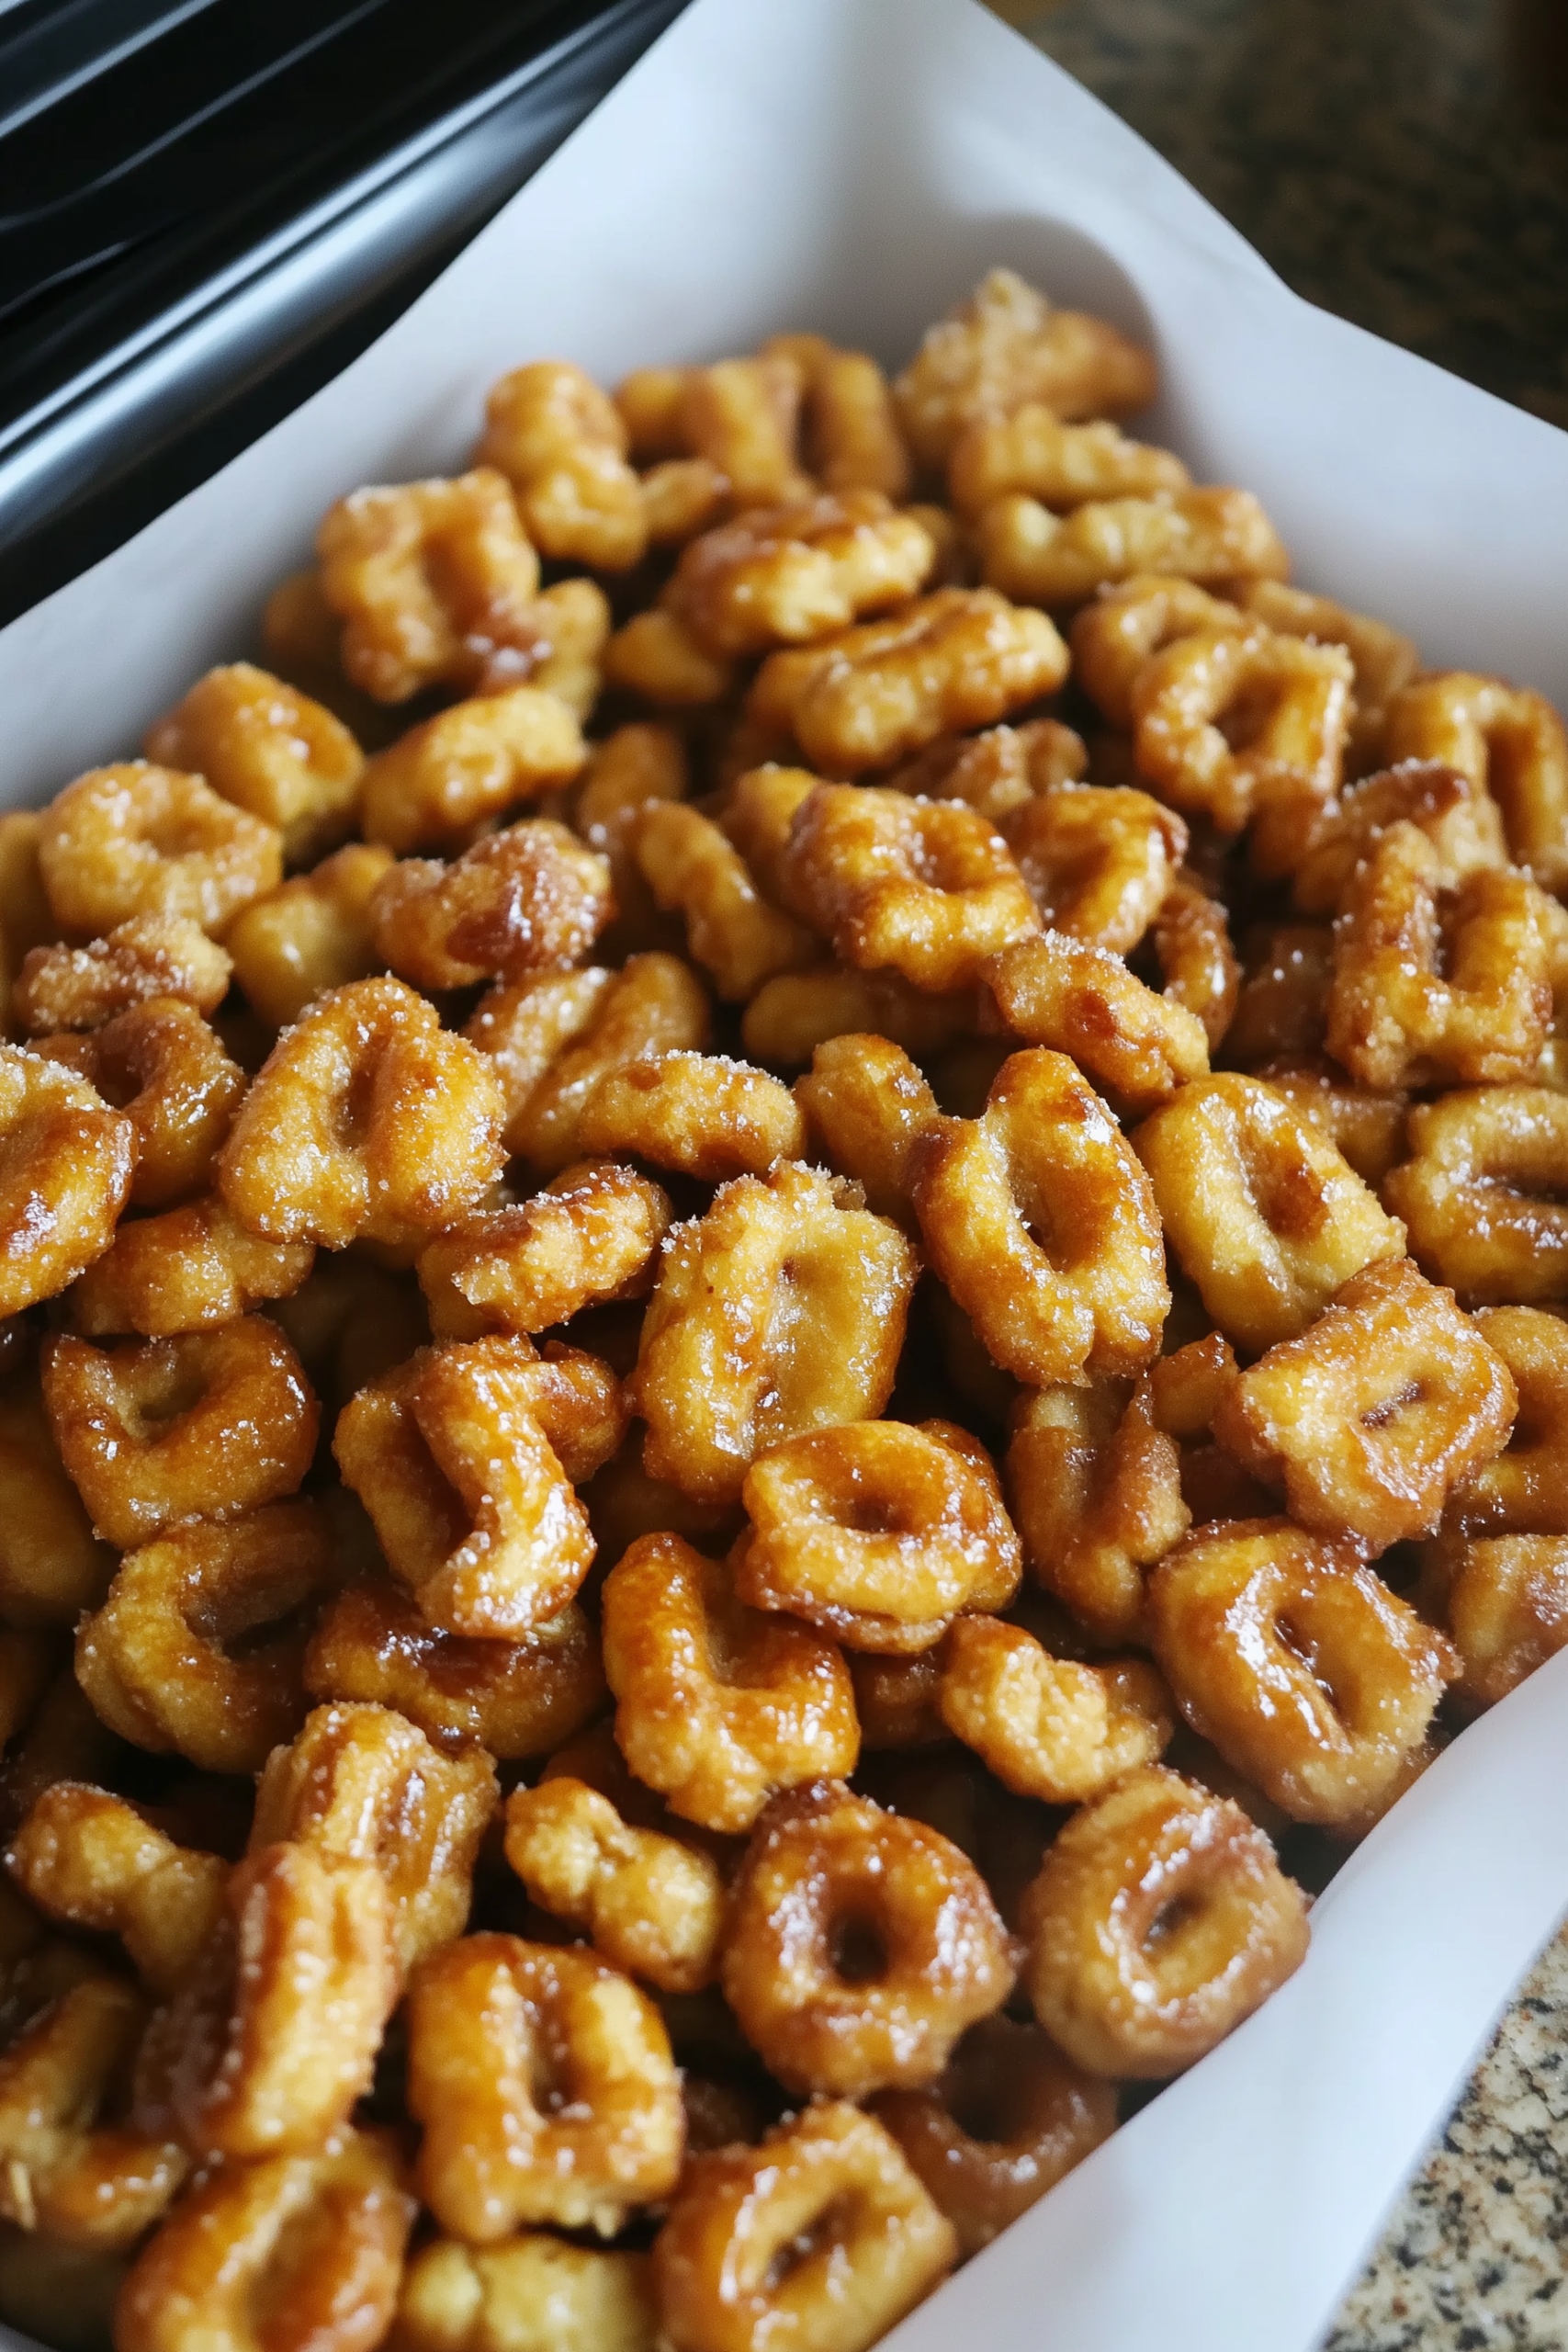
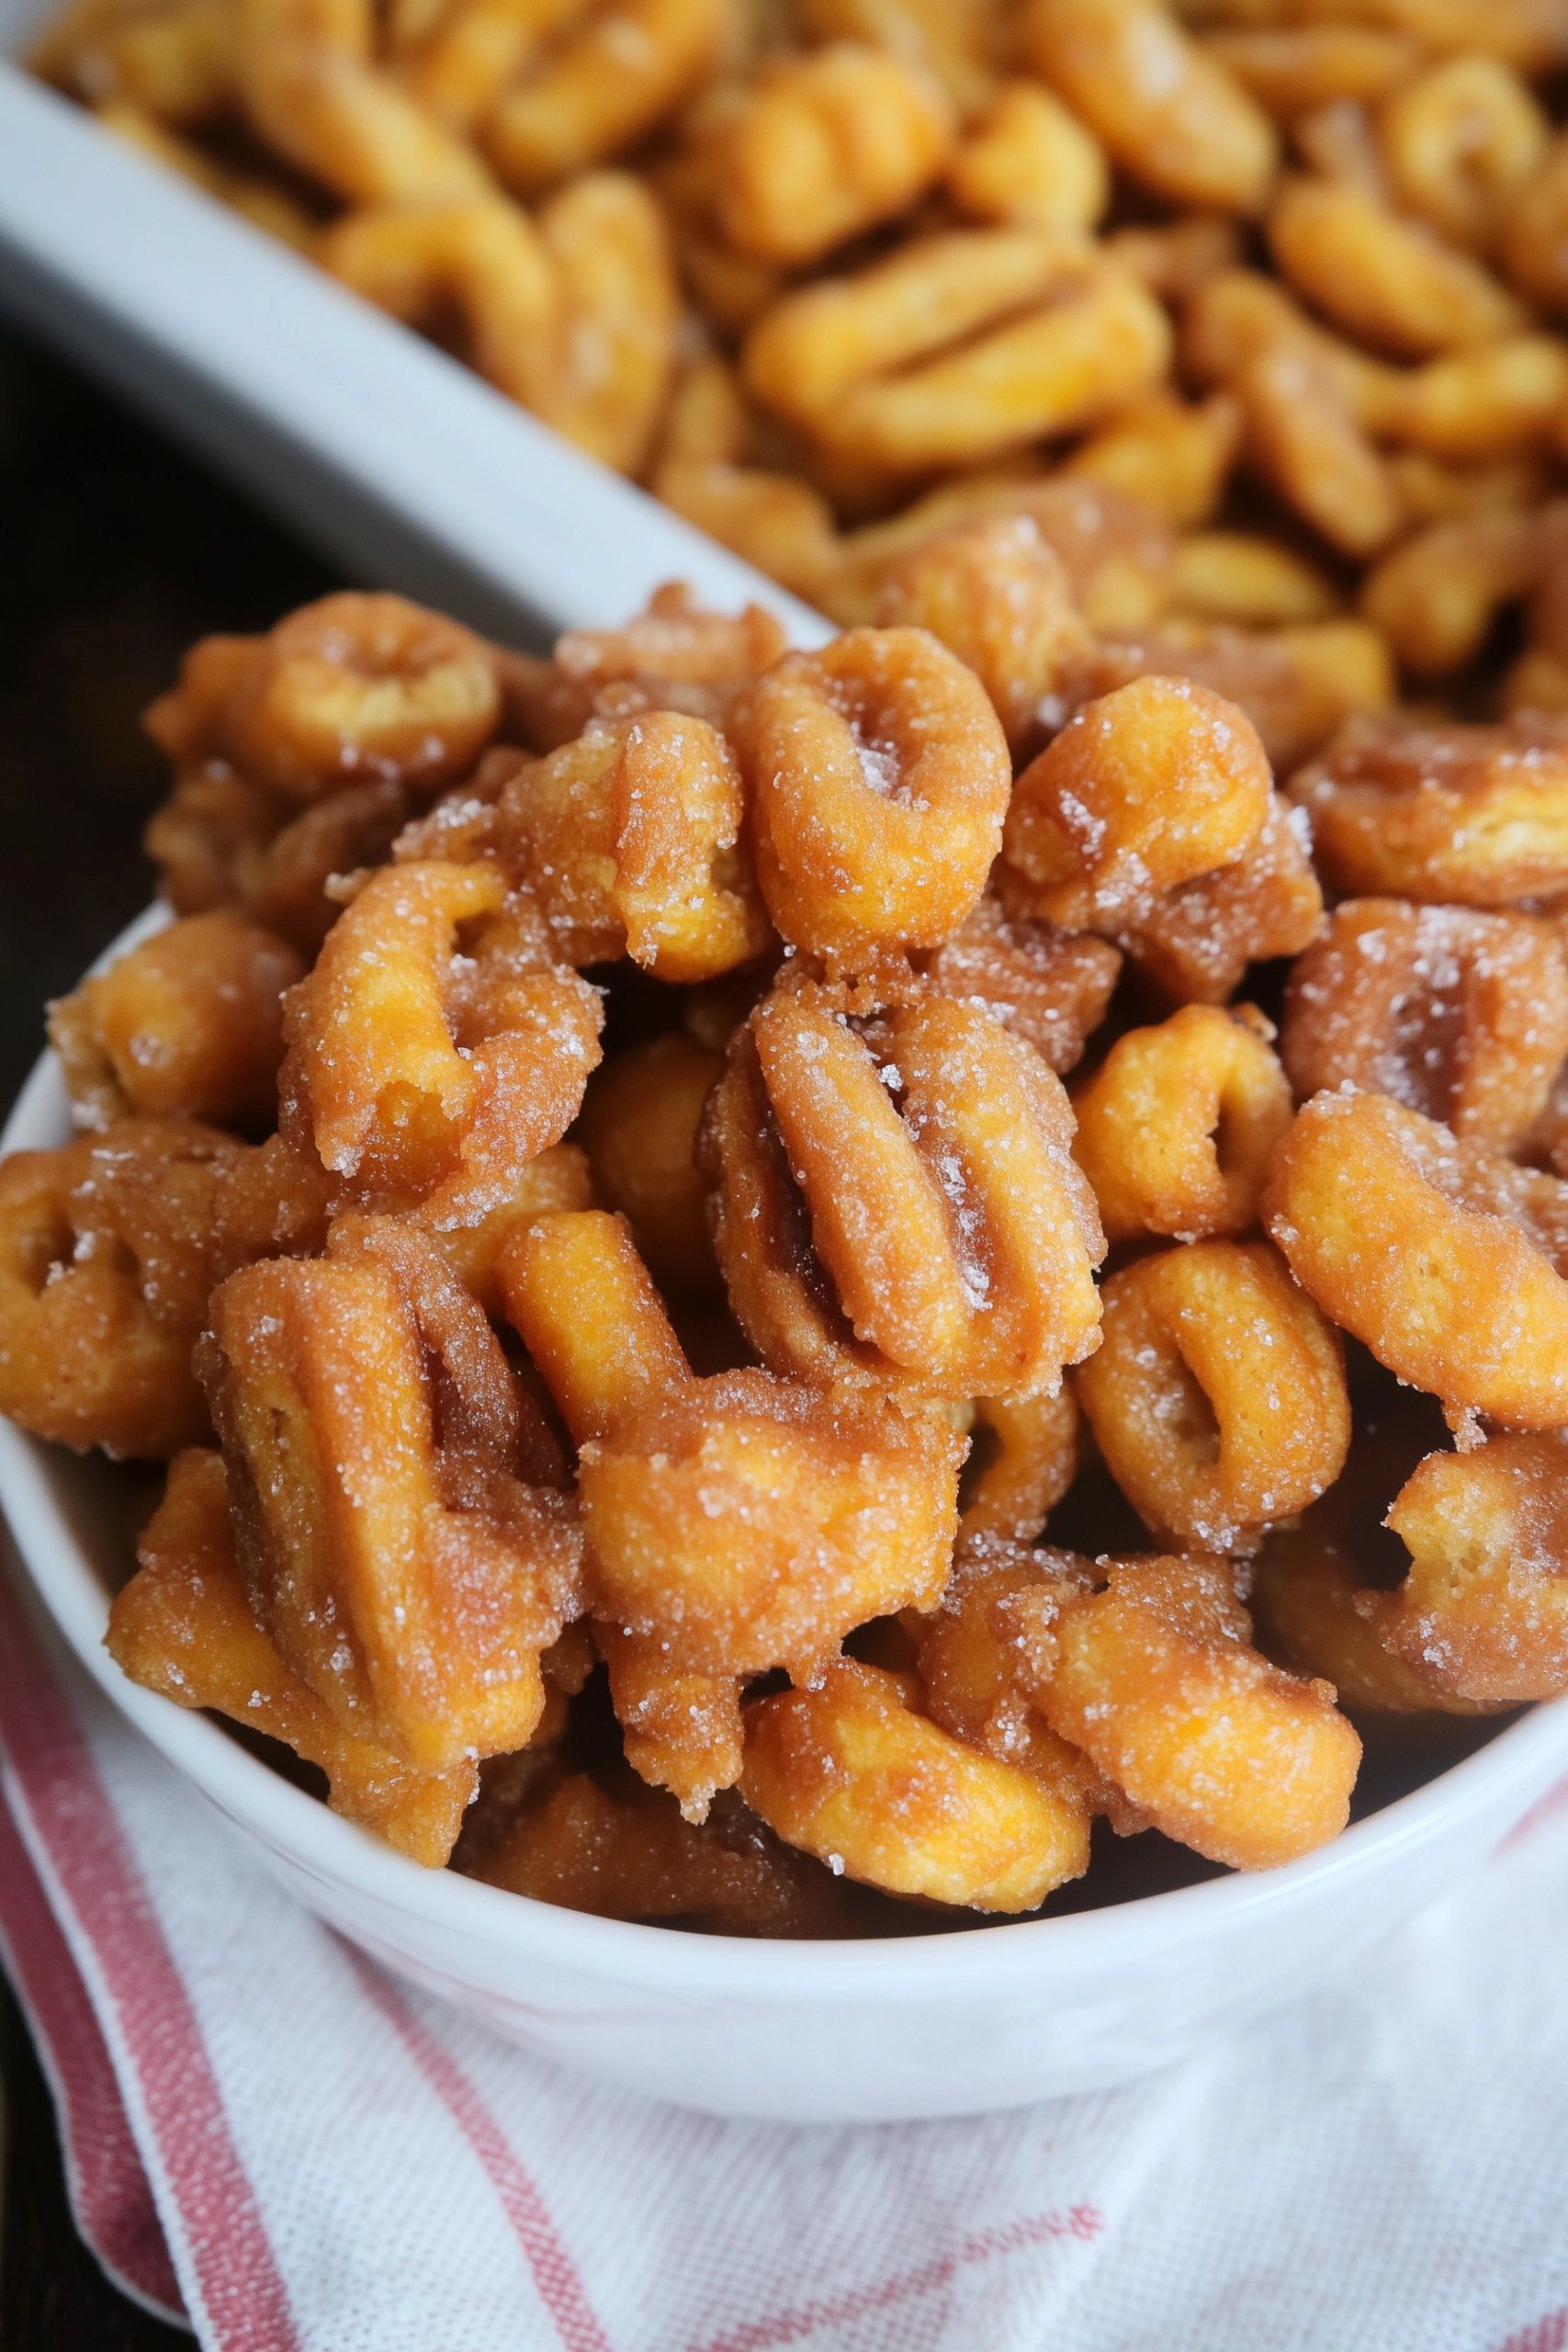
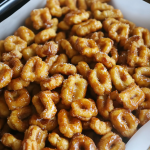
Made with crunchy Honeycomb cereal, a buttery caramel glaze, and a generous dusting of cinnamon sugar, this snack is a crowd-pleaser for kids and adults alike. Whether you’re prepping for a birthday party, holiday gathering, or just want a sweet treat for movie night, this recipe is as convenient as it is delicious.
Why You’ll Love This Recipe
This recipe is everything you want in a sweet snack: crunchy, sweet, buttery, and just the right amount of spiced. What makes it even better is how quickly it comes together.
- Only 10 minutes of prep time
- No frying or fancy techniques
- Kid-approved and adult-adored
- Great for holidays, summer parties, and after-school treats
- Totally customizable with different cereals or add-ins
Unlike traditional churros, which require dough, shaping, frying, and lots of cleanup, these churro snacks can be made with pantry staples and minimal mess. The recipe is fast enough for spontaneous cravings but also worthy of being wrapped up as edible gifts.
Ingredients
Here’s what you need to make a batch that serves 10:
- 5 cups Honeycomb cereal
- ⅔ cup brown sugar
- ½ cup butter (1 stick)
- ⅓ cup corn syrup
- 1 teaspoon vanilla extract
- ¼ teaspoon baking soda
- ½ cup granulated sugar
- 1½ teaspoons ground cinnamon
Kitchen Tools You’ll Need
To make this recipe seamless and stress-free, have these items ready:
- Large mixing bowl
- Medium saucepan
- Wooden spoon or heat-safe spatula
- Baking sheet
- Parchment paper
These tools make prep, mixing, and cleanup a breeze—no deep fryer or mixer required.
How to Make Churro Snacks
Step 1: Prep the Oven
Preheat your oven to 350°F (175°C) and line a baking sheet with parchment paper. This helps prevent sticking and makes cleanup easy.
Step 2: Set the Cereal
Pour the Honeycomb cereal into a large mixing bowl. You’ll want a bowl big enough to comfortably toss the cereal with the coating later.
Step 3: Make the Caramel Glaze
In a medium saucepan over medium heat, combine the brown sugar, butter, and corn syrup. Stir continuously until the butter is melted and the mixture begins to bubble. Allow it to boil gently for 1 full minute to thicken slightly and deepen the flavor.
Step 4: Add Vanilla and Baking Soda
Remove the saucepan from the heat. Stir in the vanilla extract and baking soda. The mixture will foam and expand as the baking soda reacts—it’s completely normal and helps create a light texture that coats the cereal evenly.
Step 5: Coat the Cereal
Pour the hot caramel over the cereal. Using a wooden spoon or spatula, carefully toss the cereal until every piece is coated. This step is easier when the caramel is still hot and fluid, so work quickly but gently to avoid crushing the cereal.
Step 6: Cinnamon Sugar Finish
In a small bowl, mix the granulated sugar and ground cinnamon. Sprinkle this mixture over the coated cereal and toss again until every piece is evenly dusted. This final layer is what gives the snacks that true churro flavor.
Step 7: Bake
Spread the cereal evenly across the prepared baking sheet. Bake for 8 minutes, stirring halfway through to ensure the coating sets evenly and everything crisps up just right.
Step 8: Cool and Store
Remove the baking sheet from the oven and let the cereal cool completely. It will continue to crisp up as it cools. Once fully cooled, break into bite-sized clusters and store in an airtight container for up to 1 week.
Recipe Tips and Flavor Ideas
Want to take your Churro Snacks to the next level? Here are some tried-and-true tips:
- Cereal Swaps: Try Golden Grahams, Cinnamon Toast Crunch, or puffed rice cereal for a new spin. Each will offer a different texture and sweetness level.
- Spice It Up: Add a pinch of nutmeg, allspice, or even cayenne to the cinnamon sugar for a surprising twist.
- Chocolate Drizzle: Melt white or dark chocolate and drizzle it over the cooled snacks for a dessert-worthy finish.
- Mix-Ins: Stir in mini marshmallows, chopped nuts, or crushed pretzels after baking for a fun party mix.
- Holiday Flair: Use colored sugar or festive sprinkles before baking for seasonal fun.
These variations let you create your own signature version of the snack for any event, mood, or season.
Serving Suggestions
These churro-inspired bites are as versatile as they are delicious. Here’s how to enjoy them:
- Serve them in paper cups or treat bags at birthday parties
- Include in a dessert grazing board with chocolate-covered pretzels, cookies, and candy
- Pack in school lunchboxes for a sweet surprise
- Use as a topping for vanilla or cinnamon ice cream
- Enjoy with coffee or chai as an afternoon pick-me-up
- Set out in a bowl at game night or movie marathons
They’re also great for bake sales, teacher gifts, and edible holiday presents—just pack into jars or bags and tie with a ribbon.
How to Store Churro Snacks
Once cooled, store your Churro Snacks in an airtight container at room temperature. They’ll stay fresh and crispy for about 5–7 days. Avoid refrigeration, as it introduces moisture and softens the crunch.
If you’re planning to give these as gifts, package them in cellophane bags or small treat boxes with a note card—no one will believe you made them in under 30 minutes!
Final Thoughts
Churro Snacks are the perfect fusion of comfort food and modern convenience. They offer the familiar flavors of cinnamon-sugar churros but skip the complicated process of dough and deep frying. Instead, you get a snack that’s simple, quick, and deeply satisfying.
What I love most is how adaptable this recipe is. Whether you’re using it to entertain guests or just satisfy a weekday sweet craving, it always delivers. The base recipe is solid, but the options for customization mean you can make it different every time and never get bored. Best of all, it’s a recipe that invites creativity and sharing.
There’s something special about a recipe that takes almost no time but brings so much joy. You can make it with kids on a rainy day, batch-prep it for events, or quietly enjoy it with a warm drink after the house has gone quiet. It’s that versatile.
So next time you’re looking for a no-fuss, big-reward snack that’s guaranteed to please, make a batch of these Churro Snacks. I promise you’ll come back to it again and again.
Churro Snacks
Ingredients
- 5 cups Honeycomb cereal
- ⅔ cup brown sugar
- ½ cup butter 1 stick
- ⅓ cup corn syrup
- 1 teaspoon vanilla extract
- ¼ teaspoon baking soda
- ½ cup granulated sugar
- 1½ teaspoons ground cinnamon
Instructions
Step 1: Prep the Oven
- Preheat your oven to 350°F (175°C) and line a baking sheet with parchment paper. This helps prevent sticking and makes cleanup easy.
Step 2: Set the Cereal
- Pour the Honeycomb cereal into a large mixing bowl. You’ll want a bowl big enough to comfortably toss the cereal with the coating later.
Step 3: Make the Caramel Glaze
- In a medium saucepan over medium heat, combine the brown sugar, butter, and corn syrup. Stir continuously until the butter is melted and the mixture begins to bubble. Allow it to boil gently for 1 full minute to thicken slightly and deepen the flavor.
Step 4: Add Vanilla and Baking Soda
- Remove the saucepan from the heat. Stir in the vanilla extract and baking soda. The mixture will foam and expand as the baking soda reacts—it’s completely normal and helps create a light texture that coats the cereal evenly.
Step 5: Coat the Cereal
- Pour the hot caramel over the cereal. Using a wooden spoon or spatula, carefully toss the cereal until every piece is coated. This step is easier when the caramel is still hot and fluid, so work quickly but gently to avoid crushing the cereal.
Step 6: Cinnamon Sugar Finish
- In a small bowl, mix the granulated sugar and ground cinnamon. Sprinkle this mixture over the coated cereal and toss again until every piece is evenly dusted. This final layer is what gives the snacks that true churro flavor.
Step 7: Bake
- Spread the cereal evenly across the prepared baking sheet. Bake for 8 minutes, stirring halfway through to ensure the coating sets evenly and everything crisps up just right.
Step 8: Cool and Store
- Remove the baking sheet from the oven and let the cereal cool completely. It will continue to crisp up as it cools. Once fully cooled, break into bite-sized clusters and store in an airtight container for up to 1 week.


Leave a Comment