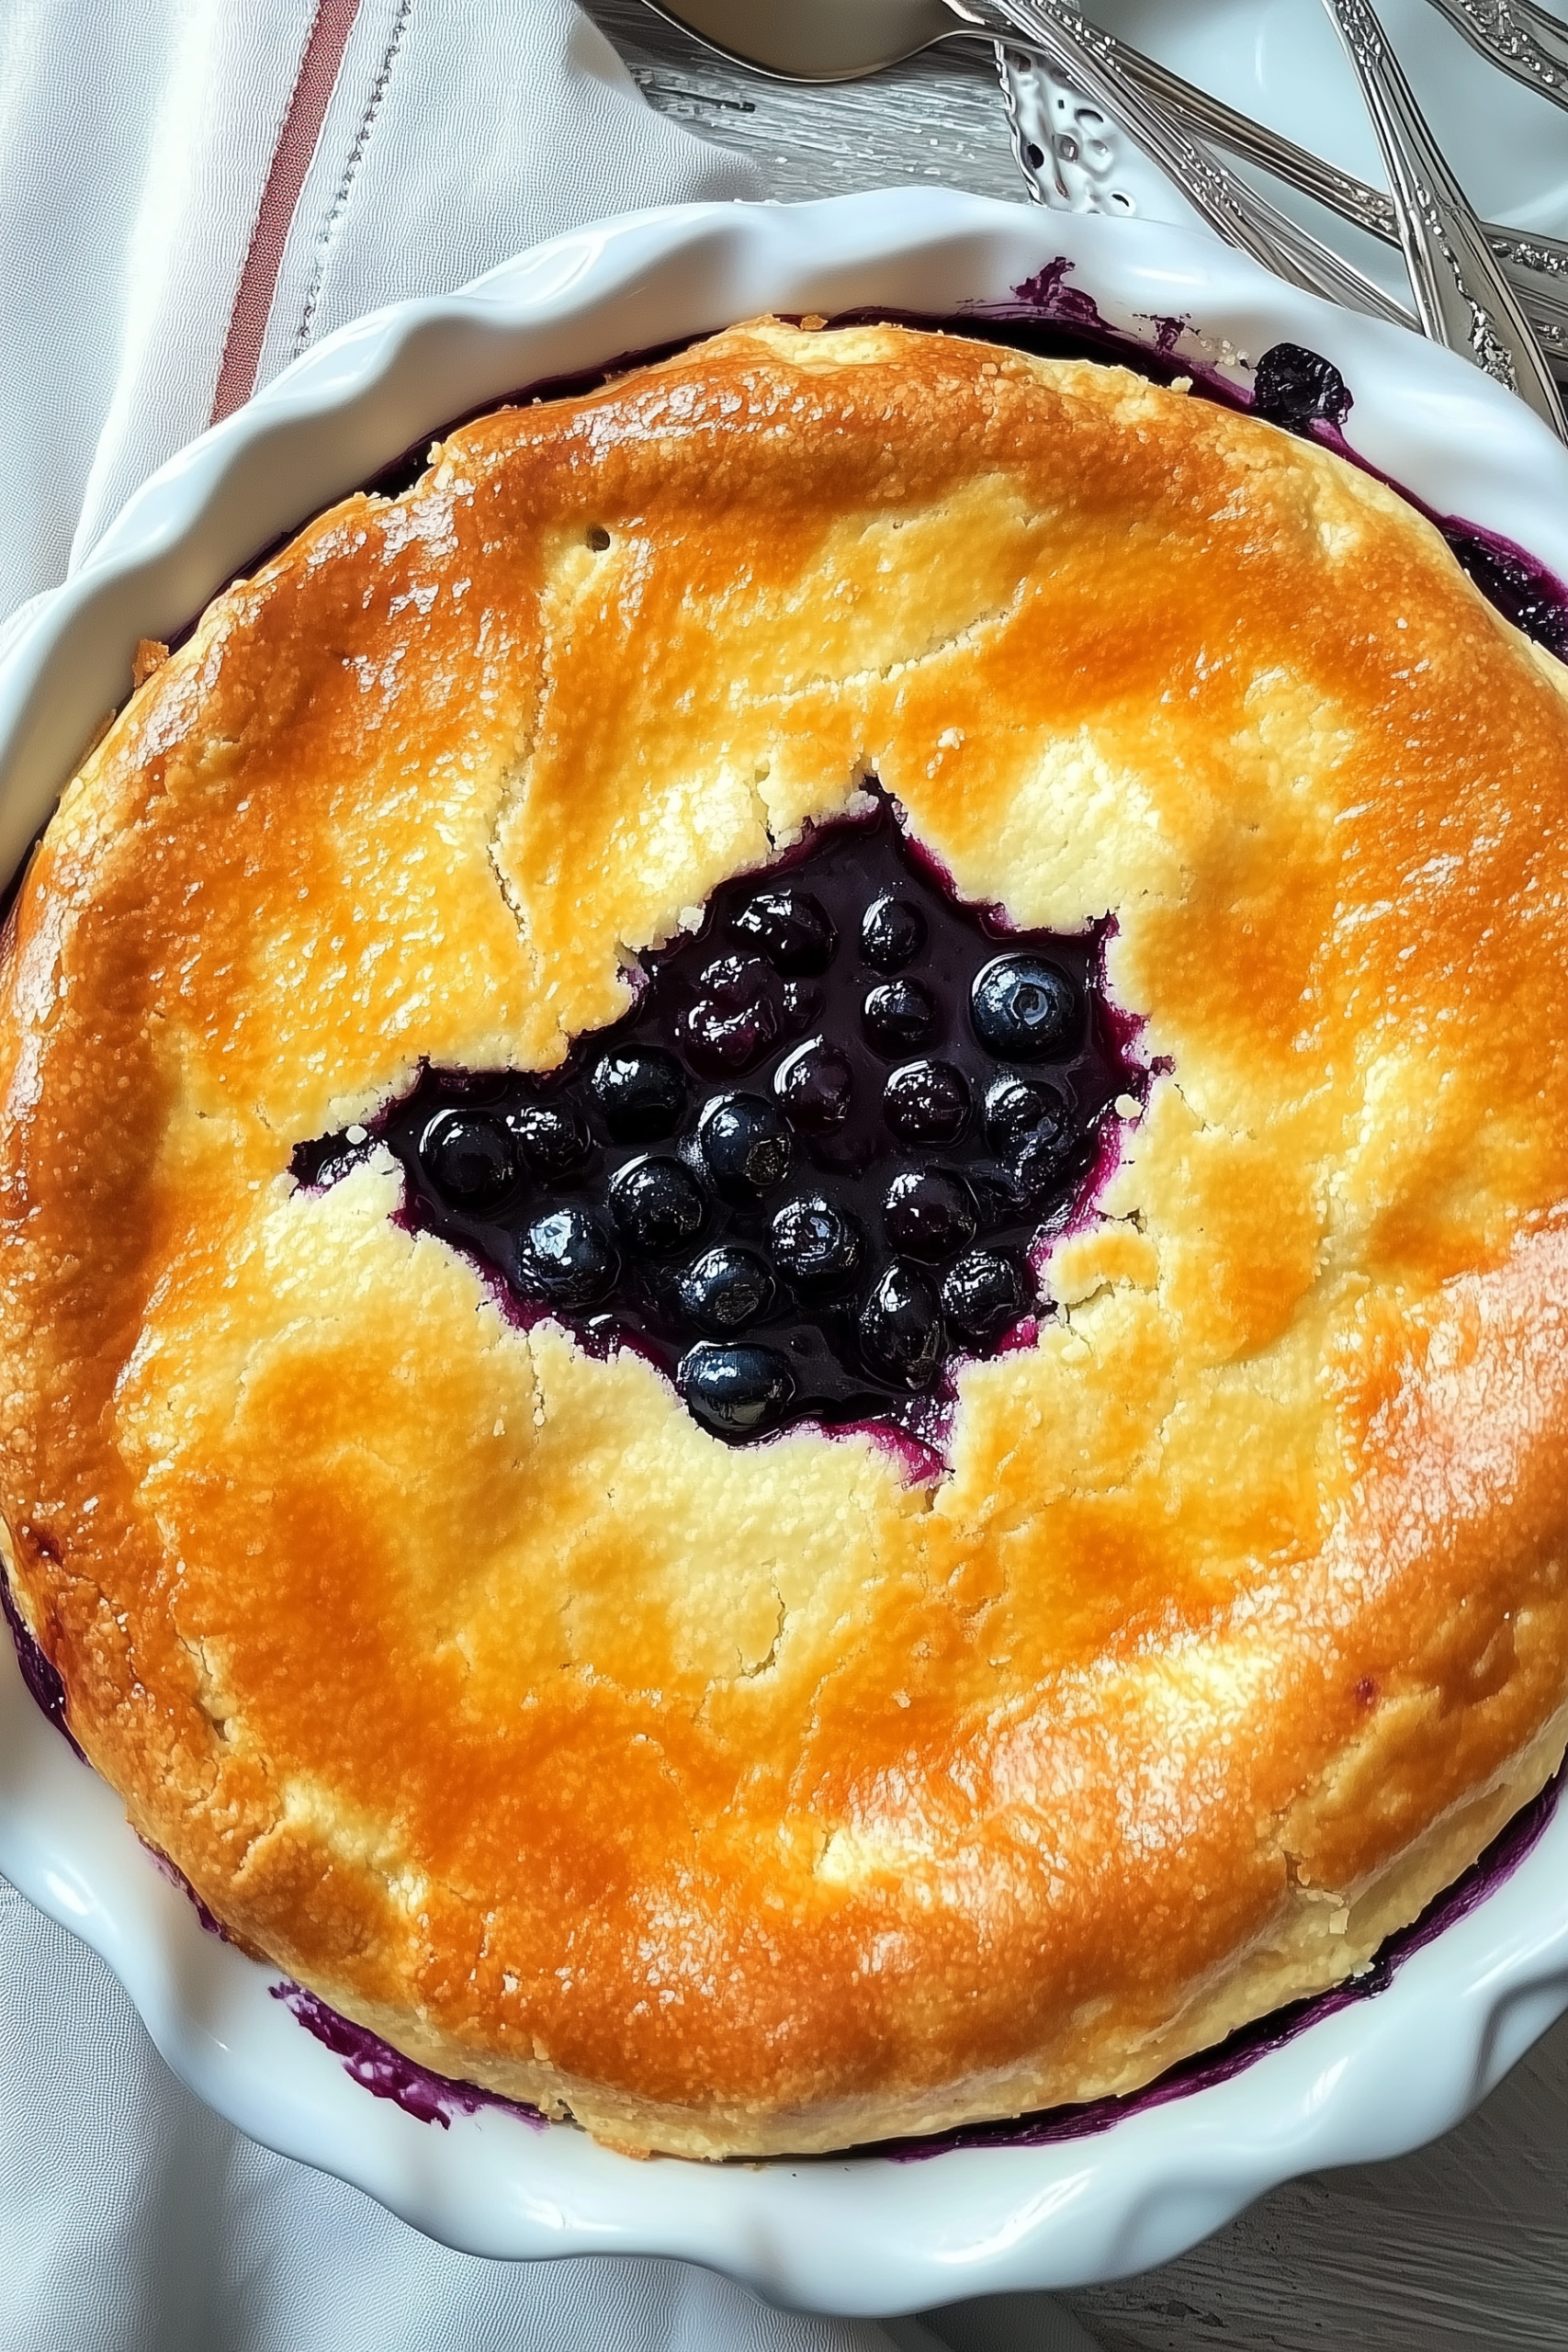
If you’re craving a dessert that feels both classic and unique, this Crazy Crust Blueberry Pie is just the recipe you need. Unlike a traditional pie, this one creates its own crust while baking, meaning no rolling, chilling, or fussing with pastry dough. It’s a magical transformation—starting with a pourable batter that bakes into a tender, golden crust around a sweet, juicy blueberry filling.
This recipe is perfect for beginner bakers or anyone who wants a dessert that looks impressive without requiring advanced baking skills. With its balance of tangy lemon, sweet blueberries, and a light, almost cake-like crust, it’s a summertime favorite that works year-round thanks to the use of fresh or frozen berries. Pair it with whipped cream or a scoop of vanilla ice cream, and you’ve got a dessert that will wow everyone at the table.
Why You’ll Love This Pie
- No traditional pie crust: The batter makes its own crust in the oven.
- Simple ingredients: Everything is pantry- or fridge-friendly.
- Sweet & tangy filling: Blueberries with lemon for brightness.
- Great for beginners: Foolproof and fuss-free.
- Make-ahead friendly: Tastes even better when chilled overnight.
Ingredients
For the Filling
- 2 tablespoons cornstarch
- 1/2 cup granulated sugar
- 1 1/2 cups blueberries
- 6 tablespoons water
- 1 tablespoon lemon juice
For the Crust
- 1 cup all-purpose flour
- 2 tablespoons granulated sugar
- 1 teaspoon baking powder
- 1/2 teaspoon salt
- 1/2 cup unsalted butter, melted and cooled
- 3/4 cup water
- 1 large egg, room temperature and lightly beaten
Step-by-Step Instructions
Step 1: Prepare the Oven and Pan
Preheat your oven to 375°F (190°C). Spray a 9-inch deep pie pan with baking spray and place it on a baking tray to catch any spills. If you don’t have a deep pie pan, you can substitute with an 8×8-inch baking dish.
Step 2: Make the Blueberry Filling
In a medium saucepan over low heat, whisk together the cornstarch and sugar until smooth. Add the blueberries, water, and lemon juice, stirring constantly as the mixture heats. Continue cooking until the filling thickens and the blueberries begin to release their juices. Remove from heat and set aside while you prepare the crust.
Step 3: Mix the Crazy Crust Batter
In a large mixing bowl, combine the flour, sugar, baking powder, and salt. Stir to blend the dry ingredients evenly. Add the melted butter, water, and beaten egg, whisking until you have a thin batter that resembles pancake batter.
Step 4: Assemble the Pie
Pour the batter into the prepared pie pan, spreading it evenly. Carefully spoon the blueberry filling into the center of the batter. As it bakes, the crust will rise up around the filling to create that signature “crazy crust” effect.
Step 5: Bake and Cool
Place the pan in the oven and bake for 30–40 minutes, or until the crust is golden brown and the filling is bubbling. Remove from the oven and allow the pie to cool completely—preferably overnight—to ensure it sets properly.
Step 6: Serve and Enjoy
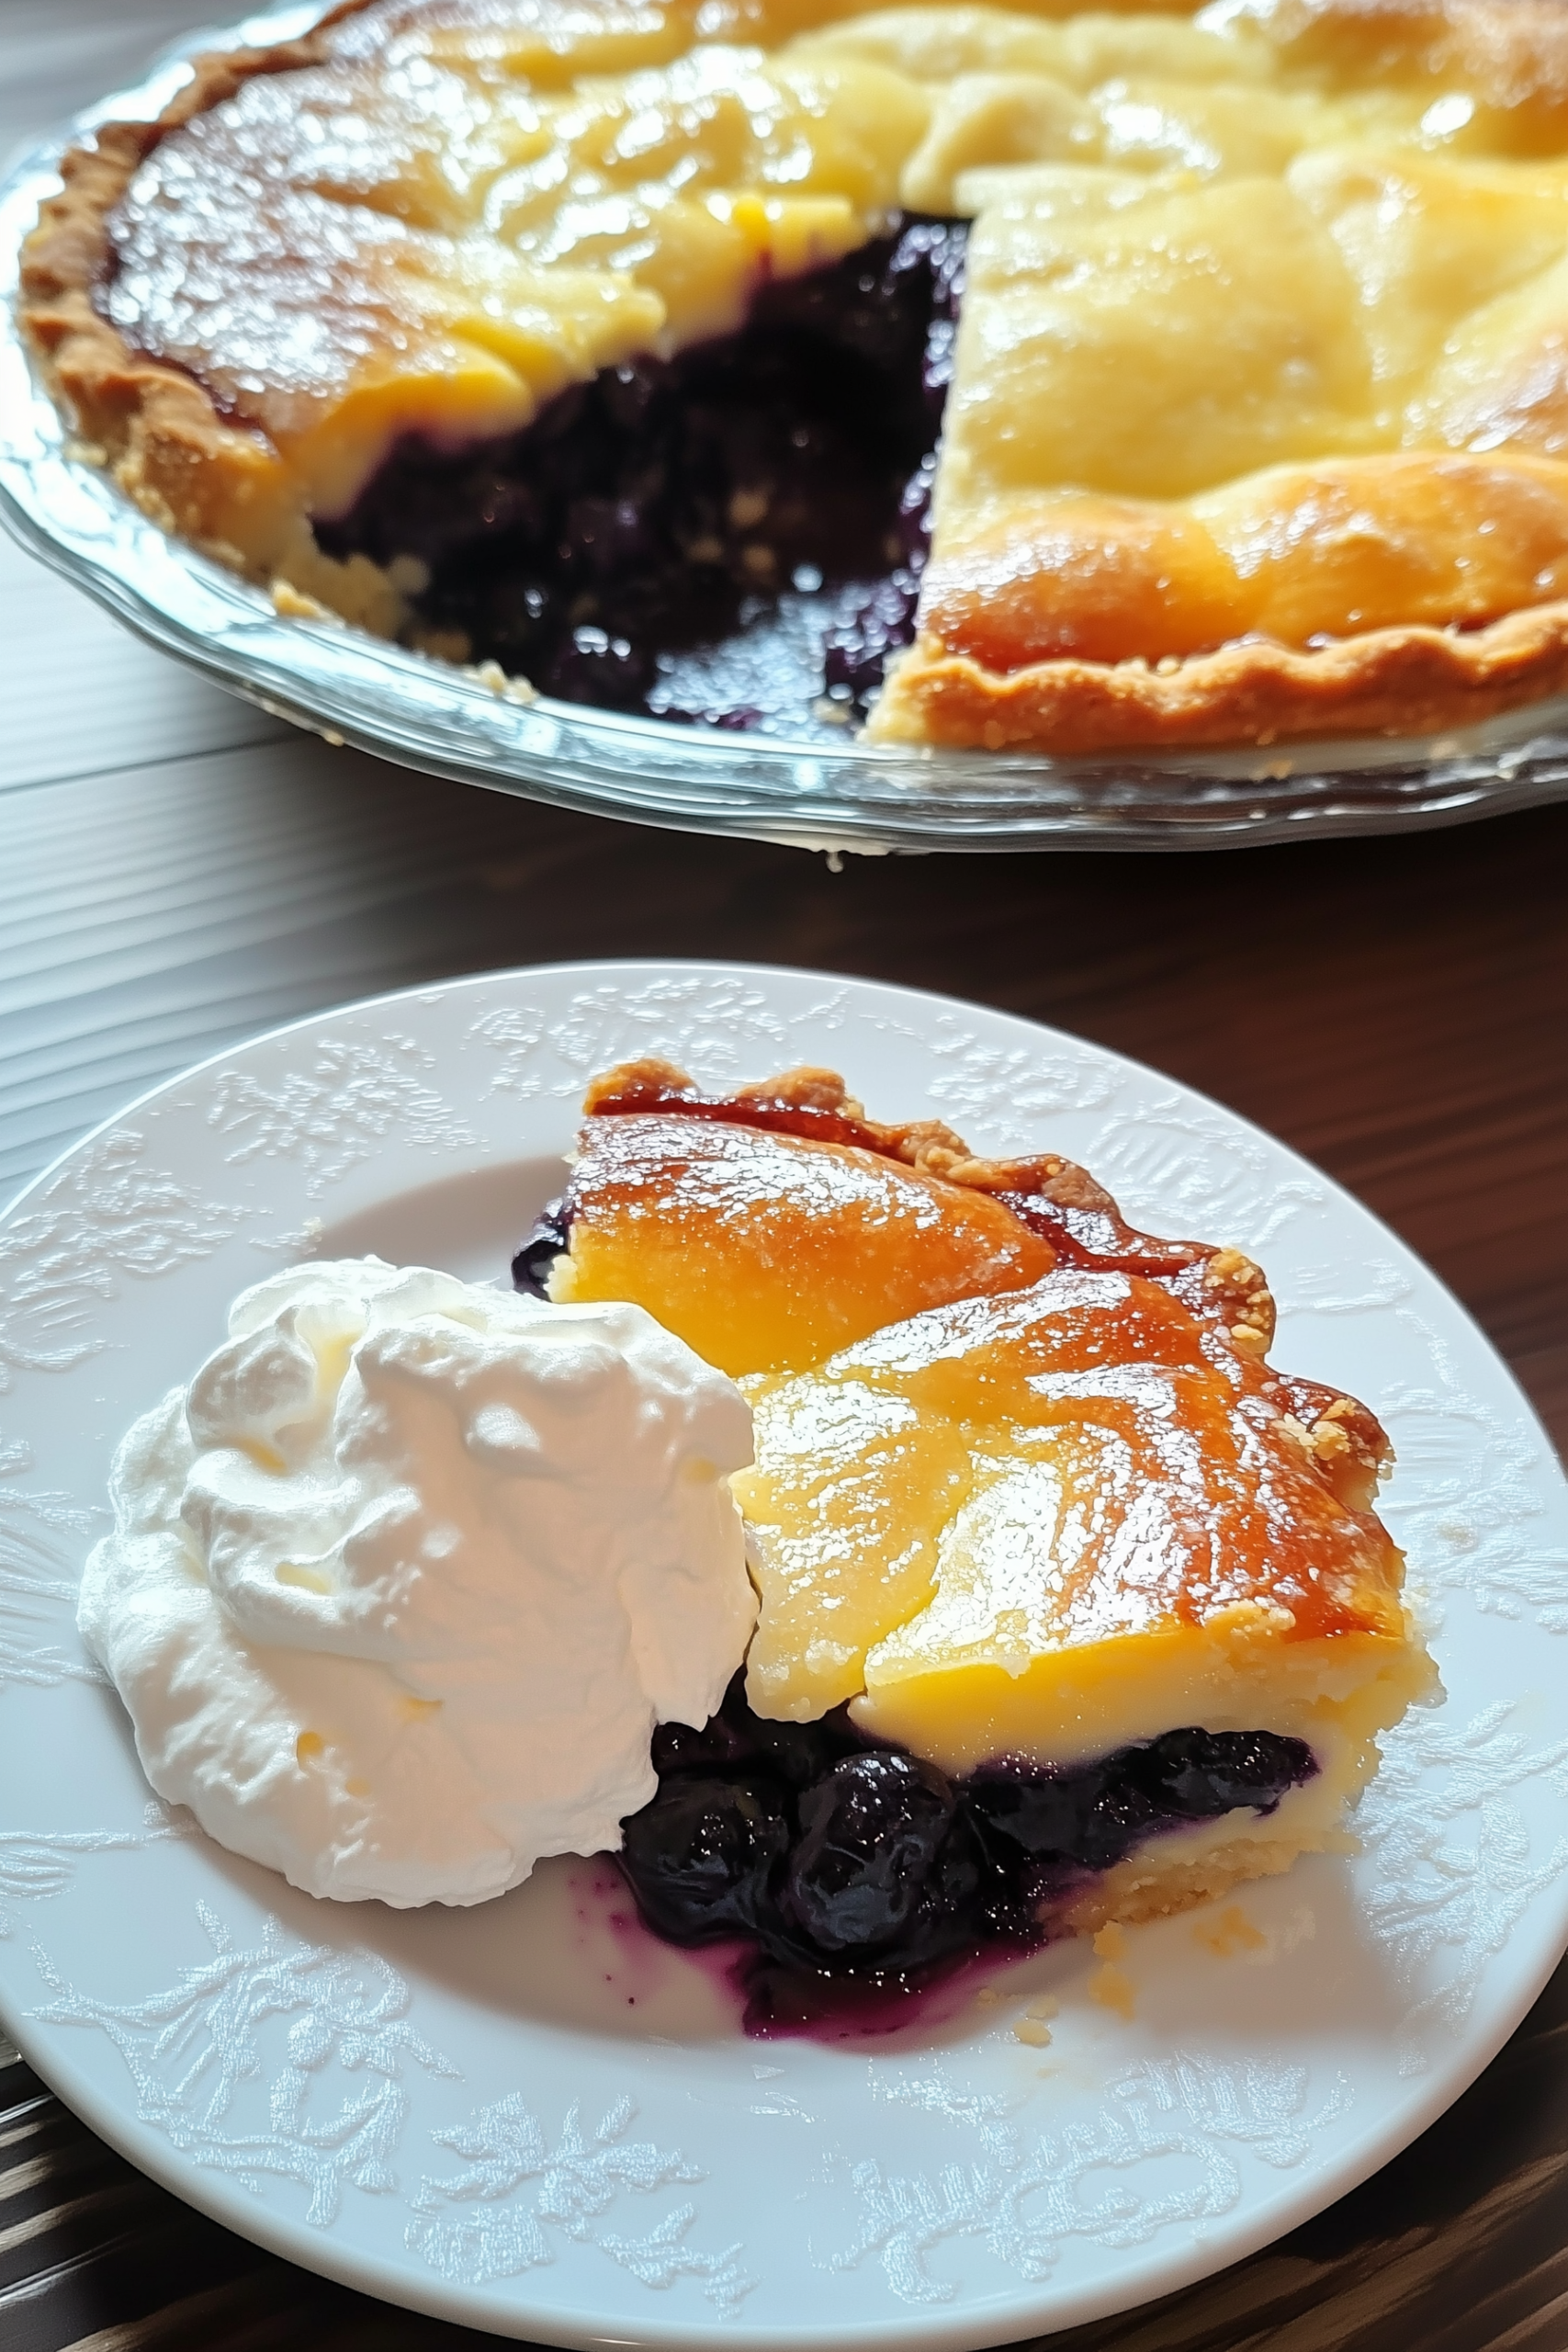
Slice into wedges and serve with a generous dollop of whipped cream or a scoop of vanilla ice cream. This pie is delicious at room temperature but even better chilled.
Tips for Success
- Use fresh or frozen blueberries: Both work perfectly. If using frozen, don’t thaw before adding them to the filling.
- Don’t skip the cooling time: The pie needs time to set for clean slices. Overnight is best.
- Try other berries: Swap blueberries for raspberries, blackberries, or a mix.
- Make it extra special: Add a sprinkle of powdered sugar before serving for a pretty finish.
Storage Instructions
- Refrigerator: Store leftovers covered in the fridge for up to 4 days.
- Freezer: Freeze slices in an airtight container for up to 2 months. Thaw in the refrigerator before serving.
Wrapping It Up
This Crazy Crust Blueberry Pie is proof that baking doesn’t have to be complicated to be impressive. With its self-forming crust and luscious blueberry filling, it’s a dessert that’s as fun to make as it is to eat. Perfect for summer gatherings, holiday dinners, or just a treat-yourself moment, this pie is destined to become one of your go-to recipes.
Crazy Crust Blueberry Pie
Ingredients
For the Filling
- 2 tablespoons cornstarch
- 1/2 cup granulated sugar
- 1 1/2 cups blueberries
- 6 tablespoons water
- 1 tablespoon lemon juice
For the Crust
- 1 cup all-purpose flour
- 2 tablespoons granulated sugar
- 1 teaspoon baking powder
- 1/2 teaspoon salt
- 1/2 cup unsalted butter melted and cooled
- 3/4 cup water
- 1 large egg room temperature and lightly beaten
Instructions
Step 1: Prepare the Oven and Pan
- Preheat your oven to 375°F (190°C). Spray a 9-inch deep pie pan with baking spray and place it on a baking tray to catch any spills. If you don’t have a deep pie pan, you can substitute with an 8×8-inch baking dish.
Step 2: Make the Blueberry Filling
- In a medium saucepan over low heat, whisk together the cornstarch and sugar until smooth. Add the blueberries, water, and lemon juice, stirring constantly as the mixture heats. Continue cooking until the filling thickens and the blueberries begin to release their juices. Remove from heat and set aside while you prepare the crust.
Step 3: Mix the Crazy Crust Batter
- In a large mixing bowl, combine the flour, sugar, baking powder, and salt. Stir to blend the dry ingredients evenly. Add the melted butter, water, and beaten egg, whisking until you have a thin batter that resembles pancake batter.
Step 4: Assemble the Pie
- Pour the batter into the prepared pie pan, spreading it evenly. Carefully spoon the blueberry filling into the center of the batter. As it bakes, the crust will rise up around the filling to create that signature “crazy crust” effect.
Step 5: Bake and Cool
- Place the pan in the oven and bake for 30–40 minutes, or until the crust is golden brown and the filling is bubbling. Remove from the oven and allow the pie to cool completely—preferably overnight—to ensure it sets properly.
Step 6: Serve and Enjoy
- Slice into wedges and serve with a generous dollop of whipped cream or a scoop of vanilla ice cream. This pie is delicious at room temperature but even better chilled.



Leave a Comment