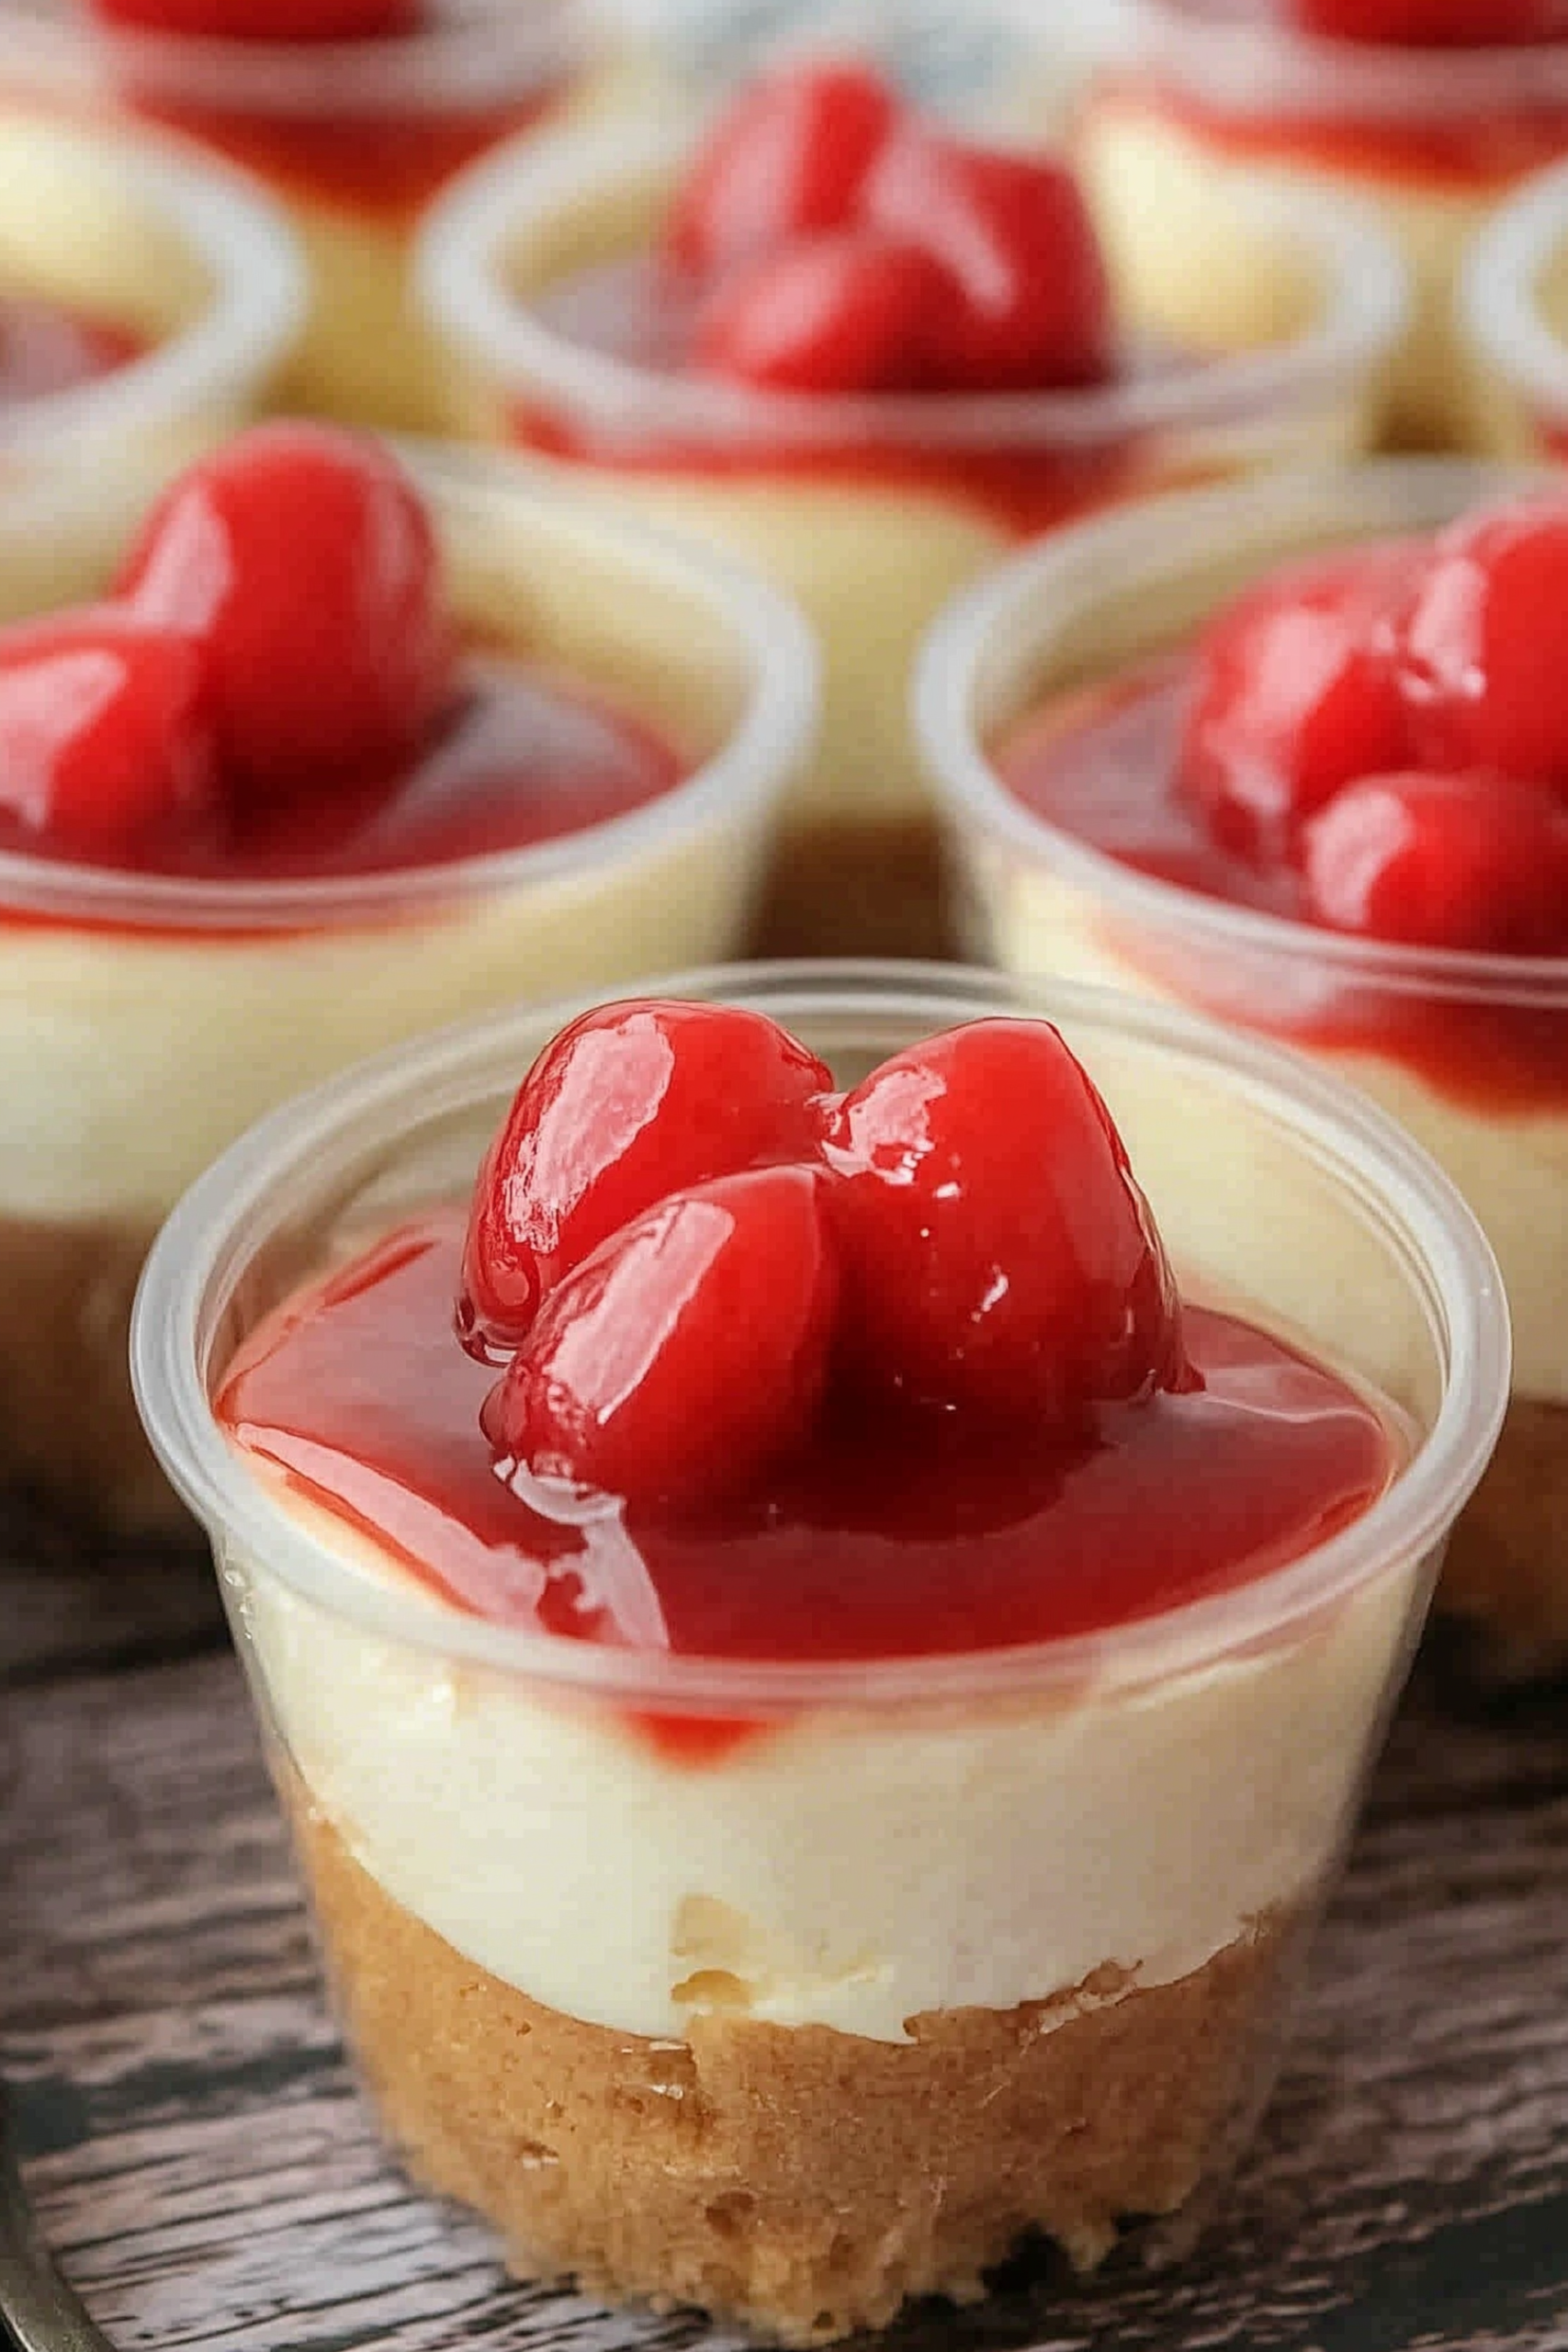
Creamy cheesecake layered with vanilla wafers & toppings in individual cups is such an easy dessert for a crowd! These cheesecake cups are perfect when you want something sweet, individual, and hassle‑free. Each cup has a crisp cookie base, smooth cheesecake filling, and a fruity topping — no slicing giant cakes, just scoop & enjoy.
They’re great for potlucks, parties, or just a satisfying dessert at home. You can make them ahead, chill them, and serve them cold. The vanilla wafer adds fun texture; the cheesecake filling is rich without being too heavy; and the topping brings color, sweetness, and optional tang depending on what fruit pie filling you choose.
Why You’ll Love This Recipe
- Serve‑in‑cups means zero slicing drama and easy portion control
- Creamy, smooth cheesecake filling that sets well in cups
- Vanilla wafer base adds crunch and flavor contrast
- Topping is flexible — cherry, strawberry, blueberry… whatever you like
- Quick hands‑on time; most of it is chilling
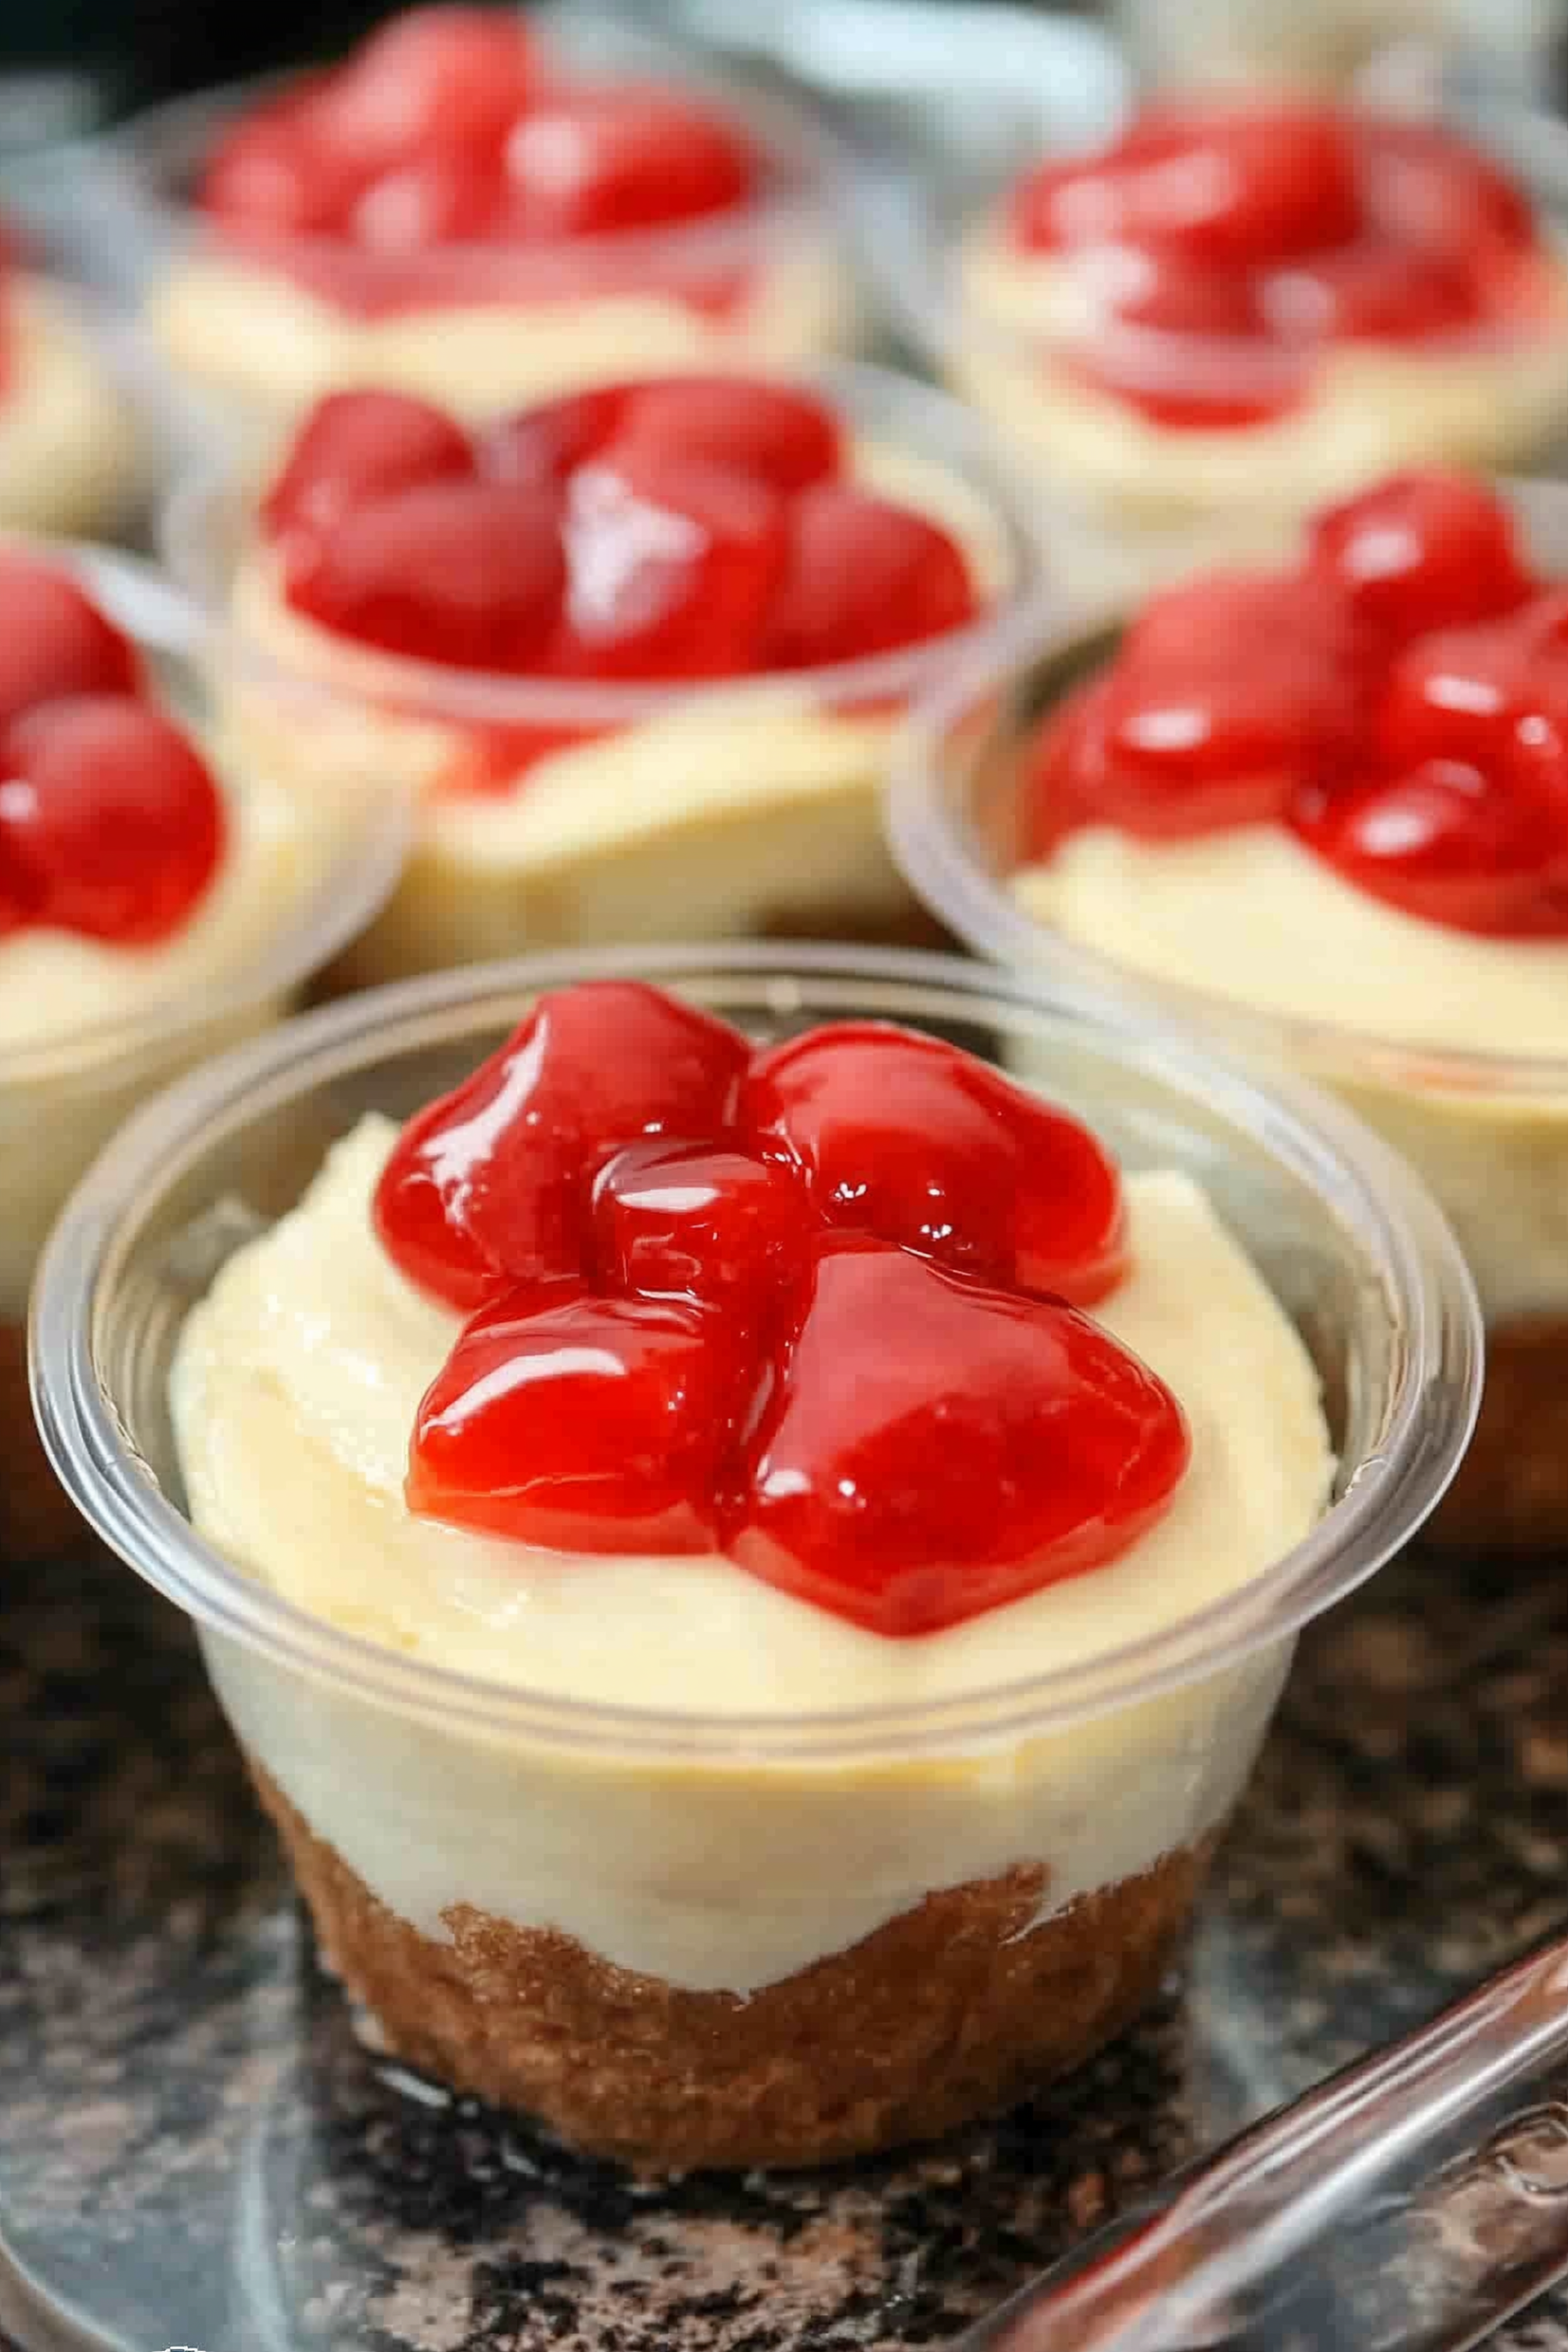
Ingredients (Makes 16 cups)
- 16 vanilla wafer cookies (or more as needed)
- 16 oz cream cheese, softened
- 1 cup powdered sugar
- 1 teaspoon vanilla extract
- 1 cup heavy whipping cream
- ½ teaspoon cornstarch
- 1 can prepared fruit pie filling (cherry, strawberry, or blueberry)
Instructions
Step 1: Make Cheesecake Filling
Beat cream cheese with an electric mixer until smooth. Add powdered sugar and vanilla and beat until fully combined. Set aside.
Step 2: Whip and Stabilize Cream
In a medium bowl, beat heavy cream on low for about 1 minute. Add cornstarch and then turn the mixer to high speed; beat for another 3‑4 minutes or until stiff peaks form. Fold this whipped cream into the cream cheese mixture until combined.
Step 3: Build the Cups
Place one vanilla wafer at the bottom of each cup. Fill each cup with the cheesecake filling until about 1 inch from the top of the cup.
Step 4: Add Topping & Chill
Spoon the fruit pie filling on top of each cheesecake‑filled cup. Chill the cups in the refrigerator for at least 1 hour. Serve cold.
Tips for Success
- Use full‑fat cream cheese and bring it to room temperature so the filling is smooth and free of lumps
- Don’t overbeat the whipped cream‑cream cheese mixture—overmixing can lead to a grainy texture or cause the filling to deflate
- Use cornstarch to help stabilize the whipped cream so your topping and filling hold shape
- Chill long enough so the cups set firmly — chilling helps flavor meld and texture improve
- Pick a pie filling topping that complements your cookie base; drain excess syrup if it’s very loose so it doesn’t make the filling runny
Final Thoughts
These Easy Cheesecake Cups are simple yet feel indulgent. They deliver creamy, crunchy, fruity dessert in a format that’s easy to share. They’re a great way to satisfy sweet cravings without needing an oven (if using chilled filling), and the layers make each spoonful fun.
Whether you make these for a gathering or for enjoying at home, they’re sure to be a crowd‑pleaser. They look cute, taste delightful, and can be adapted — use different toppings, change the cookie base, or even package them for gifting.
Share Your Creations
Made these Easy Cheesecake Cups?
Leave a comment and tell me how they turned out!
Did you try a different fruit pie filling, or maybe swapped vanilla wafers for graham crackers or Oreos? I’d love to see what versions you made!
Easy Cheesecake Cups
Ingredients
- 16 vanilla wafer cookies or more as needed
- 16 oz cream cheese softened
- 1 cup powdered sugar
- 1 teaspoon vanilla extract
- 1 cup heavy whipping cream
- ½ teaspoon cornstarch
- 1 can prepared fruit pie filling cherry, strawberry, or blueberry
Instructions
Step 1: Make Cheesecake Filling
- Beat cream cheese with an electric mixer until smooth. Add powdered sugar and vanilla and beat until fully combined. Set aside.
Step 2: Whip and Stabilize Cream
- In a medium bowl, beat heavy cream on low for about 1 minute. Add cornstarch and then turn the mixer to high speed; beat for another 3‑4 minutes or until stiff peaks form. Fold this whipped cream into the cream cheese mixture until combined.
Step 3: Build the Cups
- Place one vanilla wafer at the bottom of each cup. Fill each cup with the cheesecake filling until about 1 inch from the top of the cup.
Step 4: Add Topping & Chill
- Spoon the fruit pie filling on top of each cheesecake‑filled cup. Chill the cups in the refrigerator for at least 1 hour. Serve cold.




Leave a Comment