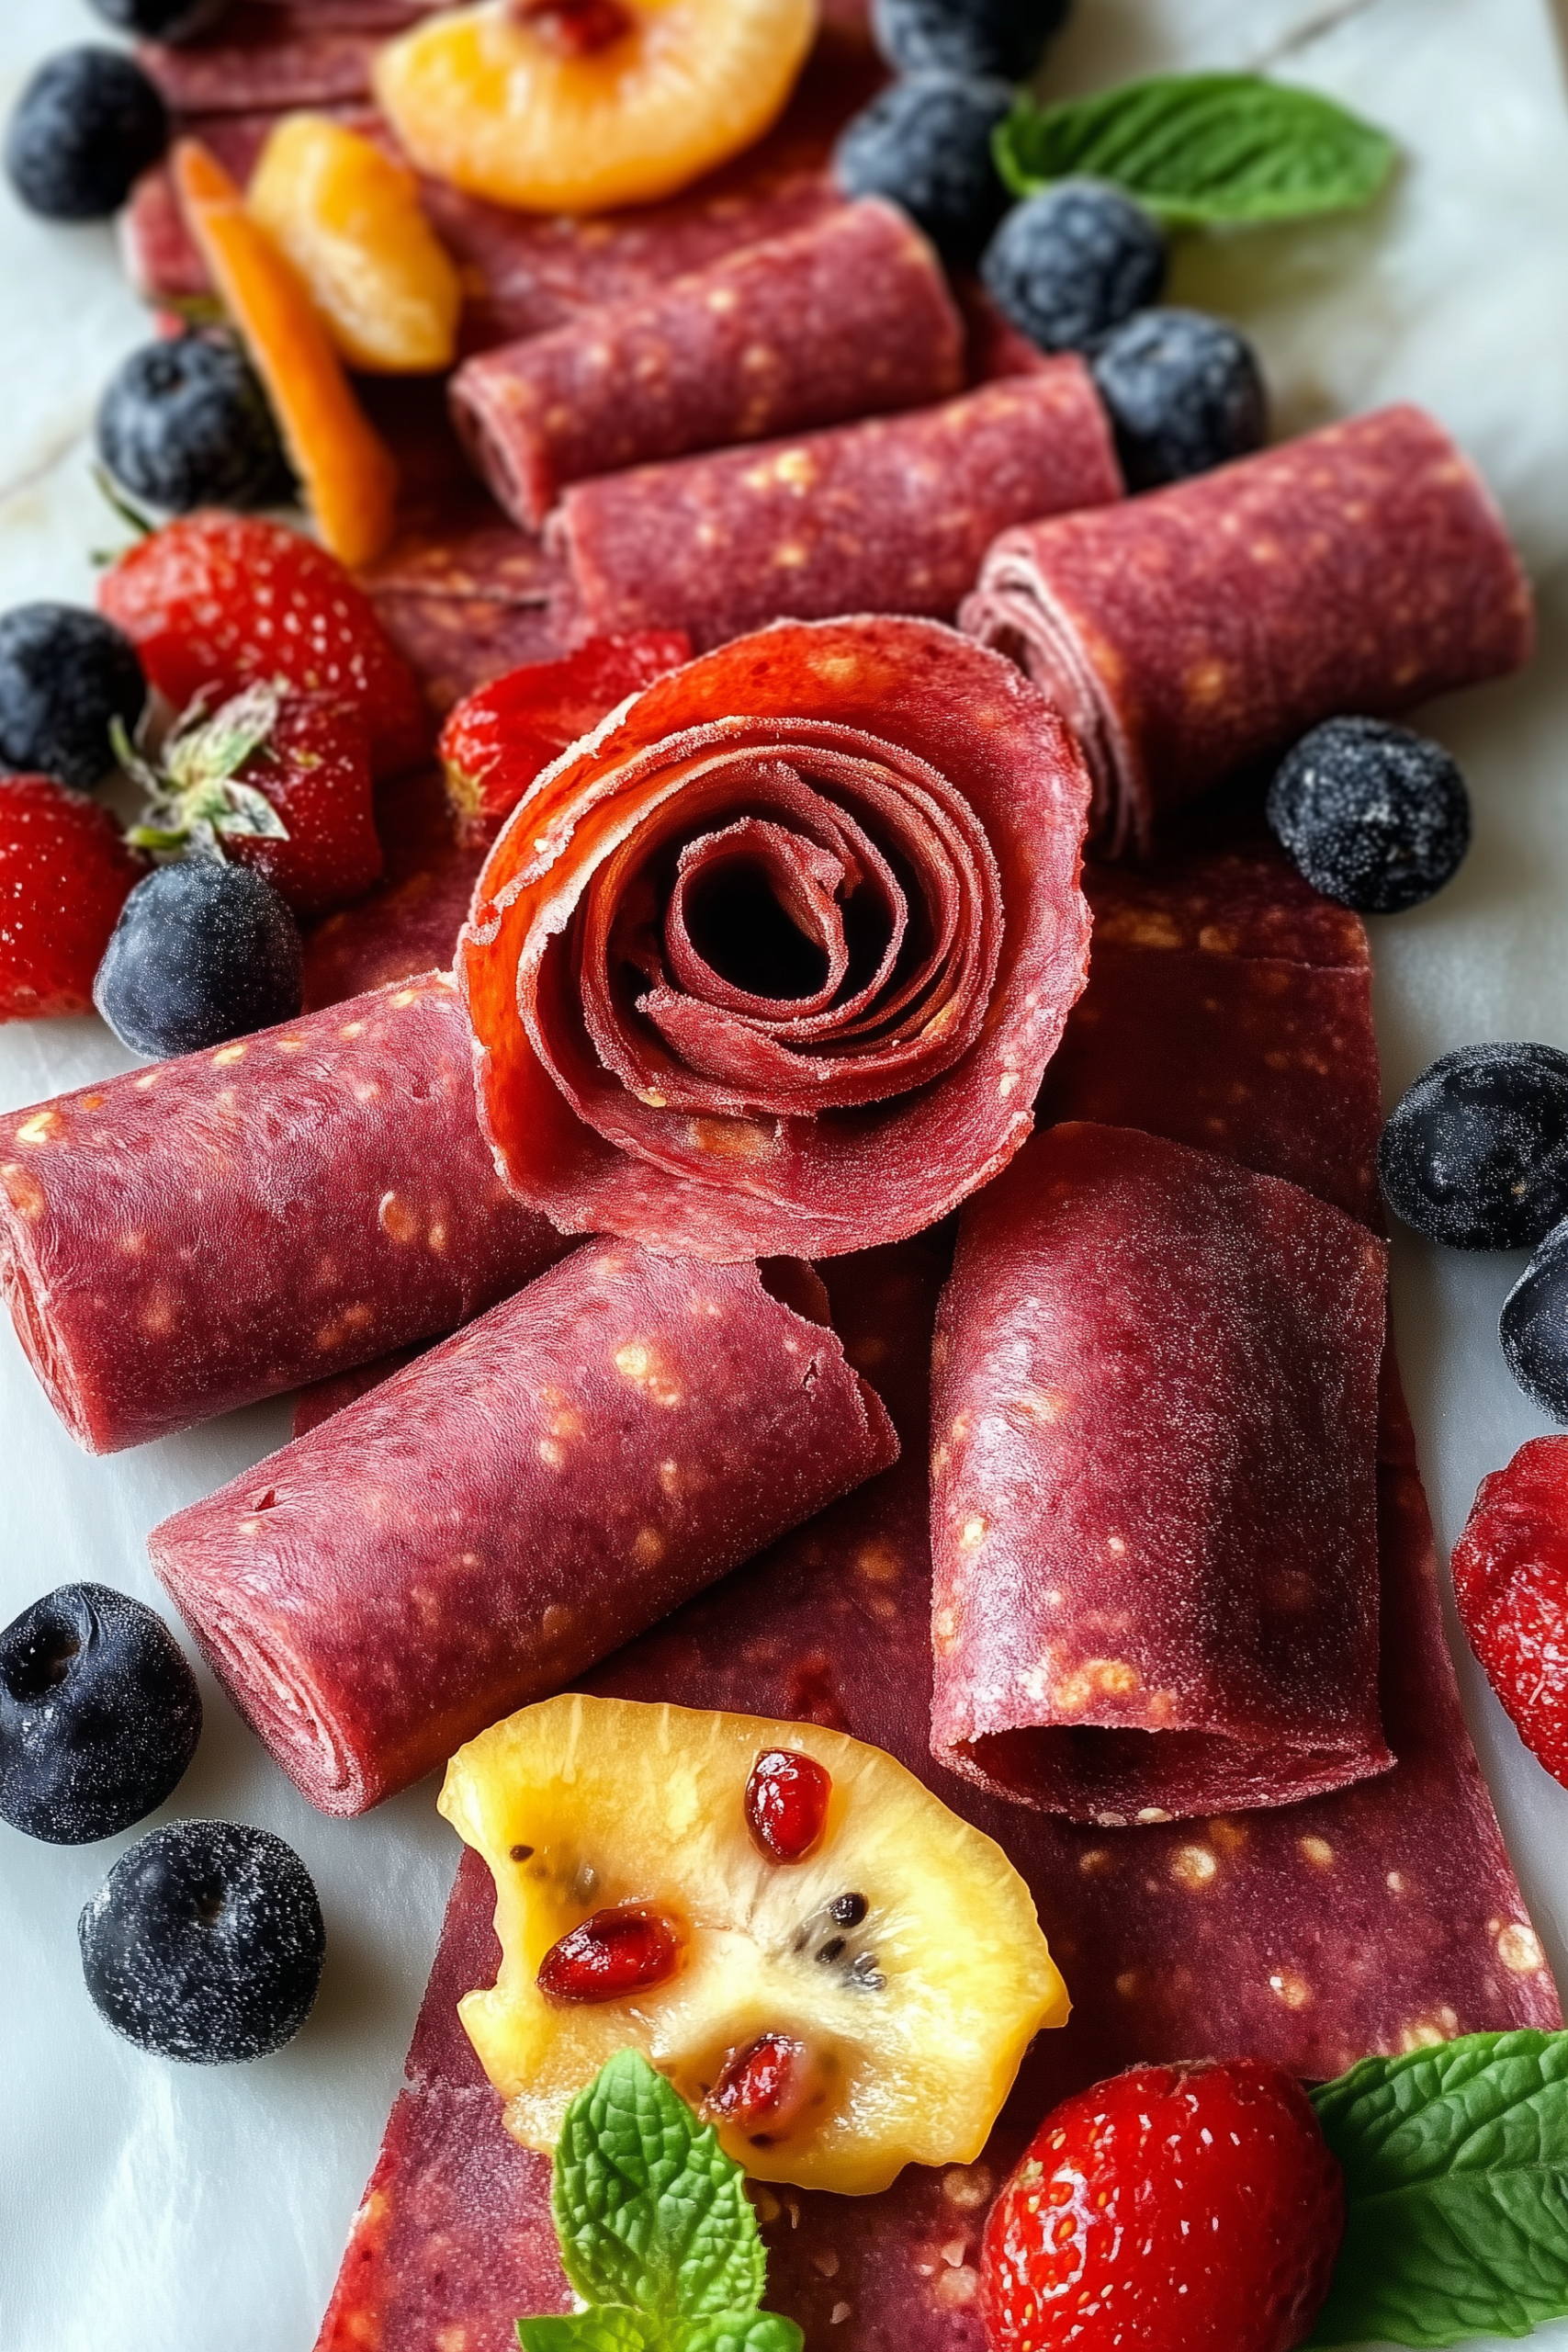
There’s something undeniably nostalgic about peeling back a sticky, fruity strip of a fruit roll-up. For many of us, it was a childhood lunchbox treasure. But as we’ve learned more about what goes into store-bought versions—added sugars, artificial dyes, and preservatives—it’s easy to see why making your own is such a game changer. With just three wholesome ingredients, you can create Homemade Fruit Roll-Ups that are not only healthier but also bursting with real fruit flavor.
This recipe is simple, kid-approved, and surprisingly versatile. You can use just about any fruit you like, from berries to tropical fruits, to create colorful and delicious roll-ups that beat store-bought every time. And the best part? They store beautifully, making them a great snack for school lunches, road trips, or just satisfying your own sweet tooth in a healthier way.
Why You’ll Love This Recipe
- Only 3 ingredients: Fresh fruit, honey, and lemon juice—no artificial flavors or colors.
- Kid-friendly: A fun, hands-on snack that kids will love to help make.
- Customizable: Works with almost any fruit or combination of fruits.
- Naturally sweet: No refined sugar needed—honey balances the fruit’s natural tanginess.
- Long-lasting: Stores up to two weeks, perfect for make-ahead snacking.
- Budget-friendly: Much cheaper than buying organic fruit snacks at the store.
Ingredients
- 5 cups berries (any variety—strawberries, raspberries, blueberries, blackberries, or a mix)
- 1/4 cup honey (or maple syrup for a vegan option)
- 2 tbsp lemon juice (brightens flavor and helps preserve color)
Instructions
Step 1: Preheat the Oven
Set your oven to 170°F (or as low as it can go). This slow, low heat mimics the dehydrating process, drying out the fruit without cooking it.
Step 2: Prepare the Baking Pan
Line a large rimmed baking sheet (about 17×12 inches) with parchment paper or a silicone baking mat. This will keep the fruit from sticking and make peeling much easier later.
Step 3: Blend the Fruit
Rinse the berries well and remove any stems. Place them in a blender or food processor along with honey and lemon juice. Blend until silky smooth.
Step 4: Strain for Smoothness
For an extra smooth fruit roll-up, strain the puree through a fine mesh sieve to remove seeds. This is optional but makes a more polished finish, especially with seedy fruits like raspberries or blackberries.
Step 5: Spread Evenly
Pour the puree onto the lined baking sheet. Using an offset spatula, spread it into an even layer, ensuring the edges aren’t thinner than the center—this prevents over-drying. Aim for about 1/8-inch thickness.
Step 6: Slow Bake
Place the pan in the oven and bake for 5–6 hours, rotating halfway through. You’ll know it’s done when the fruit is set, slightly tacky, but no longer sticky to the touch.
Step 7: Cool and Roll
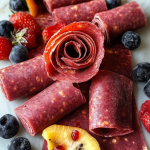
Let the sheet cool completely. If you used parchment, you can cut it along with the fruit into strips. If you used a silicone mat, peel the fruit leather off and transfer onto wax paper before cutting into strips. Roll them up, and your homemade fruit roll-ups are ready to enjoy.
Storage Tips
- Room Temperature: Store in an airtight container for up to 2 weeks.
- Longer Storage: For up to 1 month, wrap strips in wax paper and keep in the fridge.
- Freezer Friendly: Freeze for up to 3 months for longer shelf life—just thaw before eating.
Pro Tips for Perfect Fruit Roll-Ups
- Even thickness is key: Spread the puree evenly—thinner areas dry too fast while thicker spots stay sticky.
- Sweetness matters: Taste your puree before baking. If your fruit is very tart, add a bit more honey.
- Use ripe fruit: Overripe fruit is naturally sweeter and perfect for this recipe.
- Avoid metal pans: Metal pans can heat unevenly; rimmed baking sheets with silicone mats or parchment are ideal.
- Patience pays off: Don’t increase oven temperature—high heat can turn your roll-ups brittle instead of chewy.
Variations
- Tropical Fruit: Try mango, pineapple, or kiwi for a tangy twist.
- Apple Cinnamon: Blend apples with a touch of cinnamon for a cozy flavor.
- Peach Ginger: Sweet peaches with fresh ginger create a unique snack.
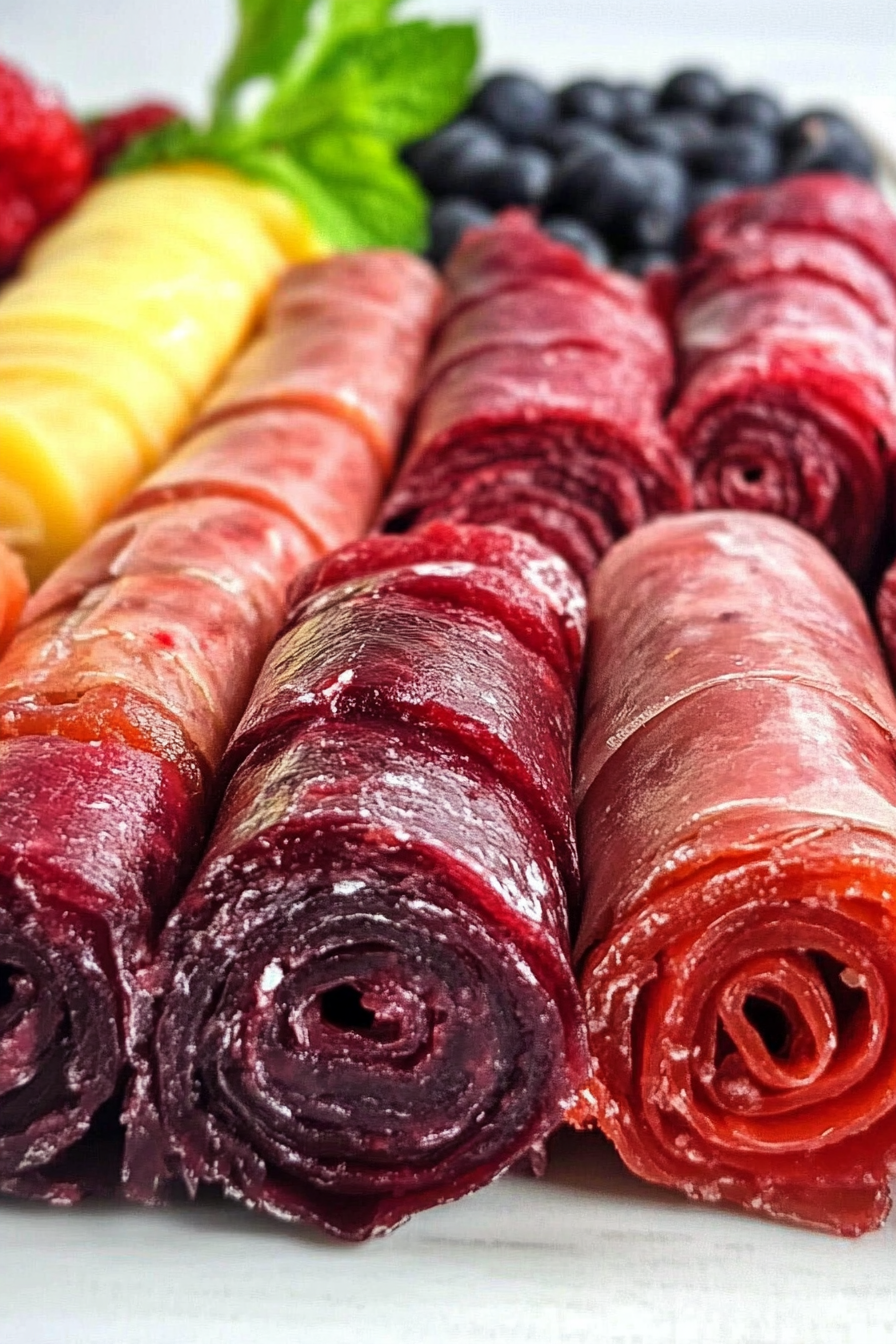
- Layered Roll-Ups: Spread two different fruit purees side by side for colorful stripes.
- Swirled Roll-Ups: Drop spoonfuls of different purees and swirl them together before baking.
What to Serve With Fruit Roll-Ups
- School Lunches: A healthy, homemade snack for kids.
- Workout Snack: Naturally sweet fuel for post-gym recovery.
- Trail Mix Addition: Cut strips into bite-sized pieces and mix with nuts.
- Dessert Garnish: Use strips as a fun topping for cupcakes or ice cream.
- Cheese Board: Pair fruity strips with soft cheeses for a gourmet twist.
FAQs
Can I use frozen fruit?
Yes! Just thaw before blending.
Do I need a dehydrator?
Nope! A low oven works just as well.
Why is my fruit leather cracking?
It was likely spread too thin or baked at too high a temperature.
Can I make it vegan?
Yes, replace honey with maple syrup or agave.
How do I keep it chewy?
Don’t overbake. Remove as soon as it’s no longer sticky.
Wrapping It Up
Making your own Homemade Fruit Roll-Ups is easier than you might think, and the results are so much better than store-bought versions. With just berries, honey, and lemon juice, you get a naturally sweet, chewy, and colorful snack that kids and adults alike will love.
Not only are they fun to eat, but they’re also fun to make. Let your kids help choose the fruit combinations, spread the puree, and roll them up once baked. It’s a family-friendly activity that doubles as a delicious treat.
Whether you’re looking to pack healthier snacks, reduce food waste by using overripe fruit, or just relive childhood memories in a healthier way, this recipe is a must-try.
Homemade Fruit Roll-Ups
Ingredients
- 5 cups berries any variety—strawberries, raspberries, blueberries, blackberries, or a mix
- 1/4 cup honey or maple syrup for a vegan option
- 2 tbsp lemon juice brightens flavor and helps preserve color
Instructions
Step 1: Preheat the Oven
- Set your oven to 170°F (or as low as it can go). This slow, low heat mimics the dehydrating process, drying out the fruit without cooking it.
Step 2: Prepare the Baking Pan
- Line a large rimmed baking sheet (about 17×12 inches) with parchment paper or a silicone baking mat. This will keep the fruit from sticking and make peeling much easier later.
Step 3: Blend the Fruit
- Rinse the berries well and remove any stems. Place them in a blender or food processor along with honey and lemon juice. Blend until silky smooth.
Step 4: Strain for Smoothness
- For an extra smooth fruit roll-up, strain the puree through a fine mesh sieve to remove seeds. This is optional but makes a more polished finish, especially with seedy fruits like raspberries or blackberries.
Step 5: Spread Evenly
- Pour the puree onto the lined baking sheet. Using an offset spatula, spread it into an even layer, ensuring the edges aren’t thinner than the center—this prevents over-drying. Aim for about 1/8-inch thickness.
Step 6: Slow Bake
- Place the pan in the oven and bake for 5–6 hours, rotating halfway through. You’ll know it’s done when the fruit is set, slightly tacky, but no longer sticky to the touch.
Step 7: Cool and Roll
- Let the sheet cool completely. If you used parchment, you can cut it along with the fruit into strips. If you used a silicone mat, peel the fruit leather off and transfer onto wax paper before cutting into strips. Roll them up, and your homemade fruit roll-ups are ready to enjoy.



Leave a Comment