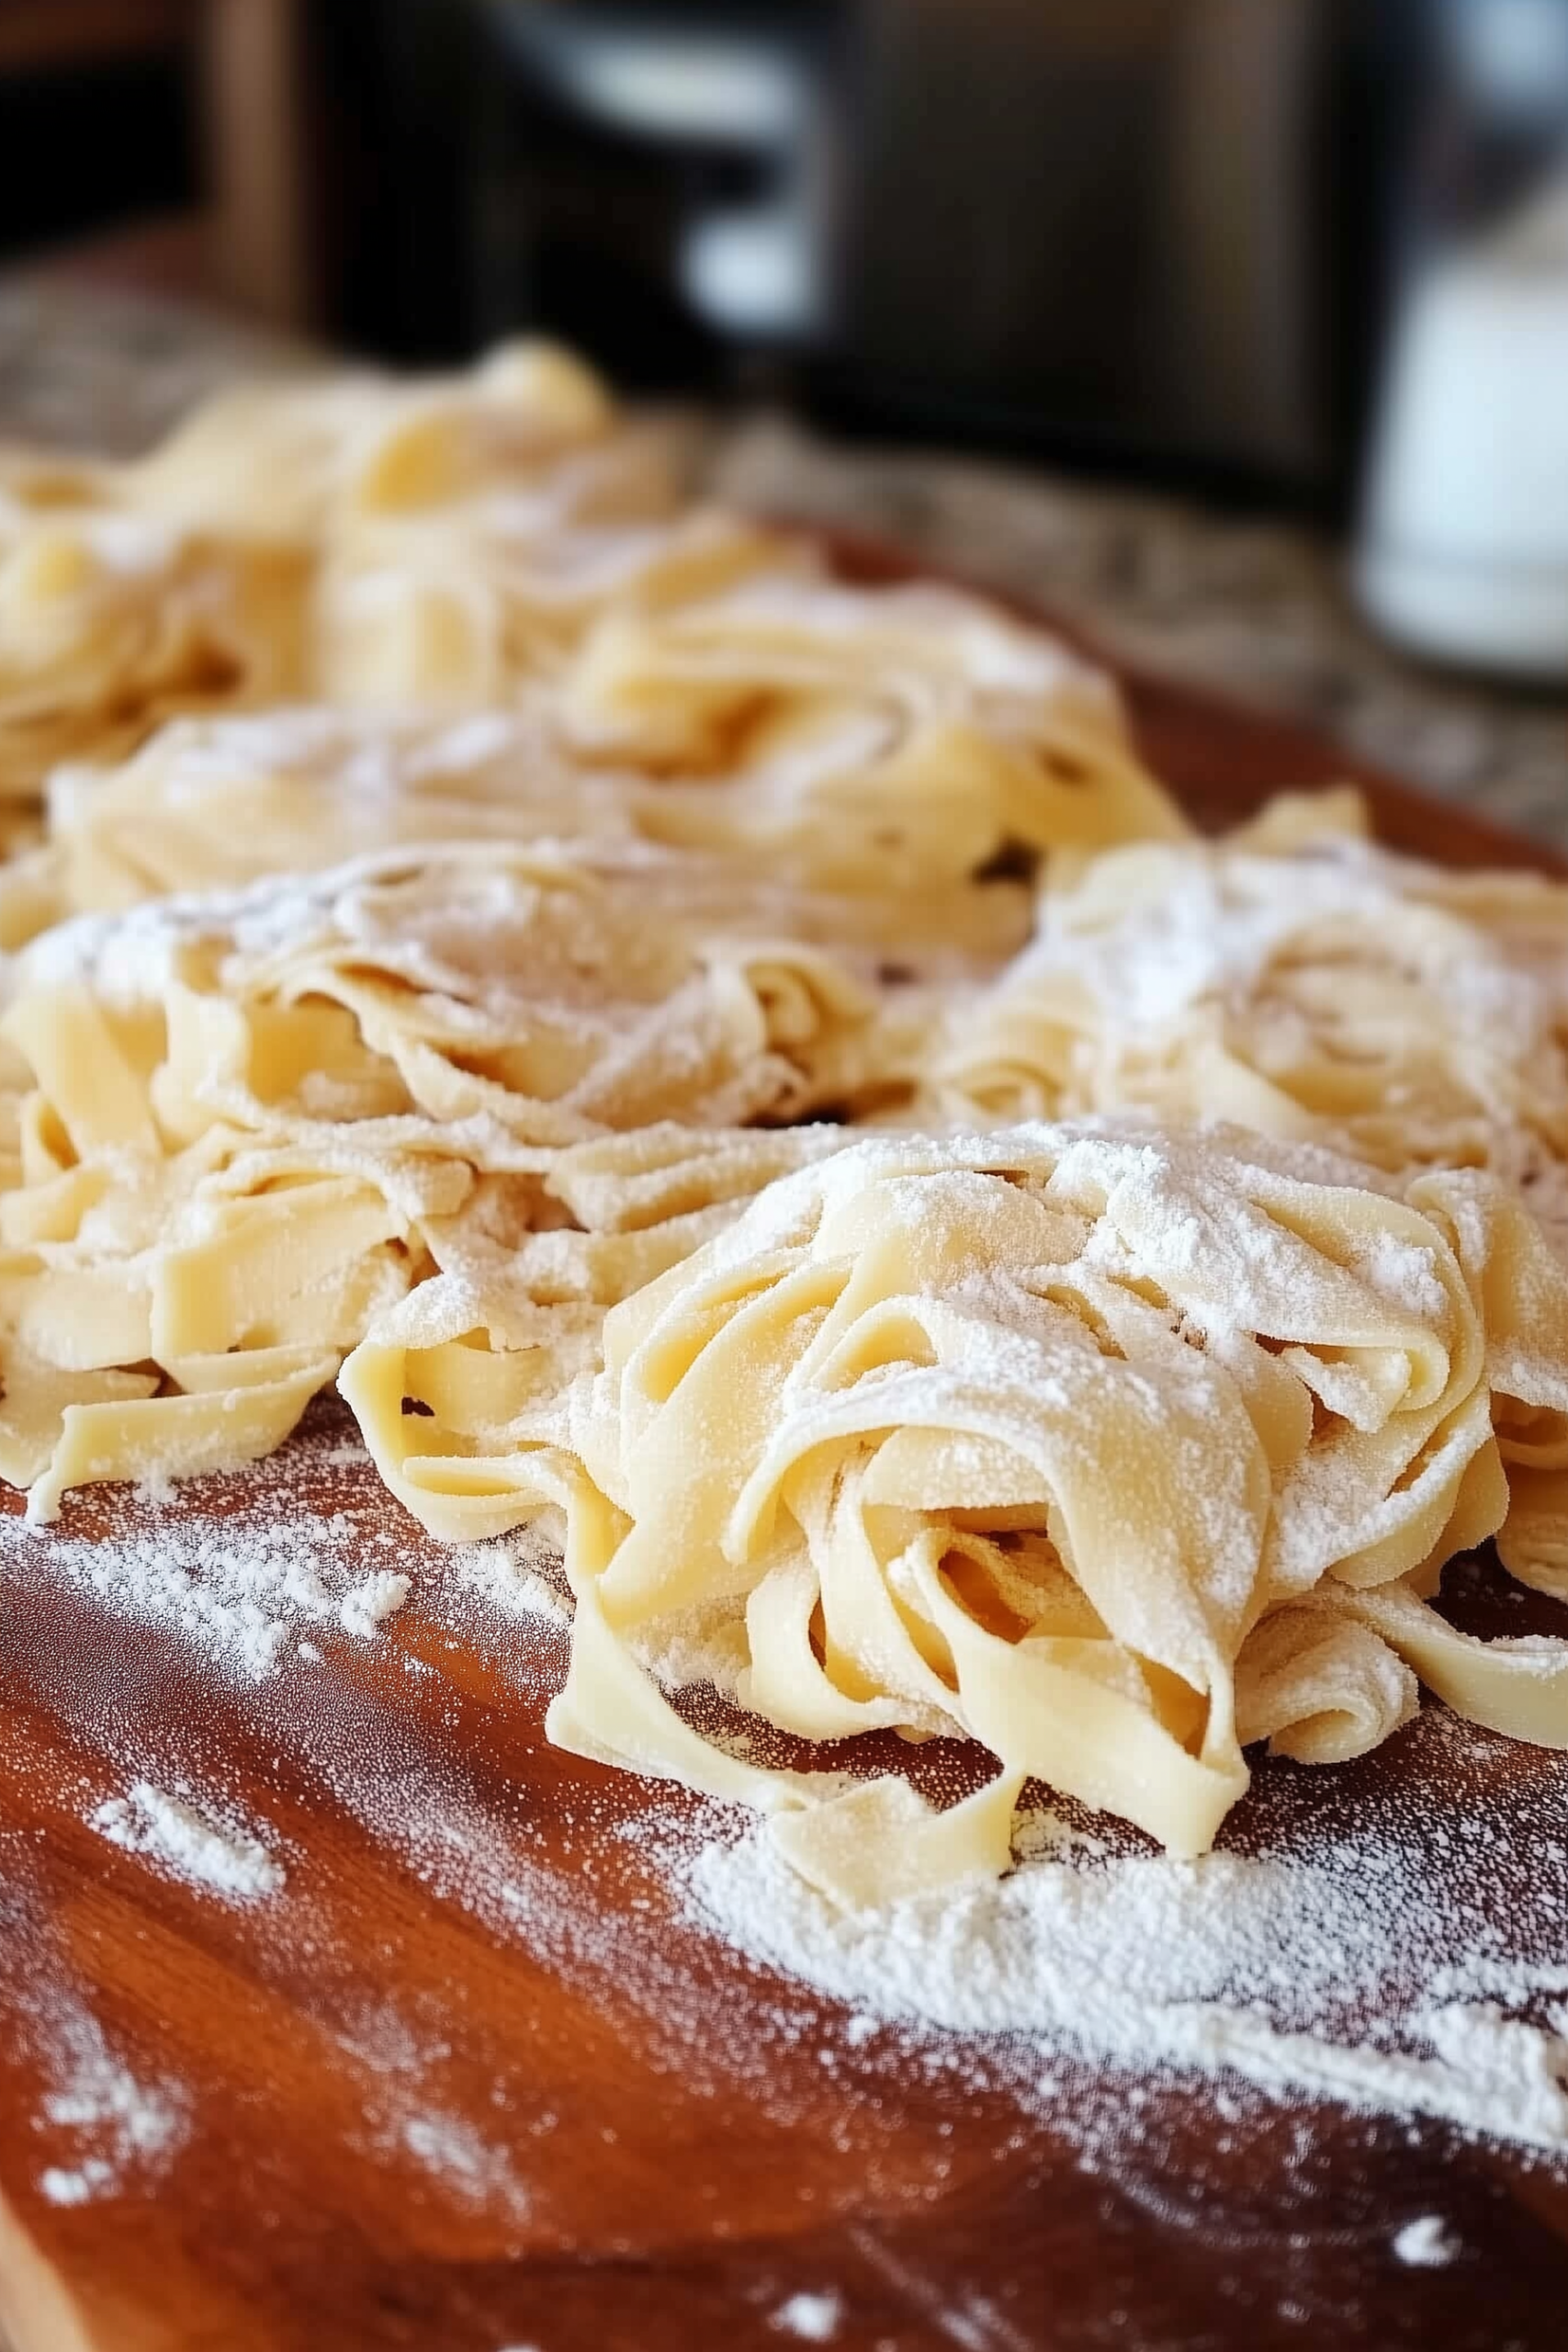
There’s something uniquely satisfying about making pasta from scratch—no fancy equipment, just your hands, a rolling pin, and a bit of patience. I remember standing beside my grandmother in her cozy kitchen, watching her knead, roll, and cut pasta dough on a floured wooden table. She never owned a pasta machine. Instead, she trusted the rhythm of her hands and the wisdom of generations before her. This method was simple, rustic, and yielded some of the most delicious pasta I’ve ever tasted.
Today, I’m sharing that same experience with you. This homemade pasta recipe requires no special equipment—just flour, eggs, and a bit of technique. Whether you’re cooking for a family meal or prepping for a romantic dinner, this recipe brings a sense of tradition and authenticity to your table. It’s a hands-on, heart-forward process that rewards you with silky, chewy noodles that rival any store-bought variety.
Why You’ll Love This Homemade Pasta
- No pasta machine required—just basic tools
- Authentic, rustic Italian texture and flavor
- Perfect for any type of sauce—from butter and sage to rich ragù
- Freezer-friendly and make-ahead ready
- A great family activity or weekend cooking project
This is pasta the old-fashioned way: made with love, and every bite tells a story.
Ingredients
- 2 ¾ cups (350g) all-purpose flour, plus more for dusting and rolling
- 4 large eggs
- 1 egg yolk
- 3 teaspoons olive oil
- ½ teaspoon salt
Instructions
1. Mix the Dough
On a clean countertop, pile the flour into a mound and use your fingers or a spoon to create a large well in the center. Think of it like a crater big enough to hold your wet ingredients.
Crack the eggs and egg yolk into the well. Add the olive oil and salt. Use a fork to gently whisk the eggs and oil together without disturbing the flour walls too much.
Slowly incorporate the flour from the edges into the eggs, whisking gently and pulling a little more flour in with each stir. If a bit of egg breaks through the flour wall—don’t worry. Just push some flour up to seal it and continue.
Once most of the flour is mixed in and the dough is starting to form, switch to using your hands or a bench scraper to bring it all together. It will be shaggy, slightly dry in places, and a bit crumbly—this is normal at this stage.
2. Knead the Dough
Form the dough into a rough ball. Begin kneading by pushing the dough away from you with the heel of your hand, then folding it over and turning it slightly. Continue kneading for about 10 minutes.
The dough will go from rough and dry to smooth and elastic. If it feels too dry and won’t come together, add a teaspoon of water. If it’s too sticky, sprinkle a little flour. Adjust in small amounts until you get a soft, smooth dough that doesn’t stick to your hands.
By the end, the dough should feel supple and smooth—like a baby’s skin.
3. Let the Dough Rest
Wrap the dough tightly in plastic wrap and let it rest at room temperature for 1 hour. This resting period allows the gluten to relax, making the dough easier to roll and work with later.
If you’re not using the dough right away, refrigerate it for up to 24 hours or freeze it for up to 2 months. To freeze, wrap it tightly in plastic, then seal in a zip-top bag.
4. Roll Out the Dough
Once rested, unwrap the dough and divide it into 5 or 6 equal portions. Keep the unused portions wrapped to prevent them from drying out.
Generously flour your countertop. Take one portion of dough and roll it into a long strip using a rolling pin. Flip and dust frequently to prevent sticking. Continue rolling until the dough is paper-thin but still strong enough to lift without tearing.
5. Fold the Dough
Lightly flour the rolled-out dough. Starting from the short end, loosely fold it back and forth like an accordion. This folding method is key—it prevents sticking and makes cutting easier.
6. Cut the Pasta
With a sharp knife or pizza cutter, slice the folded dough across the folds into strips. Cut them as thin or as wide as you like—tagliatelle, fettuccine, or pappardelle. Try to keep your cuts consistent so the noodles cook evenly.
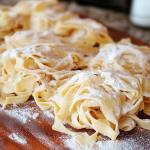
Unfold the cut strips into long noodles and dust with flour to prevent clumping.
7. Dry the Noodles
Lay the noodles over a clean surface to dry slightly—your dining table, a rack, or even the back of a chair works well. Let them air dry for about 15 minutes. This makes them easier to handle and helps them hold their shape when cooking.
8. Repeat with Remaining Dough
Continue rolling, folding, cutting, and drying until all the dough has been transformed into fresh pasta. If you’re not cooking them immediately, loosely nest the noodles into small bundles and place them on a floured baking sheet.
9. Use or Freeze
You can cook the noodles right away or freeze them. To freeze, place the nests on a floured baking sheet and freeze until solid. Then transfer to a zip-top freezer bag. They’ll keep for up to 9 months.
10. Cook the Pasta
Bring a large pot of salted water to a boil. Add the fresh (or frozen) pasta and cook for 4–5 minutes until tender but still chewy. Taste a noodle to check for doneness.
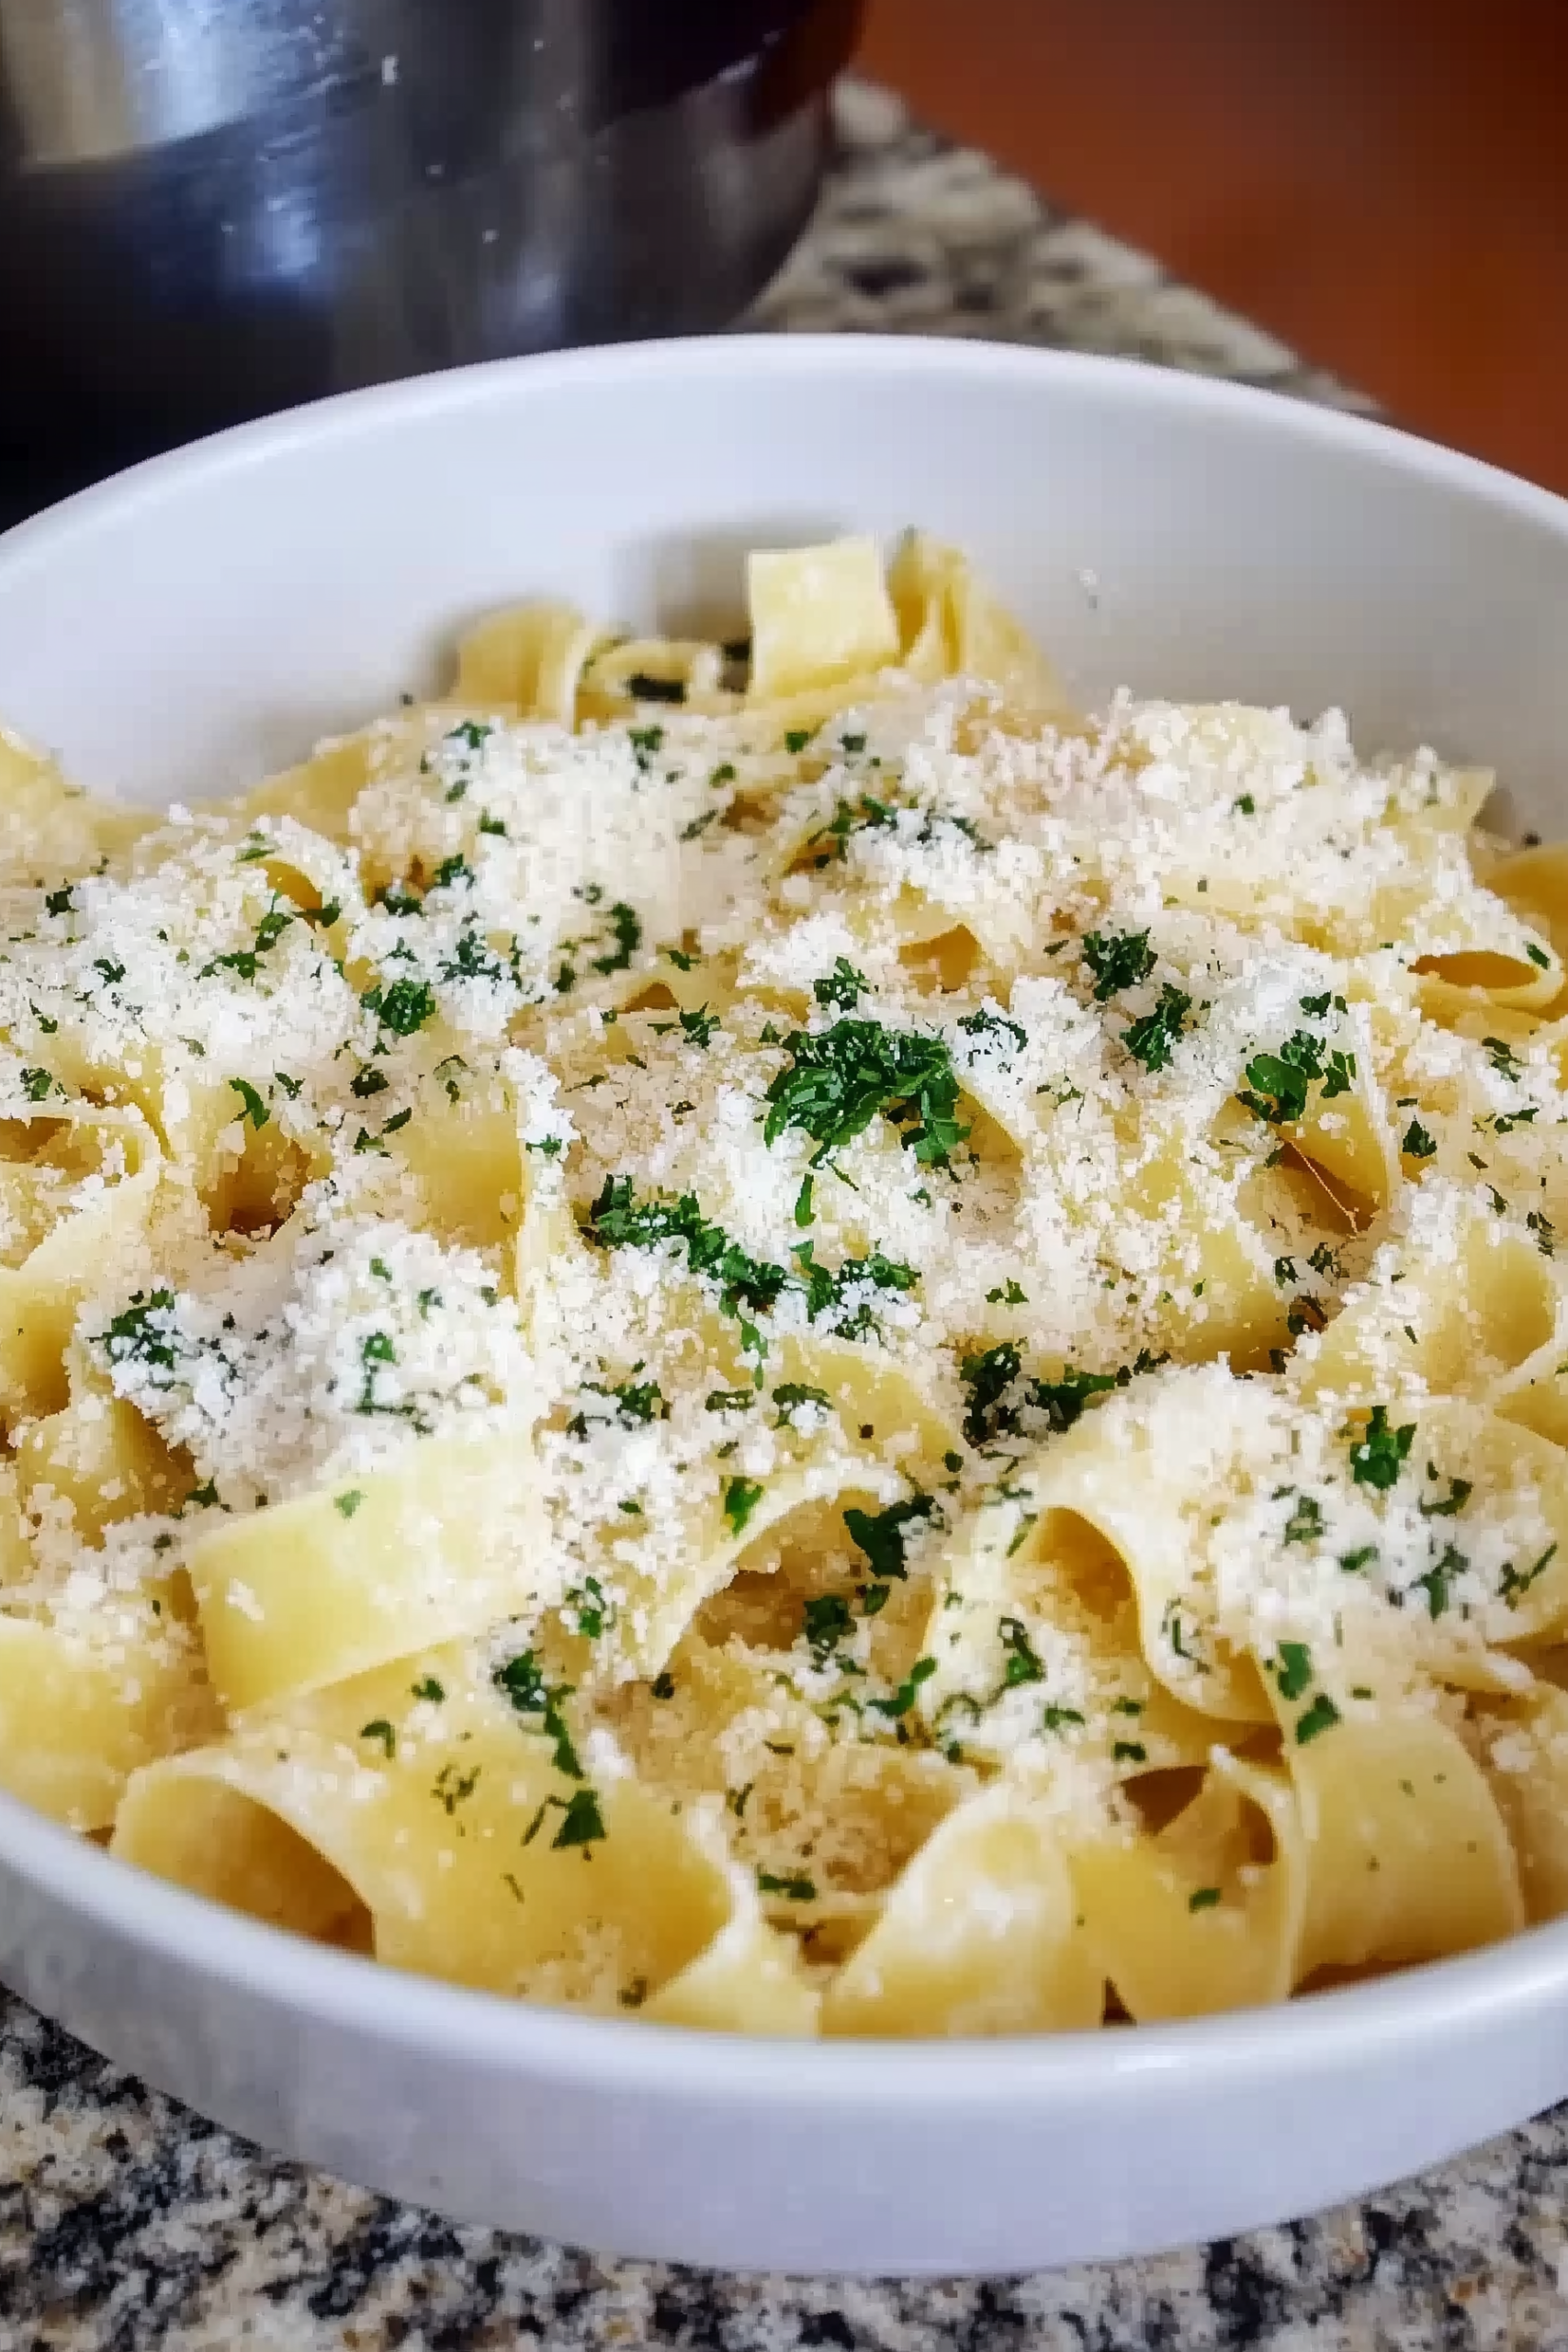
Drain and serve with your favorite sauce—creamy Alfredo, classic tomato, or simple olive oil and garlic.
Variations
- Herb Dough: Add 1–2 tablespoons of finely chopped fresh herbs like basil or parsley to the flour before mixing.
- Spinach Pasta: Puree ½ cup cooked spinach and mix with the eggs for a vibrant green dough.
- Whole Wheat Pasta: Replace up to half of the flour with whole wheat flour for a nuttier, heartier noodle.
Tips for Success
- Don’t skip the resting step—it makes rolling much easier.
- Use a bench scraper for easier cleanup and dough handling.
- If your kitchen is dry, cover the dough with a damp towel while working.
- For extra-thin noodles, roll out the dough as thin as possible—it should be almost translucent.
Serving Suggestions
- Toss with a simple garlic-butter sauce and Parmesan for a light touch
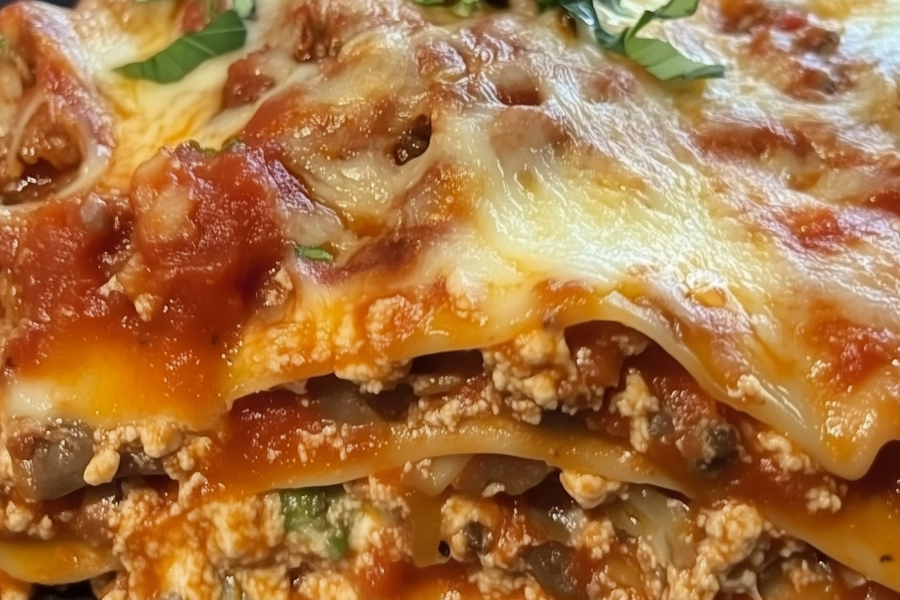
- Layer into lasagna with ricotta and meat sauce
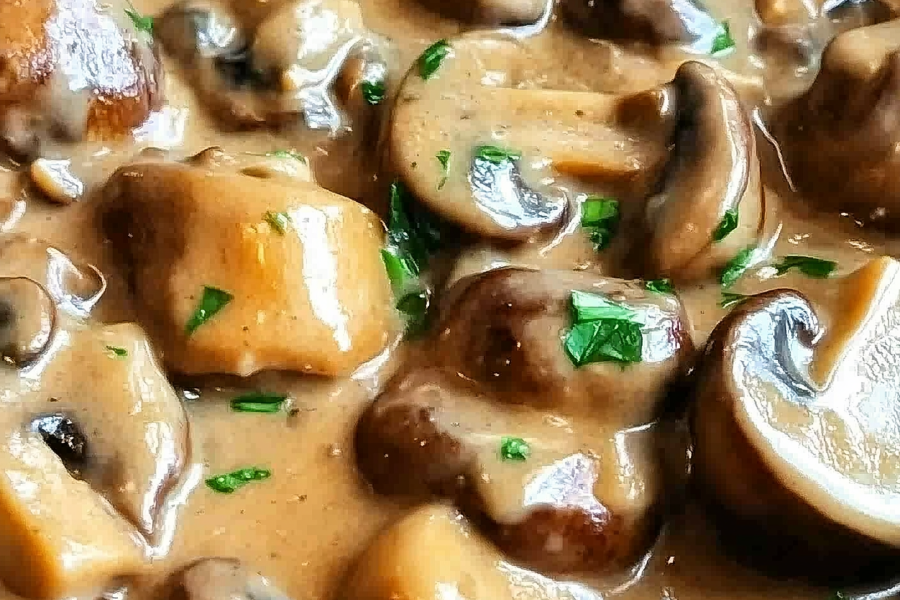
- Coat in a creamy Alfredo or mushroom sauce
- Pair with a bold tomato basil sauce and meatballs
- Finish with a drizzle of high-quality olive oil and cracked black pepper
Final Thoughts
Making homemade pasta without a machine may sound intimidating at first, but it’s one of the most rewarding kitchen projects you can take on. The process connects you to tradition, and the result is a plate of pasta that feels personal and handmade—because it is. Whether you’re feeding a crowd or savoring a quiet dinner for two, this method invites you to slow down and enjoy the craft of cooking. Once you try it, you may never reach for a box of dried pasta again.
Homemade Pasta (Without a Machine)
Ingredients
- 2 ¾ cups 350g all-purpose flour, plus more for dusting and rolling
- 4 large eggs
- 1 egg yolk
- 3 teaspoons olive oil
- ½ teaspoon salt
Instructions
Mix the Dough
- On a clean countertop, pile the flour into a mound and use your fingers or a spoon to create a large well in the center. Think of it like a crater big enough to hold your wet ingredients.
- Crack the eggs and egg yolk into the well. Add the olive oil and salt. Use a fork to gently whisk the eggs and oil together without disturbing the flour walls too much.
- Slowly incorporate the flour from the edges into the eggs, whisking gently and pulling a little more flour in with each stir. If a bit of egg breaks through the flour wall—don’t worry. Just push some flour up to seal it and continue.
- Once most of the flour is mixed in and the dough is starting to form, switch to using your hands or a bench scraper to bring it all together. It will be shaggy, slightly dry in places, and a bit crumbly—this is normal at this stage.
Knead the Dough
- Form the dough into a rough ball. Begin kneading by pushing the dough away from you with the heel of your hand, then folding it over and turning it slightly. Continue kneading for about 10 minutes.
- The dough will go from rough and dry to smooth and elastic. If it feels too dry and won’t come together, add a teaspoon of water. If it’s too sticky, sprinkle a little flour. Adjust in small amounts until you get a soft, smooth dough that doesn’t stick to your hands.
- By the end, the dough should feel supple and smooth—like a baby’s skin.
Let the Dough Rest
- Wrap the dough tightly in plastic wrap and let it rest at room temperature for 1 hour. This resting period allows the gluten to relax, making the dough easier to roll and work with later.
- If you’re not using the dough right away, refrigerate it for up to 24 hours or freeze it for up to 2 months. To freeze, wrap it tightly in plastic, then seal in a zip-top bag.
Roll Out the Dough
- Once rested, unwrap the dough and divide it into 5 or 6 equal portions. Keep the unused portions wrapped to prevent them from drying out.
- Generously flour your countertop. Take one portion of dough and roll it into a long strip using a rolling pin. Flip and dust frequently to prevent sticking. Continue rolling until the dough is paper-thin but still strong enough to lift without tearing.
Fold the Dough
- Lightly flour the rolled-out dough. Starting from the short end, loosely fold it back and forth like an accordion. This folding method is key—it prevents sticking and makes cutting easier.
Cut the Pasta
- With a sharp knife or pizza cutter, slice the folded dough across the folds into strips. Cut them as thin or as wide as you like—tagliatelle, fettuccine, or pappardelle. Try to keep your cuts consistent so the noodles cook evenly.
- Unfold the cut strips into long noodles and dust with flour to prevent clumping.
Dry the Noodles
- Lay the noodles over a clean surface to dry slightly—your dining table, a rack, or even the back of a chair works well. Let them air dry for about 15 minutes. This makes them easier to handle and helps them hold their shape when cooking.
Repeat with Remaining Dough
- Continue rolling, folding, cutting, and drying until all the dough has been transformed into fresh pasta. If you’re not cooking them immediately, loosely nest the noodles into small bundles and place them on a floured baking sheet.
Use or Freeze
- You can cook the noodles right away or freeze them. To freeze, place the nests on a floured baking sheet and freeze until solid. Then transfer to a zip-top freezer bag. They’ll keep for up to 9 months.
Cook the Pasta
- Bring a large pot of salted water to a boil. Add the fresh (or frozen) pasta and cook for 4–5 minutes until tender but still chewy. Taste a noodle to check for doneness.
- Drain and serve with your favorite sauce—creamy Alfredo, classic tomato, or simple olive oil and garlic.

Leave a Comment