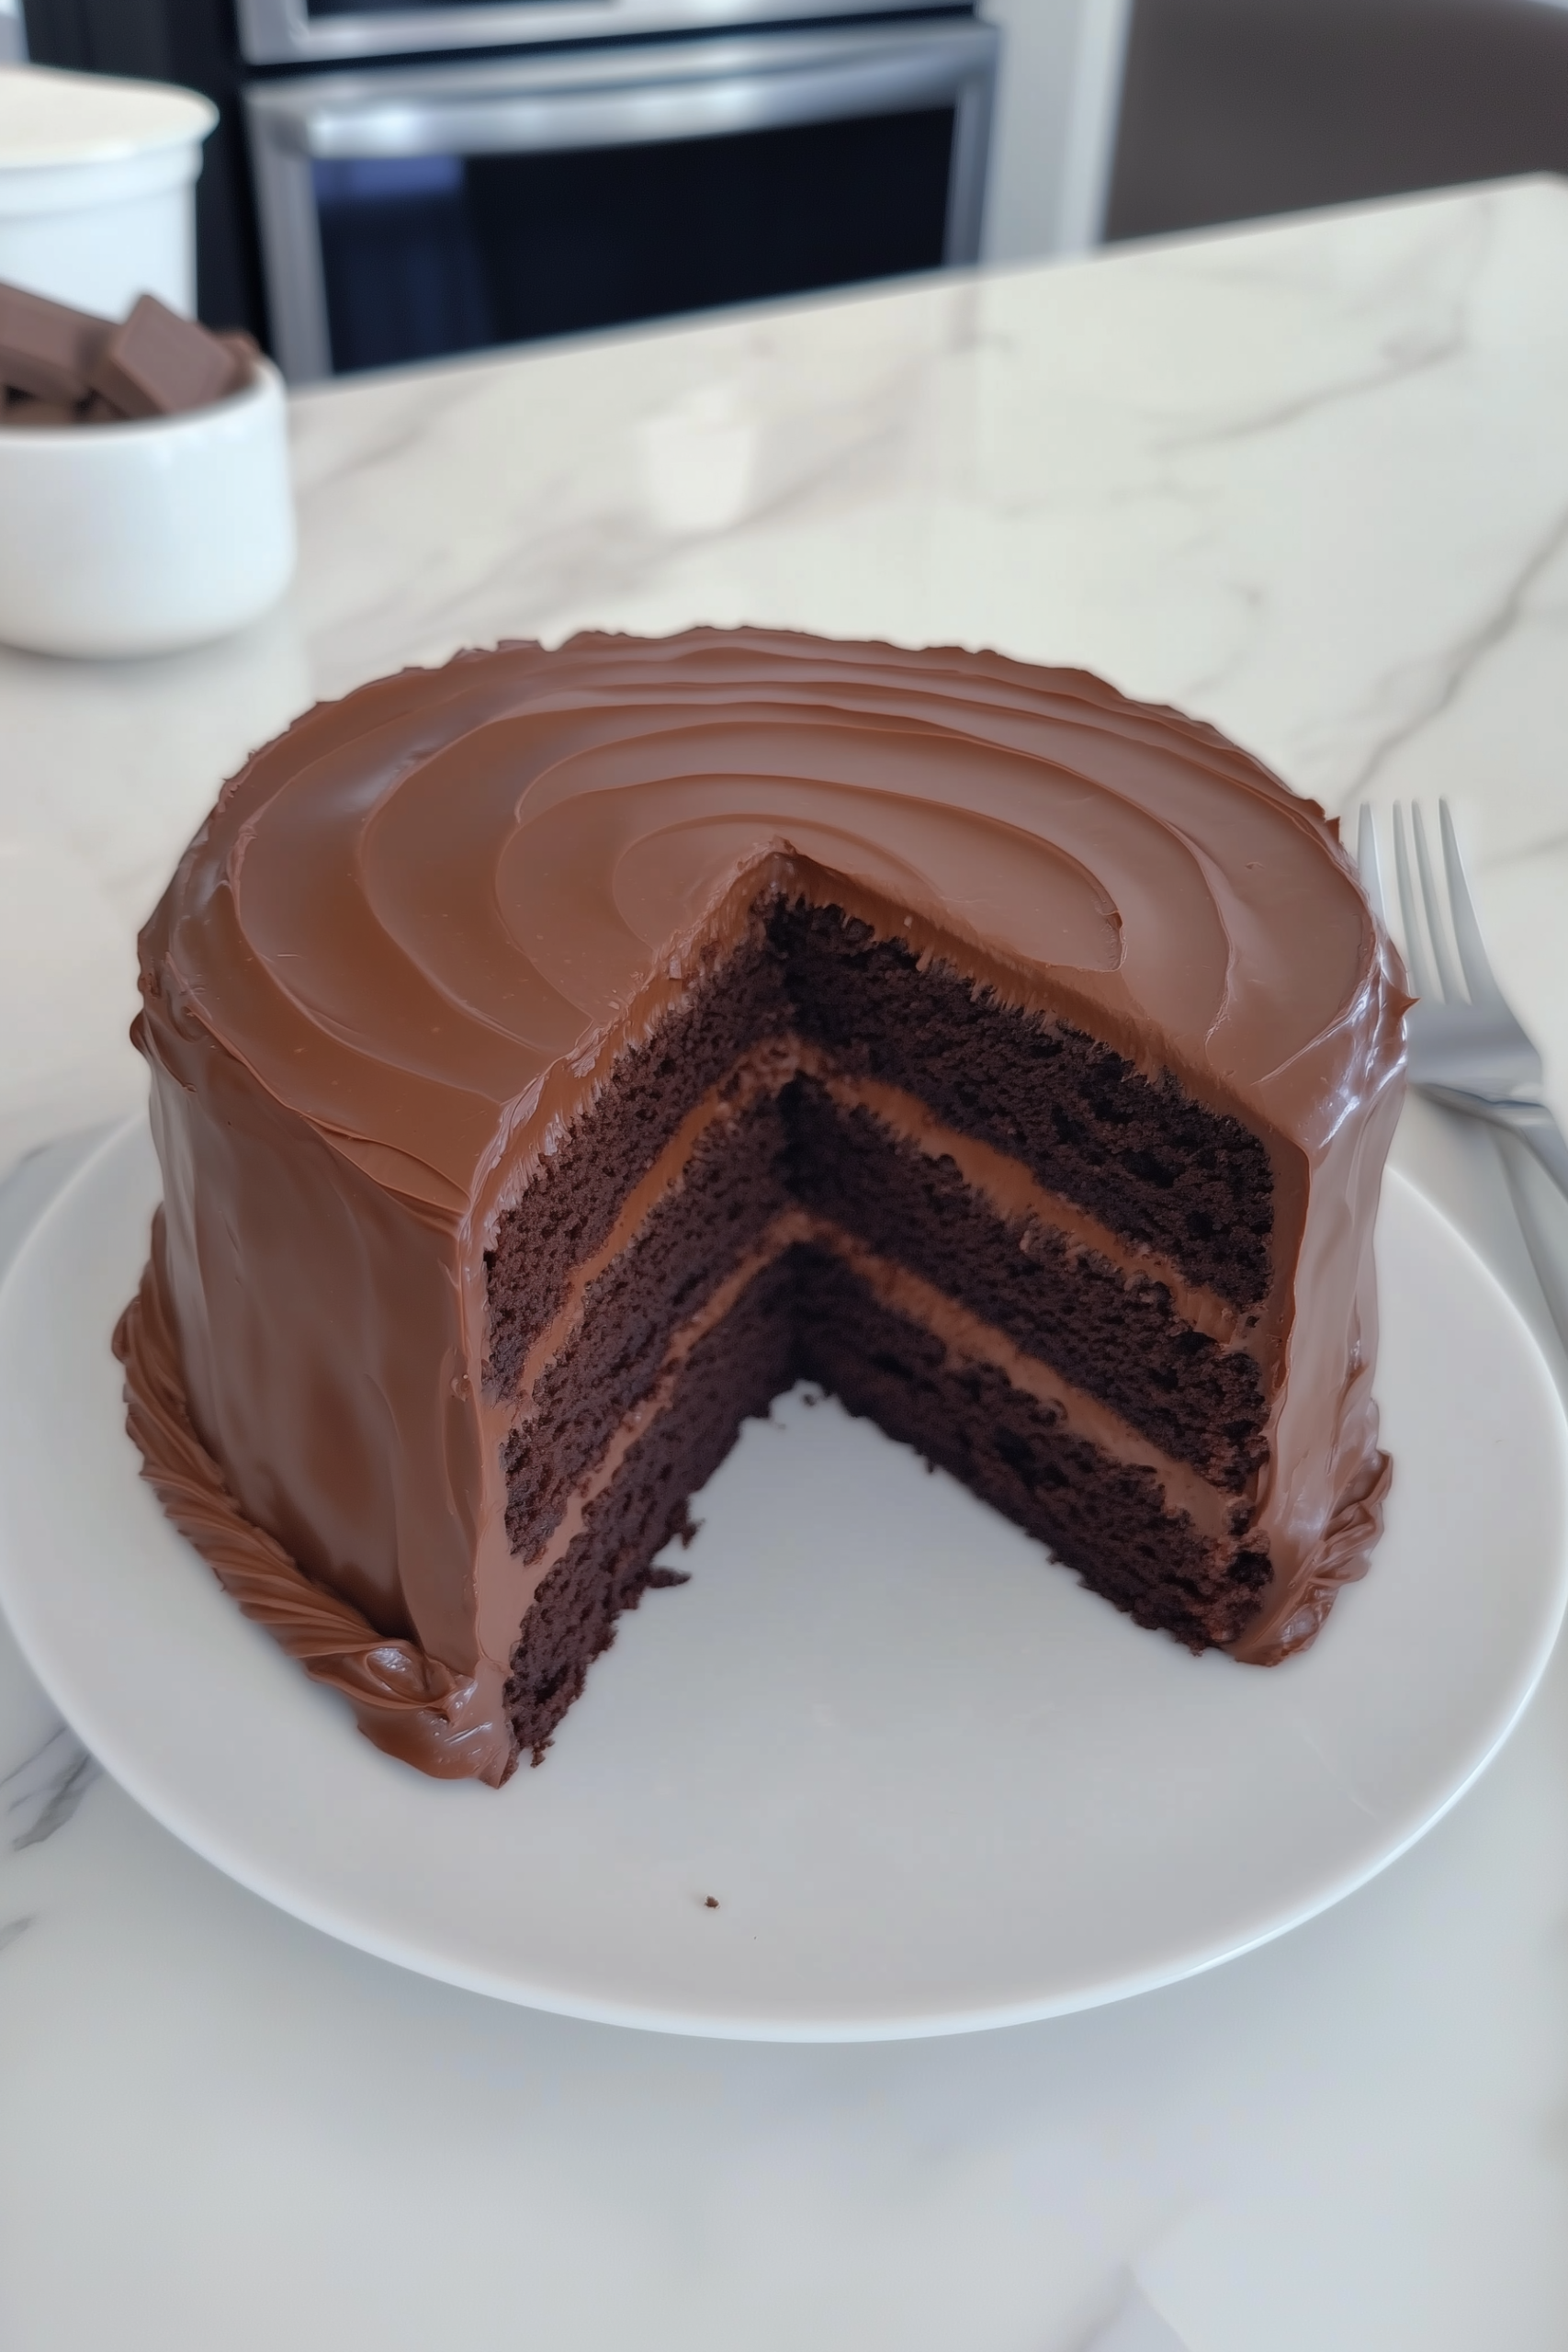
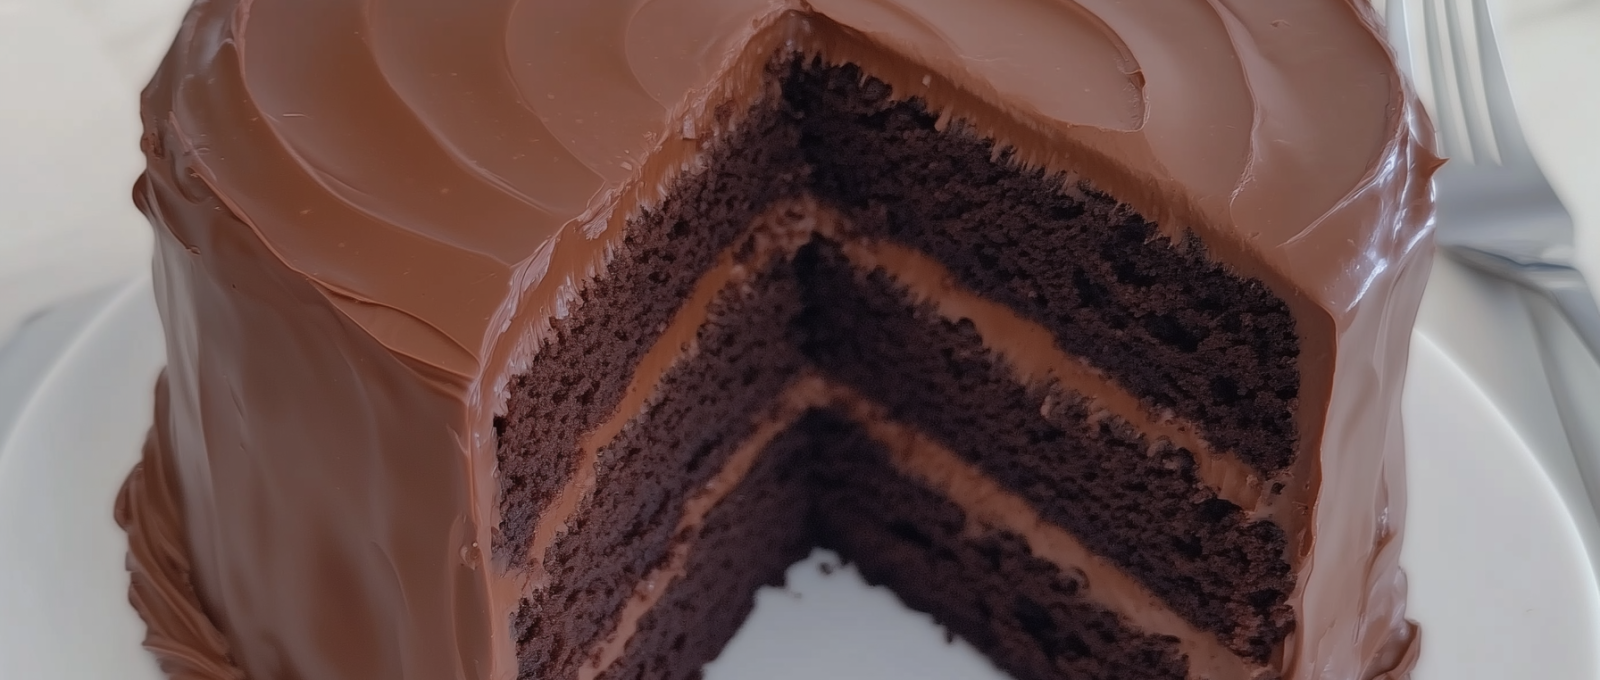
If you grew up watching Matilda, chances are the image of Bruce Bogtrotter devouring that massive, fudgy chocolate cake is forever etched in your memory. That cake wasn’t just iconic—it looked dangerously delicious. This Matilda Chocolate Cake is my tribute to that decadent moment, made exactly how Miss Trunchbull would demand: double chocolate, moist, and unapologetically rich.
My version layers deep cocoa flavors with a silky whipped ganache that sets like fudge and melts like butter. Whether you’re celebrating a birthday or simply craving something indulgent, this is the showstopper dessert you’ll return to again and again.
Why You’ll Love This Matilda Chocolate Cake
- Double chocolate bliss with both cake and ganache layers
- Moist and tender texture enhanced by chocolate milk
- Perfect for parties and nostalgic dessert lovers
- Versatile for summer or winter
- Can be made from scratch or with a box mix

Ingredients
For the Chocolate Cake:
- 2 cups granulated white sugar
- 1 3/4 cups all-purpose flour
- 3/4 cup unsweetened cocoa powder
- 1 1/2 tsp baking powder
- 1 1/2 tsp baking soda
- 1/2 tsp salt
- 2 large eggs
- 1 cup coffee (instant or brewed)
- 1 cup milk
- 1/2 cup vegetable oil
- 1 1/2 tsp vanilla extract
For the Whipped Chocolate Ganache:
- 1500 grams milk chocolate (approx. 8 cups)
- 500 ml heavy cream, heated (approx. 2 2/3 cups)
For Assembly:
- 1 cup chocolate milk
Equipment Needed
- 2 (8-inch) cake pans
- Hand mixer or stand mixer
- Large mixing bowls
- Whisk and spatula
- Parchment paper or nonstick spray
- Serrated knife or cake leveler
Step-by-Step Instructions
Step 1: Preheat & Prepare
Preheat your oven to 350°F (180°C) and position a rack in the center. Grease your cake pans with nonstick spray or butter and flour. Optionally, line with parchment for easy release.
Note: This recipe yields four cake layers using two 8-inch pans. You can also use 9-inch pans for slightly thinner layers.
Step 2: Make the Chocolate Cake Batter
In a large mixing bowl, combine the sugar, flour, cocoa powder, baking powder, baking soda, and salt.
In a separate bowl, whisk together the eggs, coffee, milk, oil, and vanilla.
Pour the wet mixture into the dry ingredients and whisk until smooth. The batter will be thin—don’t worry, that’s what makes it ultra-moist!
Step 3: Bake the Cakes
Divide the batter evenly between the prepared pans. Bake for 35 minutes, or until a toothpick inserted in the center comes out clean. If it’s not done, bake an additional 5–10 minutes.
Once baked, remove the cakes from the oven. Let them cool for 10 minutes in the pan, then wrap in plastic wrap and refrigerate until fully chilled. Cold cakes are easier to level and assemble.
Step 4: Prepare the Whipped Ganache
While your cakes chill, break up the milk chocolate into a heatproof bowl. Pour the heated heavy cream over the chocolate.
Cover the bowl with a plate and let sit for 5 minutes to allow the chocolate to melt. Whisk until smooth and glossy.
If chunks remain, microwave in 30-second bursts. Cover and refrigerate until the ganache firms up completely (about 2 hours).
Once chilled, use a hand or stand mixer to whip until light and fluffy. The color will lighten and texture will become airy.
Tip: If not using right away, re-whip the ganache before assembling. It sets firm in the fridge.
Step 5: Assemble the Cake
Cut each cake in half horizontally to create four even layers. Place the first layer on a serving plate or cake board.
Brush generously with chocolate milk to keep it extra moist. Spread a thick layer of whipped ganache on top. Repeat with remaining layers.
Apply a thin “crumb coat” of ganache to the entire cake to trap crumbs. Chill the cake for 15–30 minutes to set.
Finish with a final layer of whipped ganache, smoothing or swirling as desired. Allow the cake to sit at room temperature for an hour before serving so the ganache softens.
Recipe Notes & Tips
- Shortcut Option: Don’t feel pressured to bake from scratch. A quality chocolate box mix works well too!
- Flavor Boost: Add a tablespoon of espresso powder to intensify the chocolate flavor.
- Texture Tip: Using coffee in the batter won’t make the cake taste like coffee—it just deepens the chocolate.
- Storage: Keep refrigerated for up to 5 days. Let sit at room temp before slicing.
Matilda Cake for Any Occasion
Whether it’s a birthday, a bake sale, or just a weekend when you need a chocolate pick-me-up, this cake is your go-to. It’s nostalgic, luxurious, and dramatic enough to steal the spotlight—just like Bruce’s epic moment on stage.
Matilda Chocolate Cake
Ingredients
For the Chocolate Cake:
- 2 cups granulated white sugar
- 1 3/4 cups all-purpose flour
- 3/4 cup unsweetened cocoa powder
- 1 1/2 tsp baking powder
- 1 1/2 tsp baking soda
- 1/2 tsp salt
- 2 large eggs
- 1 cup coffee instant or brewed
- 1 cup milk
- 1/2 cup vegetable oil
- 1 1/2 tsp vanilla extract
For the Whipped Chocolate Ganache:
- 1500 grams milk chocolate approx. 8 cups
- 500 ml heavy cream heated (approx. 2 2/3 cups)
For Assembly:
- 1 cup chocolate milk
Instructions
Step 1: Preheat & Prepare
- Preheat your oven to 350°F (180°C) and position a rack in the center. Grease your cake pans with nonstick spray or butter and flour. Optionally, line with parchment for easy release.
Note: This recipe yields four cake layers using two 8-inch pans. You can also use 9-inch pans for slightly thinner layers.
Step 2: Make the Chocolate Cake Batter
- In a large mixing bowl, combine the sugar, flour, cocoa powder, baking powder, baking soda, and salt.
- In a separate bowl, whisk together the eggs, coffee, milk, oil, and vanilla.
- Pour the wet mixture into the dry ingredients and whisk until smooth. The batter will be thin—don’t worry, that’s what makes it ultra-moist!
Step 3: Bake the Cakes
- Divide the batter evenly between the prepared pans. Bake for 35 minutes, or until a toothpick inserted in the center comes out clean. If it’s not done, bake an additional 5–10 minutes.
- Once baked, remove the cakes from the oven. Let them cool for 10 minutes in the pan, then wrap in plastic wrap and refrigerate until fully chilled. Cold cakes are easier to level and assemble.
Step 4: Prepare the Whipped Ganache
- While your cakes chill, break up the milk chocolate into a heatproof bowl. Pour the heated heavy cream over the chocolate.
- Cover the bowl with a plate and let sit for 5 minutes to allow the chocolate to melt. Whisk until smooth and glossy.
- If chunks remain, microwave in 30-second bursts. Cover and refrigerate until the ganache firms up completely (about 2 hours).
- Once chilled, use a hand or stand mixer to whip until light and fluffy. The color will lighten and texture will become airy.
Tip: If not using right away, re-whip the ganache before assembling. It sets firm in the fridge.
Step 5: Assemble the Cake
- Cut each cake in half horizontally to create four even layers. Place the first layer on a serving plate or cake board.
- Brush generously with chocolate milk to keep it extra moist. Spread a thick layer of whipped ganache on top. Repeat with remaining layers.
- Apply a thin “crumb coat” of ganache to the entire cake to trap crumbs. Chill the cake for 15–30 minutes to set.
- Finish with a final layer of whipped ganache, smoothing or swirling as desired. Allow the cake to sit at room temperature for an hour before serving so the ganache softens.




Leave a Comment