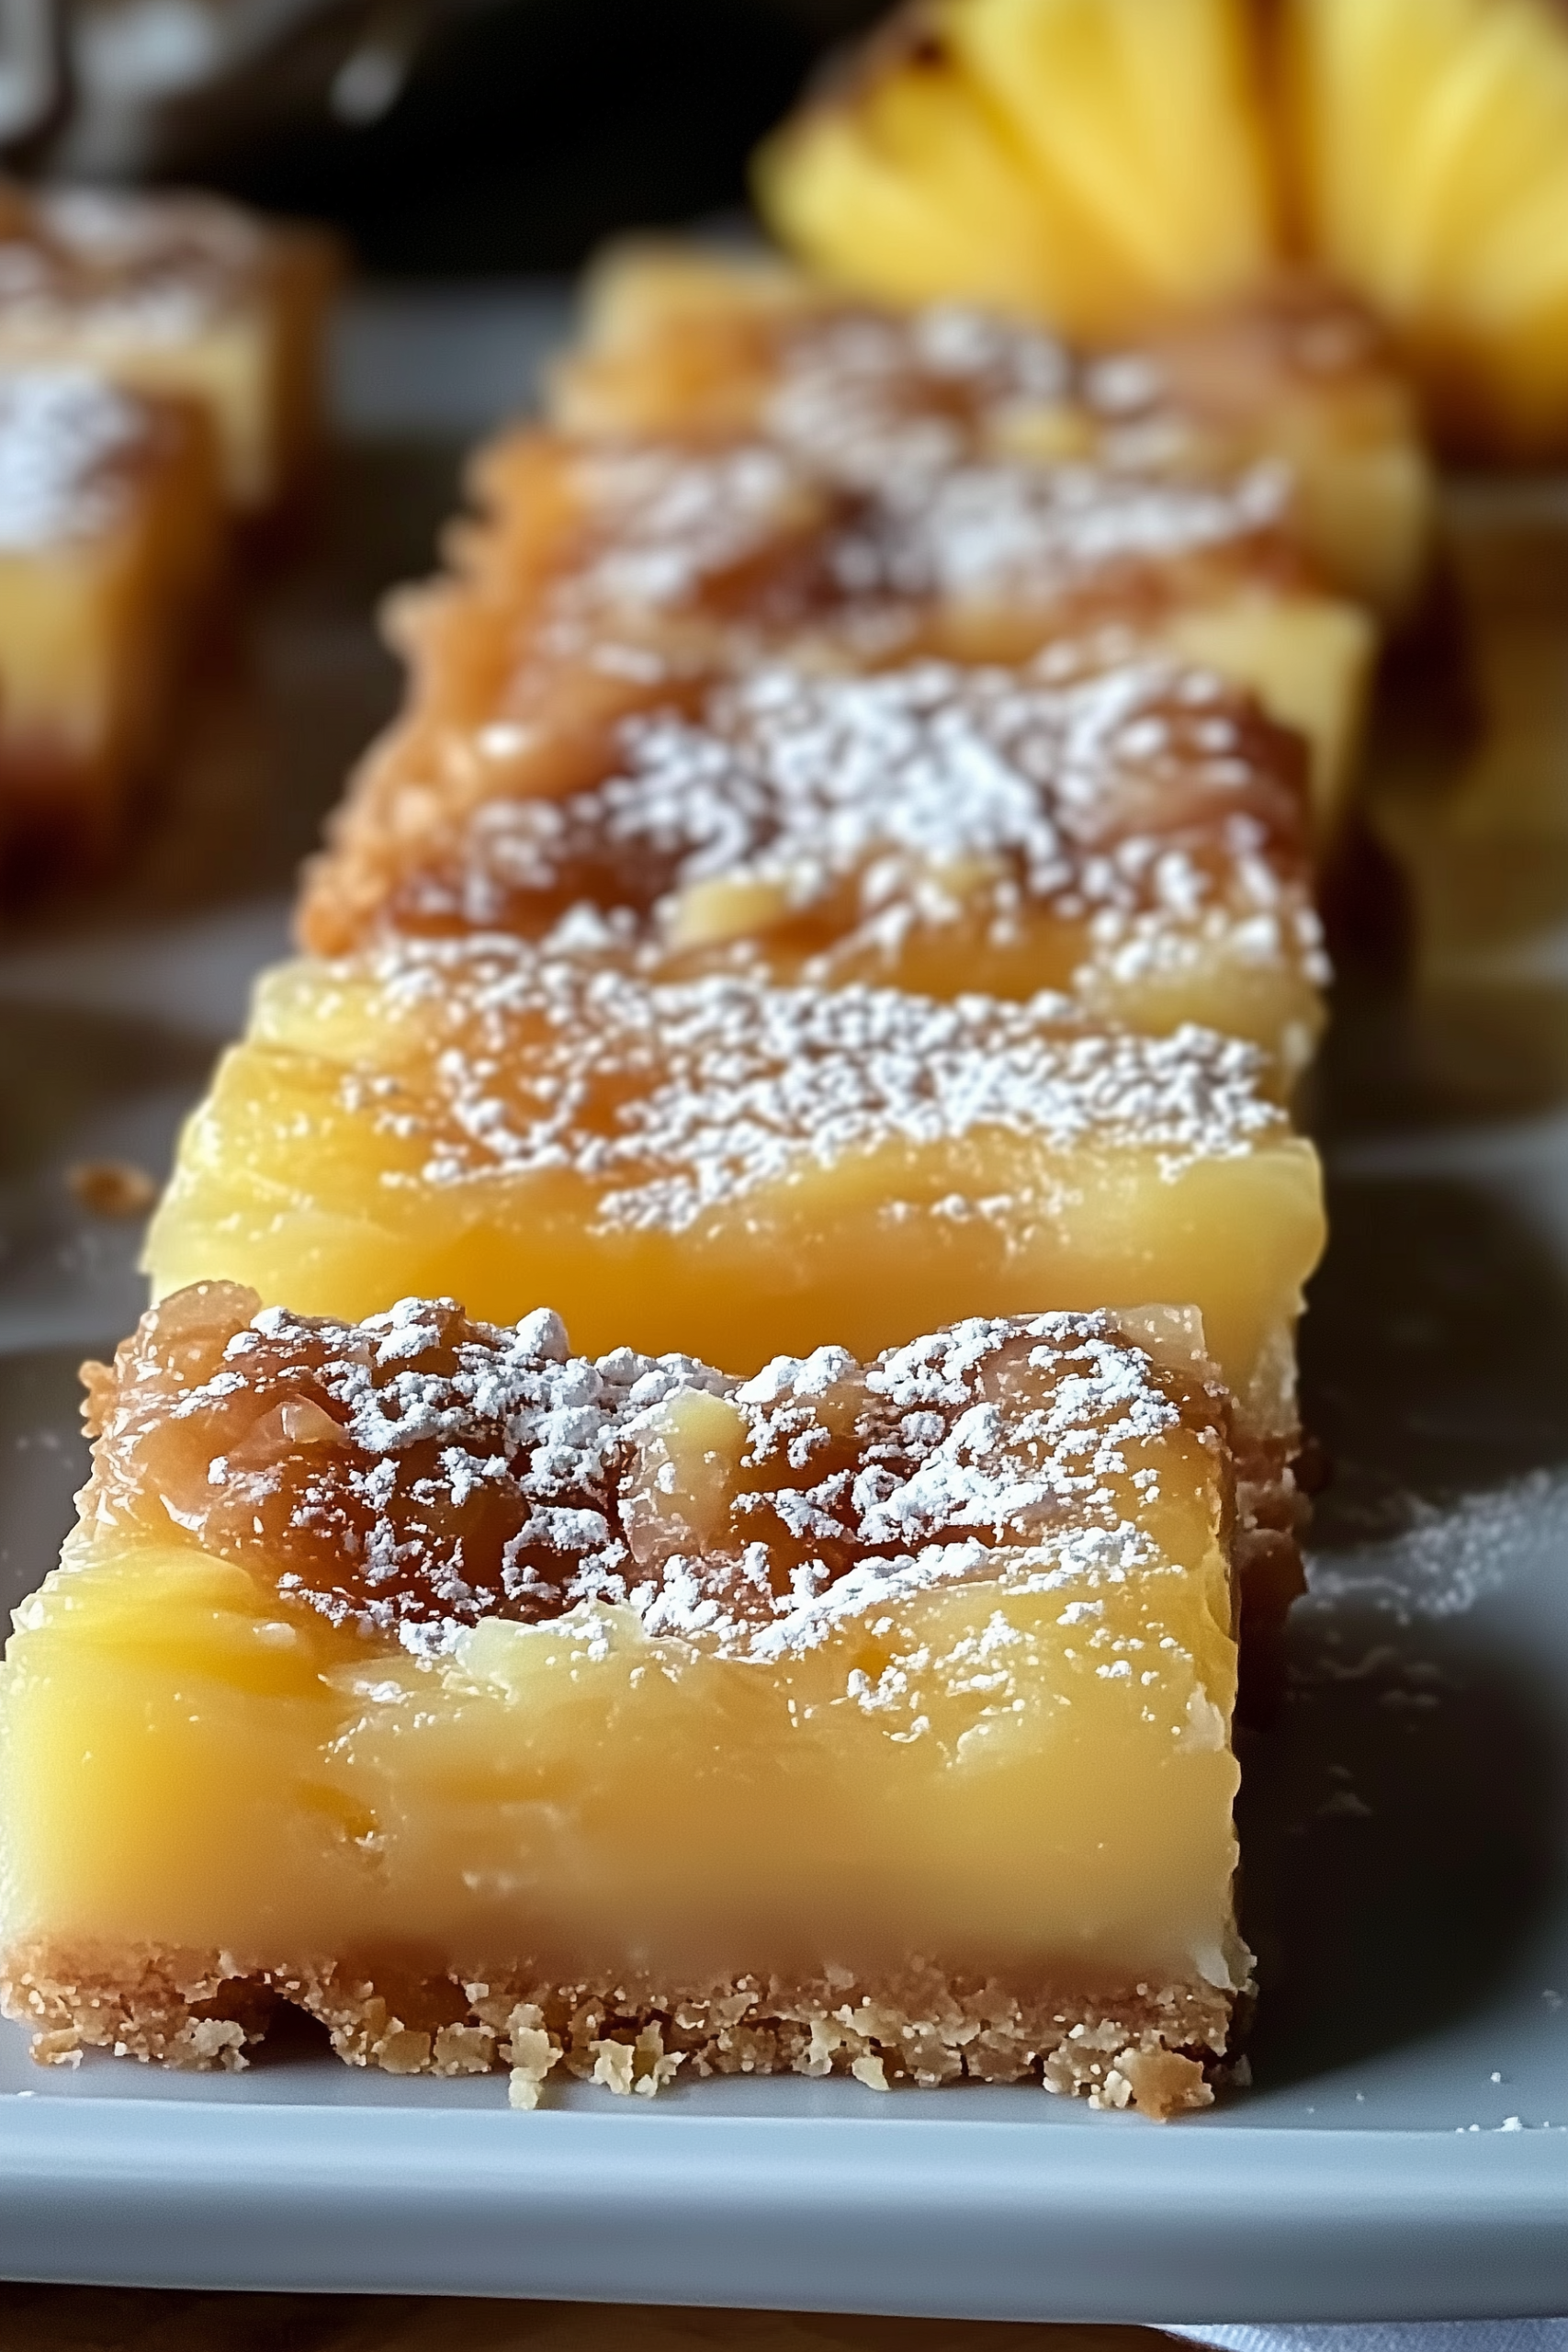
When you’re craving a dessert that is bright, fruity, and easy to make, these Pineapple Bliss Bars are exactly what you need. With a buttery, lightly sweet crust and a luscious pineapple filling, these bars bring together the sunshine flavor of tropical pineapple with a satisfying cookie-like bite. Finished with a dusting of powdered sugar, they’re simple yet elegant, and perfect for any occasion.
Whether you’re serving these bars at a summer picnic, a winter holiday table, or enjoying them with your afternoon coffee, they are guaranteed to please. These Pineapple Bliss Bars come together with basic pantry ingredients, making them a quick option whenever you need a last-minute dessert that feels special.
Why You’ll Love These Pineapple Bliss Bars
- Buttery, crisp crust pairs beautifully with fruity pineapple
- Simple pantry-friendly ingredients
- Perfect for summer and winter alike
- Easy to transport for potlucks or bake sales
- Bright, fresh flavor with a nostalgic homemade feel

Ingredients
For the Crust
- 1 1/2 cups all-purpose flour
- 1/2 cup granulated sugar
- 1/4 teaspoon salt
- 3/4 cup cold unsalted butter, cubed
For the Pineapple Filling
- 2 large eggs
- 1 cup granulated sugar
- 1/4 cup all-purpose flour
- 1/2 teaspoon baking powder
- 1 teaspoon vanilla extract
- 1 cup crushed pineapple, well-drained
For Dusting
- Powdered sugar
How to Make Pineapple Bliss Bars
Step 1: Prepare the Pan
- Preheat your oven to 350°F (175°C).
- Line a 9×13-inch baking pan with parchment paper, allowing an overhang on two sides for easy removal.
Step 2: Make the Crust
- In a large bowl, whisk together 1 1/2 cups flour, 1/2 cup sugar, and the salt.
- Add in the cold, cubed butter and use a pastry cutter or your fingertips to cut the butter into the flour mixture until it resembles coarse crumbs.
- Press this crumb mixture evenly into the prepared baking pan to form a solid crust.
- Bake for about 15 minutes, or until lightly golden. Remove from the oven and let it cool slightly.
Step 3: Make the Pineapple Filling
- In a medium bowl, whisk the eggs and 1 cup sugar until smooth and slightly thickened.
- Stir in 1/4 cup flour, baking powder, and vanilla extract until fully combined.
- Gently fold in the well-drained crushed pineapple.
Step 4: Assemble and Bake
- Pour the pineapple filling evenly over the slightly cooled crust.
- Return to the oven and bake for 25–30 minutes, or until the edges are set and lightly golden.
- Let the bars cool completely in the pan on a wire rack.
Step 5: Finish and Serve
- Once completely cool, dust generously with powdered sugar.
- Lift the bars out of the pan using the parchment paper overhang, then slice into squares.
- Serve as a simple snack, dessert, or afternoon treat.
Tips for Success
- Drain the crushed pineapple very well to avoid a soggy filling.
- Use cold butter for the crust to keep it crisp and tender.
- Let the bars cool fully before slicing to ensure clean cuts.
- Dust with powdered sugar just before serving to keep it from dissolving into the bars.
Variations
- Add a teaspoon of lemon zest to the filling for a citrus twist
- Sprinkle shredded coconut on top of the filling before baking for a tropical feel
- Mix in chopped maraschino cherries for a pineapple-upside-down-cake-inspired flavor
- Use a gluten-free flour blend in place of all-purpose flour for a gluten-friendly option
Storage
- Room temperature: Store in an airtight container for up to 3 days.
- Refrigerator: Keeps well for up to 5 days in the fridge, covered.
- Freezer: Freeze in a single layer for up to 2 months; thaw at room temperature before serving.
Frequently Asked Questions
Can I use fresh pineapple instead of canned?
Yes, but be sure to chop it finely and drain thoroughly to remove extra moisture.
Can I make these bars ahead?
Absolutely — they store well and can even taste better the next day.
Do I have to use powdered sugar on top?
It is optional but adds a classic bakery-style finish.
Can I use salted butter?
Yes, but omit the added salt in the crust if you do.
Serving Suggestions
- Serve with a cup of tea or coffee for a sweet afternoon break
- Pair with a scoop of vanilla ice cream for a summery dessert
- Wrap in parchment and gift to neighbors or friends
- Add to a holiday dessert tray for a bright and fruity option
Share Your Baking Story
If you make these Pineapple Bliss Bars, I’d love to know how they turned out. Leave a comment or share your photo to inspire others to try them, too.
Pineapple Bliss Bars
Ingredients
For the Crust
- 1 1/2 cups all-purpose flour
- 1/2 cup granulated sugar
- 1/4 teaspoon salt
- 3/4 cup cold unsalted butter cubed
For the Pineapple Filling
- 2 large eggs
- 1 cup granulated sugar
- 1/4 cup all-purpose flour
- 1/2 teaspoon baking powder
- 1 teaspoon vanilla extract
- 1 cup crushed pineapple well-drained
For Dusting
- Powdered sugar
Instructions
Step 1: Prepare the Pan
- Preheat your oven to 350°F (175°C).
- Line a 9×13-inch baking pan with parchment paper, allowing an overhang on two sides for easy removal.
Step 2: Make the Crust
- In a large bowl, whisk together 1 1/2 cups flour, 1/2 cup sugar, and the salt.
- Add in the cold, cubed butter and use a pastry cutter or your fingertips to cut the butter into the flour mixture until it resembles coarse crumbs.
- Press this crumb mixture evenly into the prepared baking pan to form a solid crust.
- Bake for about 15 minutes, or until lightly golden. Remove from the oven and let it cool slightly.
Step 3: Make the Pineapple Filling
- In a medium bowl, whisk the eggs and 1 cup sugar until smooth and slightly thickened.
- Stir in 1/4 cup flour, baking powder, and vanilla extract until fully combined.
- Gently fold in the well-drained crushed pineapple.
Step 4: Assemble and Bake
- Pour the pineapple filling evenly over the slightly cooled crust.
- Return to the oven and bake for 25–30 minutes, or until the edges are set and lightly golden.
- Let the bars cool completely in the pan on a wire rack.
Step 5: Finish and Serve
- Once completely cool, dust generously with powdered sugar.
- Lift the bars out of the pan using the parchment paper overhang, then slice into squares.
- Serve as a simple snack, dessert, or afternoon treat.



Leave a Comment