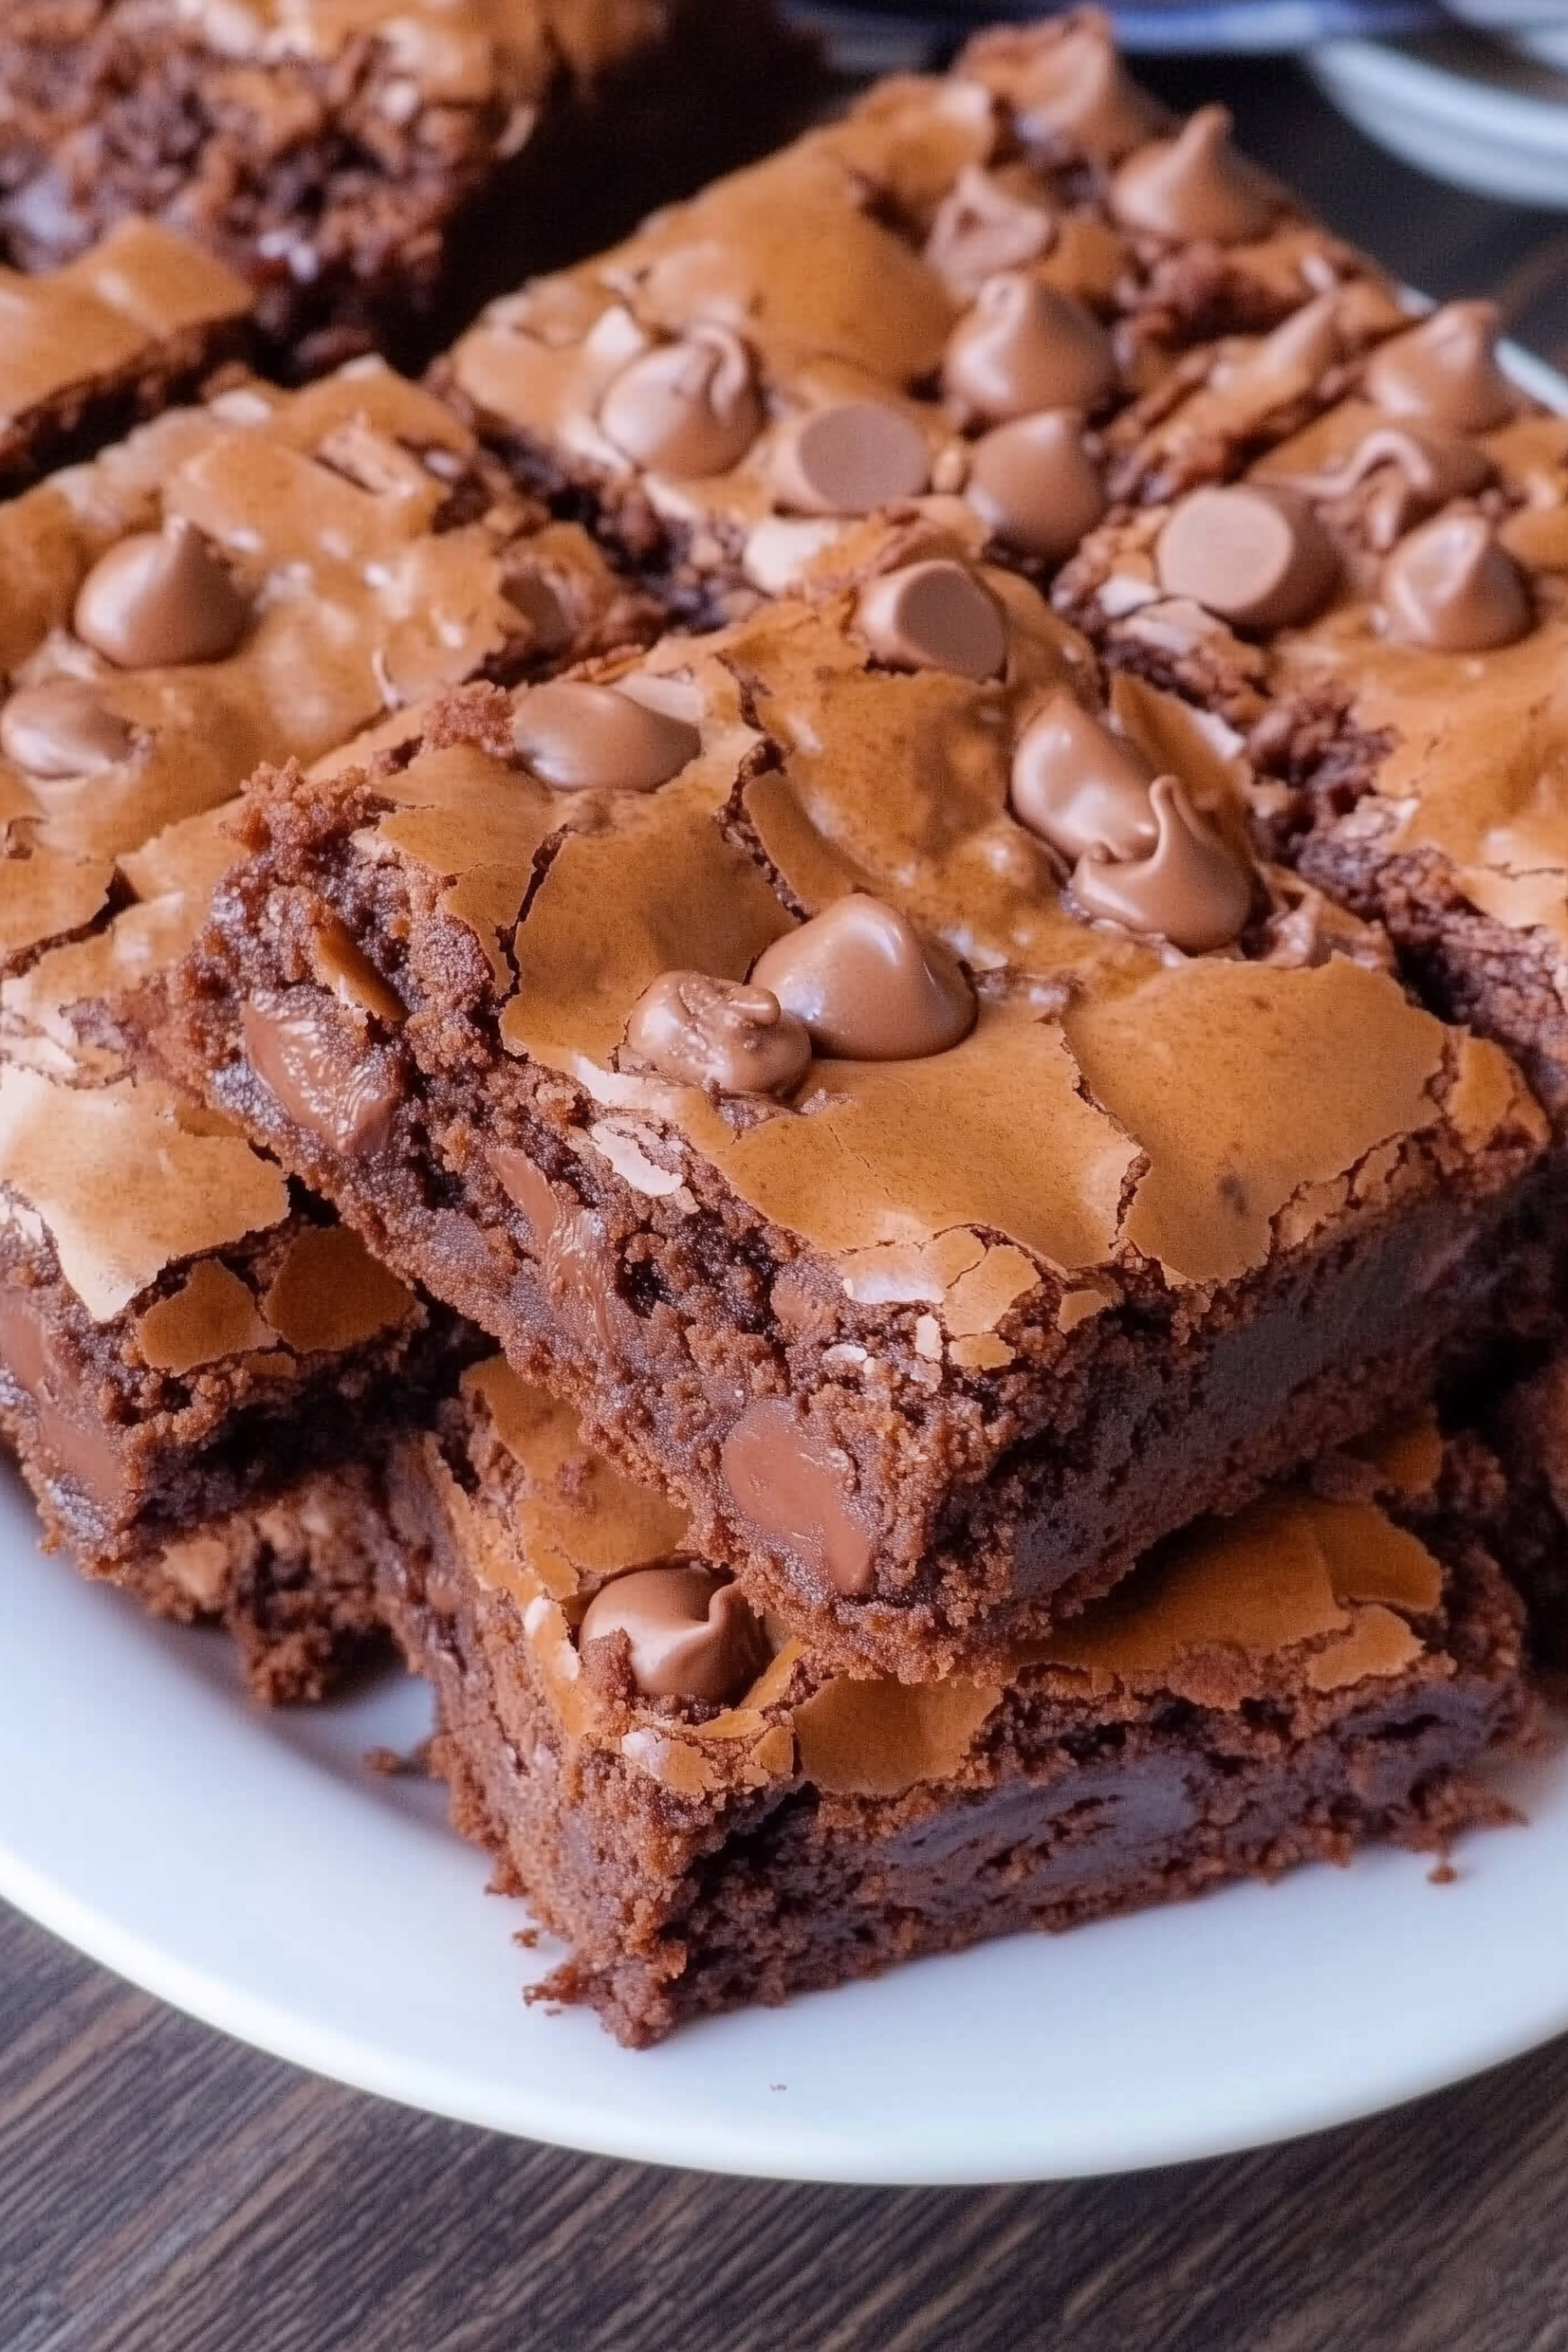
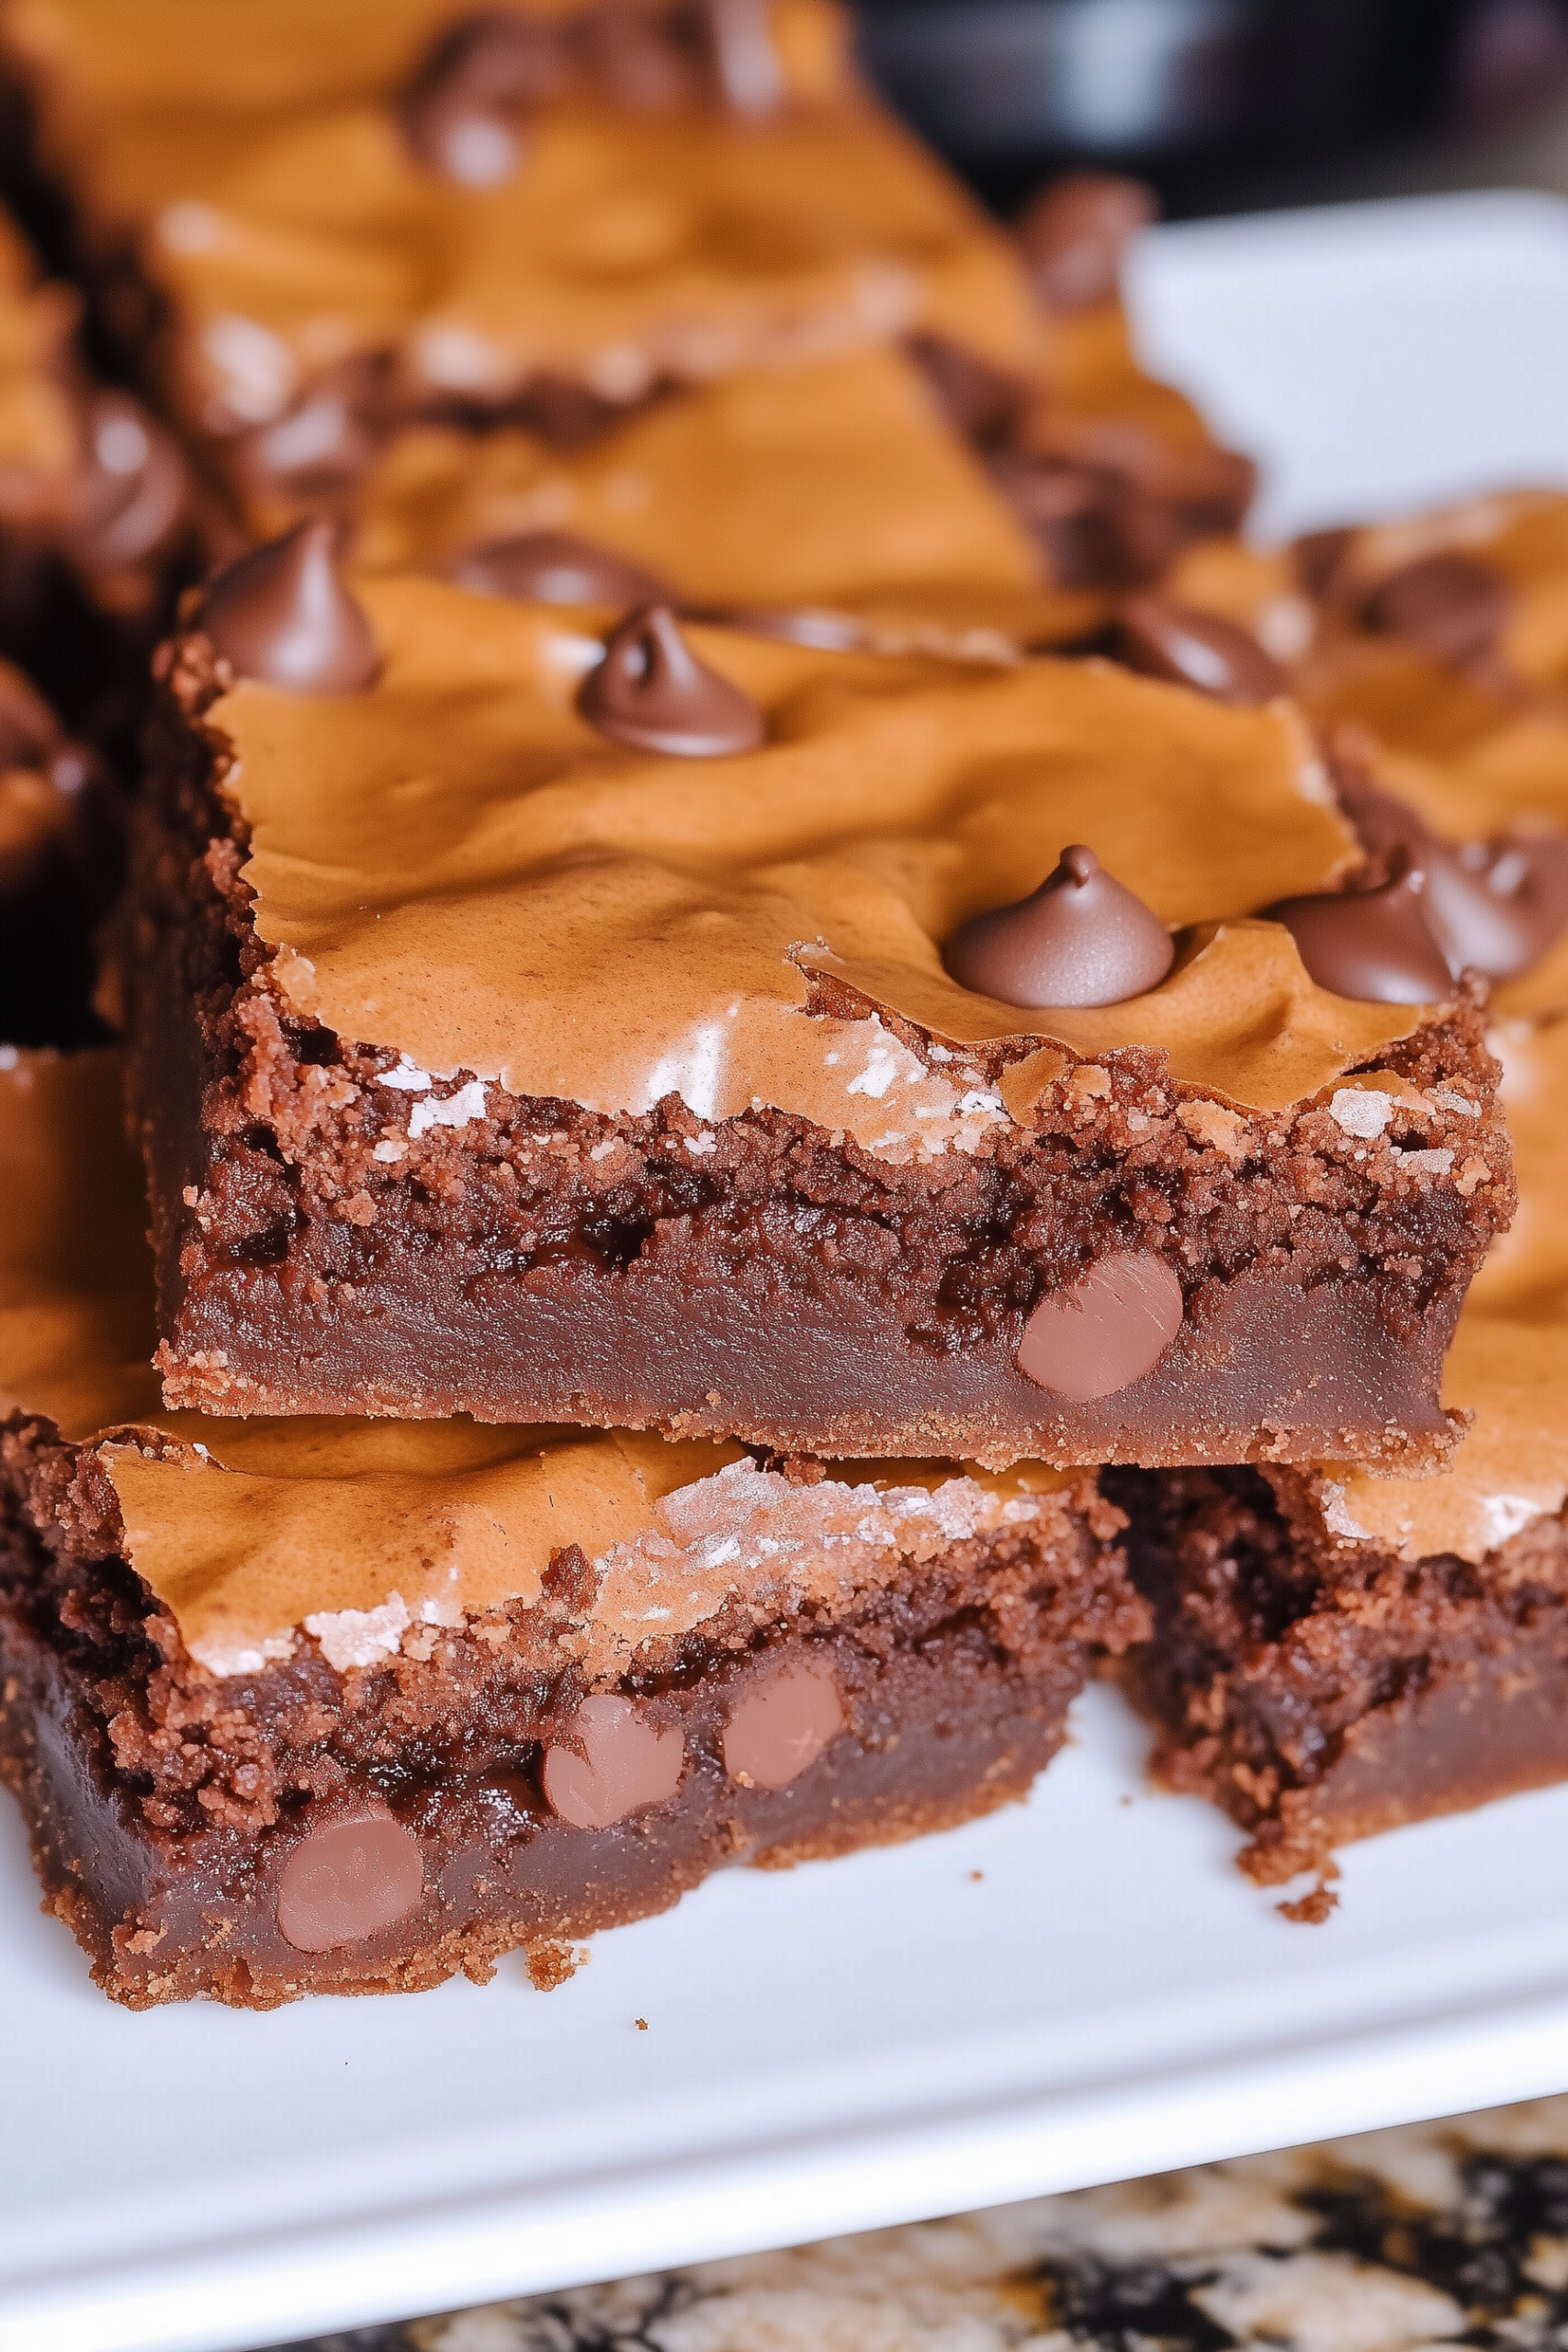
If you’re looking for the ultimate fudgy brownie with superstar flavor, look no further than Snoop Dogg’s Bow Wow Brownies. These brownies are rich, chocolatey, and indulgent with a soft, chewy center and melty morsels of chocolate throughout. What makes this recipe stand out is the extra layer of milk chocolate morsels sprinkled on top before baking, giving you that gooey, chocolate-studded bite in every square.
Perfect for parties, family gatherings, or just a late-night treat, these brownies are simple to make but deliver bakery-level results. Serve them plain or elevate them with a scoop of vanilla ice cream and a drizzle of chocolate sauce for a truly decadent dessert.
Ingredients
- 2/3 cup all-purpose flour
- 1/4 teaspoon baking soda
- 1/2 teaspoon salt
- 1/2 cup granulated sugar
- 3 tablespoons unsalted butter
- 2 tablespoons whole milk
- 2 1/2 cups milk chocolate morsels
- 2 large eggs
- 1/2 teaspoon pure vanilla extract
- Vanilla ice cream and chocolate sauce, for serving (optional)
Step-by-Step Instructions
Step 1: Prepare the Pan and Oven
Position a rack in the center of your oven and preheat to 325°F. Butter an 8-inch square baking pan (or line it with parchment paper for easy removal) and set aside.
Step 2: Mix the Dry Ingredients
In a small bowl, whisk together the flour, baking soda, and salt until well combined. This ensures the leavening agents are evenly distributed throughout the batter. Set aside.
Step 3: Melt the Chocolate Base
In a medium saucepan over medium heat, stir together the sugar, butter, and milk until the butter has melted and the mixture just reaches a boil. Remove from heat immediately, then add 1 1/2 cups of the milk chocolate morsels. Stir until the morsels are completely melted and the mixture is smooth and glossy.
Step 4: Add the Eggs and Vanilla
Allow the chocolate mixture to cool slightly, then stir in the eggs and vanilla extract. Mix until the batter is silky and well-blended.
Step 5: Combine the Wet and Dry Ingredients
Gradually fold the flour mixture into the melted chocolate base. Stir gently until just combined—overmixing can make brownies tough. Spread the batter evenly into the prepared pan.
Step 6: Add Extra Chocolate on Top
Sprinkle the remaining 1 cup of milk chocolate morsels evenly across the top of the brownie batter. This creates a luscious, gooey layer of chocolate that bakes right into the top.
Step 7: Bake the Brownies
Place the pan in the oven and bake for 25–30 minutes, rotating the pan halfway through to ensure even baking. The brownies are done when the edges are set and a toothpick inserted into the center comes out with moist crumbs (but not raw batter).
Step 8: Cool and Serve
Allow the brownies to cool in the pan on a wire rack. Once cooled, cut into six large squares (or smaller portions, if desired). Serve them warm with a scoop of vanilla ice cream and a drizzle of chocolate sauce for a next-level treat.
Tips for Success
- Use high-quality chocolate morsels: The flavor depends heavily on the chocolate. Choose a brand you love.
- Don’t overbake: Brownies continue to cook slightly after being removed from the oven. Take them out while they’re still fudgy.
- Line with parchment: If you want perfectly clean slices, line the baking pan with parchment paper before adding the batter.
Storage Instructions
- Room Temperature: Store in an airtight container for up to 3 days.
- Refrigerator: Store in the fridge for up to 5 days for extra fudginess.
- Freezer: Wrap individually and freeze for up to 2 months. Thaw at room temperature or warm briefly in the microwave before serving.
Wrapping It Up
Snoop Dogg’s Bow Wow Brownies are the definition of indulgence—soft, fudgy, chocolate-packed squares that melt in your mouth with every bite. Whether you enjoy them straight from the pan or dressed up with ice cream and sauce, this recipe is one you’ll come back to again and again.
Snoop Dogg’s Bow Wow Brownies
Ingredients
- 2/3 cup all-purpose flour
- 1/4 teaspoon baking soda
- 1/2 teaspoon salt
- 1/2 cup granulated sugar
- 3 tablespoons unsalted butter
- 2 tablespoons whole milk
- 2 1/2 cups milk chocolate morsels
- 2 large eggs
- 1/2 teaspoon pure vanilla extract
- Vanilla ice cream and chocolate sauce for serving (optional)
Instructions
Step 1: Prepare the Pan and Oven
- Position a rack in the center of your oven and preheat to 325°F. Butter an 8-inch square baking pan (or line it with parchment paper for easy removal) and set aside.
Step 2: Mix the Dry Ingredients
- In a small bowl, whisk together the flour, baking soda, and salt until well combined. This ensures the leavening agents are evenly distributed throughout the batter. Set aside.
Step 3: Melt the Chocolate Base
- In a medium saucepan over medium heat, stir together the sugar, butter, and milk until the butter has melted and the mixture just reaches a boil. Remove from heat immediately, then add 1 1/2 cups of the milk chocolate morsels. Stir until the morsels are completely melted and the mixture is smooth and glossy.
Step 4: Add the Eggs and Vanilla
- Allow the chocolate mixture to cool slightly, then stir in the eggs and vanilla extract. Mix until the batter is silky and well-blended.
Step 5: Combine the Wet and Dry Ingredients
- Gradually fold the flour mixture into the melted chocolate base. Stir gently until just combined—overmixing can make brownies tough. Spread the batter evenly into the prepared pan.
Step 6: Add Extra Chocolate on Top
- Sprinkle the remaining 1 cup of milk chocolate morsels evenly across the top of the brownie batter. This creates a luscious, gooey layer of chocolate that bakes right into the top.
Step 7: Bake the Brownies
- Place the pan in the oven and bake for 25–30 minutes, rotating the pan halfway through to ensure even baking. The brownies are done when the edges are set and a toothpick inserted into the center comes out with moist crumbs (but not raw batter).
Step 8: Cool and Serve
- Allow the brownies to cool in the pan on a wire rack. Once cooled, cut into six large squares (or smaller portions, if desired). Serve them warm with a scoop of vanilla ice cream and a drizzle of chocolate sauce for a next-level treat.




Leave a Comment