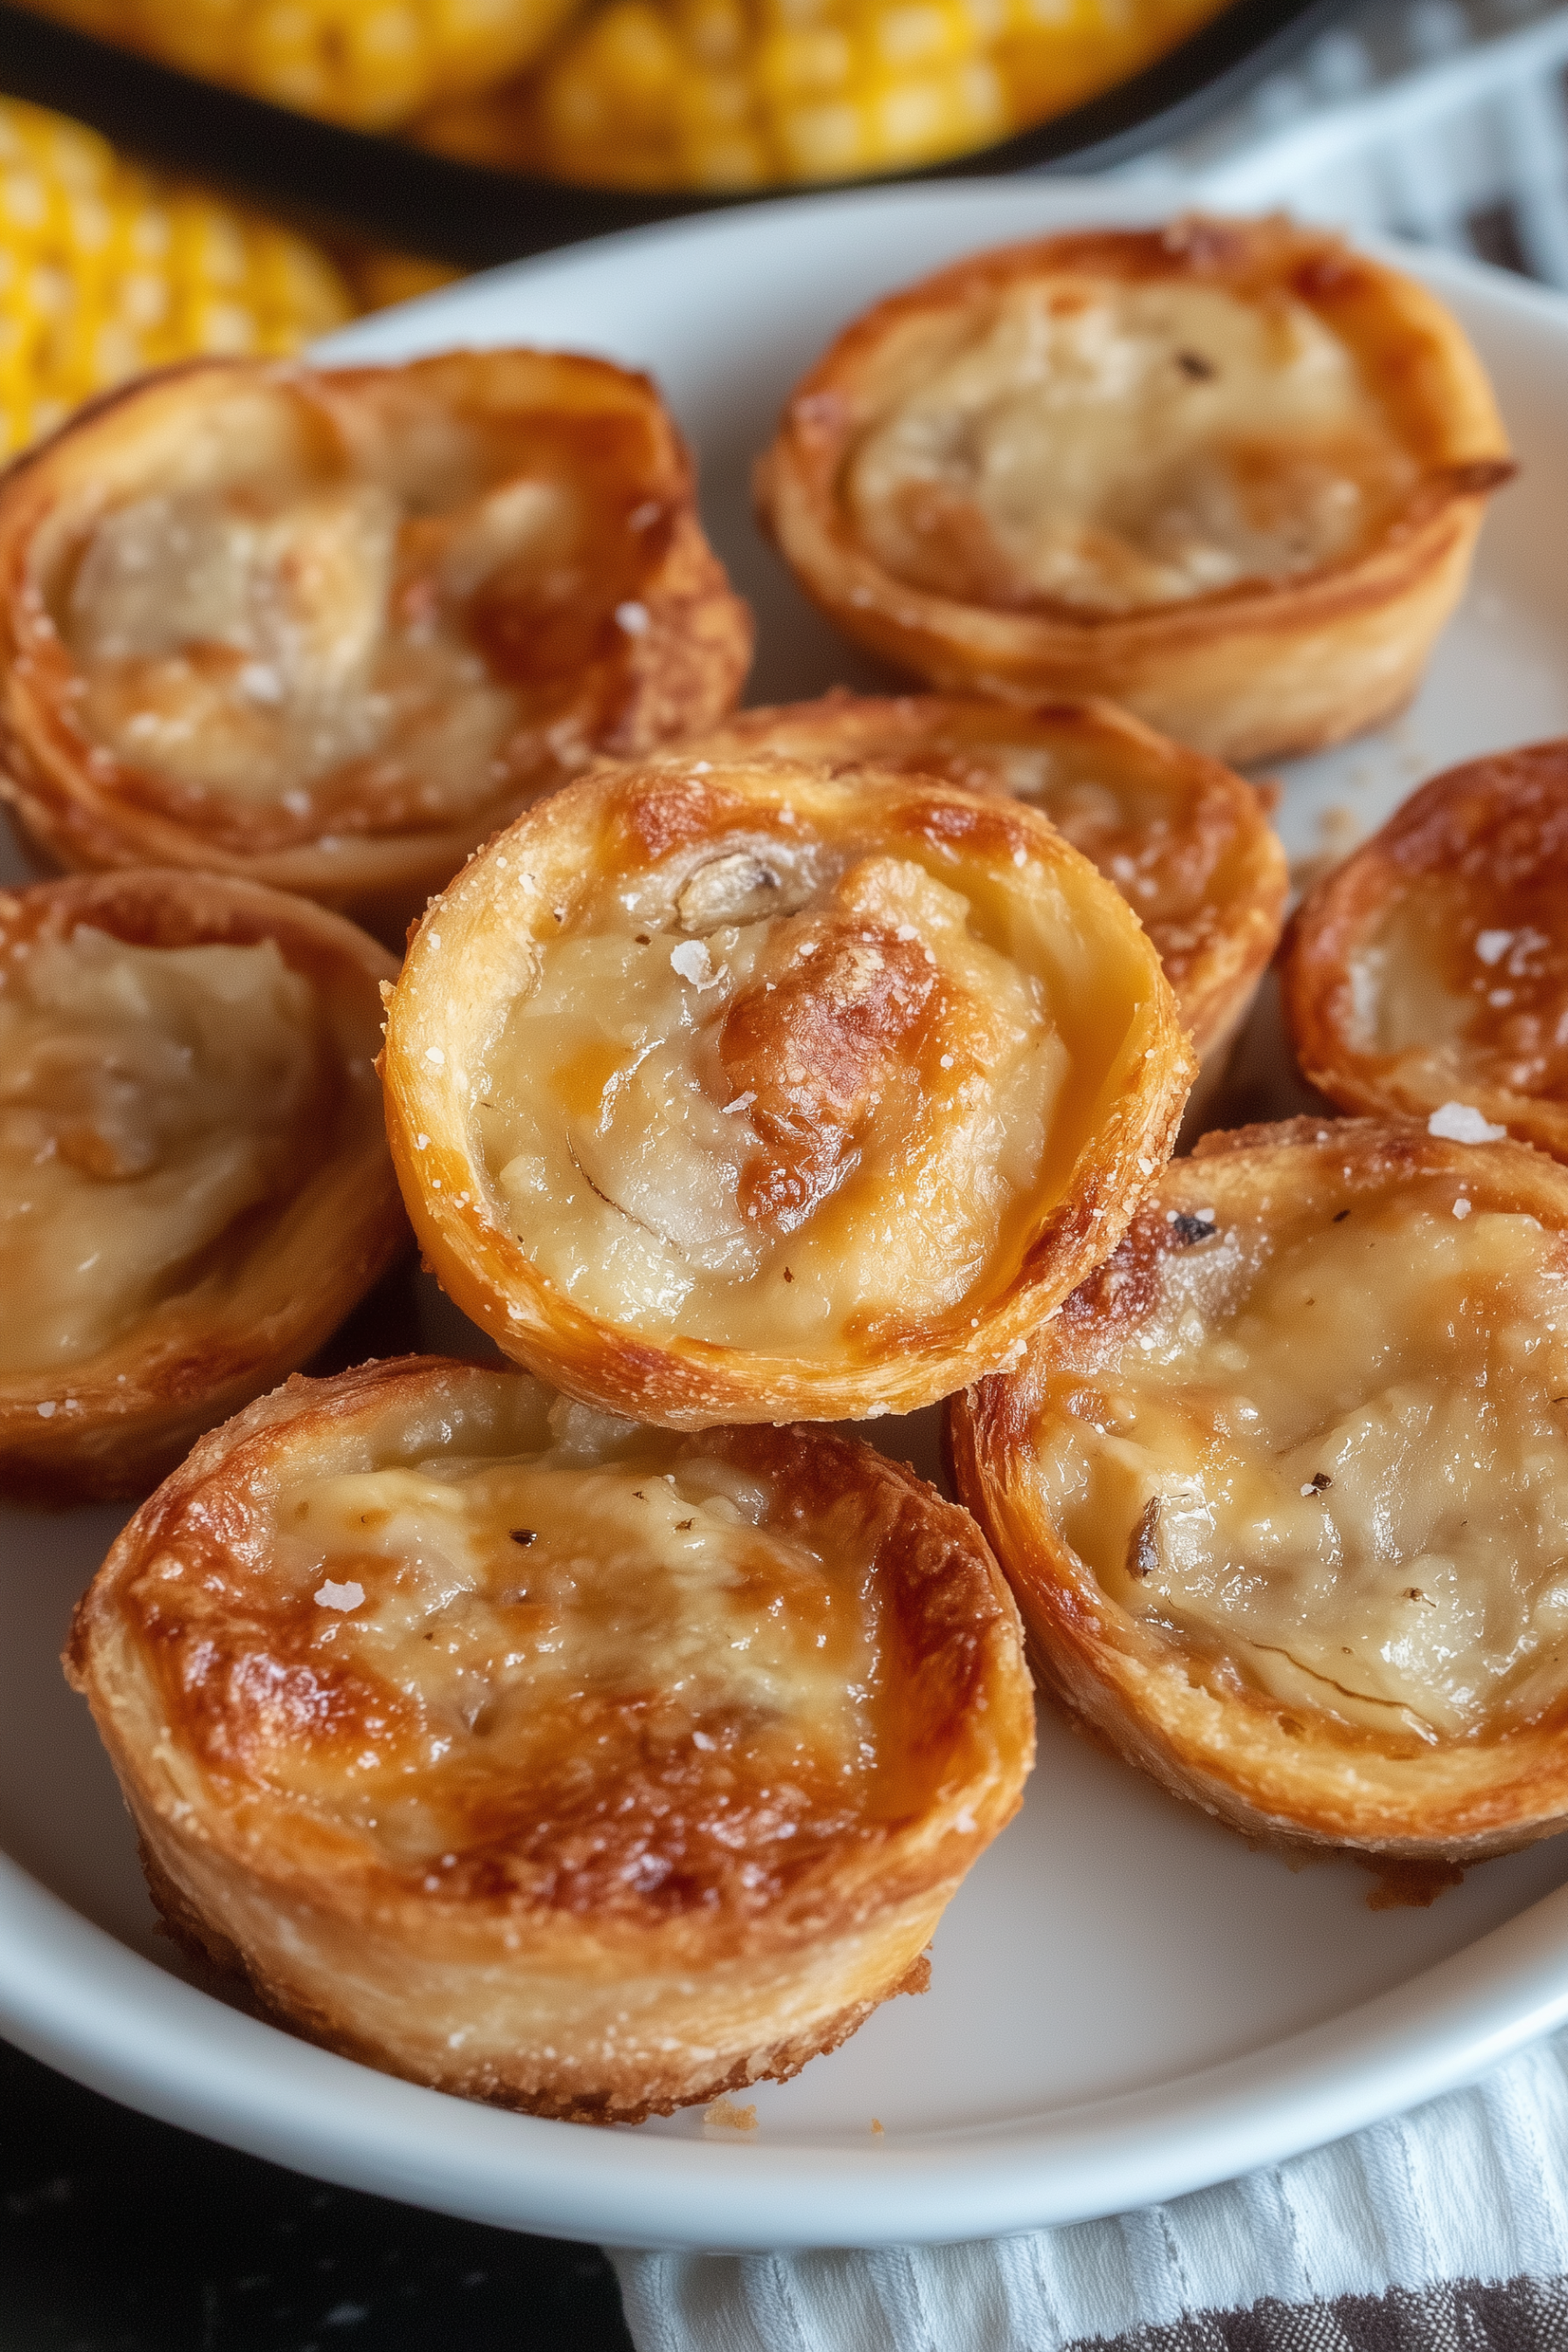
There’s something undeniably comforting about garlic bread. The smell of butter, garlic, and herbs baking together can make anyone’s mouth water instantly. But what if you could enjoy all the flavor of garlic bread while using up something that most people throw away—the crusts from a loaf of sandwich bread? That’s exactly what makes these Sandwich Crust Garlic Rolls such a brilliant recipe.
This dish is born out of necessity and creativity. How many times have you sliced off bread crusts for picky kids, delicate tea sandwiches, or fancy recipes, only to toss them into the trash? Those crusts often end up wasted, even though they’re perfectly good bread. With this recipe, instead of throwing them away, you’re transforming them into buttery, garlicky rolls that rival traditional garlic bread. It’s an eco-friendly, budget-conscious, and utterly delicious way to cut down on food waste.
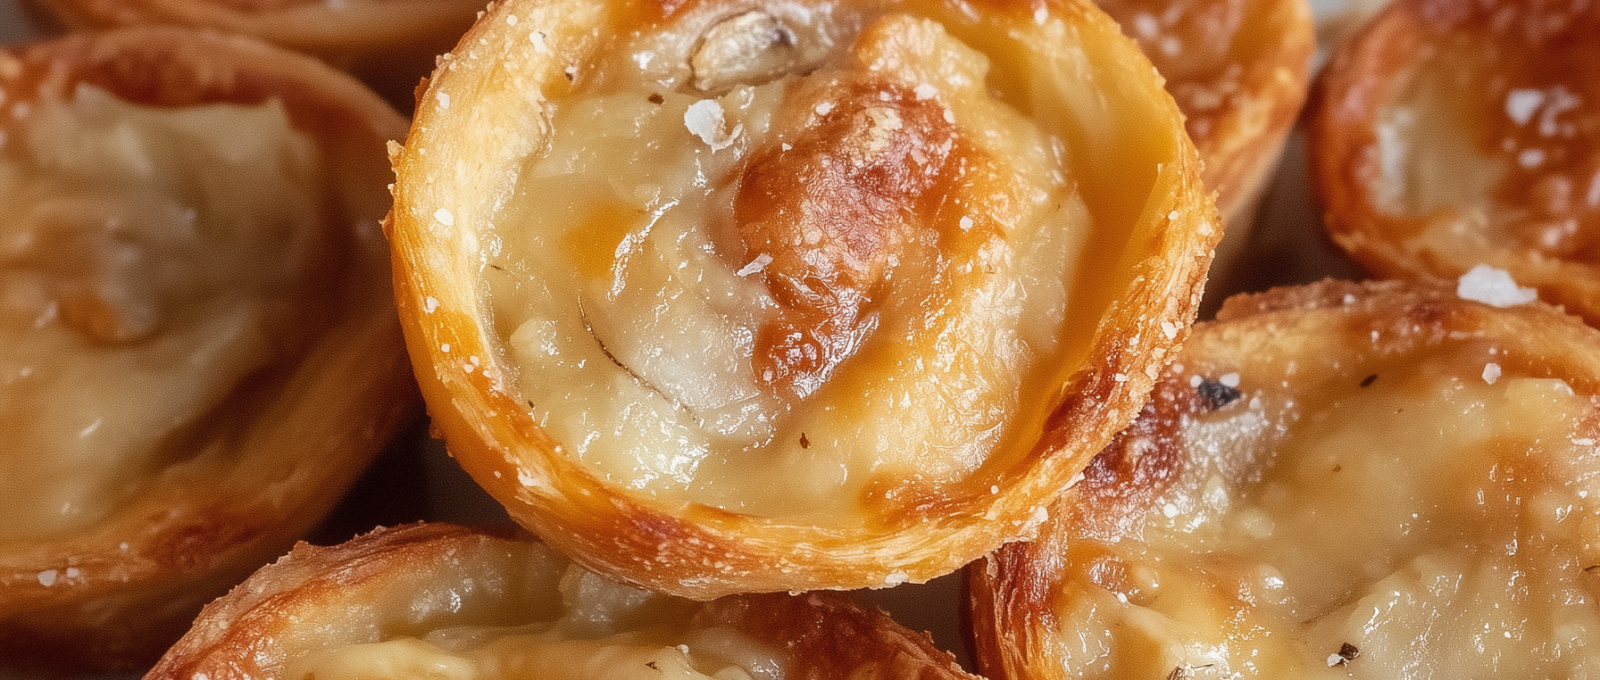
Think of these garlic rolls as a hybrid between garlic knots and cheesy pull-apart bread, but with an ingenious twist: you’re starting with leftover crusts instead of whole slices. The results are rolls that are crispy on the outside, soft on the inside, and dripping with rich garlic butter. Parmesan cheese and Italian seasoning take things to the next level, adding that authentic pizzeria-style flavor that pairs perfectly with pasta, soups, or even as a standalone snack.
Whether you’re a busy parent, a college student trying to stretch your grocery budget, or simply someone who hates wasting food, this recipe is going to become a go-to in your kitchen. It’s fast, fun, and practical—all while being incredibly satisfying.
Why You’ll Love This Recipe
- Zero Waste Cooking – Instead of tossing bread crusts, you give them a second life in the most delicious way possible.
- Quick & Easy – With just 5 minutes of prep and 9 minutes in the oven, these rolls are ready in under 15 minutes.
- Crowd-Pleaser – Kids and adults alike love these cheesy, garlicky rolls. They’re a snack and side dish rolled into one.
- Budget-Friendly – Bread crusts, butter, and pantry staples make this one of the cheapest recipes you’ll ever make.
- Customizable – Adjust seasonings, add more cheese, or even make them spicy—this recipe is endlessly adaptable.

Ingredients
- Crusts of 1 loaf of sandwich bread
- ½ cup butter, melted
- ¼ cup grated Parmesan cheese
- 2 cloves garlic, minced
- 1 ½ teaspoons Italian seasoning
- 1 teaspoon salt
- Ground black pepper, to taste
Instructions
Step 1: Preheat the Oven
Set your oven to 350°F (175°C) and grease a muffin tin with butter or nonstick spray. A muffin tin helps the crusts keep their shape as they bake.
Step 2: Prepare the Garlic Butter
In a small mixing bowl, combine the melted butter, Parmesan cheese, minced garlic, Italian seasoning, salt, and black pepper. Stir until everything is well blended. This mixture is the key to flavor—it’s rich, garlicky, and aromatic.
Step 3: Shape the Bread Crusts
Take the crusts and roll them into tight spiral shapes. Place each roll into a muffin tin cavity. To help them stay compact, press down gently using the bottom of a cup or the back of a spoon. This pressure helps bind the crusts together so they form solid rolls once baked.
Step 4: Coat with Garlic Butter
Spoon the garlic butter mixture evenly over the bread crust rolls. Make sure each one is generously coated so that flavor seeps into every bite.
Step 5: Bake the Rolls
Place the muffin tin in the preheated oven and bake for 9–11 minutes, or until the rolls are golden and slightly crispy on top.
Step 6: Serve Warm
Remove the rolls from the oven and serve them immediately. They’re best enjoyed warm, while the butter is still melty and the garlic aroma fills your kitchen.
Storage & Reheating
One of the best parts about these rolls is how well they keep.
- Room Temperature: Store in an airtight container for up to 2 days.
- Refrigerator: Keep for up to 4 days. Reheat in a toaster oven or air fryer for best results.
- Freezer: Not recommended, as bread crusts lose their texture after freezing.
Pro Tips for Success
- Use Fresh Parmesan – Freshly grated cheese melts more smoothly and tastes better than pre-shredded varieties.
- Don’t Skip the Muffin Tin – It helps the rolls keep their shape while baking.
- Make Them Extra Crispy – Bake for an additional 2 minutes if you prefer crunchier rolls.
- Go for Fresh Garlic – While garlic powder works in a pinch, fresh garlic makes these rolls more fragrant and flavorful.
- Add More Flavor – Sprinkle a little red pepper flakes for heat or extra herbs like thyme or basil for depth.
Creative Variations
This recipe is flexible enough to adapt to whatever flavors you’re craving.
- Cheesy Garlic Rolls: Add shredded mozzarella or cheddar on top before baking for gooey goodness.
- Herb Lovers’ Rolls: Use fresh parsley, basil, or rosemary instead of Italian seasoning.
- Spicy Garlic Rolls: Mix crushed red pepper flakes into the garlic butter for a kick.
- Sweet Dessert Rolls: Swap garlic for cinnamon and sugar butter for a sweet version of this recipe.
Perfect Pairings
These garlic rolls are versatile and go with nearly everything. Here are some pairing ideas:
- With Pasta: Serve alongside spaghetti, fettuccine Alfredo, or lasagna.
- With Soup: They make a hearty side for tomato soup, chicken noodle, or minestrone.
- With Salad: Pair with a fresh Caesar or garden salad for a lighter meal.
- Snack Board: Add them to a cheese and charcuterie platter for a fun twist.
Frequently Asked Questions
Can I use garlic powder instead of fresh garlic?
Yes, substitute ½ teaspoon garlic powder for every clove of garlic.
Can I make these ahead of time?
Absolutely! Shape the rolls and refrigerate overnight. When ready, spoon on the garlic butter and bake.
What if I don’t have a muffin tin?
You can use a baking sheet, but the rolls may spread out more instead of holding a compact shape.
Can I make them dairy-free?
Yes! Use vegan butter and a dairy-free Parmesan substitute.
What bread works best?
Standard sandwich bread works perfectly, but whole wheat or sourdough crusts add extra flavor.
Wrapping It Up
These Sandwich Crust Garlic Rolls are proof that you don’t need fancy ingredients to create something truly delicious. With just a little creativity, leftovers like bread crusts can become the star of your dinner table. Golden on the outside, soft on the inside, and dripping with garlicky, cheesy flavor, these rolls are irresistible.
Beyond being tasty, they represent a smart approach to cooking—using up ingredients that might otherwise go to waste and turning them into something crave-worthy. Whether you’re serving them with pasta, dipping them in soup, or simply enjoying them as a quick snack, these garlic rolls will quickly earn a spot in your recipe rotation.
So, the next time you find yourself with a pile of sandwich crusts, don’t toss them out. Instead, grab some butter, garlic, and cheese, and transform them into a batch of warm, buttery rolls. Trust me—your family (and your wallet) will thank you.
Sandwich Crust Garlic Rolls
Ingredients
- Crusts of 1 loaf of sandwich bread
- ½ cup butter melted
- ¼ cup grated Parmesan cheese
- 2 cloves garlic minced
- 1 ½ teaspoons Italian seasoning
- 1 teaspoon salt
- Ground black pepper to taste
Instructions
Step 1: Preheat the Oven
- Set your oven to 350°F (175°C) and grease a muffin tin with butter or nonstick spray. A muffin tin helps the crusts keep their shape as they bake.
Step 2: Prepare the Garlic Butter
- In a small mixing bowl, combine the melted butter, Parmesan cheese, minced garlic, Italian seasoning, salt, and black pepper. Stir until everything is well blended. This mixture is the key to flavor—it’s rich, garlicky, and aromatic.
Step 3: Shape the Bread Crusts
- Take the crusts and roll them into tight spiral shapes. Place each roll into a muffin tin cavity. To help them stay compact, press down gently using the bottom of a cup or the back of a spoon. This pressure helps bind the crusts together so they form solid rolls once baked.
Step 4: Coat with Garlic Butter
- Spoon the garlic butter mixture evenly over the bread crust rolls. Make sure each one is generously coated so that flavor seeps into every bite.
Step 5: Bake the Rolls
- Place the muffin tin in the preheated oven and bake for 9–11 minutes, or until the rolls are golden and slightly crispy on top.
Step 6: Serve Warm
- Remove the rolls from the oven and serve them immediately. They’re best enjoyed warm, while the butter is still melty and the garlic aroma fills your kitchen.


Leave a Comment