


Want to save this recipe?
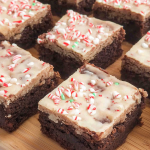
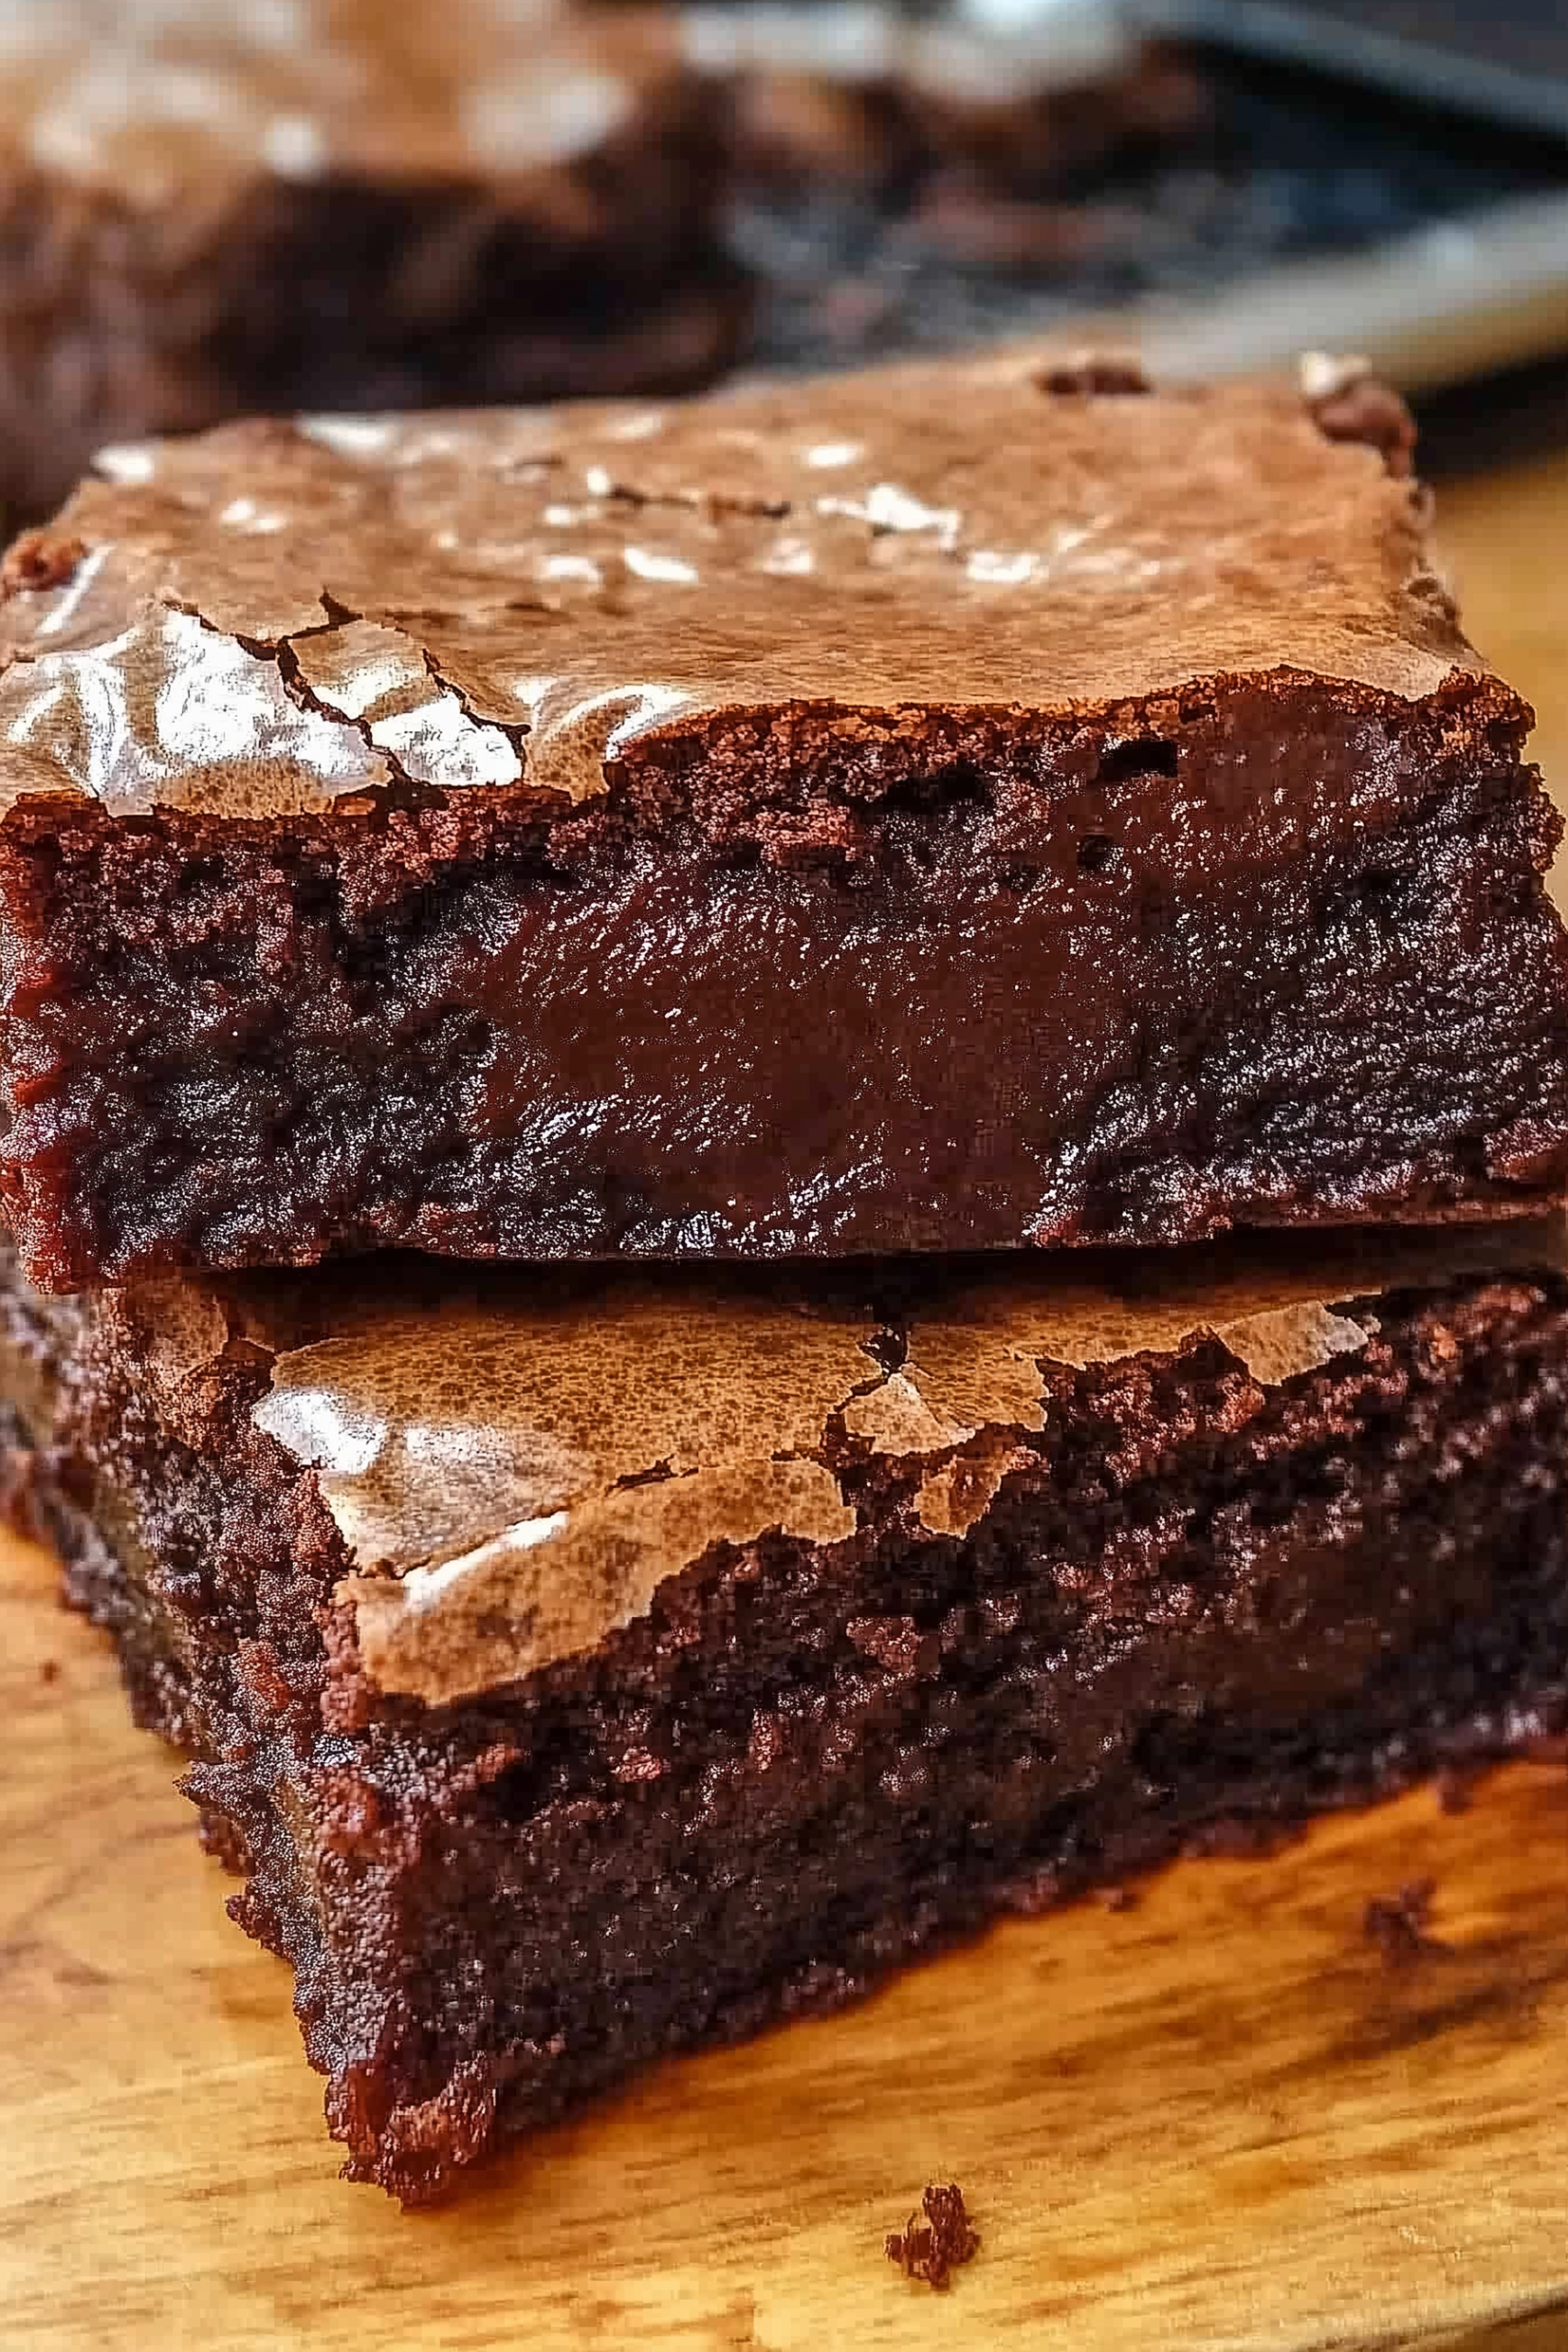
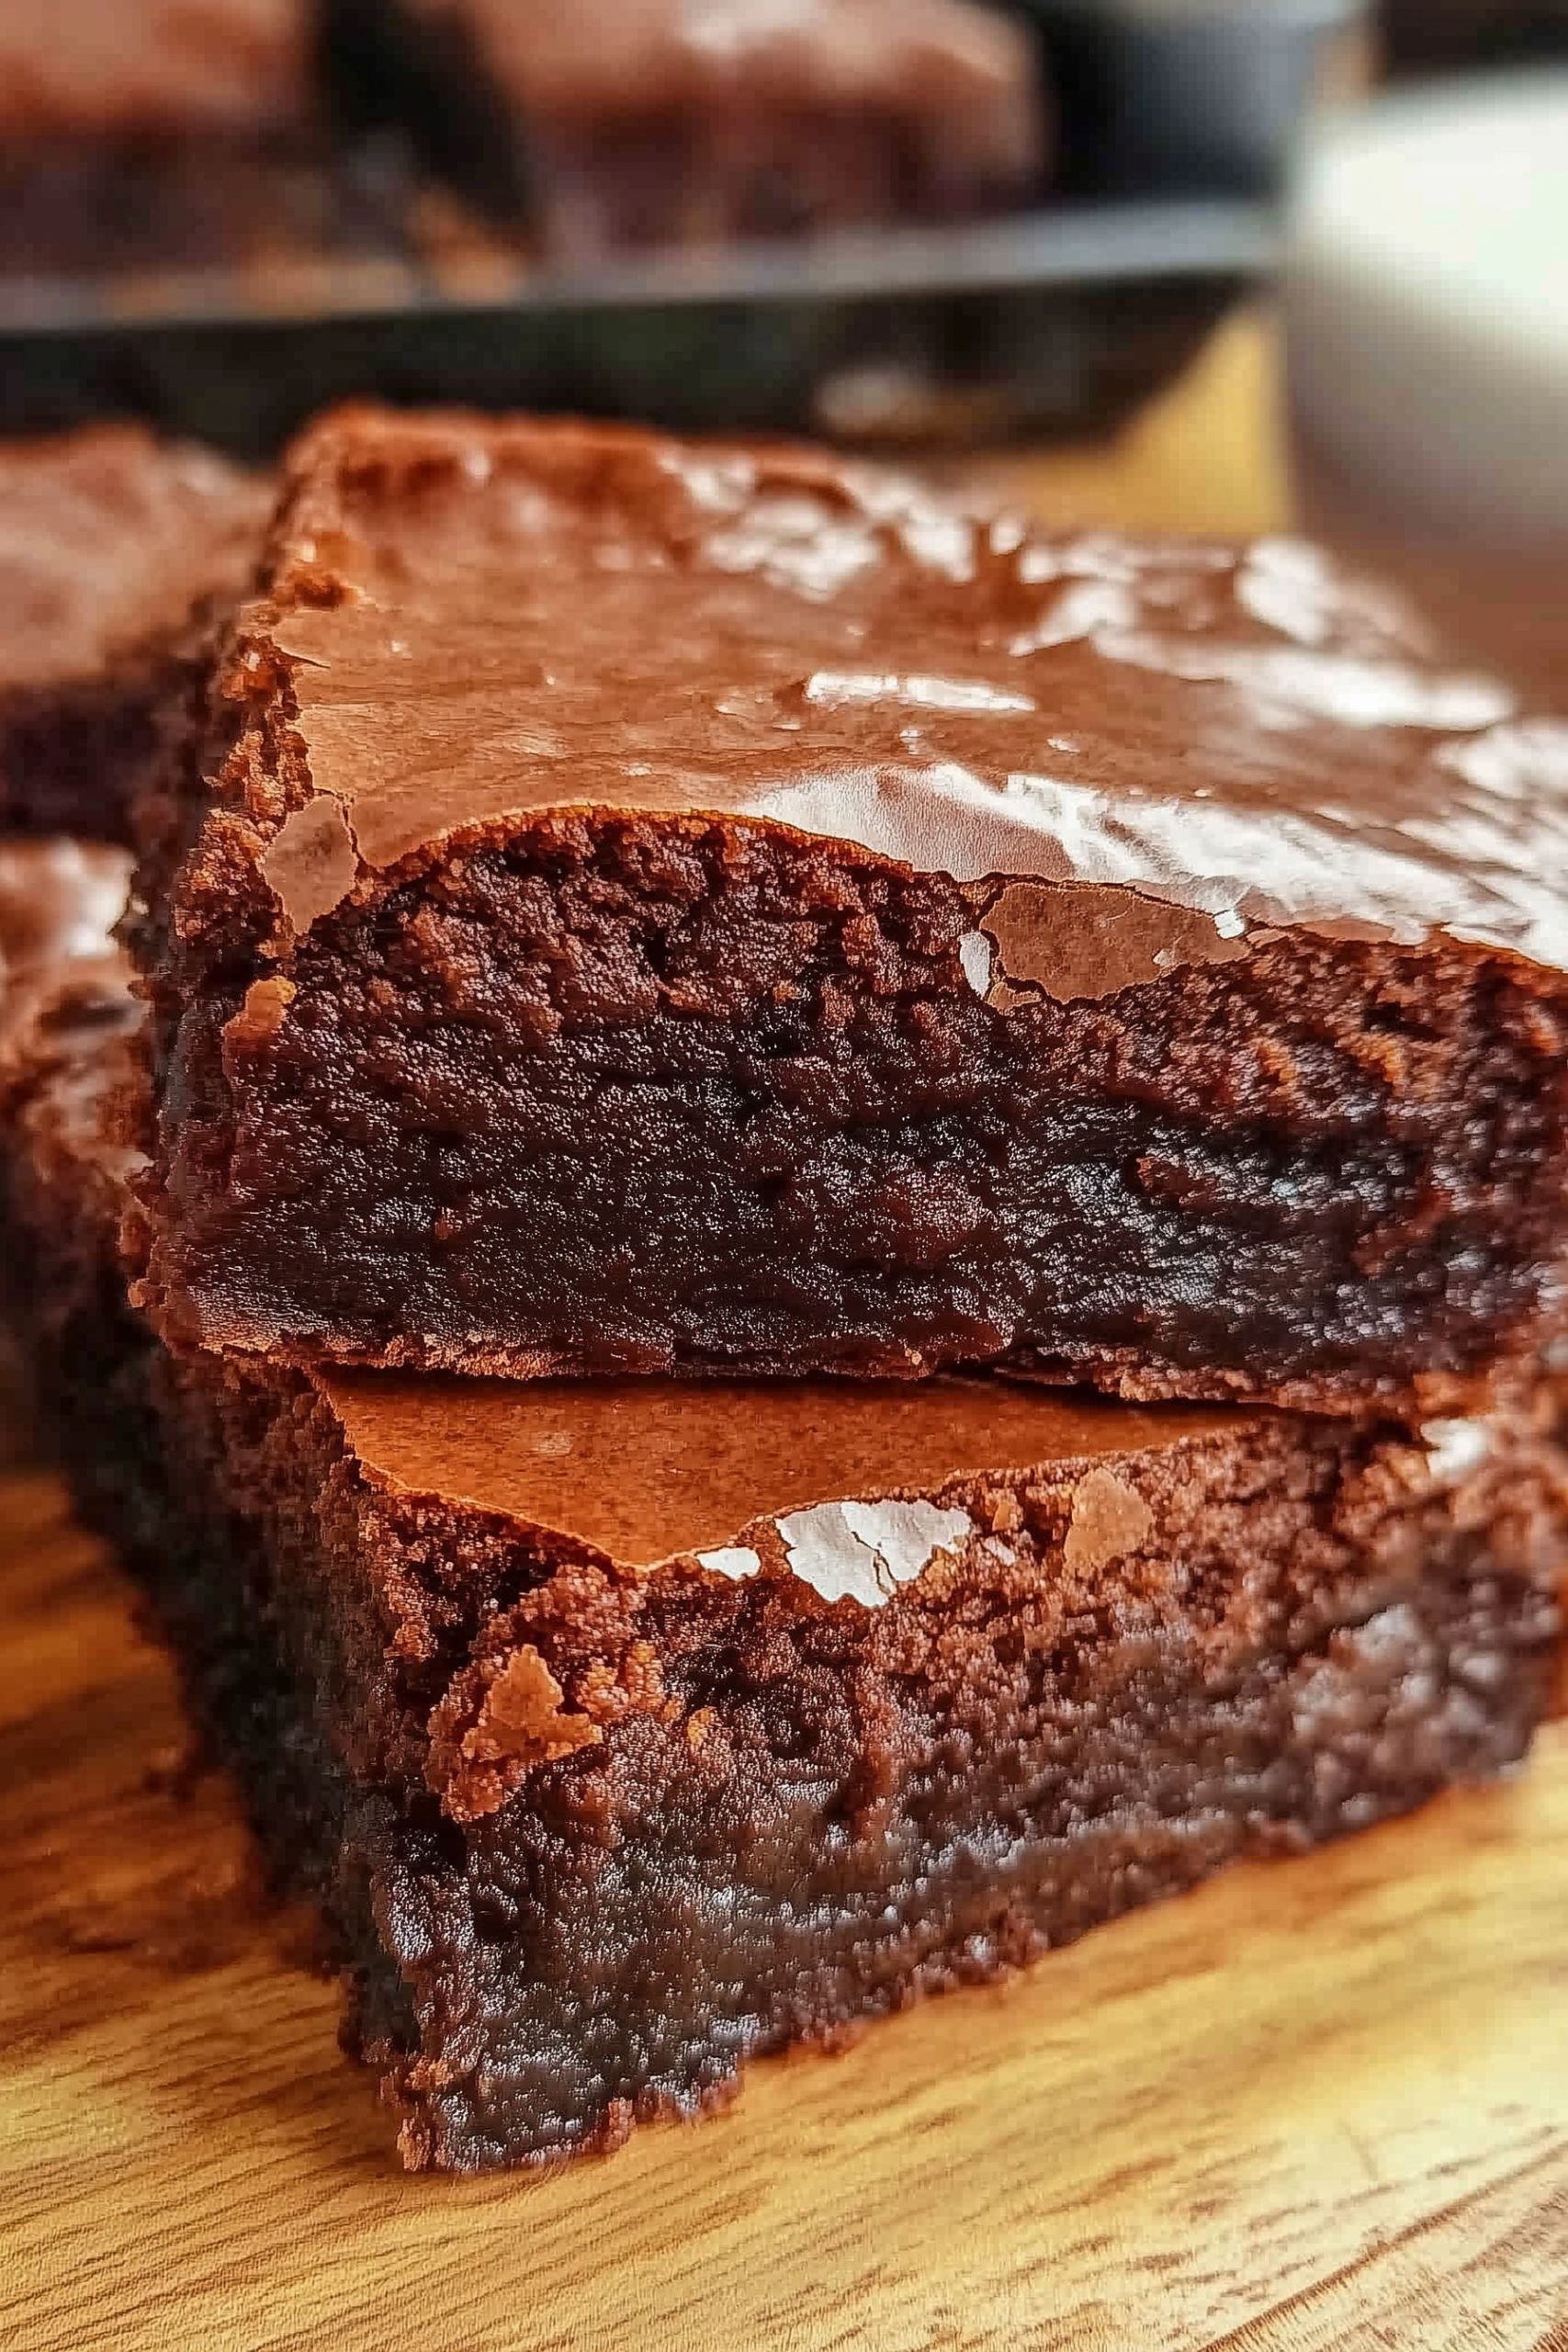
Baking a fresh tray of these chocolate mochi brownies fills the entire house with an incredibly rich, sweet aroma of melted cocoa and warm vanilla. This brilliant dessert delivers the ultimate texture mashup: it takes the shiny, crackled top skin of a classic fudge brownie and infuses it with the beautifully chewy, elastic, and bouncy center of traditional Japanese mochi. The moment you pull the pan from the oven and slice into a piece, you can see the gorgeous, dense sheen of the crumb that sets it completely apart from any traditional cake.
Serving these unique squares to family and friends is pure joy. My husband absolutely loves how the deep, dark chocolate intensity anchors the bite, while the kids are completely obsessed with the fun, stretchy bounce of the sweet rice flour base. It looks like an elegant, high-end fusion bakery masterpiece from muchdesserts.com, but it is actually an effortless, one-bowl recipe that brings a totally playful and deeply comforting energy to your dessert table.
Why You’ll Love It
- Naturally gluten-free foundation: Uses glutinous rice flour instead of traditional wheat flour, making it a spectacular, safe option for sensitive stomachs.
- The ultimate texture playground: Delivers a paper-thin, crispy top crust that gives way to a soft, beautifully chewy, and bouncy “Q-texture” center.
- Effortless one-bowl prep: Requires no fancy stand mixers or food processors; a simple hand whisk and a single bowl get the batter ready in minutes.
- Stays soft for days: Thanks to the natural moisture-retaining properties of sweet rice flour, these brownies never turn dry, stale, or crumbly.
- Deep, uncompromised chocolate flavor: Loaded with a double punch of premium cocoa powder and molten semi-sweet chocolate chips tucked inside.
Ingredient Notes & Details
- Glutinous rice flour: Often labeled as Mochiko or sweet rice flour. This is the absolute star of the show and cannot be replaced with regular white rice flour, as it contains the unique starches required to build that signature sticky bounce.
- Unsweetened cocoa powder: Provides the deep, dark, and robust chocolate foundation that balances out the natural sweetness of the dough matrix.
- Whole milk: Hydrates the dense rice flour particles completely, expanding the starches to form a smooth, velvety, and pourable batter.
- Unsalted butter: Melted and whisked into the sugar base to deliver a rich, traditional bakery mouthfeel and a glossy top crinkle.
- Chocolate chips: Folded gently into the mixture right before baking to create molten, slow-running pockets of chocolate throughout the chewy center.
Natural Substitutions: Swap the whole milk for full-fat canned coconut milk to introduce a subtle, tropical undertone that pairs beautifully with dark chocolate. If you are looking to cut down on dairy, replace the unsalted butter with an equal amount of melted coconut oil. You can also swap the semi-sweet chocolate chips for white chocolate chunks or peanut butter chips for a vibrant color contrast.
Step-by-Step Instructions
We begin by melting our unsalted butter and letting it cool slightly so it doesn’t accidentally cook the eggs. In a large mixing bowl, whisk together the melted butter, granulated sugar, and brown sugar until smooth. Add the eggs one at a time, followed by a splash of milk and a generous pour of pure vanilla extract, whisking vigorously until the liquid look completely unified and glossy.
In a separate bowl, stir together your sweet glutinous rice flour, unsweetened cocoa powder, baking powder, and a tiny pinch of salt. Pour the wet ingredients directly into the dry rice flour base, stirring gently with a rubber spatula. The batter will look significantly thinner and more pourable than a traditional bready brownie batter—this is completely normal! The liquid consistency is exactly what allows the rice starches to steam and bake into a smooth, elastic cushion.
Fold in your semi-sweet chocolate chips, ensuring they are distributed evenly throughout the rich chocolate liquid. Pour the mixture into a parchment-lined square baking pan, smoothing the surface cleanly to the edges. Bake low and slow until the top transforms into a beautiful, crackled matte finish. Let the pan rest undisturbed on a wire rack until completely cool; this resting period is a vital step that allows the hot, gelatinous mochi center to set up structure cleanly before you slice it into perfect squares.
Tips
- Buy the correct flour: Make sure the package explicitly states “Glutinous Rice Flour” or “Sweet Rice Flour” (such as the Koda Farms Mochiko brand). Standard rice flour will make your brownies gritty, hard, and chalky.
- Line with parchment paper: Mochi is notoriously sticky when hot; leaving a parchment paper overhang on the sides allows you to lift the entire block out cleanly without tearing.
- Slice with a plastic knife: The ultimate insider baker’s secret to cutting sticky mochi cleanly is using a plastic lettuce knife or an oiled chef’s knife, wiping it down with a damp paper towel between every single cut.
- Let them cool completely: Do not slice into these while they are hot from the oven! The interior needs to come down to room temperature to lock in that signature dense, bouncy chew.
- Tap the pan firmly: Thump the filled baking pan against your kitchen counter twice before sliding it into the oven to pop any large trapped air bubbles.
Storage & Reheating
Store your mochi brownies in an airtight container at room temperature for up to 3 days. Avoid placing them in the refrigerator, as cold temperatures cause the cooked rice starches to retrograde, turning the beautifully stretchy center stiff and unpleasantly hard. You can freeze individual sliced squares wrapped tightly in plastic wrap for up to 2 months. To restore that authentic, fresh-from-the-oven stretchy magic, simply pop a room-temperature square into the microwave for 10 seconds to warm the starches and soften the chocolate chips.
Serving & FAQs
These fudgy, chewy squares pair spectacularly with a hot cup of green matcha tea, a cold glass of milk, or served warm under a large scoop of vanilla bean ice cream.
Why is my mochi brownie batter so watery compared to normal brownies? Regular brownies rely on wheat flour gluten which builds a thick, sticky dough. Glutinous rice flour absorbs liquid differently and expands significantly while steaming in the oven, meaning a thin, pourable initial batter is exactly what you want.
Can I make these brownies ahead of time for a party? Absolutely! Because mochi naturally retains its structural moisture beautifully, these brownies taste just as soft, chewy, and decadent on day two as they do fresh off the cooling rack.
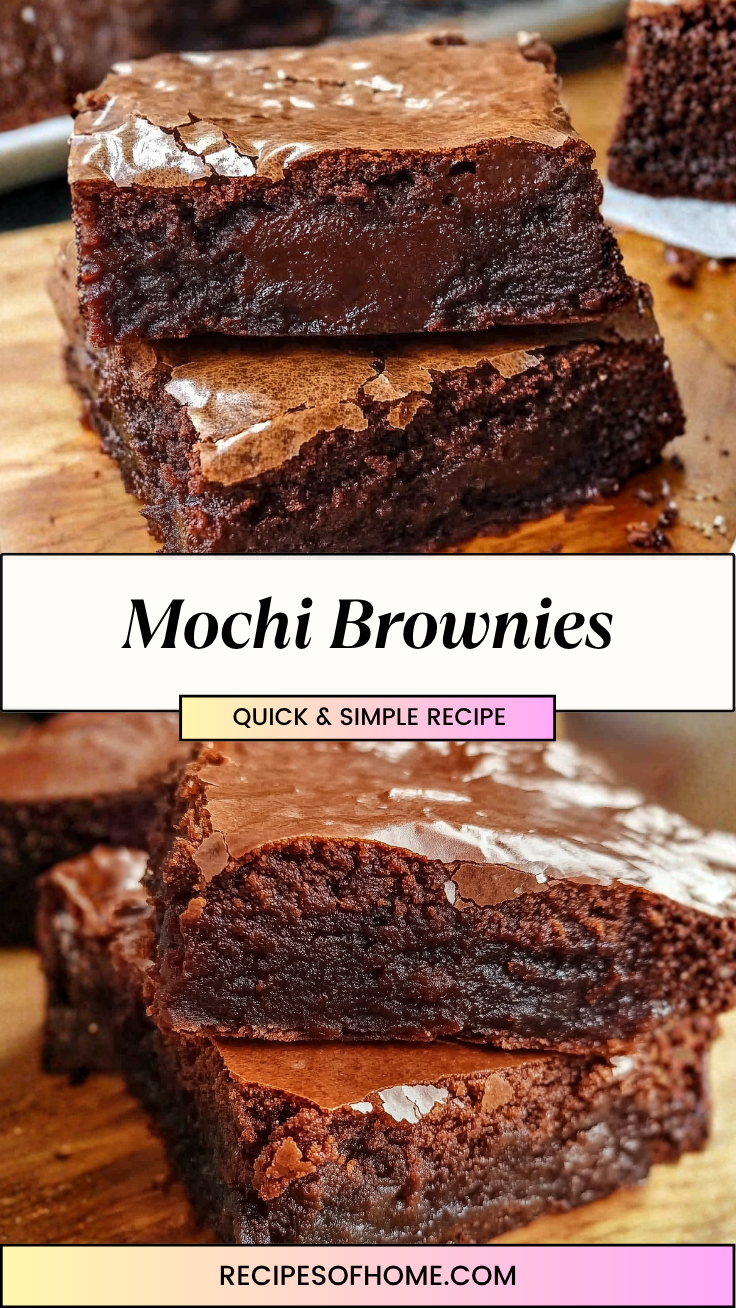
Chewy Fudgy Homemade Mochi Brownies
- Prep Time: 10 minutes
- Cook Time: 35 minutes
- Total Time: 45 minutes
- Servings: 9 large squares
Ingredients
- 1.5 cups sweet glutinous rice flour (Mochiko)
- ½ cup unsweetened cocoa powder
- 1 teaspoon baking powder
- ½ cup unsalted butter, melted and cooled slightly
- 1 cup granulated sugar
- ½ cup brown sugar, packed
- 2 large eggs, room temperature
- 1 cup whole milk
- 1 teaspoon vanilla extract
- ½ cup semi-sweet chocolate chips
- ¼ teaspoon salt
Instructions
- Preheat your oven to 350°F (177°C) and line an 8×8-inch square baking pan with parchment paper, leaving an extra inch of overhang on the sides to use as handles.
- In a medium bowl, whisk together the sweet glutinous rice flour, unsweetened cocoa powder, baking powder, and salt until completely uniform.
- In a separate large bowl, whisk the melted unsalted butter, granulated sugar, and brown sugar together until smooth and combined.
- Add the eggs one at a time to the butter mixture, followed by the whole milk and vanilla extract, whisking until the liquid is glossy and fully unified.
- Pour the wet ingredients into the dry flour mixture, stirring gently with a rubber spatula just until a smooth, pourable, lump-free batter forms.
- Gently fold in the semi-sweet chocolate chips until they are evenly distributed throughout the dark batter.
- Transfer the chocolate batter into the prepared square pan, smoothing the surface evenly into the corners.
- Bake for 33 to 35 minutes, or until the top forms a beautiful, dry, crinkled brownie skin and the edges look set, though the center will still feel slightly springy.
- Remove from the oven and place the pan on a wire cooling rack. Let the brownies cool completely inside the pan at room temperature for at least 1 hour before lifting them out using the parchment tabs, slicing into 9 squares with an oiled knife, and serving.

Leave a Reply