


Want to save this recipe?
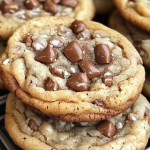
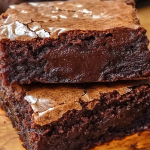
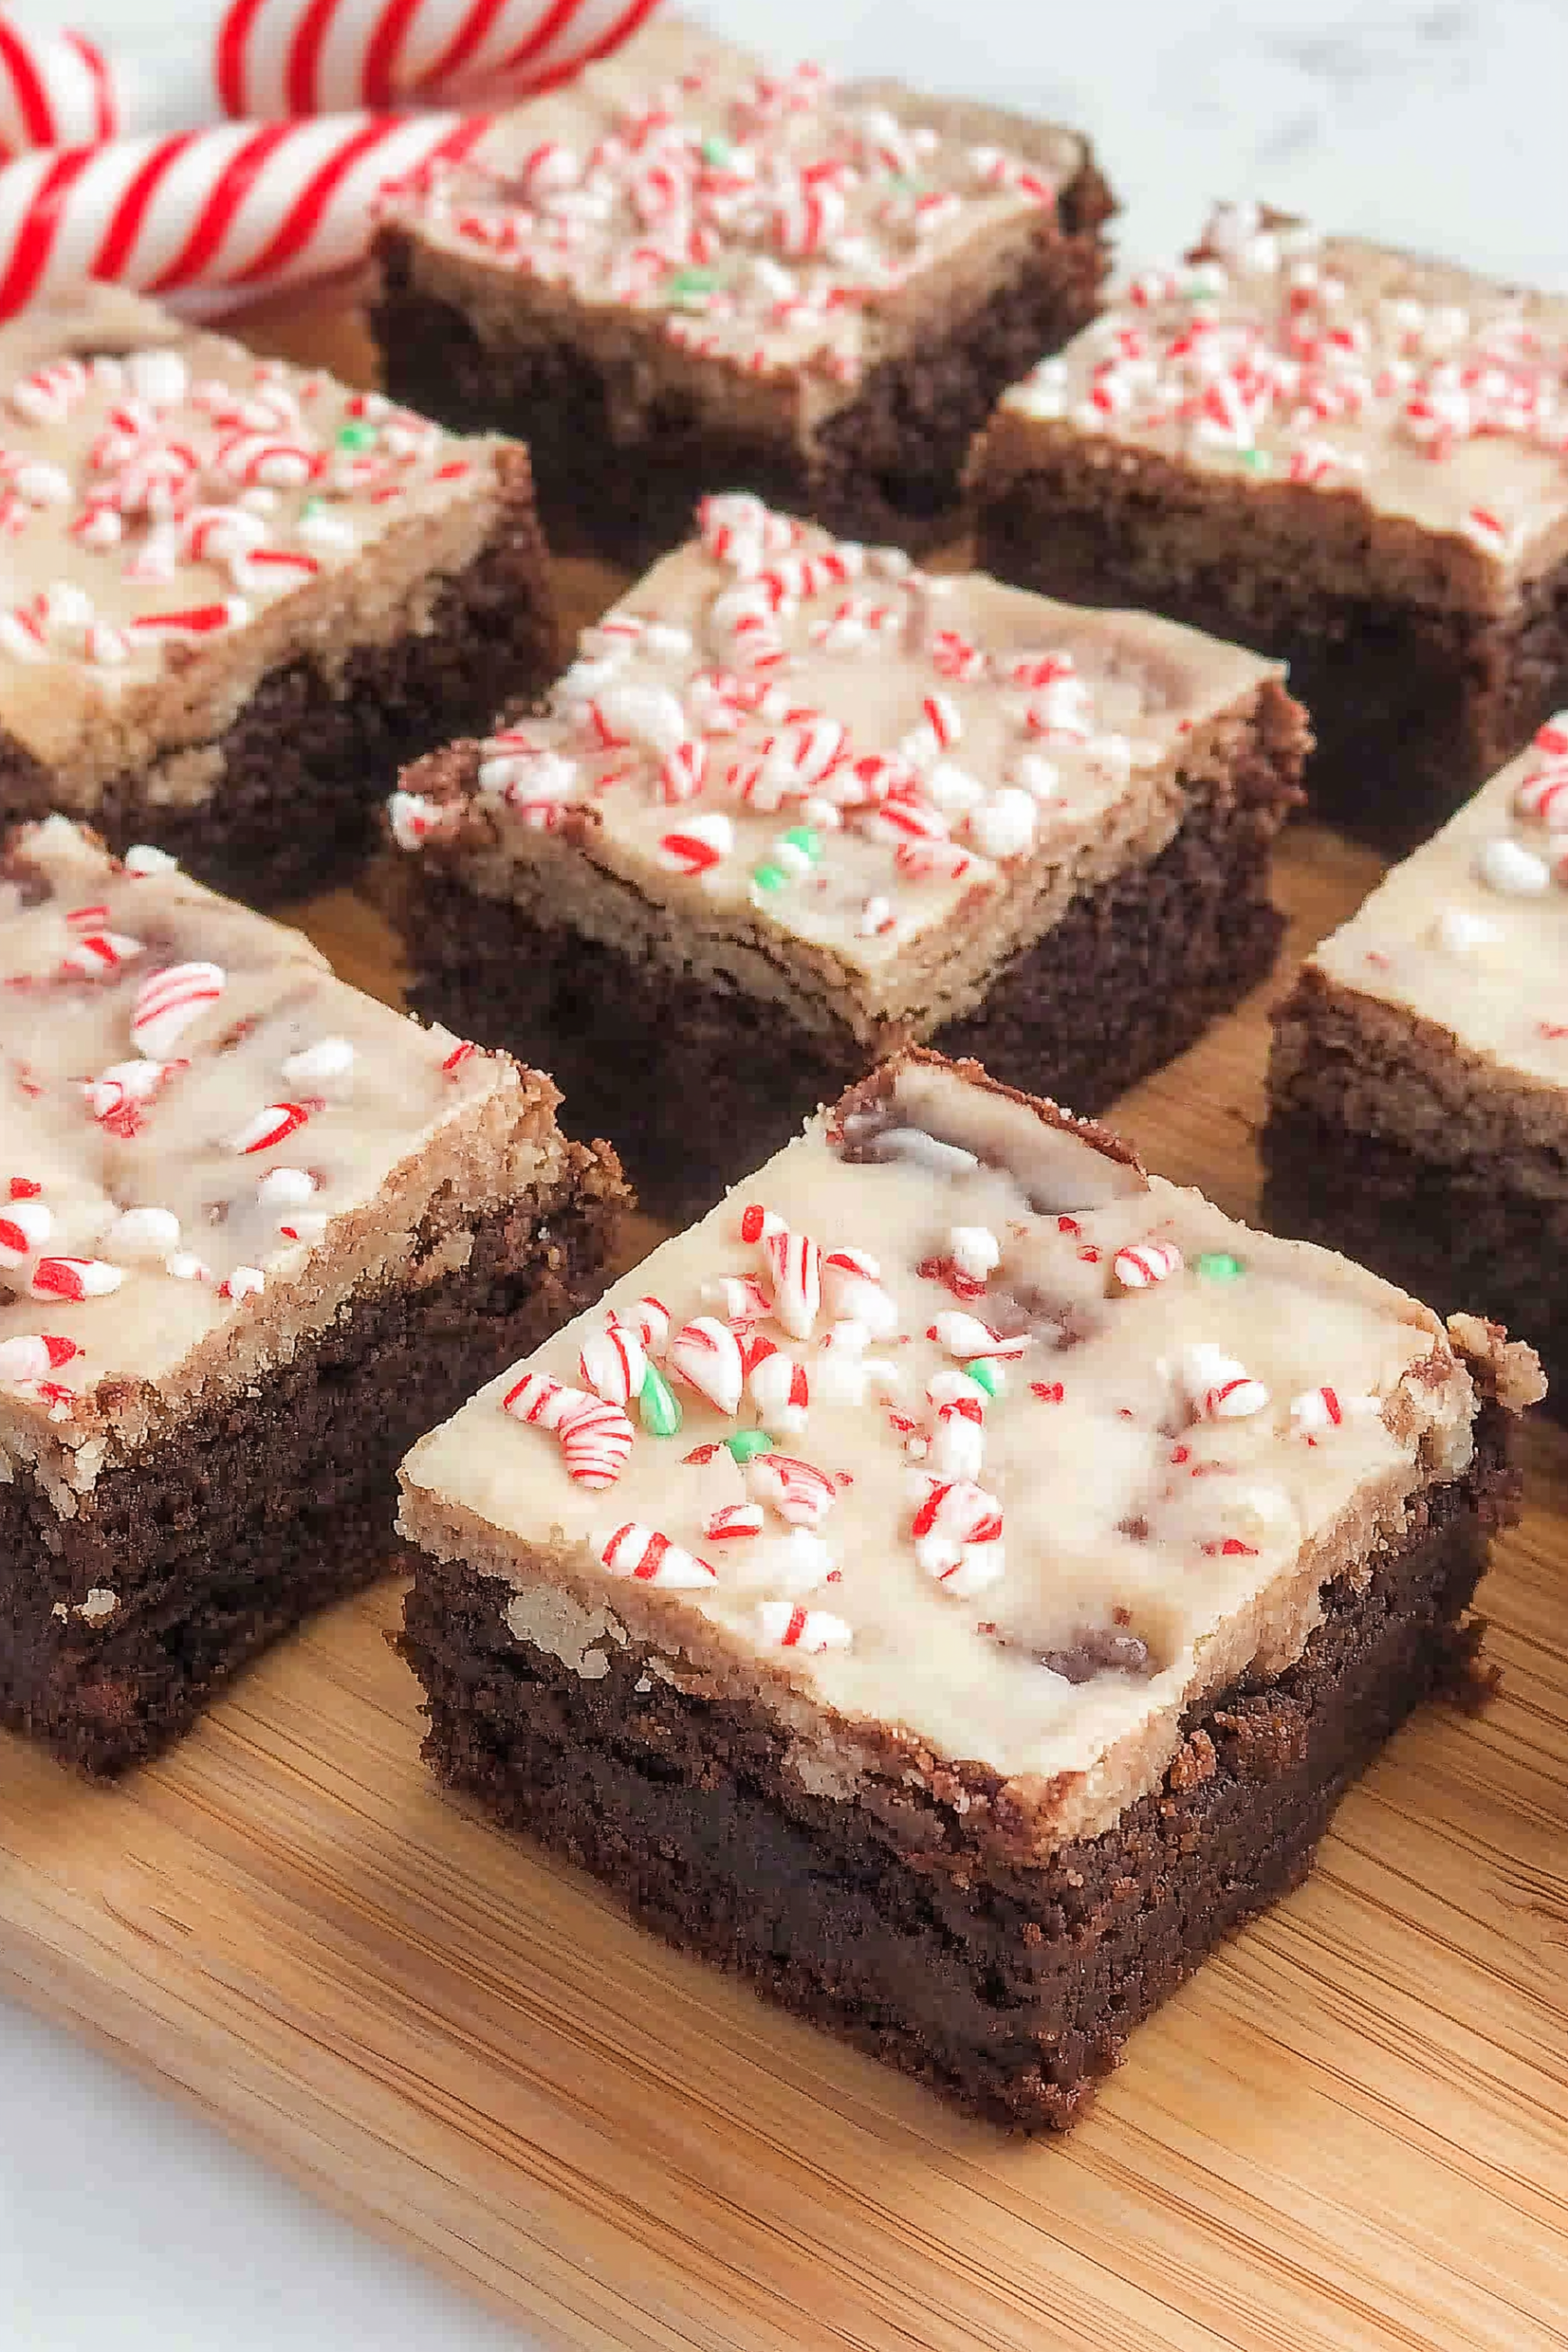
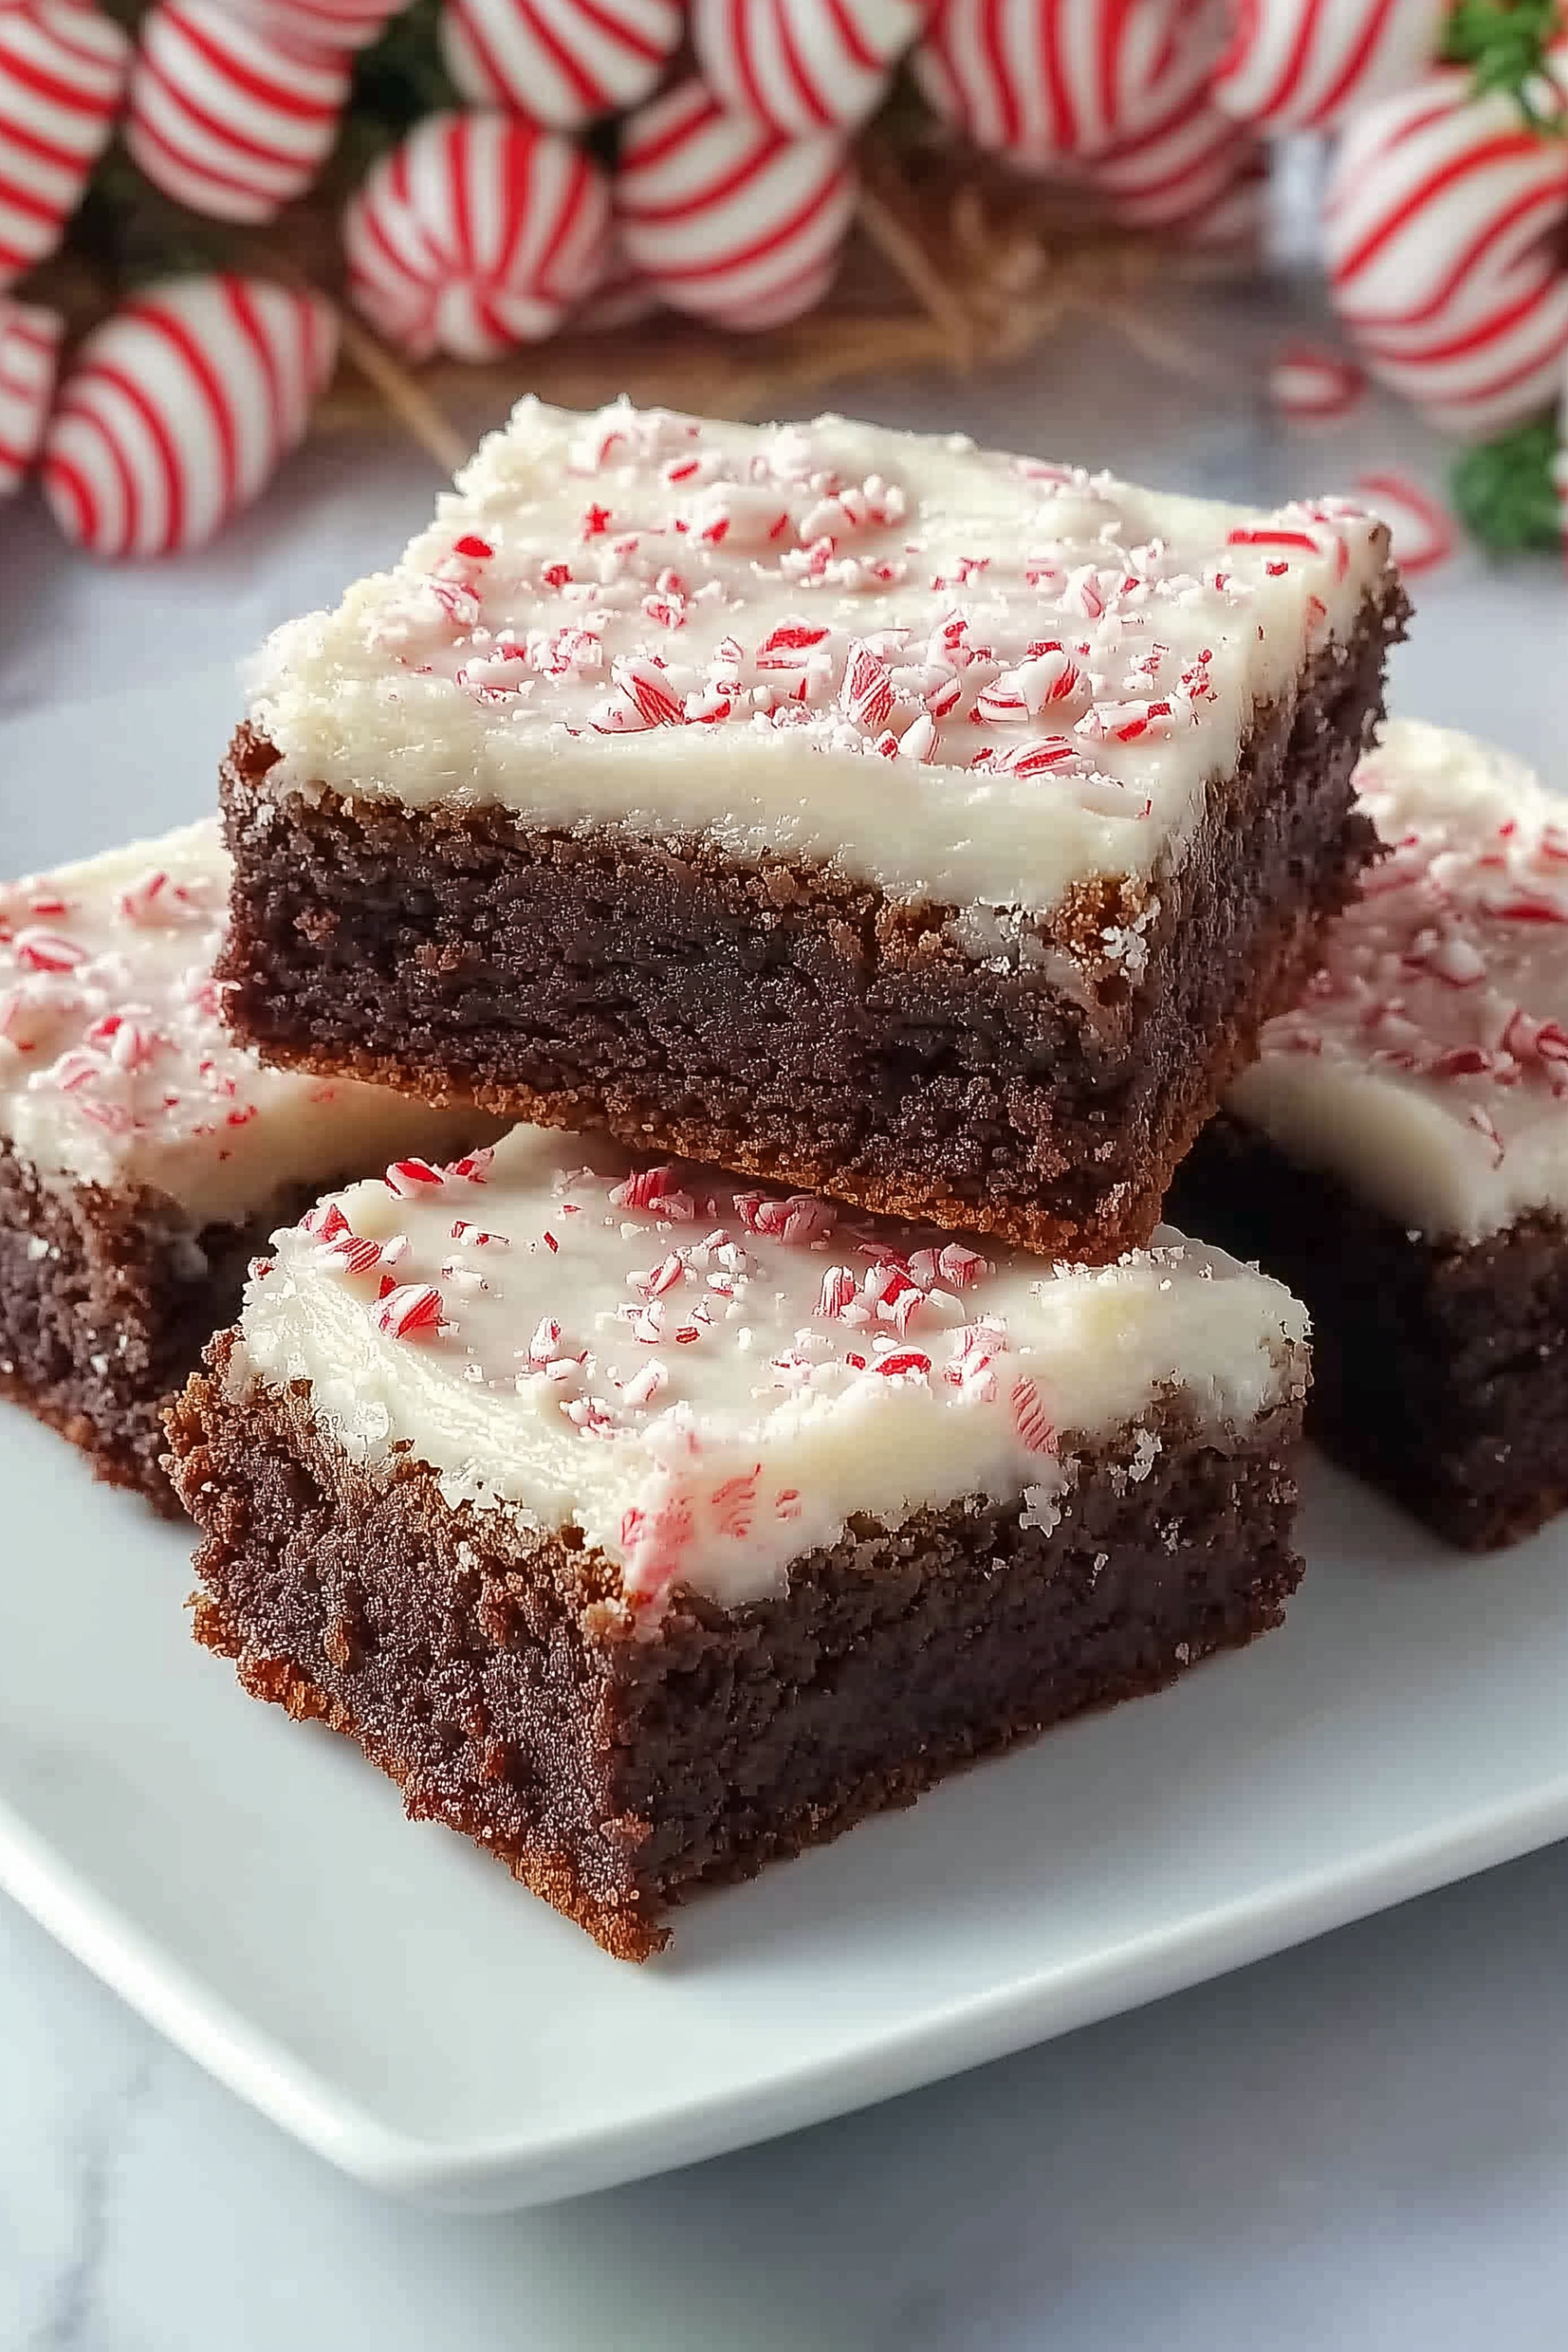
Baking a pan of these festive peppermint bark brownies transforms your entire kitchen into a cozy holiday workshop, filling the air with the rich aroma of dark cocoa laced with a bright, crisp splash of peppermint. It captures the absolute best of two iconic winter treats—marrying a dense, ultra-fudgy chocolate brownie base with a snappy, elegant crown of smooth white chocolate and crushed candy canes. The moment you slice into the crackled layers to reveal those brilliant ruby and snow-white flecks against the deep chocolate background, it is pure holiday magic.
Serving a stack of these eye-catching squares to family and friends is an absolute joy during winter gatherings. My husband loves how the intense chocolate richness holds up against the refreshing mint punch, while the kids are completely obsessed with the festive crunch of the crushed candy bits on top. It looks like an intricate confection from a boutique holiday bakery, but it is actually a delightfully straightforward recipe from onmykidsplate.com that brings a joyful, cozy holiday energy to any dessert spread.
Why You’ll Love It
- The ultimate holiday mashup: Combines the comforting richness of a premium fudge brownie with the classic, snappy crunch of traditional peppermint bark.
- Stunning festive contrast: The vibrant layout of bright red candy cane crumbles against white chocolate creates an instant conversation starter on cookie swap platters.
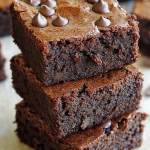
- Unbelievably fudgy core: Baked to a dense, chewy perfection that stays beautifully moist and rich for days.
- No advanced decorating required: Skip the tedious piping bags; casually spreading melted chocolate and scattering candy crumbles creates a gorgeous bakery look effortlessly.
- Sensational texture interplay: Delivers a spectacular bite that moves from a crispy candy crunch down into a silky chocolate melt and a dense, chewy center.
Ingredient Notes & Details
- Dutch-process cocoa powder: Provides that signature deep, dark color and an ultra-smooth, robust chocolate base that pairs perfectly with sharp mint.
- Peppermint extract: A tiny splash goes a long way in both the brownie base and the topping, providing that authentic, cooling winter flavor profile.
- Eggs: Whisked vigorously into the sugar to create a beautiful, paper-thin shiny crinkle skin on top of the brownie layer.
- White chocolate melting wafers: High-quality white chocolate or melting wafers melt into a smooth, velvety blanket that sets up cleanly without turning soft or greasy at room temperature.
- Crushed candy canes: Introduce the necessary sweet crunch and brilliant ruby-red pops of color that define the bark topping.
Natural Substitutions: Swap the traditional all-purpose flour for a high-quality 1:1 gluten-free baking blend to easily accommodate sensitive bellies. If white chocolate is too sweet for your liking, replace it with a high-quality semi-sweet or dark chocolate drizzle for a deeper, more bitter bark finish. You can also swap the crushed candy canes for mint chocolate chips or crushed cream-filled chocolate sandwich cookies for a different twist.
Step-by-Step Instructions
We begin by whisking our melted unsalted butter, granulated sugar, and brown sugar together in a large mixing bowl until smooth. Adding the eggs one at a time and beating them vigorously along with the vanilla and peppermint extracts is a vital step because it incorporates tiny air pockets that form that coveted, shiny crinkle brownie skin during the bake. Gently fold in your dry ingredients—all-purpose flour, Dutch-process cocoa powder, and a pinch of salt—just until the white streaks disappear to preserve a fudgy texture.
Pour the rich chocolate batter into a parchment-lined square baking pan and bake just until the edges look completely set, while the center retains a very slight softness. Let the brownies cool down on a wire rack before starting the topping. Attempting to layer chocolate over a hot brownie will liquefy the fats, turning your pristine white bark layer into a muddy, melted mess.
Once the base is cool, melt your premium white chocolate until silky and pourable. Spread this snow-white blanket quickly and evenly across the brownie surface using an offset spatula. Immediately scatter your crushed candy cane pieces across the wet chocolate, pressing down very gently with your fingertips so they adhere tightly. Let the pan rest undisturbed at room temperature until the white chocolate bark sets up firmly into a crisp, snappy shell before slicing into neat squares.
Tips
- Line with a parchment sling: Leave a two-inch overhang on the sides of your pan so you can lift the entire block of brownies out cleanly before cutting.
- Toast the candy pieces lightly: If your candy canes look sticky, crush them inside a zip-top bag with a rolling pin and sift out any fine candy dust before topping.
- Don’t overbake the base: Pull the brownies out when a toothpick inserted into the center comes out with a few moist clumps attached; dry brownies lose their fudgy magic.
- Score before cutting: To prevent the hard white chocolate layer from shattering unevenly when cut, score the top chocolate layer lightly with a warm knife before pressing all the way through.
- Use high-quality chocolate: Opt for real white chocolate bars or premium baking wafers; standard grocery chocolate chips contain stabilizers that prevent a smooth, glossy melt.
Storage & Reheating
Store your peppermint bark brownies in an airtight container at room temperature for up to 4 days, or in the refrigerator for up to 1 week to keep the bark layer exceptionally crisp. If you need to stack the squares inside the container, place a sheet of parchment paper cleanly between the layers to prevent the candy cane pieces from sticking. You can freeze these brownies for up to 2 months. Avoid reheating entirely, as any microwave or oven heat will instantly liquefy the white chocolate bark and melt the candy toppings.
Serving & FAQs
These festive brownies pair spectacularly with a piping-hot mug of dark roast coffee, a rich homemade hot chocolate, or served alongside a scoop of vanilla bean ice cream.
How do I cut these cleanly without cracking the white chocolate top? The ultimate pro-baker trick is to use a large, sharp chef’s knife that has been dipped in hot water and wiped completely dry. The gentle heat of the blade slices through the hard chocolate layer cleanly like butter.
Can I use peppermint candies instead of candy canes? Absolutely! Hard starlight peppermint candies work perfectly; simply crush them up using a rolling pin until they form small, rustic pieces.
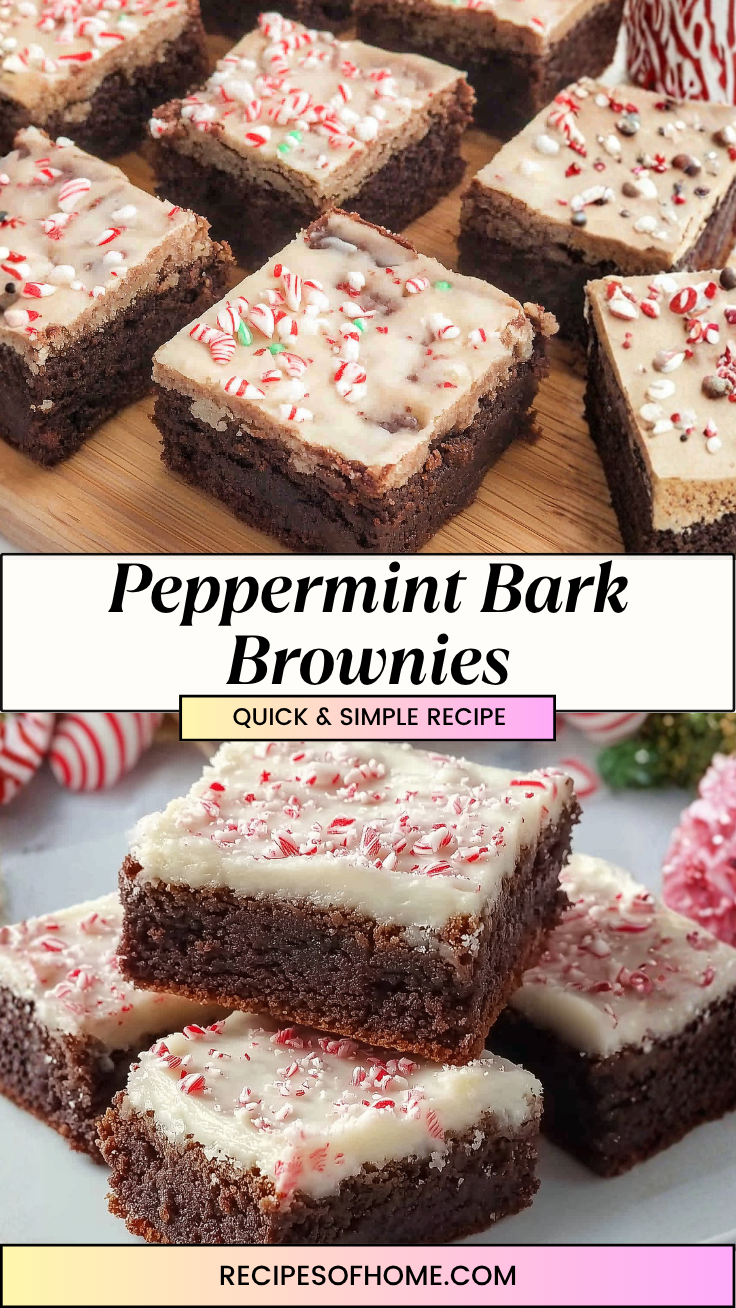
Festive Homemade Peppermint Bark Brownies
- Prep Time: 15 minutes
- Cook Time: 22 minutes
- Setting Time: 30 minutes
- Total Time: 1 hour 7 minutes
- Servings: 16 squares
Ingredients
For the Fudgy Brownie Base
- ½ cup unsalted butter, melted and cooled slightly
- 1 cup granulated sugar
- ¼ cup brown sugar, packed
- 2 large eggs, room temperature
- 1 teaspoon vanilla extract
- ½ teaspoon peppermint extract
- ½ cup all-purpose flour
- ½ cup Dutch-process cocoa powder
- ¼ teaspoon salt
- ½ cup semi-sweet chocolate chips (optional)
For the Peppermint Bark Topping
- 1.5 cups high-quality white chocolate melting wafers or chopped baking bars
- ⅓ cup candy canes, crushed (about 3 to 4 standard canes)
- ¼ teaspoon peppermint extract (optional, for extra mint flavor)
Instructions
- Preheat your oven to 350°F (177°C) and line an 8×8-inch square baking pan with parchment paper, leaving an overhang on the sides.
- In a large bowl, whisk the melted unsalted butter, granulated sugar, and brown sugar together until smooth.
- Add the eggs one at a time, followed by the vanilla extract and ½ teaspoon of peppermint extract, beating vigorously for 1 minute until the mixture looks glossy and slightly pale.
- Sift the all-purpose flour, Dutch-process cocoa powder, and salt directly into the wet ingredients. Fold gently with a spatula just until combined, then fold in the chocolate chips if using.
- Transfer the thick batter into the prepared pan, smoothing the top evenly into the corners. Bake for 20 to 22 minutes until the edges are set but the center remains slightly soft. Let cool completely in the pan.
- For the topping, place the white chocolate wafers into a microwave-safe bowl. Microwave in 30-second bursts, stirring between each, until completely melted and silky smooth. Stir in the optional ¼ teaspoon of peppermint extract if desired.
- Pour the melted white chocolate evenly across the completely cooled brownie surface, spreading it quickly to the edges with a spatula.
- Immediately scatter the crushed candy cane pieces generously across the wet white chocolate layer, pressing down very softly to lock them into place.
- Let the brownies sit undisturbed at room temperature for 30 minutes until the chocolate shell sets completely firm. Lift out by the parchment tabs, cut into 16 squares with a warm knife, and serve.


Leave a Reply