












Want to save this recipe?
Crispy crust, soft center – the easiest no-knead bread for bakers of any level
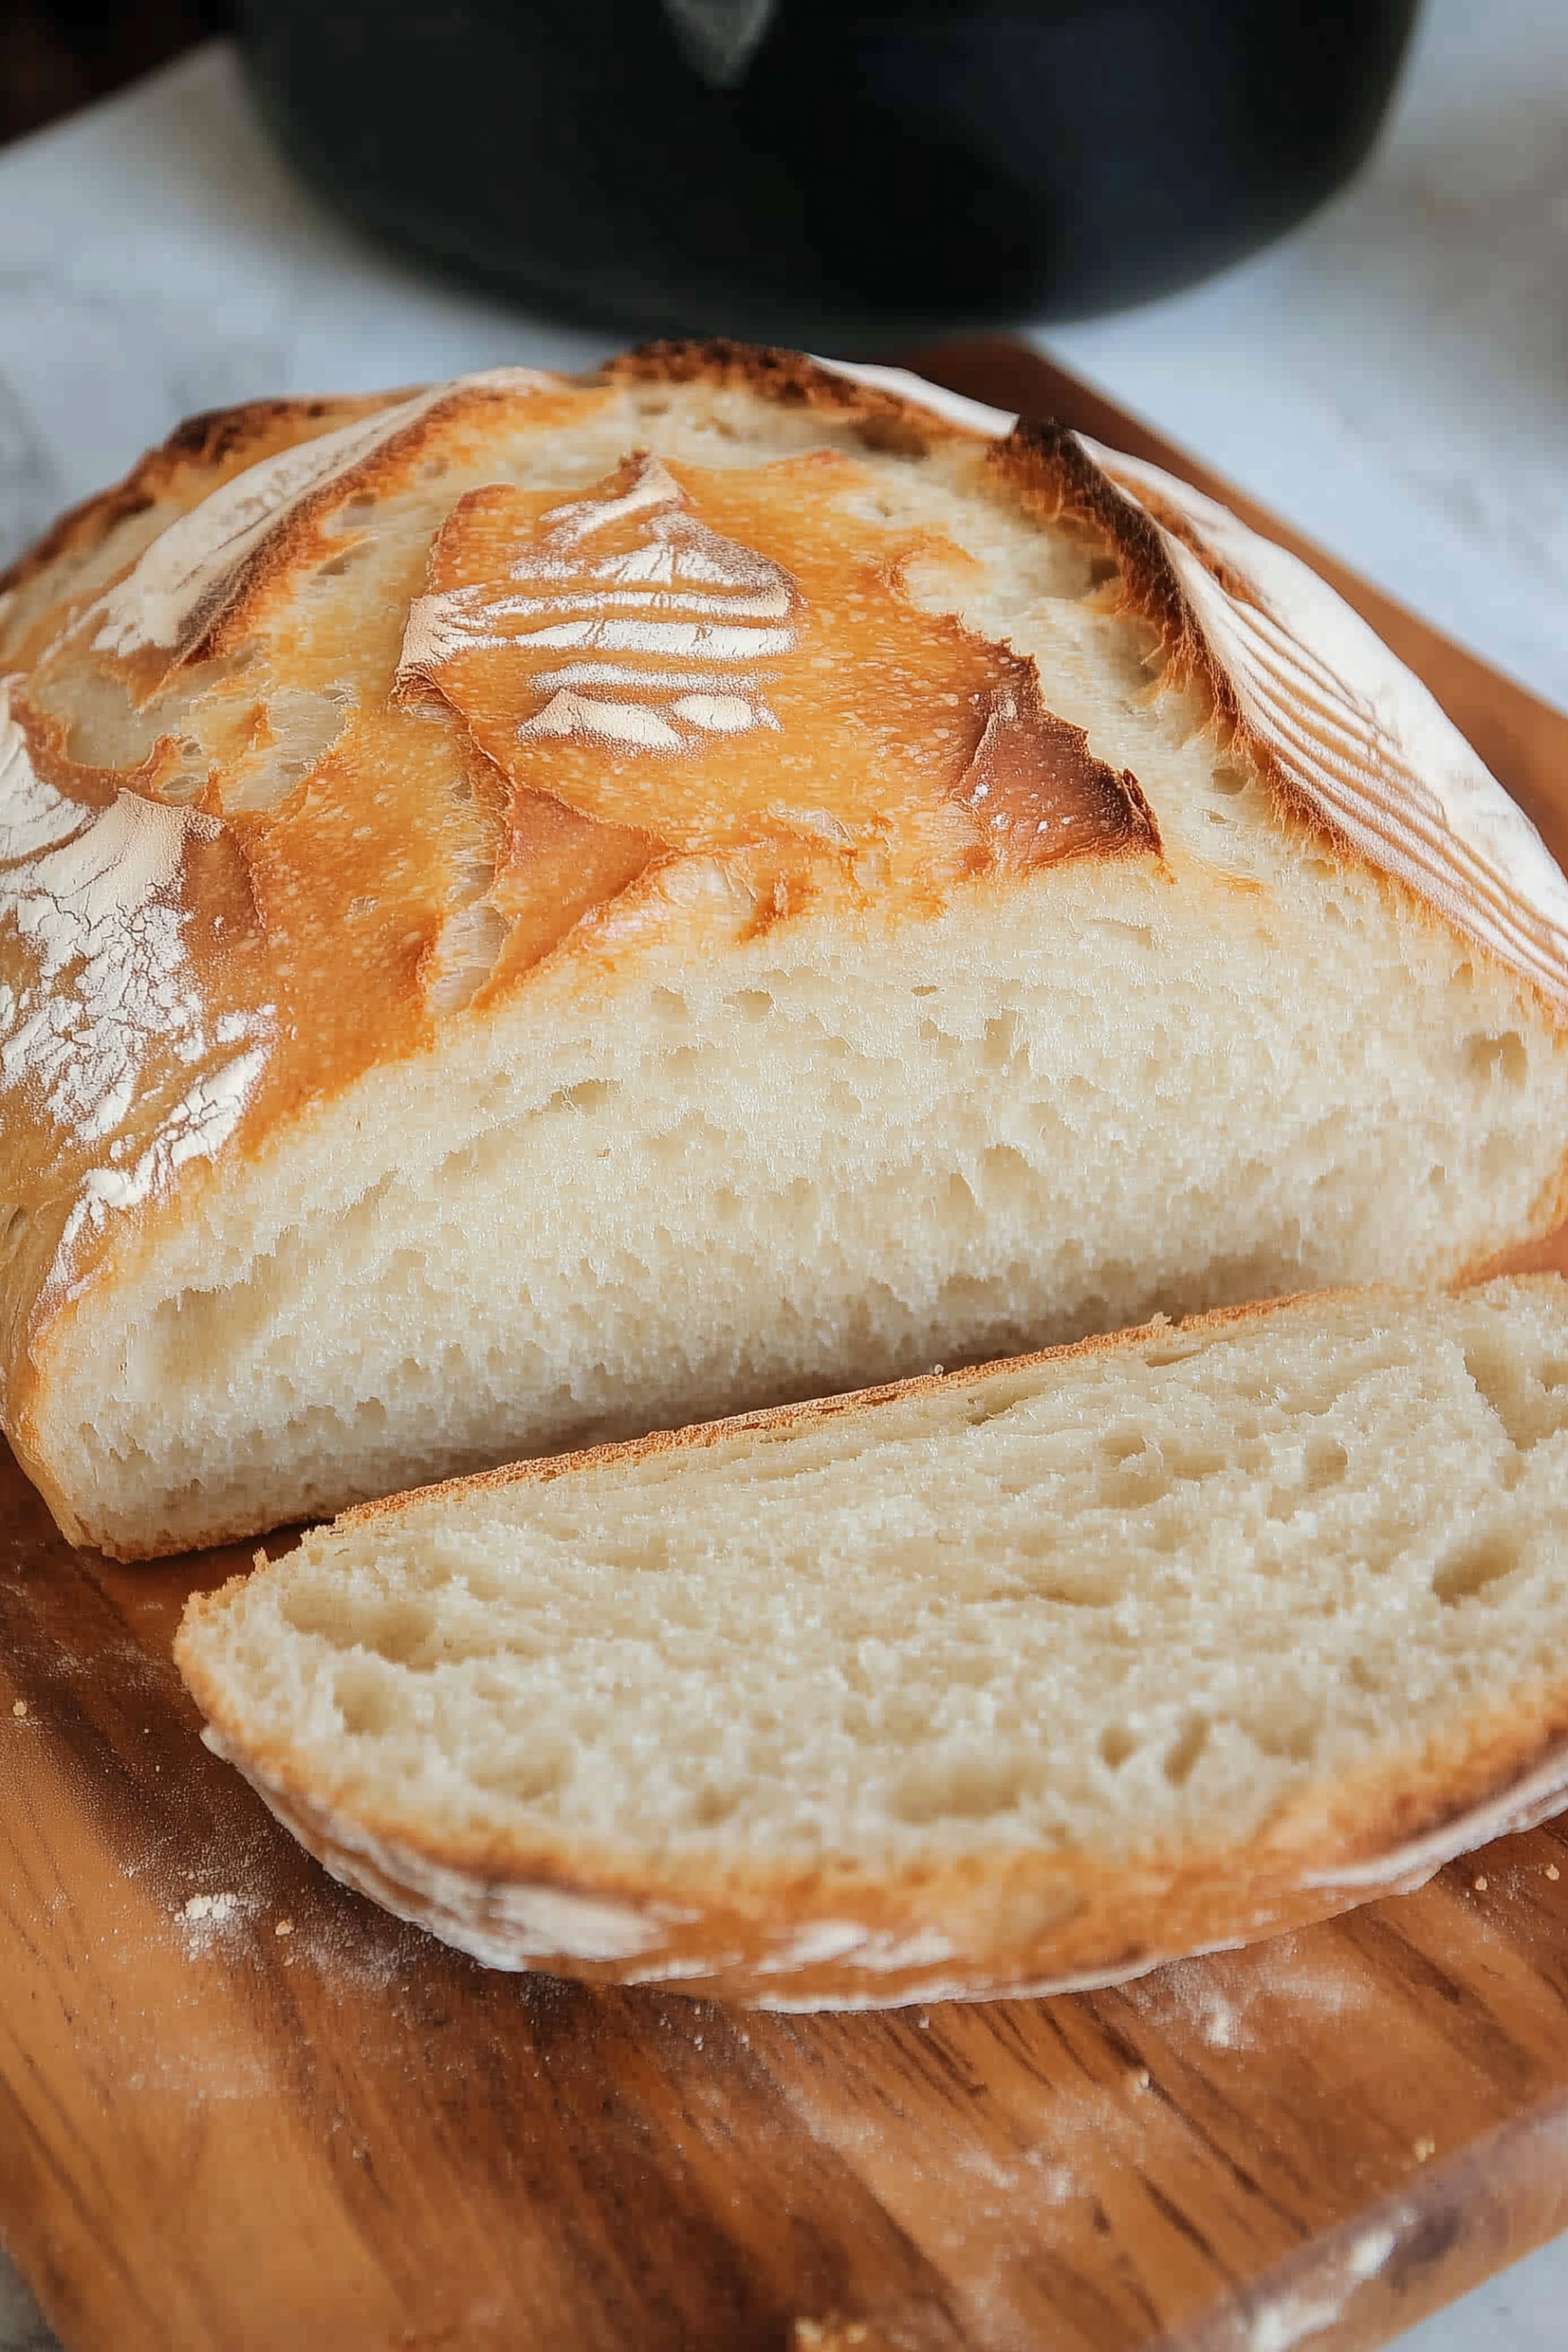
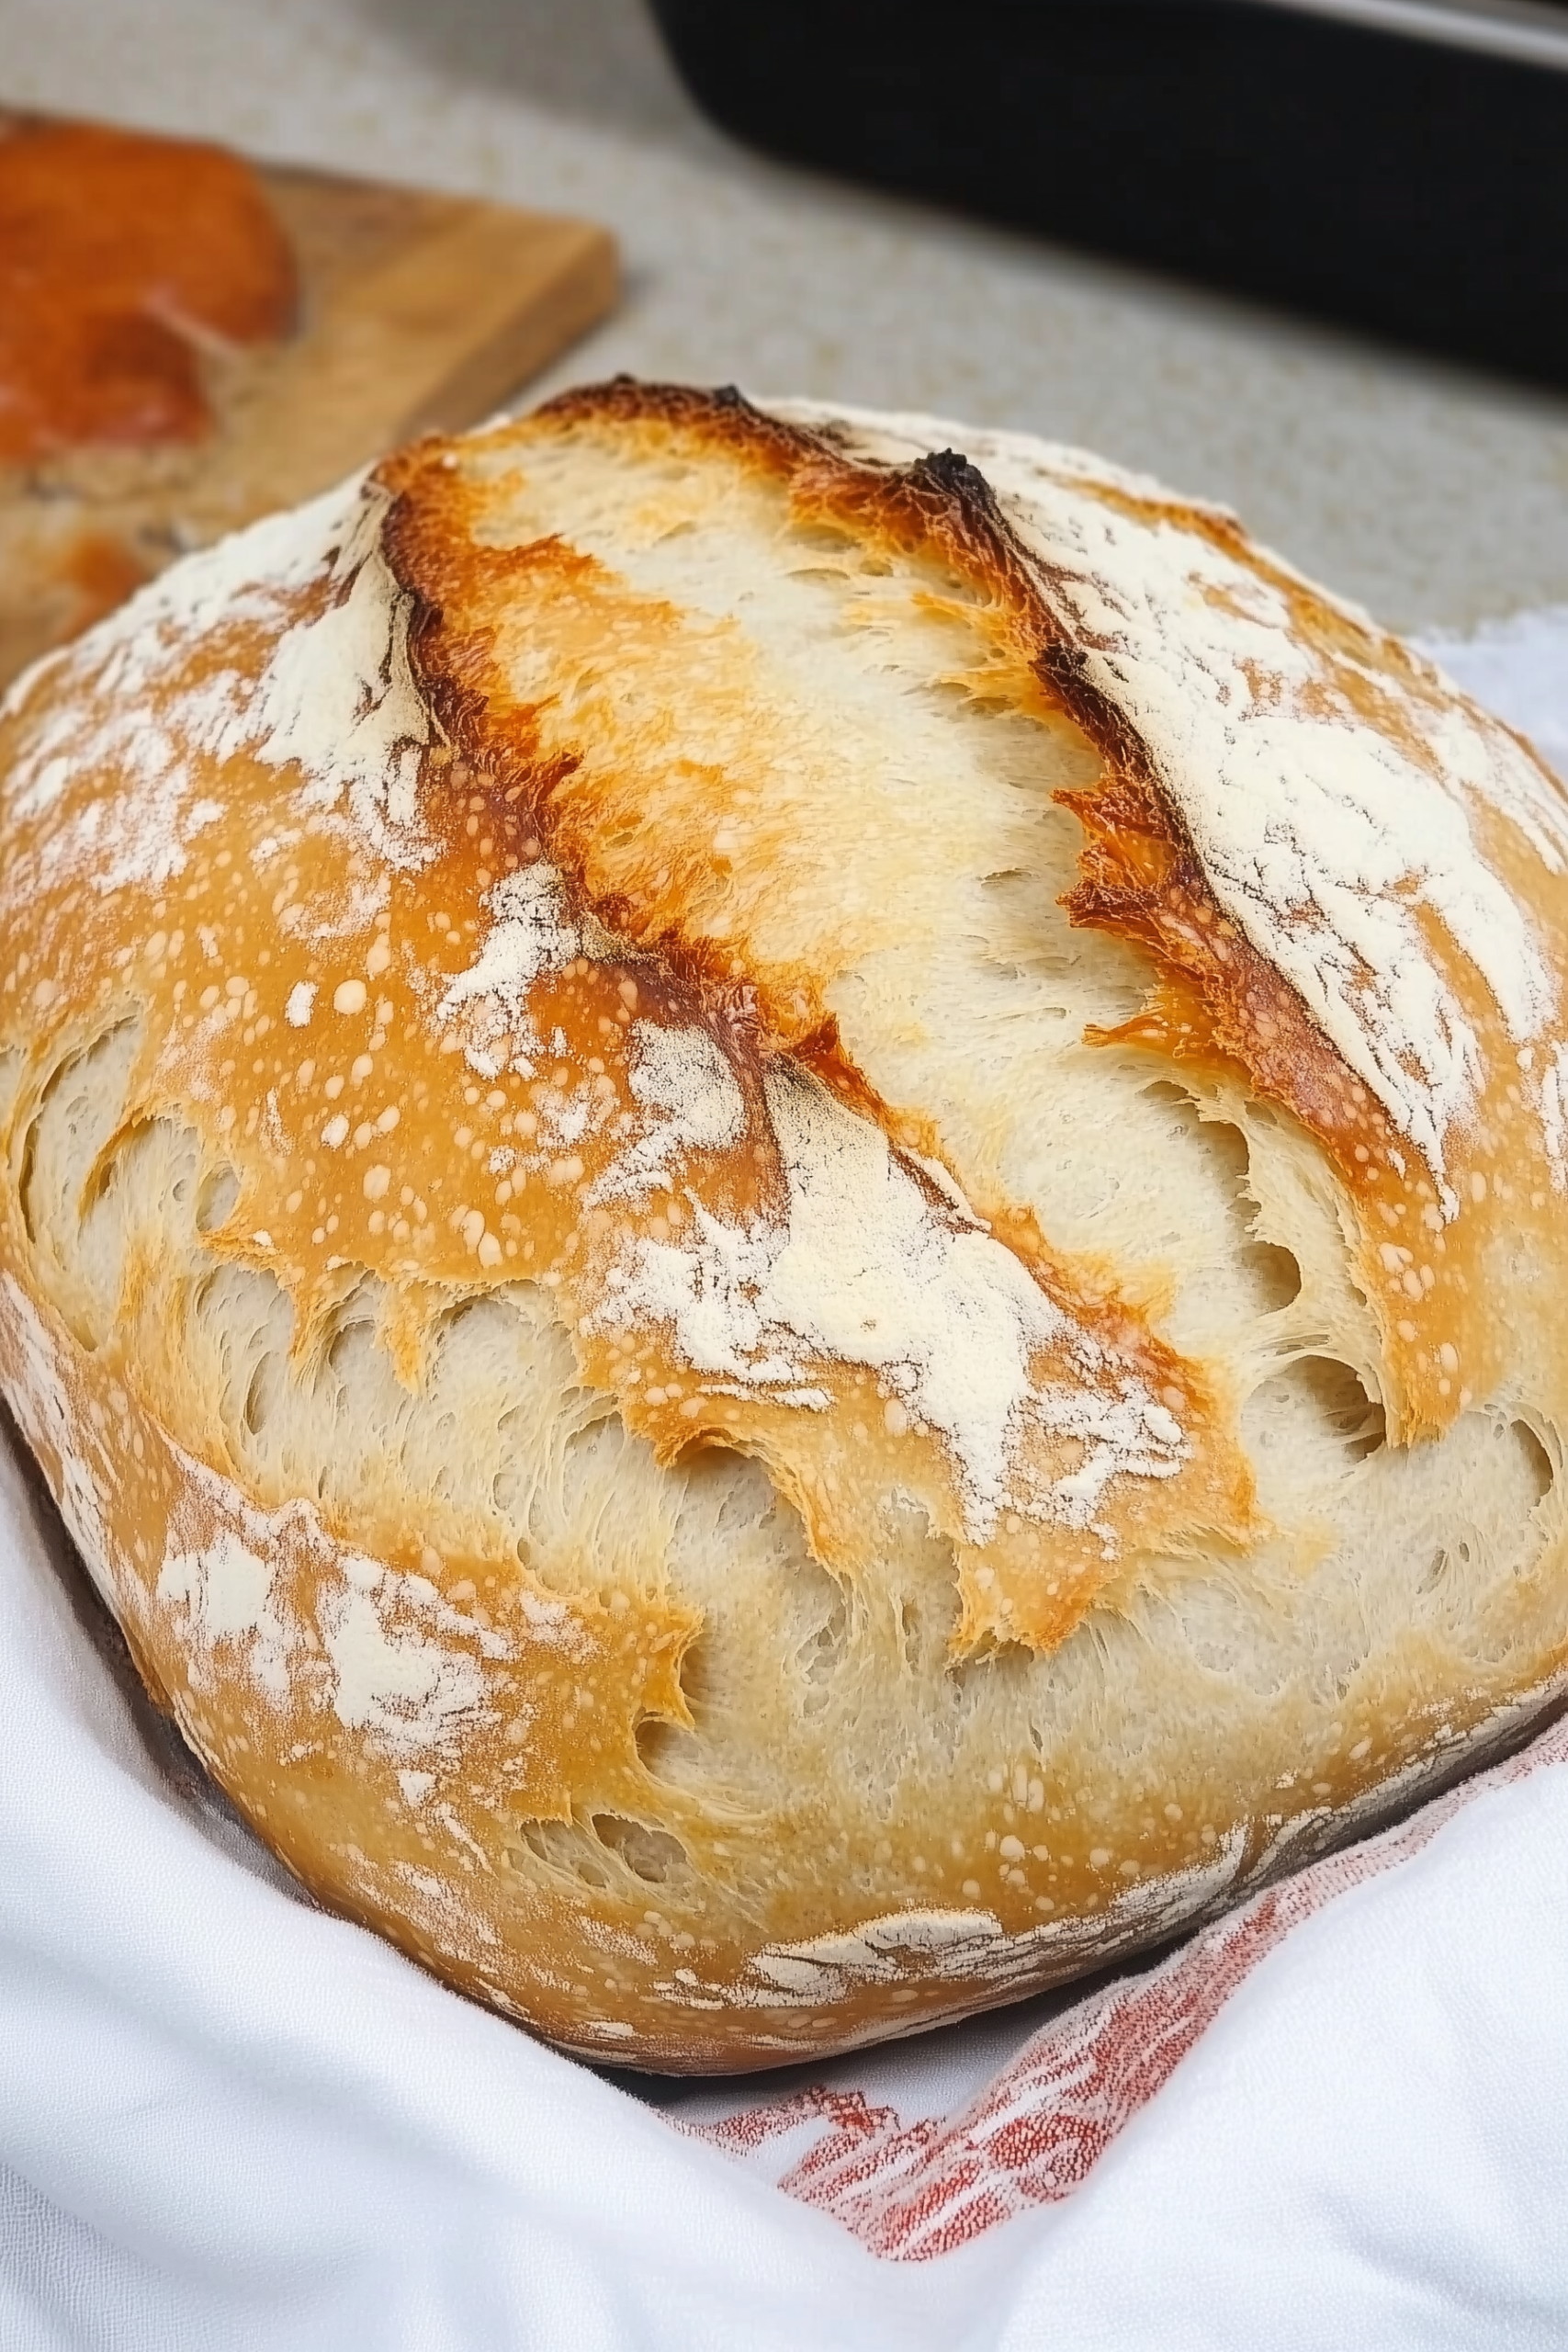
This Artisan Bread recipe is the ultimate beginner-friendly loaf: rustic, golden, and irresistibly chewy with a tender crumb. Made with only three basic pantry staples and zero kneading, this dough comes together in one bowl and develops incredible flavor as it rests. Whether you’re new to bread baking or simply want a foolproof loaf with minimal effort, this recipe delivers bakery-quality results every time.
Perfect for serving with soups, sandwiches, appetizers, or enjoying warm with butter, this loaf will quickly become your go-to homemade bread.
Why You’ll Love This Artisan Bread
- No kneading required – just mix, rest, shape, and bake
- Only 3 simple ingredients plus water
- Perfect for beginners and easy enough for everyday baking
- Crispy, crackly crust with a soft chewy interior
- Flexible rising time (2 hours to overnight) depending on your schedule
- Works with a baking stone, pizza stone, skillet, or Dutch oven
- Customizable into one large boule or two smaller loaves
Ingredients
- 3 cups (395 g) all-purpose flour or bread flour
- ½ tablespoon kosher salt
- 1 packet (¼ ounce) instant or active dry yeast (2 ¼ teaspoons)
- 1 ½ cups warm water (105°F)
Instructions
1. Make the Dough
- Add flour, salt, and yeast to a large mixing bowl.
- Pour warm water over the dry ingredients. Ensure the water is warm but not hot.
- Mix using a dough whisk, wooden spoon, spatula, or clean hands until fully combined. The dough will be sticky and wet; add a little flour only if it’s too sticky to handle at all.
- Cover the bowl with a towel or lightly sprayed plastic wrap.
- Let rise for 2–10 hours, or overnight on the counter. Longer rises create deeper flavor and chewier texture.
2. Shape the Dough
- Lightly flour a surface and wet your hands to prevent sticking.
- Turn the dough out gently—do not punch down or knead.
- Pull the edges up and fold into the center to form a round boule or divide into two loaves.
- Place the shaped dough onto parchment paper.
- Dust lightly with flour and score 1–4 slashes across the top using a bread knife.
- Rest for 20–30 minutes.
3. Bake the Bread
- Preheat oven to 450°F with a baking stone, pizza stone, Dutch oven, or cast-iron skillet inside.
- Slide the parchment with the dough onto the hot surface.
- For a crustier loaf, add 1 cup hot water to a broiler pan at the bottom of the oven or place 5 ice cubes on the bottom rack to create steam.
- Bake 25–30 minutes, until golden brown and crisp.
- Cool on a rack for at least 30 minutes before slicing.
- Store in a paper bag for best crust texture.
Tips, Storage & FAQs
Tips
- If dough is very sticky, add flour in small increments until manageable.
- Refrigerate dough for 30 minutes before shaping to firm it up.
- Dough can rise for up to 12 hours on counter or 1 week in the fridge.
- Split dough into two smaller 9-inch loaves for quicker, smaller bakes.
- Use bread flour for a chewier texture and more structure.
Storage
- Store cooled bread in a paper bag for up to 3 days (keeps crust crisp).
- Freeze wrapped bread in a freezer-safe bag for up to 3 months.
- Thaw at room temperature before serving.
FAQs
Can I use active dry yeast?
Yes. Active dry yeast works the same; no proofing needed.
What if my dough doesn’t rise?
Make sure your water is warm (not hot) and your yeast isn’t expired.
Can I bake it in a Dutch oven?
Absolutely—this recipe works beautifully in a Dutch oven.
Can I add mix-ins like herbs or cheese?
Yes! Add herbs, garlic, cheese, or seeds during the mixing stage.
Why do I need steam in the oven?
Steam creates that classic crispy artisan-style crust.
Final Thoughts
This no-knead artisan bread is the simplest way to bake delicious, rustic homemade bread without special skills or equipment. With just a few pantry ingredients and a long rest, you get a golden, crusty loaf that tastes like it came straight from a bakery. Perfect for beginners and seasoned bakers alike, this recipe is a must-have in every home baker’s rotation.
Bake once and you’ll return to it again and again.
📖 Recipe
Artisan Bread
Ingredients
- 3 cups 395 g all-purpose flour or bread flour
- ½ tablespoon kosher salt
- 1 packet ¼ ounce instant or active dry yeast (2 ¼ teaspoons)
- 1 ½ cups warm water 105°F
Instructions
Make the Dough
- Add flour, salt, and yeast to a large mixing bowl.
- Pour warm water over the dry ingredients. Ensure the water is warm but not hot.
- Mix using a dough whisk, wooden spoon, spatula, or clean hands until fully combined. The dough will be sticky and wet; add a little flour only if it’s too sticky to handle at all.
- Cover the bowl with a towel or lightly sprayed plastic wrap.
- Let rise for 2–10 hours, or overnight on the counter. Longer rises create deeper flavor and chewier texture.
Shape the Dough
- Lightly flour a surface and wet your hands to prevent sticking.
- Turn the dough out gently—do not punch down or knead.
- Pull the edges up and fold into the center to form a round boule or divide into two loaves.
- Place the shaped dough onto parchment paper.
- Dust lightly with flour and score 1–4 slashes across the top using a bread knife.
- Rest for 20–30 minutes.
Bake the Bread
- Preheat oven to 450°F with a baking stone, pizza stone, Dutch oven, or cast-iron skillet inside.
- Slide the parchment with the dough onto the hot surface.
- For a crustier loaf, add 1 cup hot water to a broiler pan at the bottom of the oven or place 5 ice cubes on the bottom rack to create steam.
- Bake 25–30 minutes, until golden brown and crisp.
- Cool on a rack for at least 30 minutes before slicing.
- Store in a paper bag for best crust texture.
Notes




Leave a Reply