


Want to save this recipe?
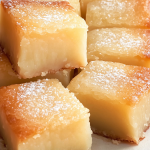
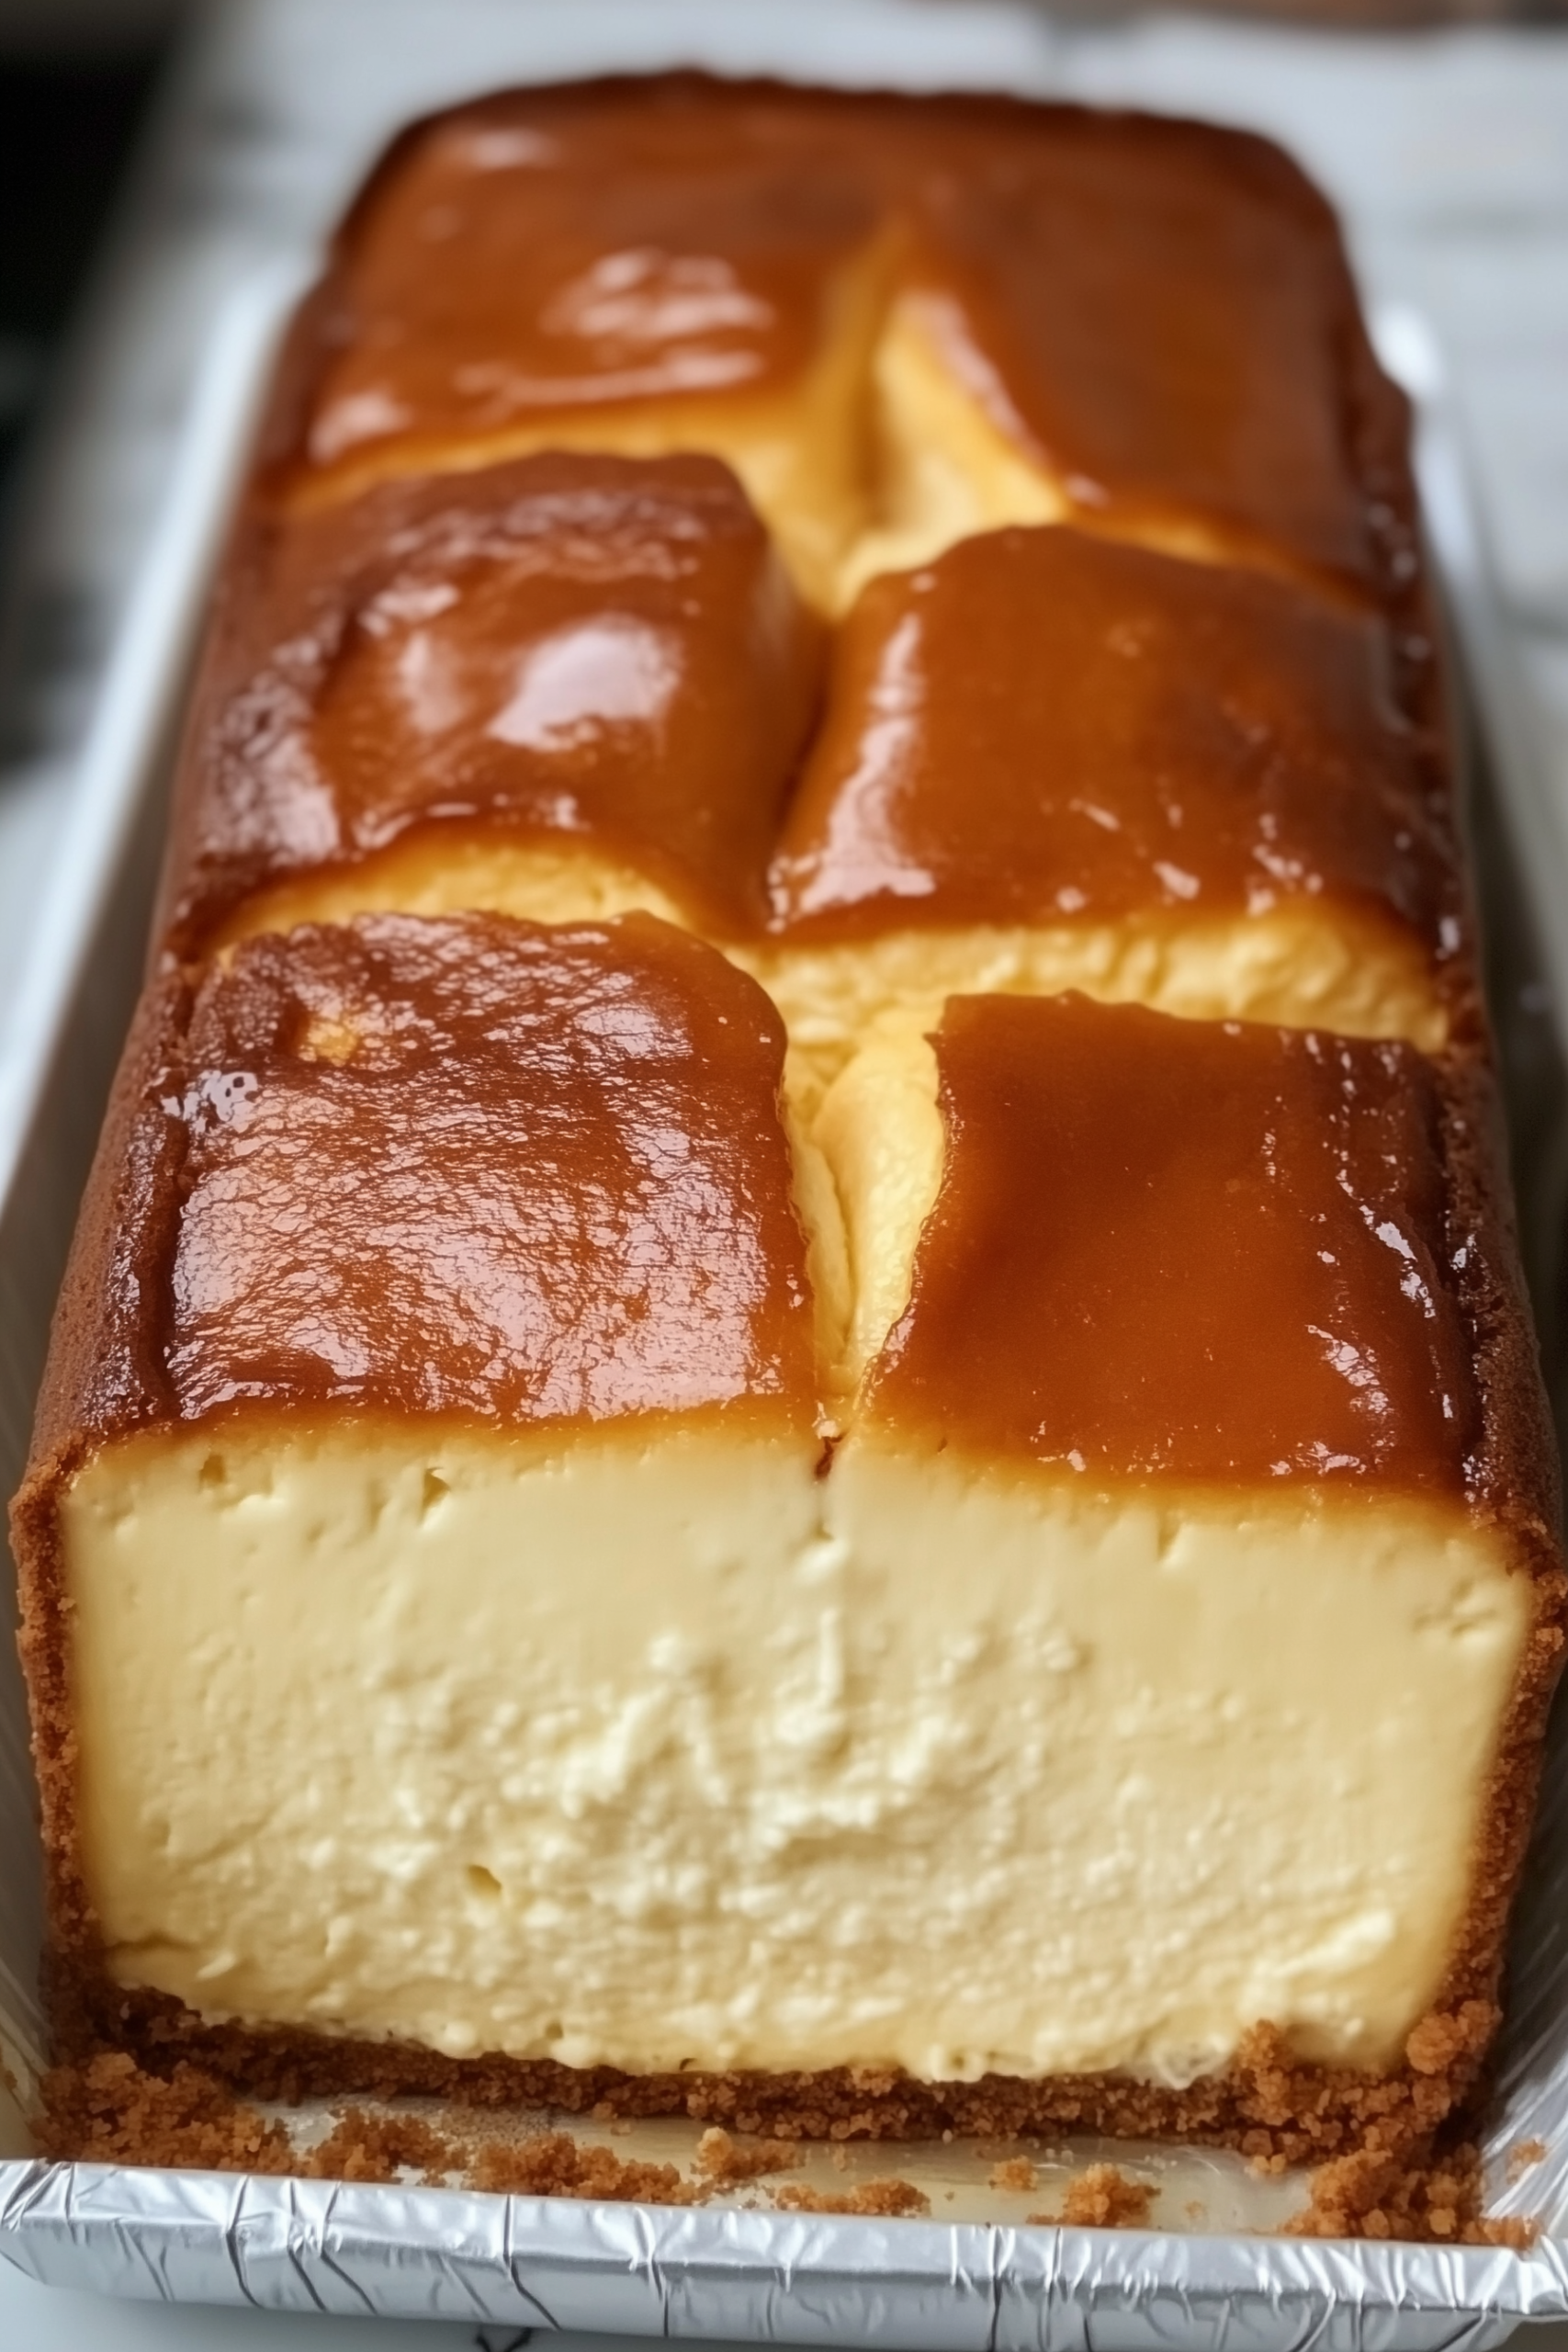
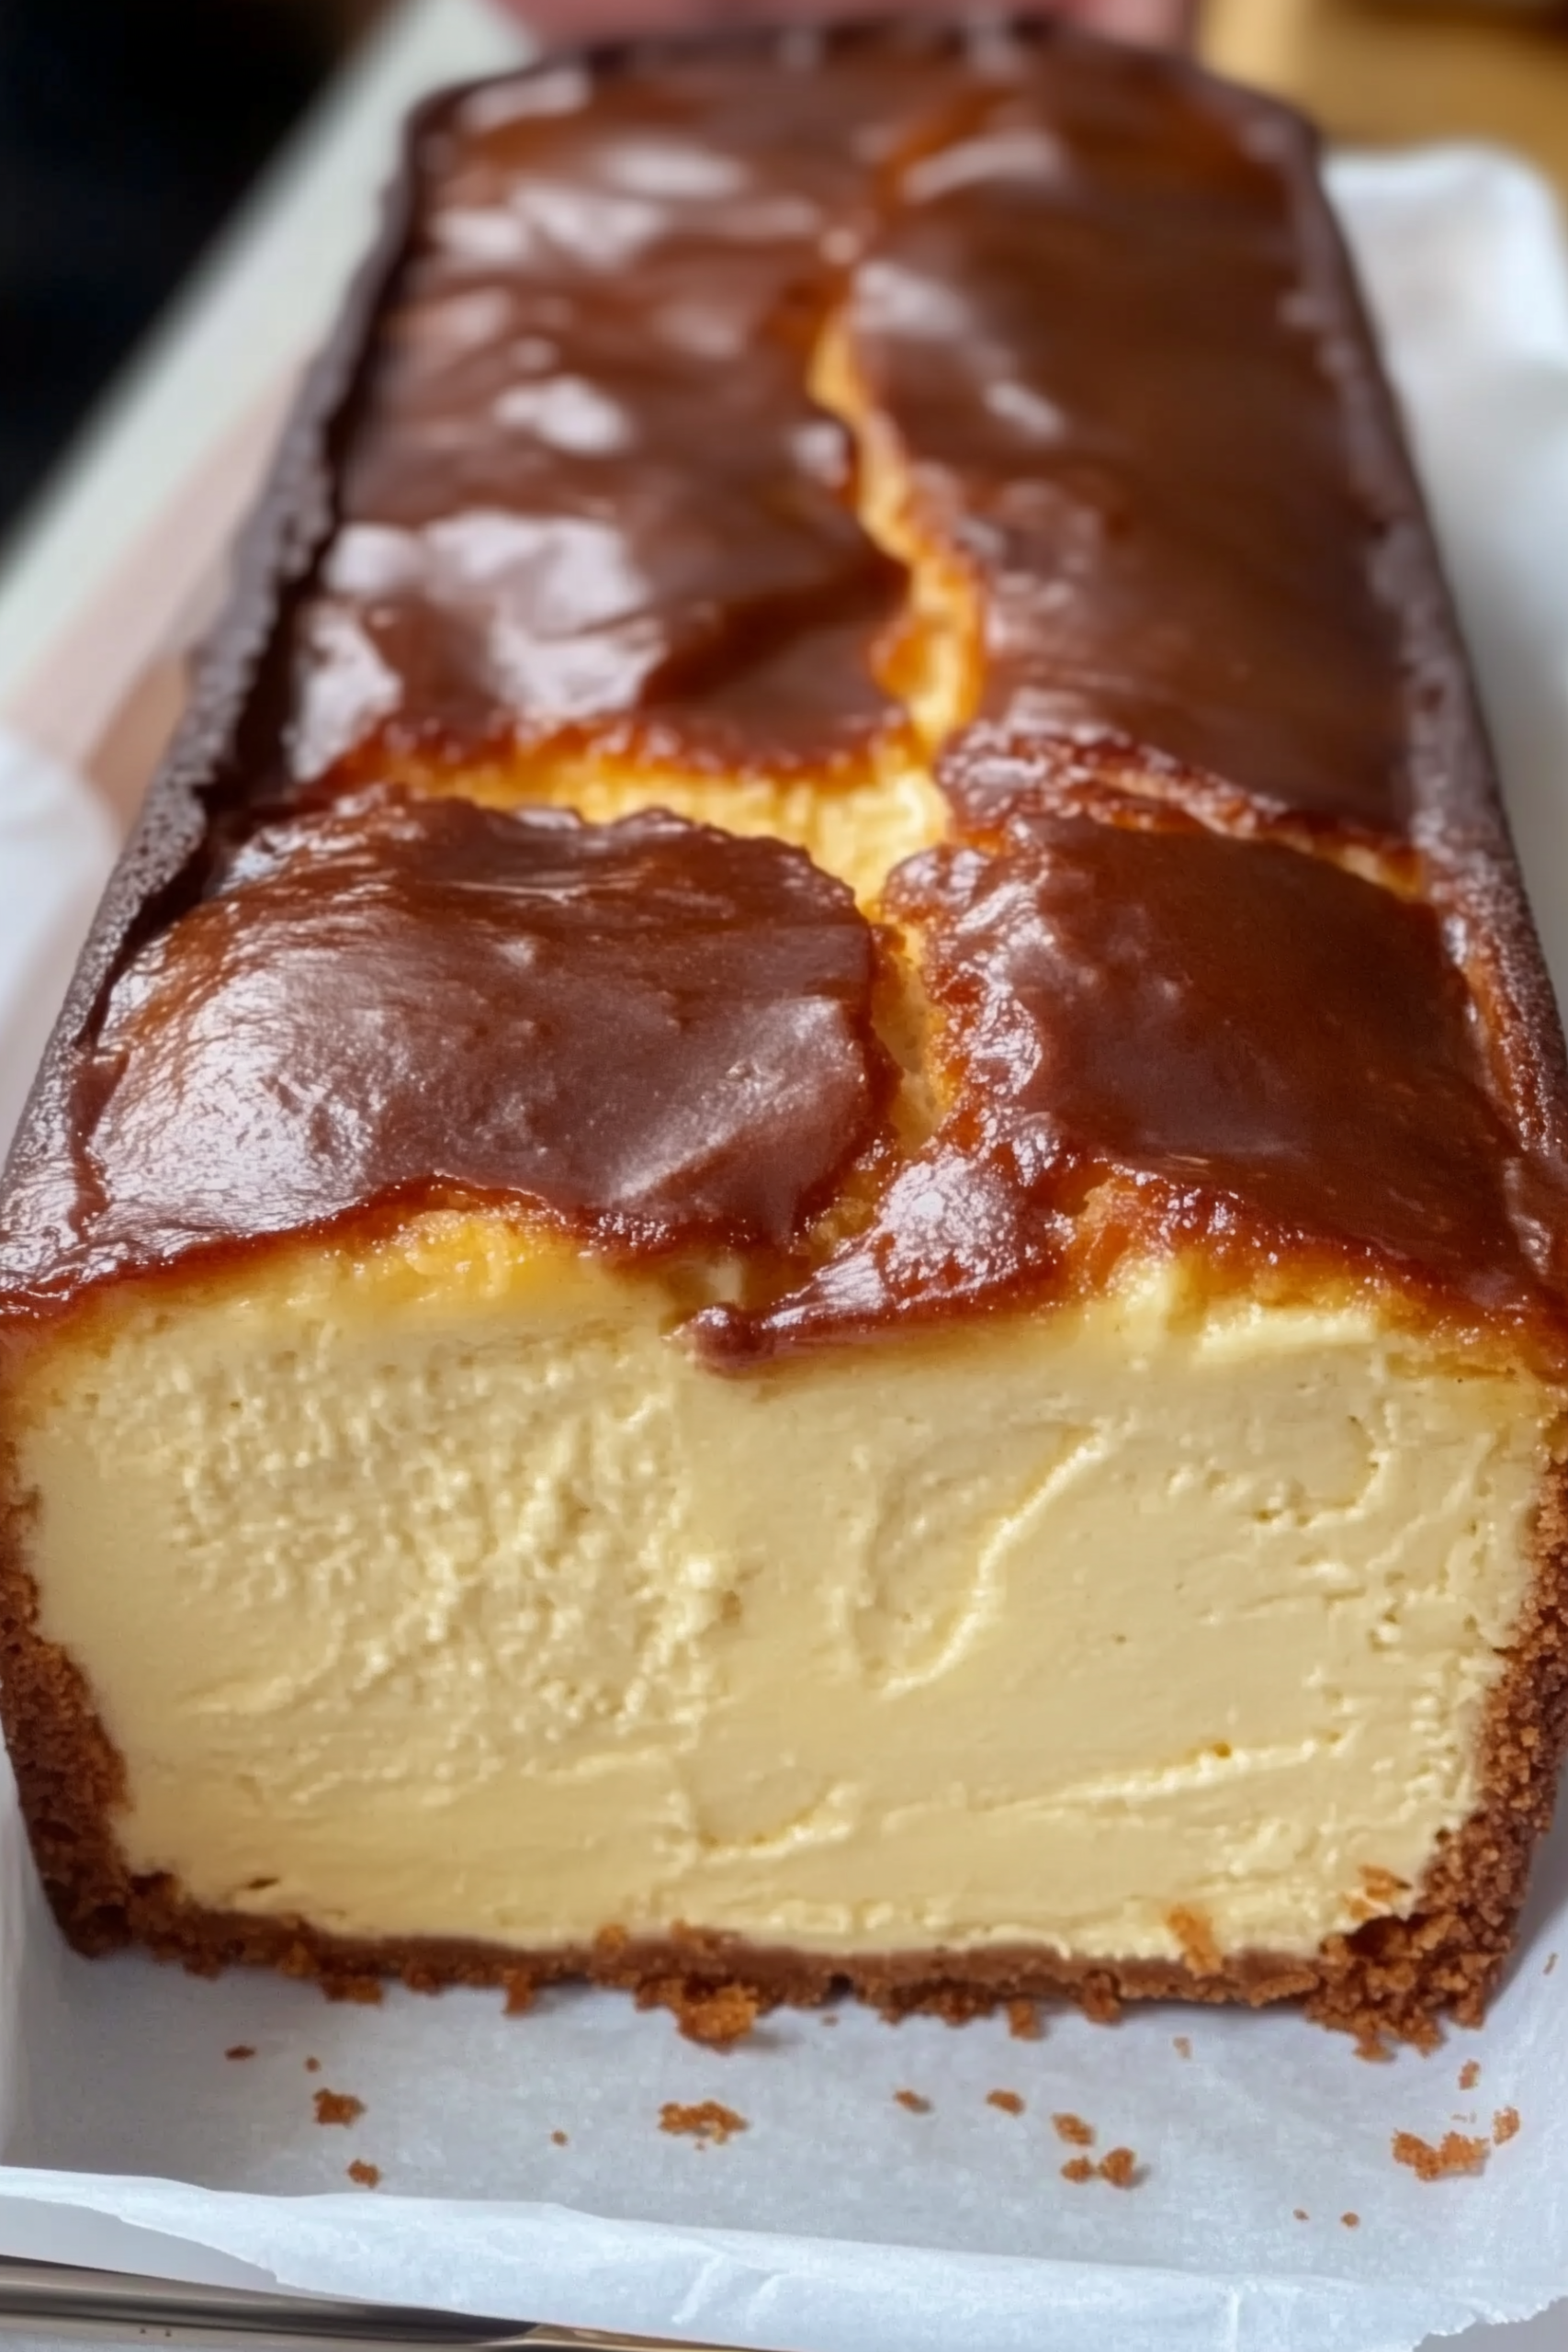
This Burnt Basque Cheesecake in a Loaf Pan is a rich, custardy dessert with a signature deeply caramelized top and silky, melt-in-your-mouth interior. Originating from Spain’s Basque region, this cheesecake skips the crust and the water bath — giving you a foolproof, rustic dessert that’s both simple and elegant.
This small-batch version is baked in a loaf pan, making it perfect for smaller gatherings, intimate dinners, or when you just need a touch of indulgence without overdoing it. With minimal prep and a stunning finish, it’s the kind of dessert that impresses with little effort.
Why You’ll Love This Recipe
- Small-Batch Perfection: Ideal for six servings — just enough to share or save for later.
- Effortless Elegance: No crust, no water bath — simply mix, bake, and chill.
- Beautifully Burnt Top: The high temperature caramelizes the top, creating a rich, bittersweet flavor.
- Creamy & Custardy Center: Perfectly balanced between dense cheesecake and silky flan-like texture.
- Make-Ahead Dessert: Tastes even better chilled the next day.
Ingredients
- 1 ½ cups cream cheese, softened (full-fat)
- ½ cup granulated sugar
- 2 large eggs, room temperature
- ¾ cup heavy cream
- ½ teaspoon vanilla extract
- ⅛ teaspoon salt
- 1 tablespoon all-purpose flour
Instructions
-
Preheat Oven:
Preheat your oven to 400°F (200°C). Line a loaf pan with parchment paper, leaving overhang for easy removal later. -
Beat Cream Cheese & Sugar:
In a large mixing bowl, beat cream cheese and sugar together until completely smooth and fluffy. -
Add Eggs:
Mix in the eggs one at a time, beating well after each addition. Scrape down the sides of the bowl as needed. -
Incorporate Liquids:
Pour in the heavy cream, vanilla extract, and salt. Mix until the batter is silky and fully combined. -
Add Flour:
Sift in the flour and fold gently until just combined — do not overmix. -
Bake:
Pour the batter into the prepared loaf pan. Tap the pan gently on the counter to release any air bubbles. Bake for 40–45 minutes, or until the top is deeply golden brown and the center still jiggles slightly. -
Cool & Chill:
Allow the cheesecake to cool completely at room temperature, then refrigerate for at least 4 hours or overnight for the best texture. -
Serve:
Slice with a sharp knife (wiping between cuts for clean slices) and serve chilled or at room temperature.
Tips, Storage & FAQs
Tips
- Use Room Temperature Ingredients: Ensures a smooth, lump-free batter.
- Don’t Overbake: The center should still jiggle — it will set as it cools.
- Chill Thoroughly: Cooling enhances the creamy, custard-like texture.
- For Extra Caramelization: Bake the last few minutes on the top rack for deeper color.
Storage
- Refrigerate: Store in an airtight container for up to 5 days.
- Freeze: Wrap slices tightly in plastic wrap and freeze for up to 1 month. Thaw overnight in the refrigerator before serving.
FAQs
Can I make this cheesecake without flour?
Yes — you can omit the flour for a gluten-free version. The texture will be slightly softer but still delicious.
What size loaf pan should I use?
An 8×4-inch loaf pan works perfectly for this recipe.
Can I double the recipe?
Absolutely. Double the ingredients and bake in a 9-inch springform pan for a full-size cheesecake. Adjust the bake time to 55–65 minutes.
Why is the top so dark?
That’s the signature “burnt” look — it gives Basque cheesecake its unique, caramelized flavor.
Final Thoughts
This Burnt Basque Cheesecake in a Loaf Pan is the perfect combination of simplicity and sophistication. With its creamy center, rich flavor, and beautifully charred top, it’s an easy dessert that never fails to impress. Whether served plain or with a drizzle of caramel or berry compote, it’s a decadent treat worthy of any occasion.
📖 Recipe

Burnt Basque Cheesecake in a Loaf Pan
Ingredients
- 1 ½ cups cream cheese softened (full-fat)
- ½ cup granulated sugar
- 2 large eggs room temperature
- ¾ cup heavy cream
- ½ teaspoon vanilla extract
- ⅛ teaspoon salt
- 1 tablespoon all-purpose flour
Instructions
Preheat Oven:
- Preheat your oven to 400°F (200°C). Line a loaf pan with parchment paper, leaving overhang for easy removal later.
Beat Cream Cheese & Sugar:
- In a large mixing bowl, beat cream cheese and sugar together until completely smooth and fluffy.
Add Eggs:
- Mix in the eggs one at a time, beating well after each addition. Scrape down the sides of the bowl as needed.
Incorporate Liquids:
- Pour in the heavy cream, vanilla extract, and salt. Mix until the batter is silky and fully combined.
Add Flour:
- Sift in the flour and fold gently until just combined — do not overmix.
Bake:
- Pour the batter into the prepared loaf pan. Tap the pan gently on the counter to release any air bubbles. Bake for 40–45 minutes, or until the top is deeply golden brown and the center still jiggles slightly.
Cool & Chill:
- Allow the cheesecake to cool completely at room temperature, then refrigerate for at least 4 hours or overnight for the best texture.
Serve:
- Slice with a sharp knife (wiping between cuts for clean slices) and serve chilled or at room temperature.
Notes


Leave a Reply