
Want to save this recipe?
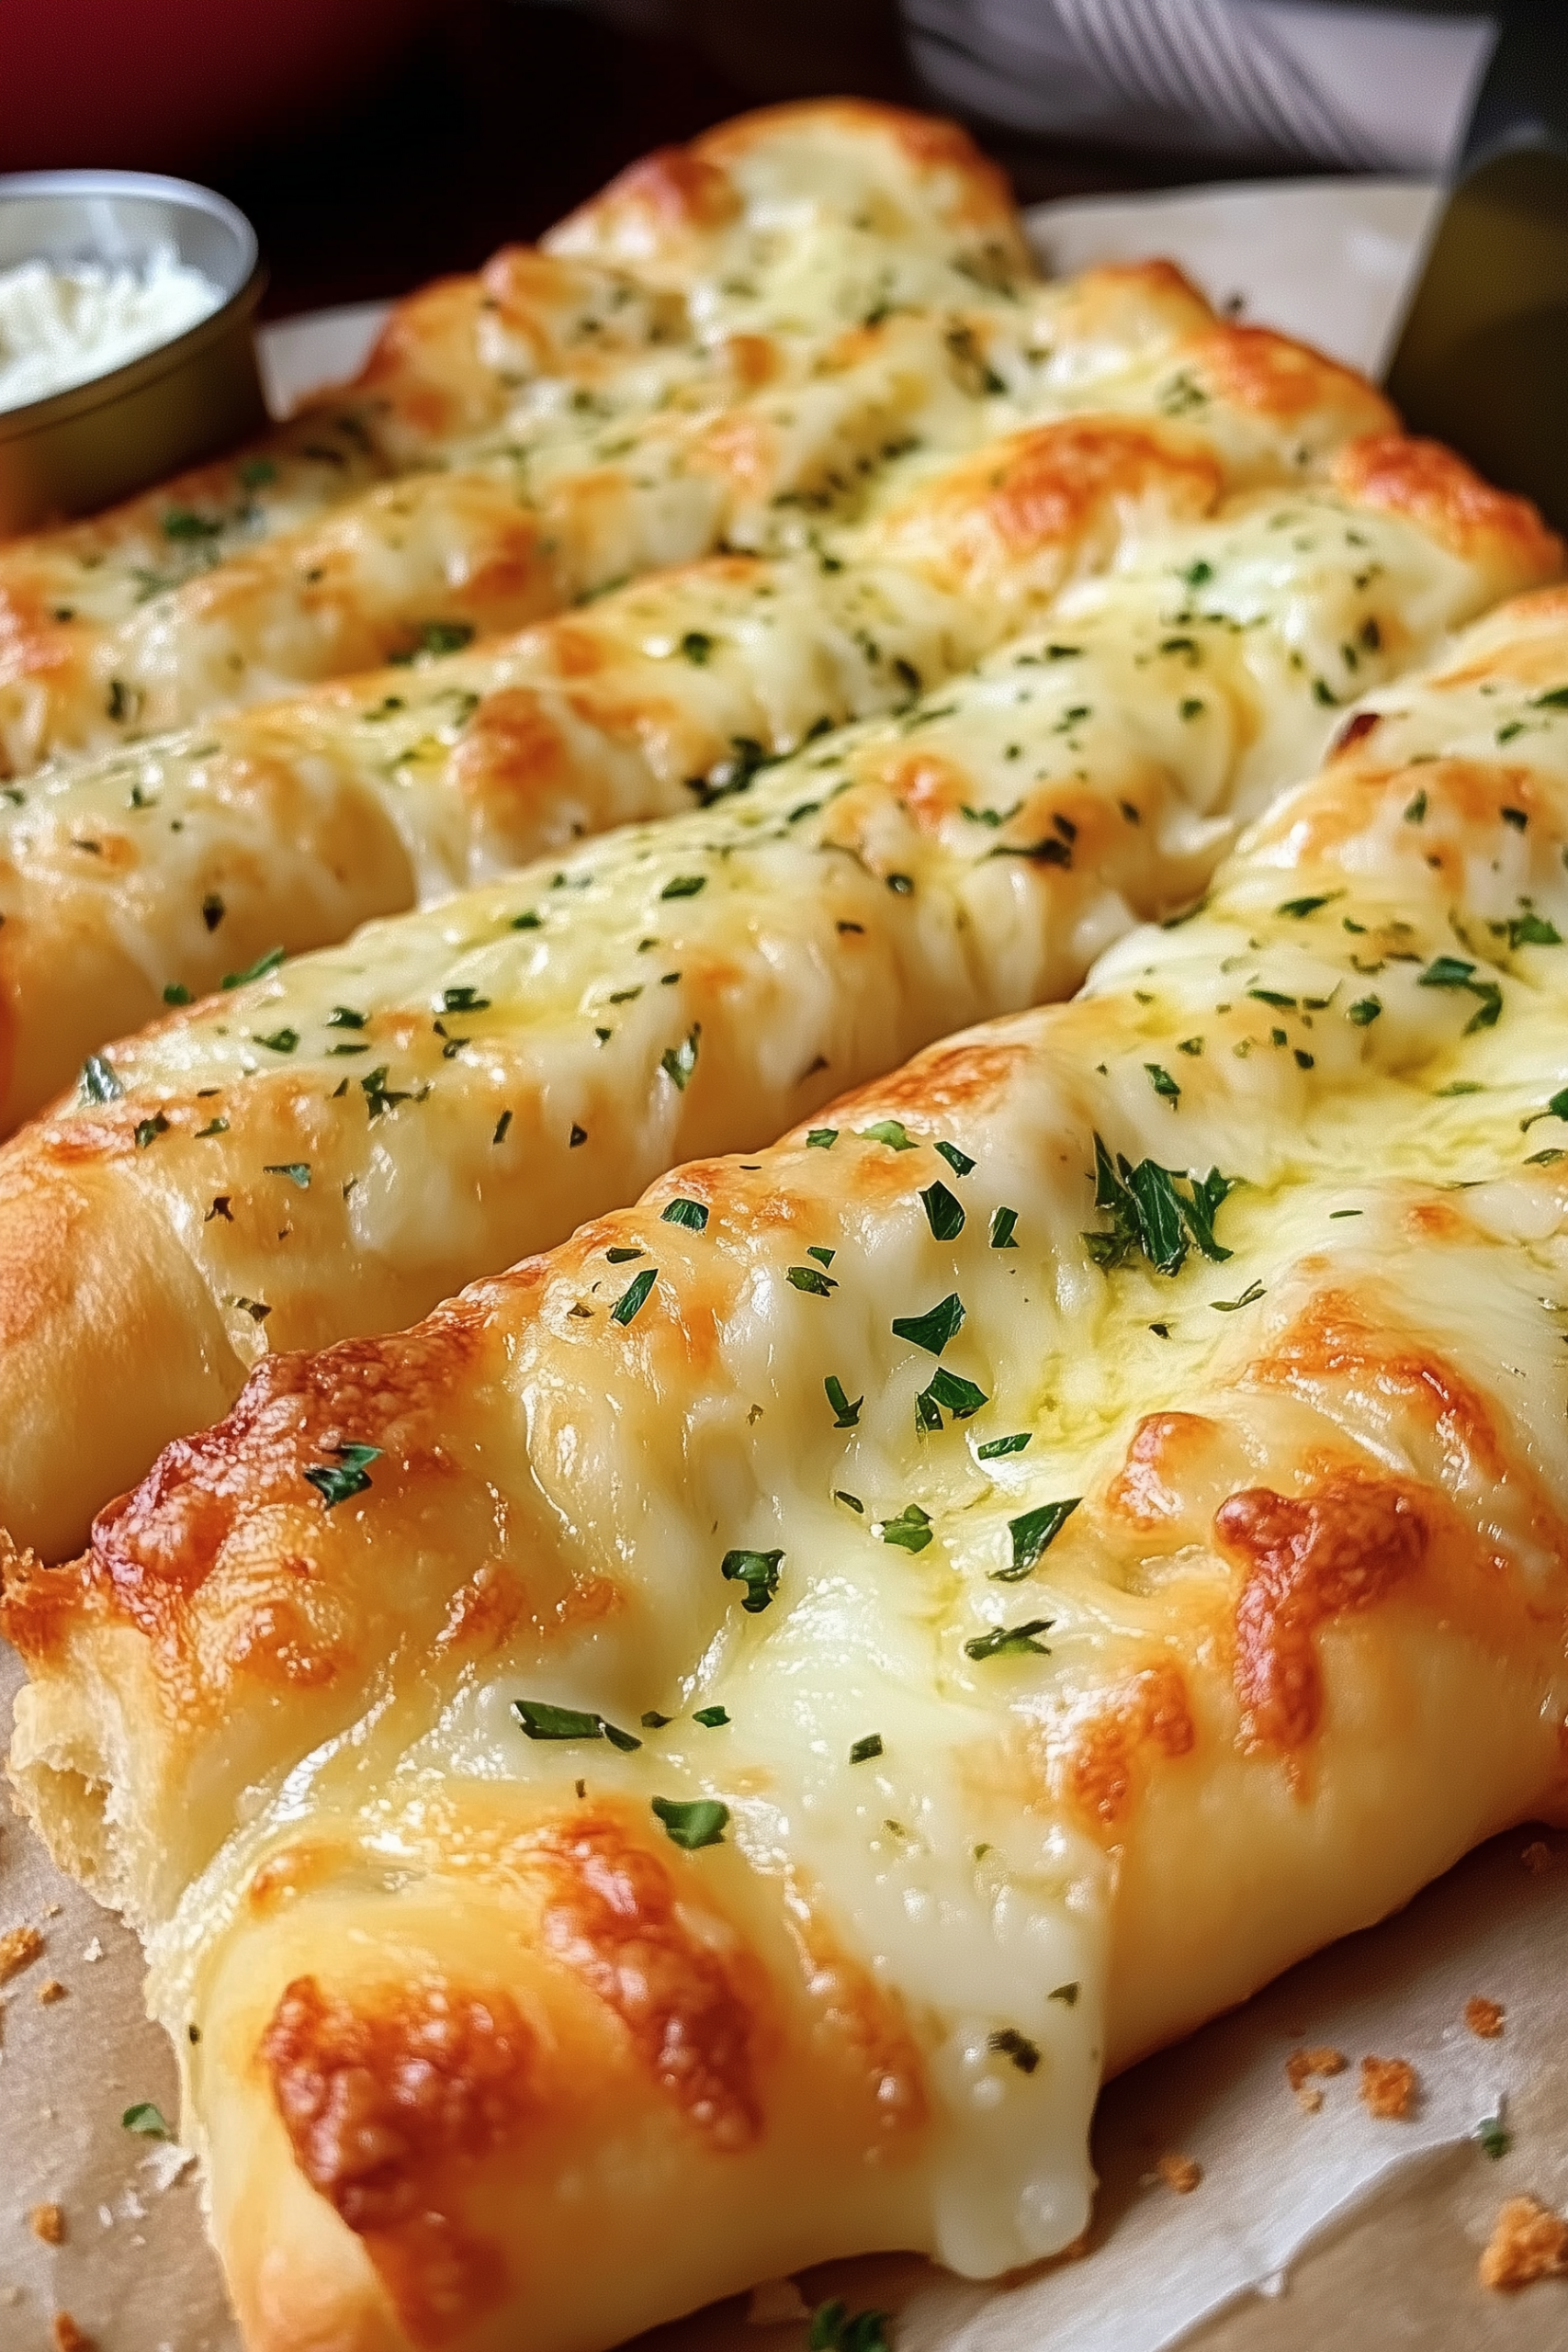
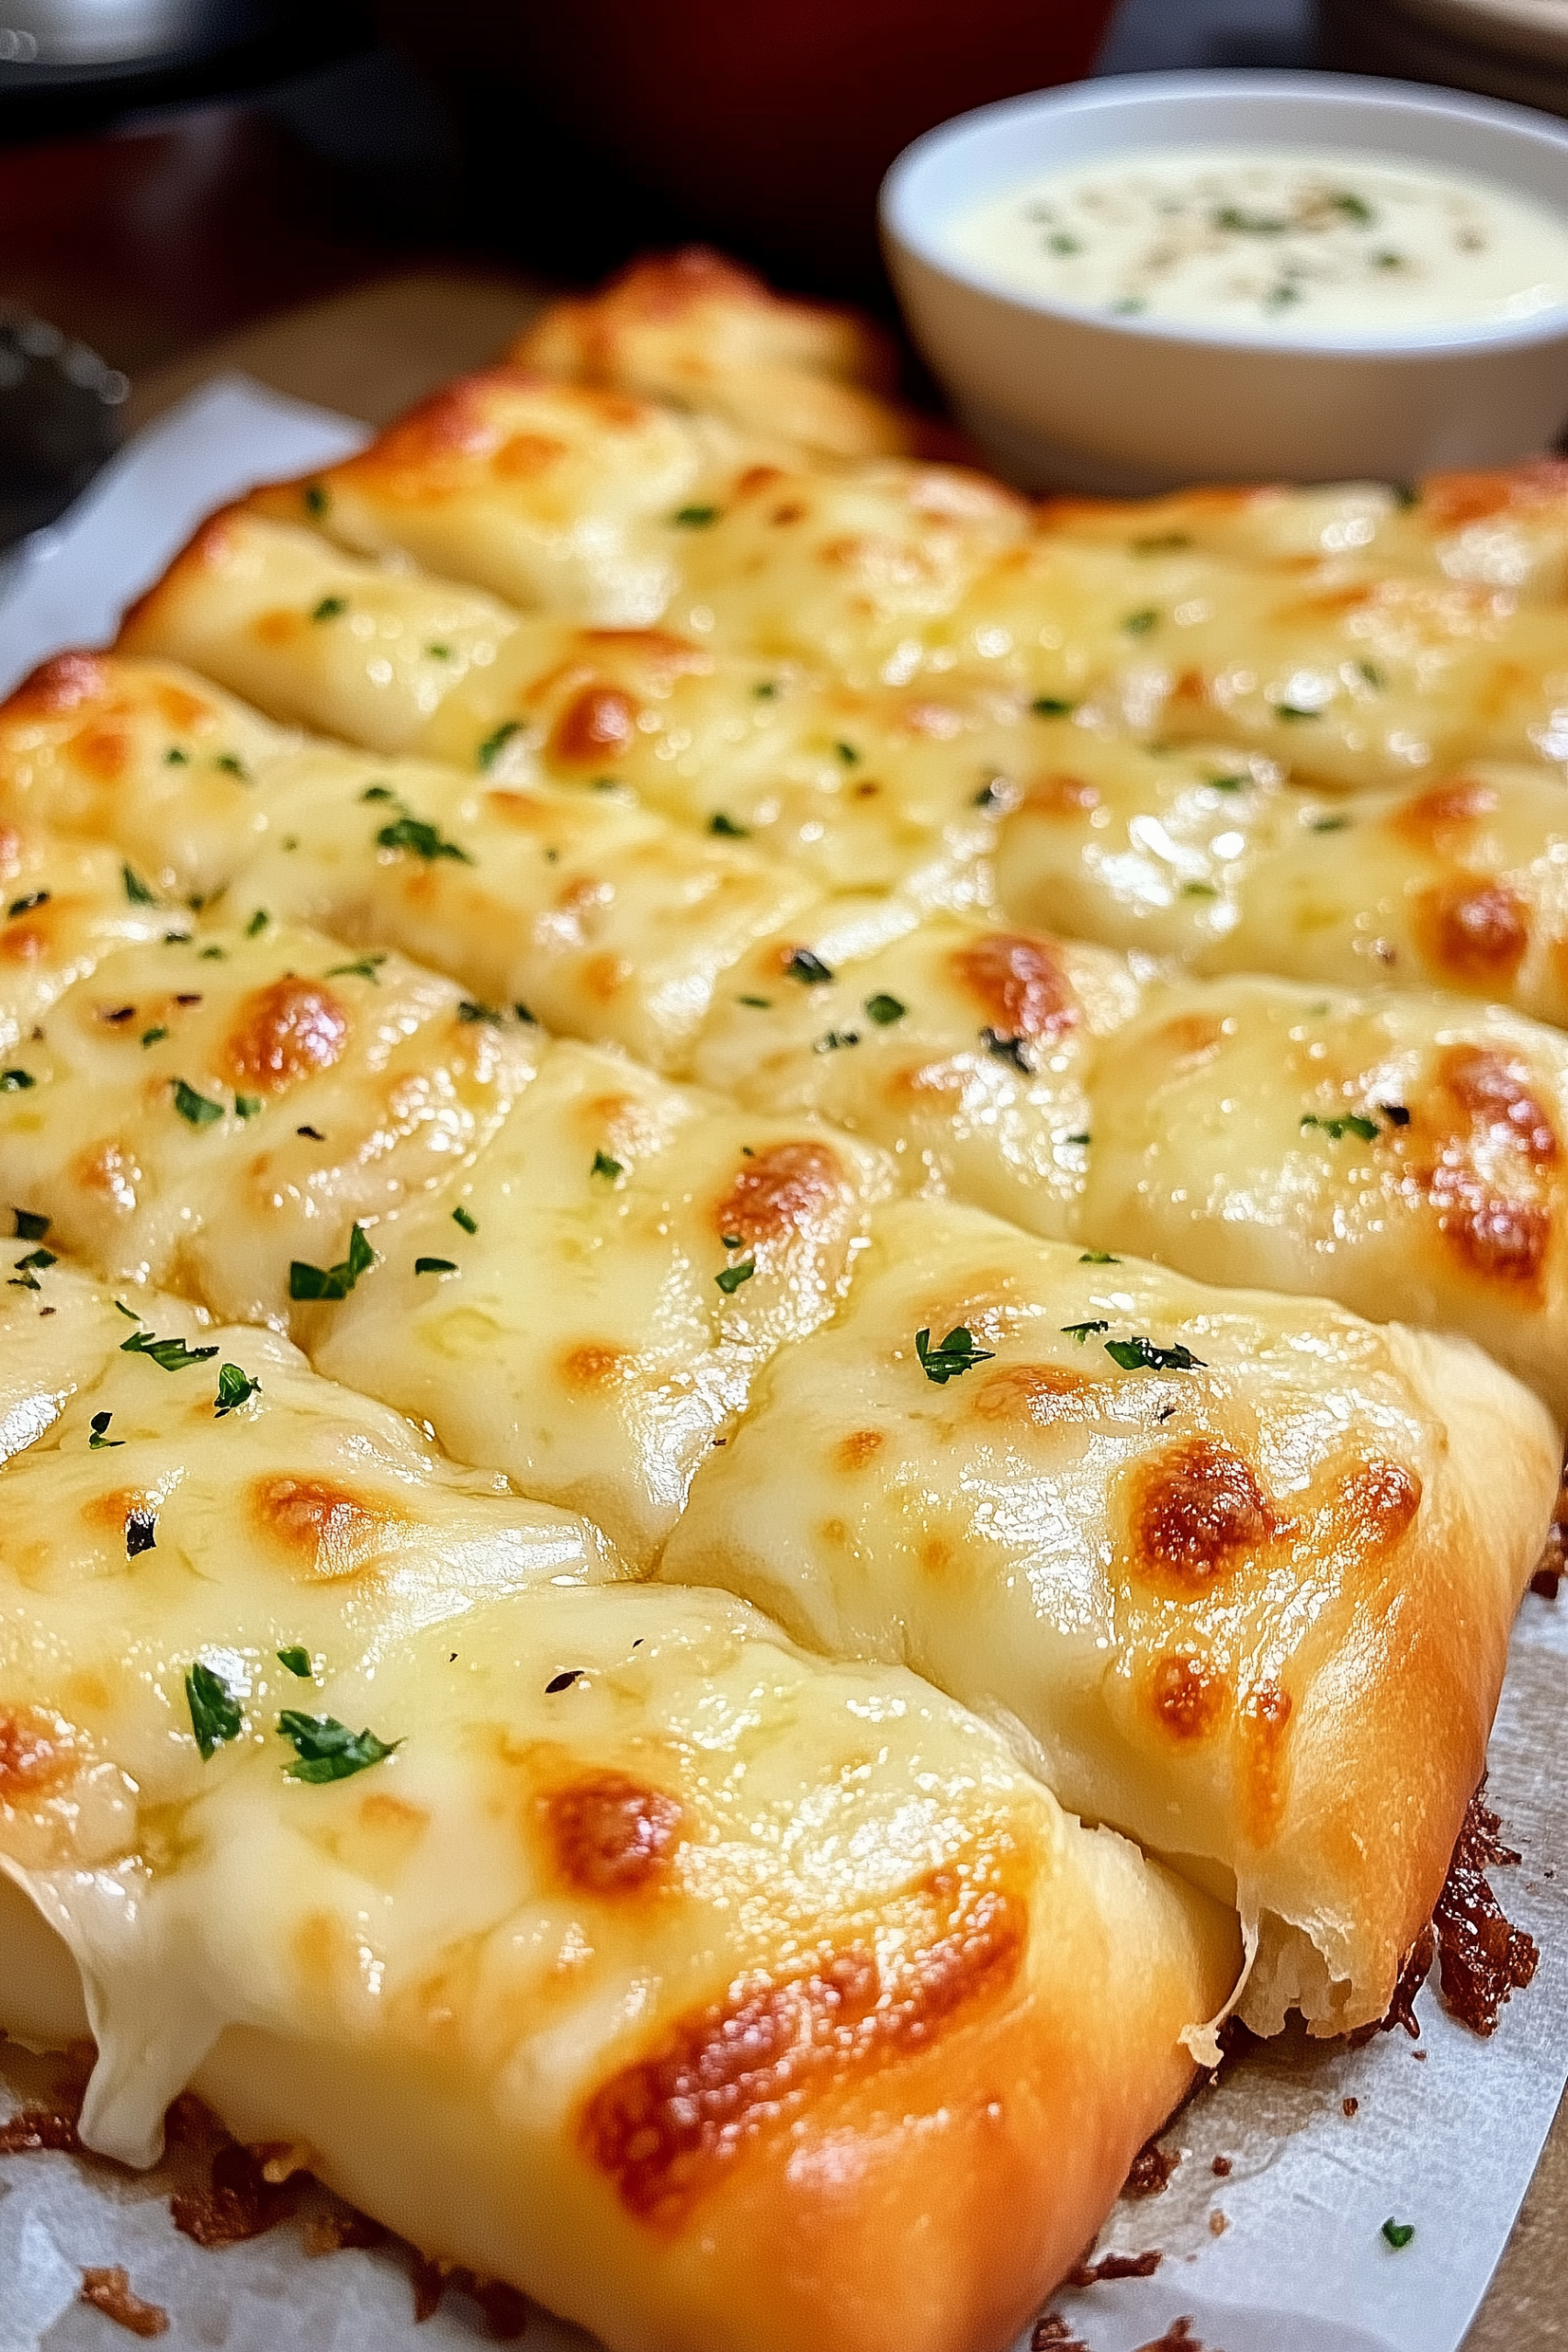
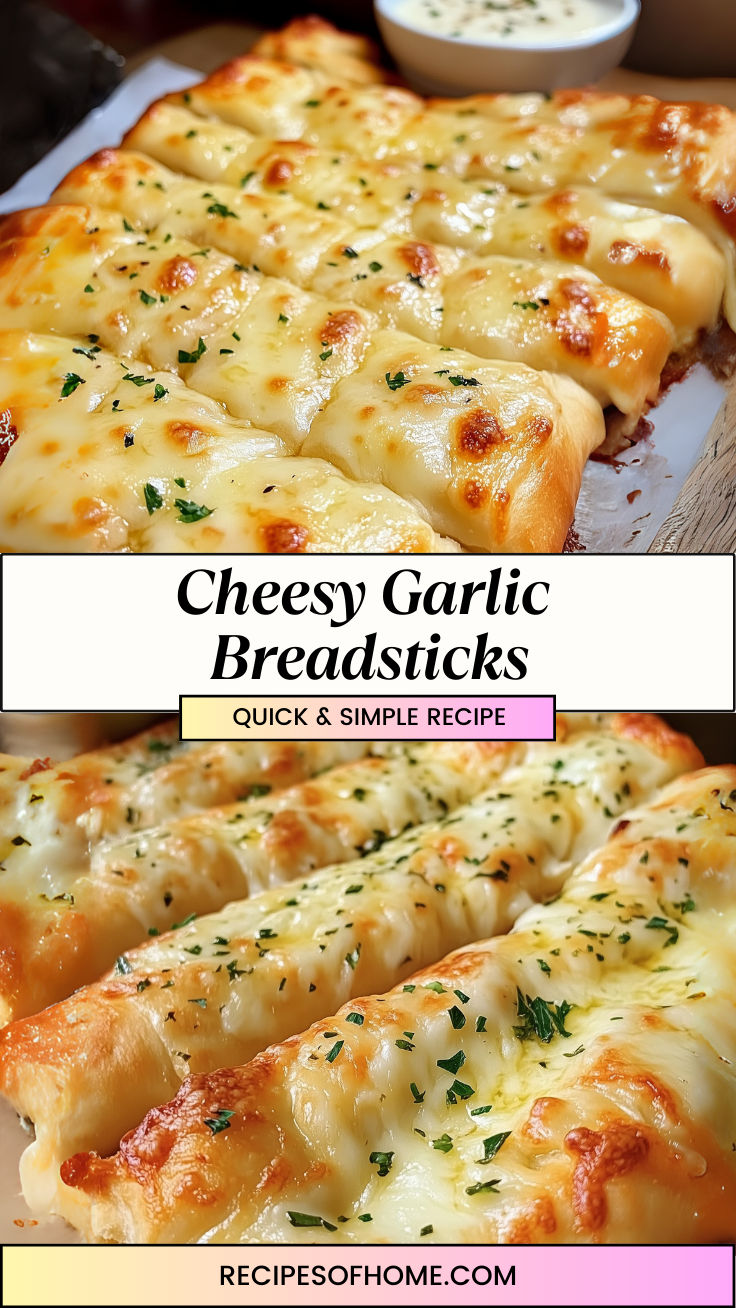
Is there anything more irresistible than warm, buttery breadsticks fresh from the oven? Yes—when they’re topped with golden, melted cheese and the aroma of roasted garlic fills your kitchen. These Cheesy Garlic Breadsticks are a homemade masterpiece, giving you all the flavors of your favorite pizza joint, with the added satisfaction of knowing you made them yourself.
I first whipped these up on a cold winter evening when pasta was on the menu and plain bread just wouldn’t cut it. The result? A tray of soft, fluffy breadsticks with crispy edges, gooey cheese, and bold garlic flavor. Let’s just say they didn’t last long. Since then, this has become my go-to side dish for soups, salads, pasta nights—or even just for snacking straight from the pan.
Why You’ll Love This Recipe
These garlic breadsticks are a must-have for any carb-lover or cheese enthusiast. With a soft, pillowy dough and a generous topping of herbs, garlic, and two kinds of cheese, they bring restaurant-quality flavor to your own kitchen.
- Simple ingredients and easy steps
- Soft, fluffy dough with a golden cheesy crust
- Perfectly seasoned with herbs, garlic, and butter
- Great as a side, appetizer, or even a snack
- Versatile and freezer-friendly
Whether served with marinara sauce, soup, or just on their own, these breadsticks are a comfort food favorite that works in every season.
Ingredients
For the Bread Dough:
- 1½ cups + 2 tbsp all-purpose flour
- 1 tbsp dry instant yeast
- 3 tbsp unsalted butter, cubed and at room temperature
- ½ tbsp granulated sugar
- 1 cup lukewarm milk
- 1 tsp salt
- Lukewarm water as required
- Cornmeal for dusting
For the Topping:
- 2 cloves garlic, minced
- 2 tbsp unsalted butter, softened
- 1 tsp Italian herb seasoning
- 1⅓ cups mozzarella cheese, grated
- ½ cup parmesan cheese, grated
- Salt and pepper to taste
- A handful of fresh parsley, chopped
Kitchen Tools You’ll Need
- Mixing bowls
- Measuring cups and spoons
- Fork or pastry cutter
- Baking sheet pan
- Rolling pin
- Clean kitchen towels
- Oven
How to Make Cheesy Garlic Breadsticks
Step 1: Activate the Yeast
In a medium bowl, mix lukewarm milk with yeast, 2 tbsp of flour, and the sugar. Let it sit at room temperature for 10 minutes. If the yeast blooms, the surface will appear foamy and bubbly—a sign it’s active and ready.
Step 2: Mix the Dough
In a large mixing bowl, combine the remaining flour and the cubed butter. Use a fork or your hands to mix until the texture is crumbly and resembles coarse sand. Stir in the salt.
Add the foamy yeast mixture to the flour and begin kneading. Gradually add lukewarm water as needed until a soft dough forms.
Step 3: Let It Rise
Place the kneaded dough in a clean bowl, drizzle with olive oil, and ensure it’s coated all around. Cover with a clean kitchen towel and let it rise in a warm spot for about an hour, or until doubled in size.
Step 4: Prepare the Topping
While the dough is rising, mix the minced garlic, softened butter, Italian seasoning, salt, and pepper in a small bowl.
Step 5: Shape the Dough
Lightly dust your surface with flour and transfer the dough onto it. Knead it for 5 to 8 minutes until smooth. Roll it out into a 1-inch thick rectangle.
Step 6: Let It Rest Again
Prepare your baking sheet by dusting it with cornmeal. Transfer the rolled dough to the pan and gently press it out to fit. Cover with a towel and let it rest for another 15–20 minutes.
Step 7: Prebake the Dough
Preheat your oven to 400°F (200°C). After the dough has rested, bake it for 15 minutes.
Step 8: Add the Toppings
Remove the bread from the oven. Brush with the garlic butter and sprinkle generously with mozzarella and parmesan cheese.
Step 9: Final Bake
Increase the oven temperature to 450°F (232°C) and return the pan to the oven. Bake for 8–10 more minutes, or until the cheese is melted, bubbly, and slightly golden.
Step 10: Garnish and Serve
Take the bread out of the oven, sprinkle with fresh chopped parsley, and slice into sticks. Serve hot and watch them disappear!
Recipe Tips and Variations
- Add Spice: Sprinkle crushed red pepper or chili flakes over the cheese before baking.
- Herb Variations: Try oregano, thyme, or basil for a different flavor profile.
- Cheese Swaps: Substitute mozzarella with provolone, fontina, or a blend for a more complex flavor.
- Dipping Sauce: Serve with warm marinara, ranch, or garlic butter sauce.
- Freezer Tip: Bake the breadsticks, cool them completely, and freeze in an airtight container. Reheat in the oven when ready to enjoy.
Serving Suggestions
These breadsticks go with just about everything:
- Pasta dishes like fettuccine alfredo or baked ziti
- Creamy soups like tomato basil or potato leek
- Fresh salads with vinaigrette
- Pizza night as a side or appetizer
- Party platters or game-day snacks
They’re also great on their own—especially fresh from the oven with extra garlic butter.
How to Store and Reheat
Refrigerator:
Store leftovers in an airtight container for up to 3 days.
Freezer:
Wrap in foil and store in a freezer-safe bag for up to 2 months. Thaw and reheat as needed.
Reheating:
Place breadsticks on a baking sheet and warm in the oven at 350°F until heated through. For a softer bite, cover with foil during reheating.
Final Thoughts
Cheesy Garlic Breadsticks are proof that simple ingredients and a little time can create something truly special. From the soft, buttery dough to the bubbling cheesy top, each bite is a perfect mix of flavors and textures. It’s a recipe that never fails—whether you’re making it for guests, pairing it with dinner, or enjoying it as a midnight snack.
And the best part? These are totally customizable. Switch up the cheese, experiment with spices, or shape the dough into rounds or knots. No matter how you make them, they’re guaranteed to disappear fast.
📖 Recipe
Cheesy Garlic Breadsticks
Ingredients
For the Bread Dough:
- 1½ cups + 2 tbsp all-purpose flour
- 1 tbsp dry instant yeast
- 3 tbsp unsalted butter cubed and at room temperature
- ½ tbsp granulated sugar
- 1 cup lukewarm milk
- 1 tsp salt
- Lukewarm water as required
- Cornmeal for dusting
For the Topping:
- 2 cloves garlic minced
- 2 tbsp unsalted butter softened
- 1 tsp Italian herb seasoning
- 1⅓ cups mozzarella cheese grated
- ½ cup parmesan cheese grated
- Salt and pepper to taste
- A handful of fresh parsley chopped
Instructions
Step 1: Activate the Yeast
- In a medium bowl, mix lukewarm milk with yeast, 2 tbsp of flour, and the sugar. Let it sit at room temperature for 10 minutes. If the yeast blooms, the surface will appear foamy and bubbly—a sign it’s active and ready.
Step 2: Mix the Dough
- In a large mixing bowl, combine the remaining flour and the cubed butter. Use a fork or your hands to mix until the texture is crumbly and resembles coarse sand. Stir in the salt.
- Add the foamy yeast mixture to the flour and begin kneading. Gradually add lukewarm water as needed until a soft dough forms.
Step 3: Let It Rise
- Place the kneaded dough in a clean bowl, drizzle with olive oil, and ensure it’s coated all around. Cover with a clean kitchen towel and let it rise in a warm spot for about an hour, or until doubled in size.
Step 4: Prepare the Topping
- While the dough is rising, mix the minced garlic, softened butter, Italian seasoning, salt, and pepper in a small bowl.
Step 5: Shape the Dough
- Lightly dust your surface with flour and transfer the dough onto it. Knead it for 5 to 8 minutes until smooth. Roll it out into a 1-inch thick rectangle.
Step 6: Let It Rest Again
- Prepare your baking sheet by dusting it with cornmeal. Transfer the rolled dough to the pan and gently press it out to fit. Cover with a towel and let it rest for another 15–20 minutes.
Step 7: Prebake the Dough
- Preheat your oven to 400°F (200°C). After the dough has rested, bake it for 15 minutes.
Step 8: Add the Toppings
- Remove the bread from the oven. Brush with the garlic butter and sprinkle generously with mozzarella and parmesan cheese.
Step 9: Final Bake
- Increase the oven temperature to 450°F (232°C) and return the pan to the oven. Bake for 8–10 more minutes, or until the cheese is melted, bubbly, and slightly golden.
Step 10: Garnish and Serve
- Take the bread out of the oven, sprinkle with fresh chopped parsley, and slice into sticks. Serve hot and watch them disappear!


Leave a Reply