


Want to save this recipe?
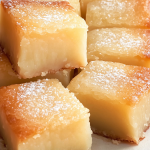
The deep, rich aroma of melted dark chocolate blending with sweet butter as it bakes creates an instant rush to the kitchen. These Mochi Brownies have completely revolutionized dessert time in my home, bridging the gap between a classic fudgy chocolate brownie and the irresistible, bouncy chew of traditional Japanese mochi. It is the ultimate crossover treat that my kids and husband beg for the second the weekend rolls around.
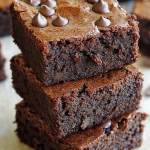
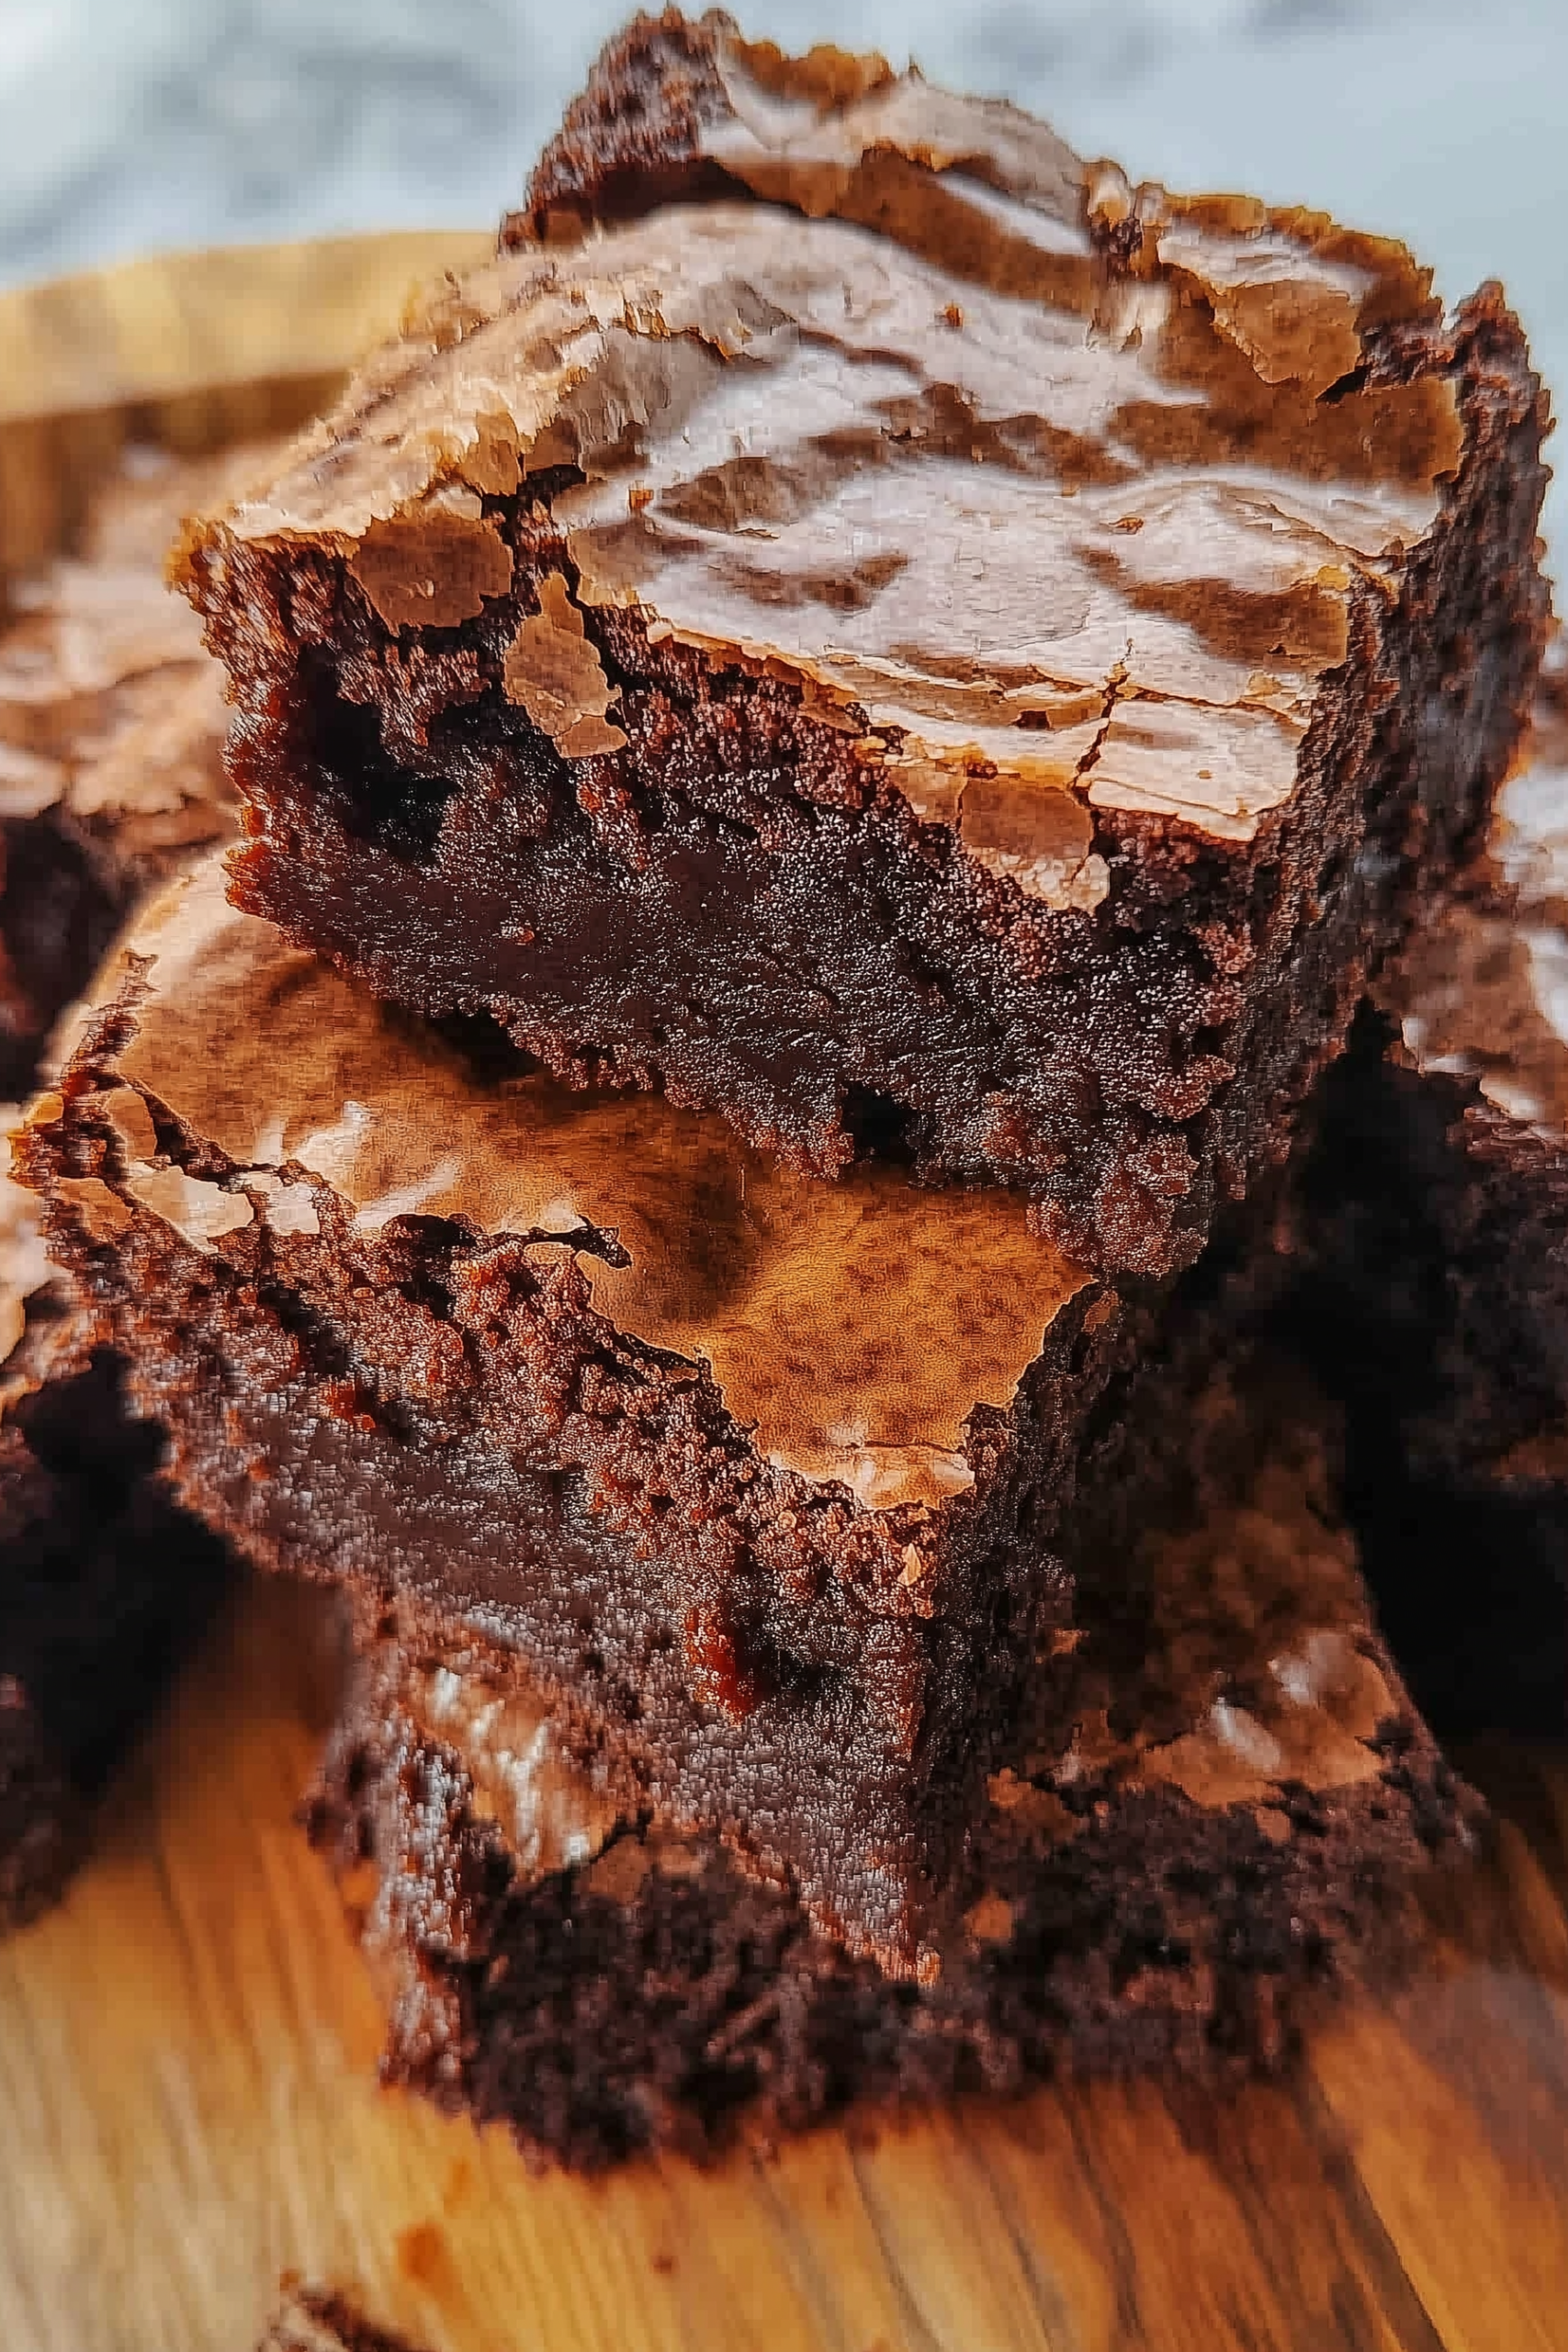
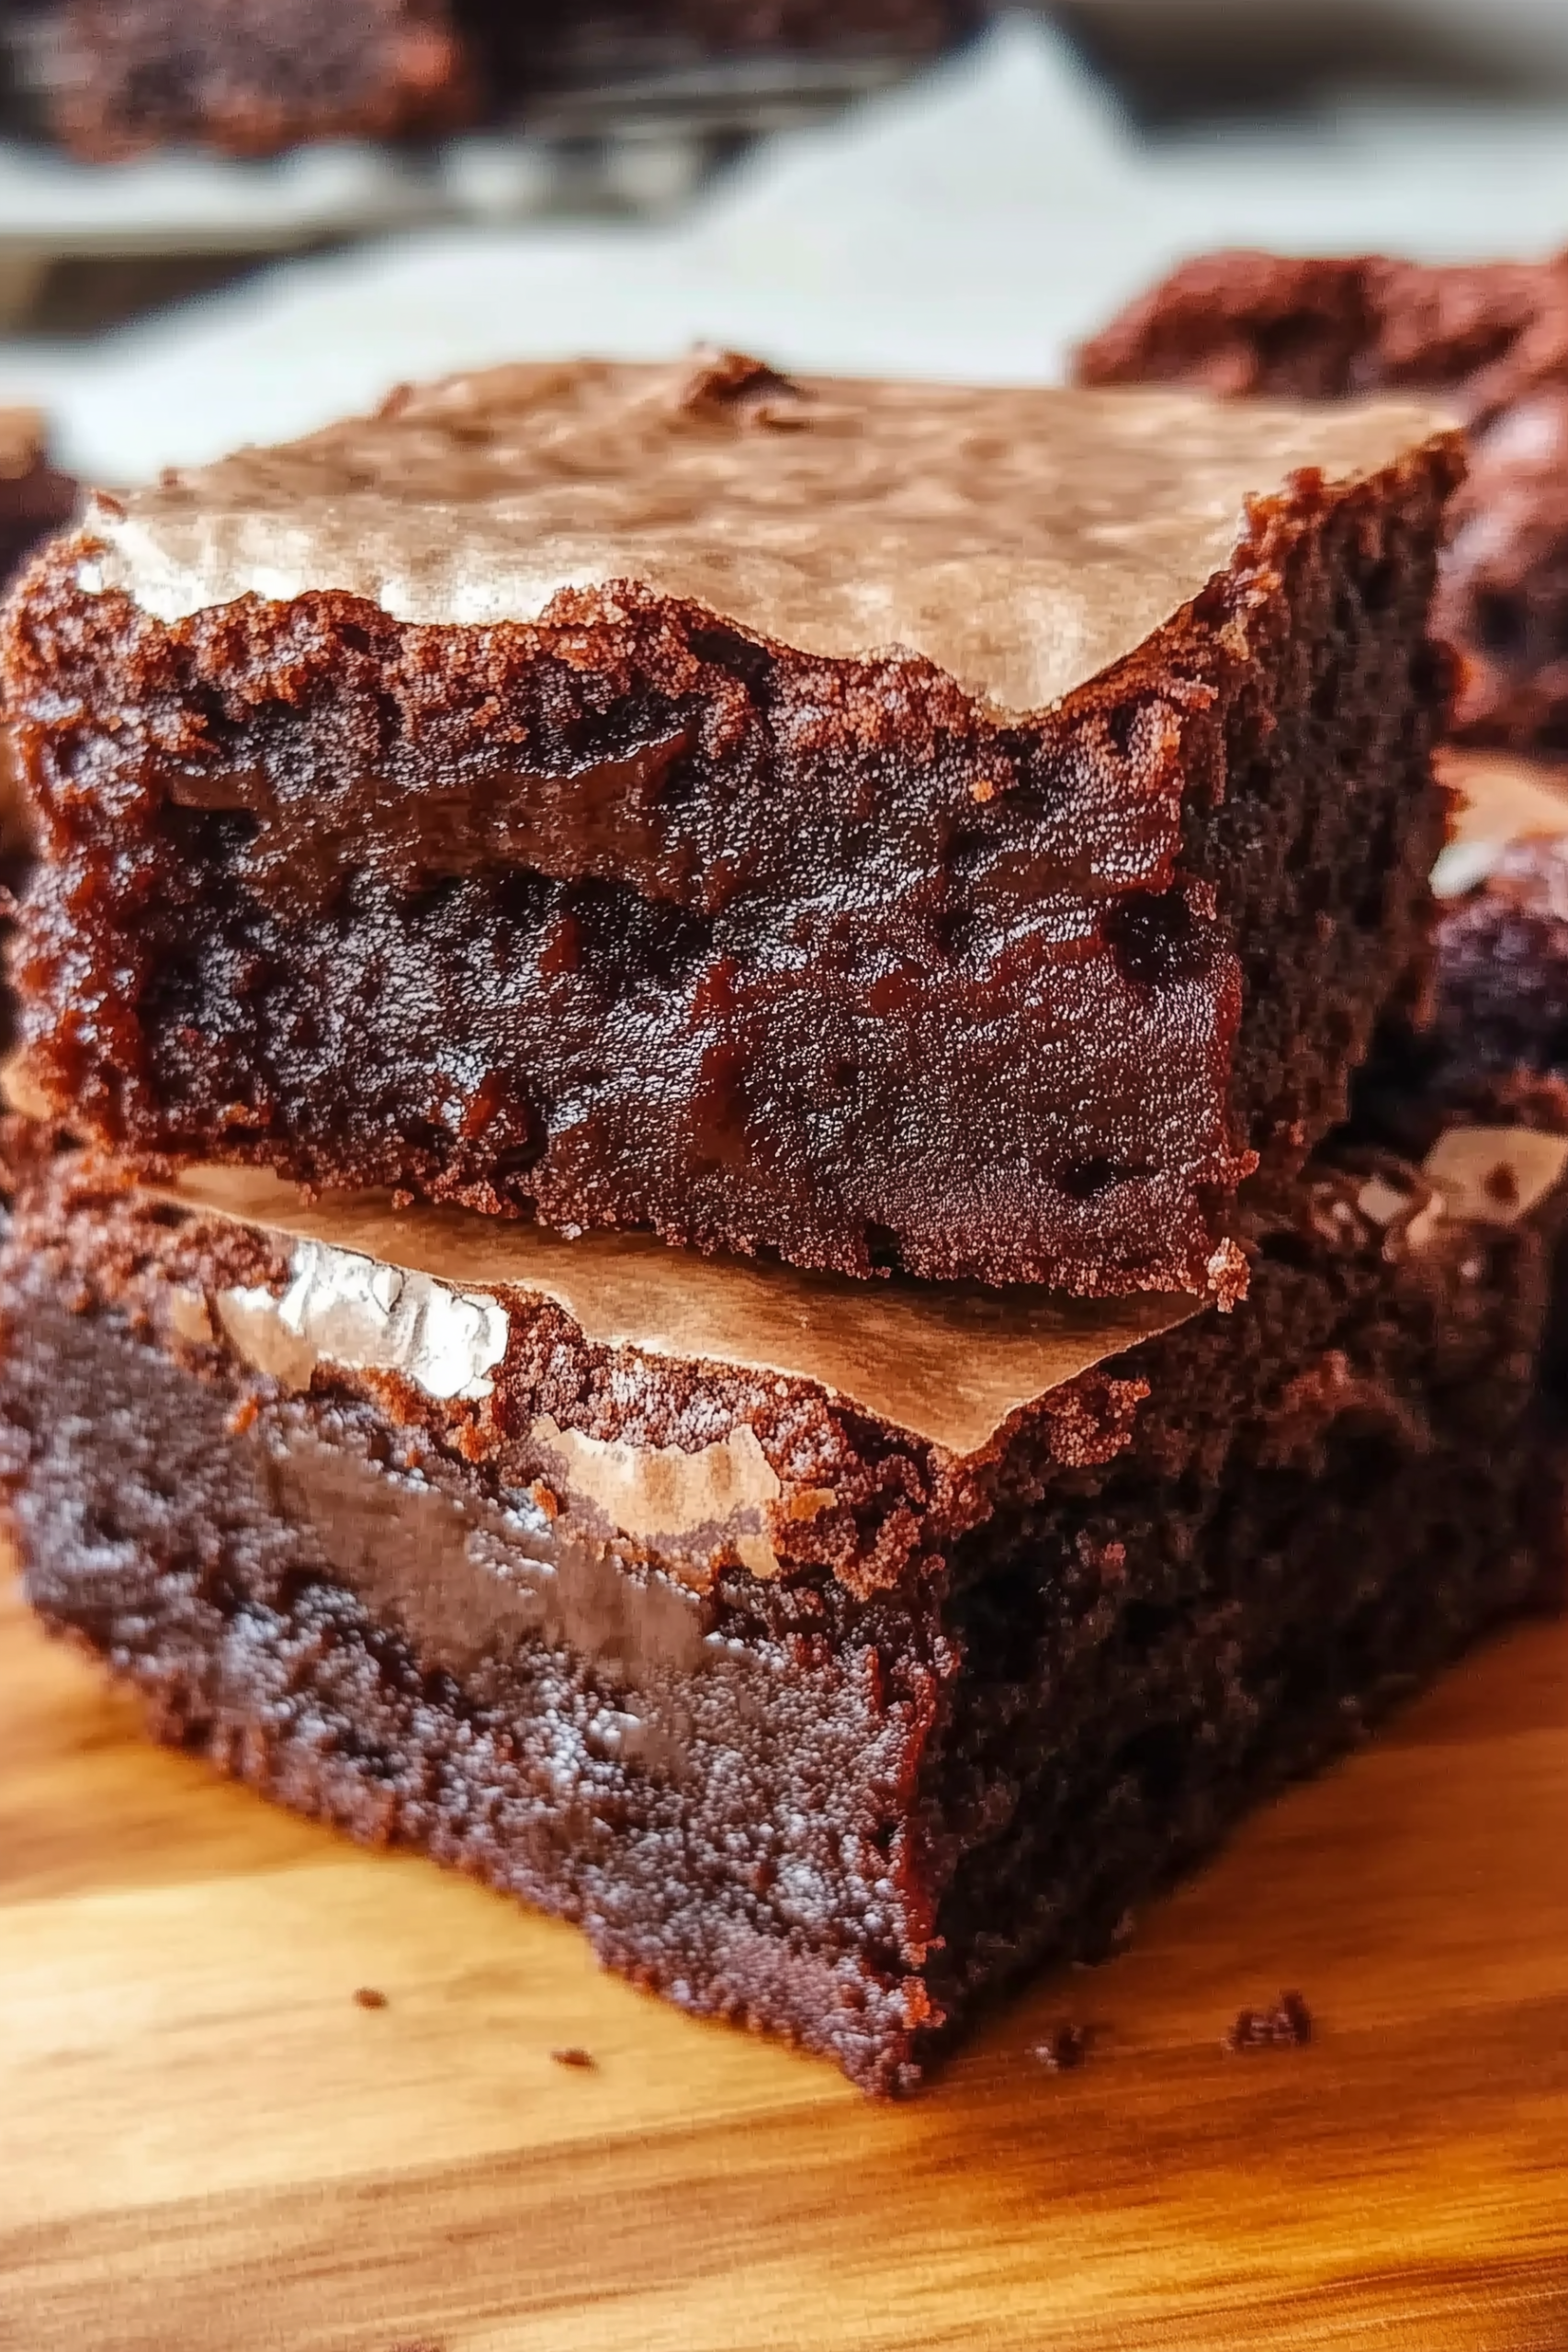
Every single square boasts a spectacular dual texture. You get that signature glossy, paper-thin crinkly top crust that shatters perfectly upon impact, leading directly into an ultra-fudgy, beautifully dense, and wonderfully elastic center. It’s rich, deeply chocolatey, and incredibly satisfying to bite into. Serving a warm batch of these on a Friday family movie night brings a completely new element of fun to our table, making it a modern household staple that everyone goes wild for.
Why You’ll Love It
- Naturally gluten-free: Made entirely with glutinous rice flour, making it a safe and spectacular treat for gluten-sensitive friends without sacrificing texture.
- Incredible bouncy chew: Delivers a unique, addictive texture that sets it apart from traditional cakey or standard dense brownies.
- One-bowl preparation: The entire batter comes together smoothly in just a single mixing bowl, keeping weekend kitchen cleanup shockingly minimal.
- Stays moist for days: Thanks to the unique properties of sweet rice flour, these brownies don’t dry out or turn stale on the counter overnight.
- Deep chocolate intensity: Utilizes a heavy-handed combination of high-quality cocoa powder and real butter for an unapologetically rich flavor experience.
Ingredient Notes & Details
- Glutinous rice flour: Also known as sweet rice flour or Mochiko. This is the absolute star of the show, providing that signature elastic, chewy mochi texture instead of a traditional wheat flour crumb.
- Cocoa powder: Uses unsweetened cocoa powder to establish a deep, dark chocolate base flavor and rich color.
- Whole milk: Adds necessary hydration and fat richness to properly gelatinize the starch in the rice flour during the bake.
- Melted butter: Infuses the batter with classic bakery richness while keeping the interior dense and beautifully fudgy.
- Eggs: Provide structure and lift, ensuring the dense mochi elements set into a cohesive, perfectly sliceable bar.
Natural Substitutions: For a dairy-free version, swap the whole milk with full-fat canned coconut milk and use a quality plant-based butter alternative. Coconut milk pairs beautifully with the chocolate and mochi flavors. If you prefer a deeper, more caramel-like sweetness, you can substitute the standard white granulated sugar with coconut sugar.
Step-by-Step Instructions
We begin by whisking together the melted unsalted butter and granulated sugar in a large bowl until fully combined. Whisking them thoroughly together while the butter is warm helps dissolve the sugar crystals, which directly contributes to creating that highly coveted, shiny, paper-thin crinkly top crust as the brownies bake. Next, beat in the room-temperature eggs one at a time, followed by a generous splash of vanilla extract, mixing vigorously until the wet batter turns glossy, smooth, and slightly pale.
In the exact same bowl, sift in the glutinous rice flour, unsweetened cocoa powder, baking powder, and salt. Pour in the whole milk gradually while folding gently with a rubber spatula. It’s essential to stir slowly at this stage to prevent the fine rice flour from dusting your counters, and to ensure the liquids are completely absorbed into the starch without leaving any dry pockets. The resulting batter will look significantly thinner and more pourable than traditional brownie batter, which is entirely normal for mochi treats. Pour the glossy mixture into your parchment-lined baking pan, smoothing the surface evenly before sliding it into the oven to bake until the edges are completely set and firm.
Expert Tips
- Use the correct flour: Make sure your bag explicitly says “Glutinous Rice Flour” or “Mochiko.” Regular white or brown rice flour will yield a gritty, crumbly texture instead of a chew.
- Line with parchment: Leave a slight overhang of parchment paper on the sides of your pan so you can lift the entire block out cleanly after cooling.
- Let them cool fully: Mochi needs time to rest and gelatinize completely as it cools; cutting into them hot will result in a sticky, unsliceable pan.
- Wipe your knife: Wipe your sharp chef’s knife with a warm, damp paper towel between each cut to get perfectly clean, bakery-style square slices.
- Check your baking powder: Ensure your leavener is fresh so the dense rice flour gets just enough lift to stay tender rather than turning into a solid block.
Storage & Reheating
Store these brownies in an airtight container at room temperature for up to 3 days. Do not refrigerate them, as the cold temperature will cause the starches in the rice flour to harden up, making the mochi lose its signature chew. If they do stiffen up slightly by day three, a quick 10-second zap in the microwave will instantly reactivate the starches, restoring that beautifully soft, stretchy, fresh-baked texture perfectly. You can also freeze individual slices wrapped tightly for up to 2 months.
Serving & FAQs
These indulgent squares serve beautifully with a cold glass of milk or a hot cup of green tea to balance the rich chocolate notes. For an extra special presentation, dust the tops lightly with a touch of extra cocoa powder or powdered sugar.
Can I add chocolate chips to the batter? Yes! Folding in a half-cup of semi-sweet chocolate chips, dark chocolate chunks, or chopped walnuts right before pouring the batter adds a wonderful textural contrast.
Why are my mochi brownies so sticky inside? That is exactly how they are supposed to be! Glutinous rice flour creates a dense, sticky, gelatinous texture that feels beautifully stretchy, unlike traditional cake-like brownies.
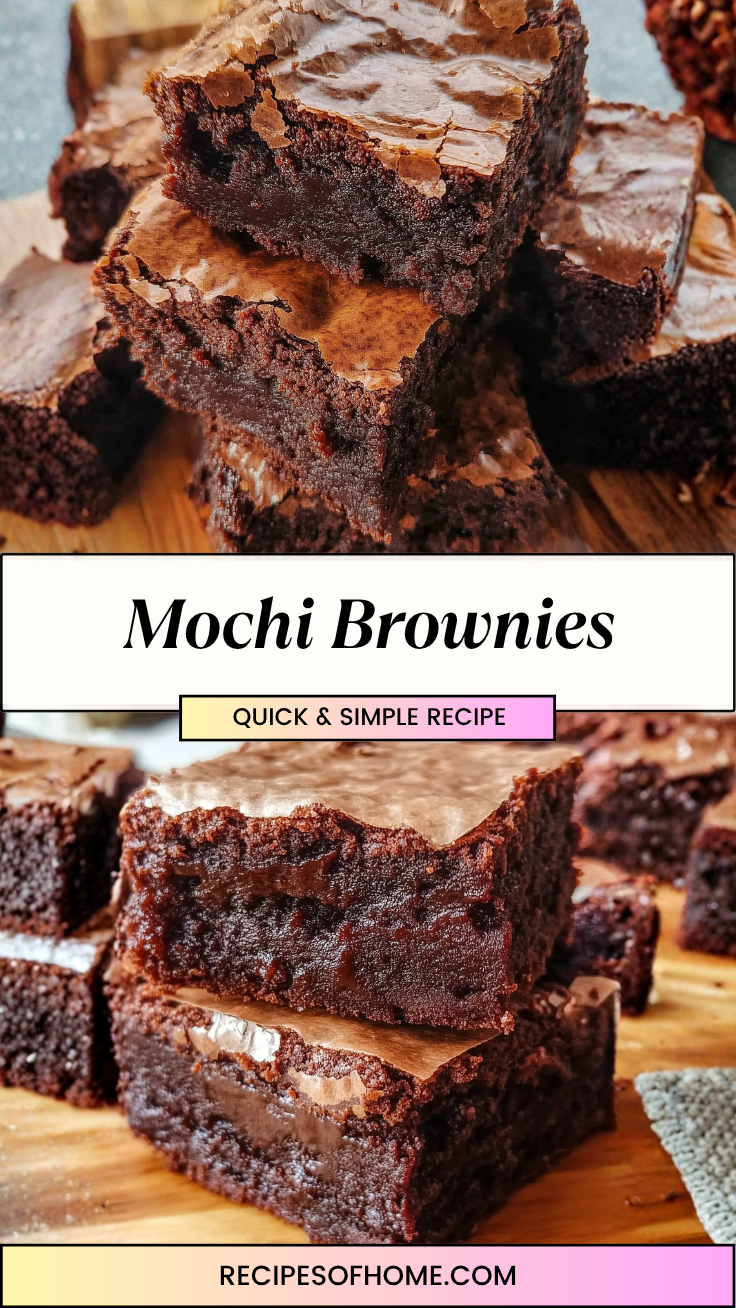
Chewy Homemade Mochi Brownies
Prep time: 15 minutes Cook time: 42 minutes Total time: 57 minutes Servings: 12 bars
Ingredients
- ½ cup unsalted butter, melted
- 1 ¼ cups granulated sugar
- 2 large eggs, room temperature
- 2 teaspoons vanilla extract
- 1 ½ cups glutinous rice flour (such as Mochiko)
- ½ cup unsweetened cocoa powder
- 1 teaspoon baking powder
- ¼ teaspoon salt
- 1 cup whole milk
Instructions
- Preheat your oven to 350°F (175°C). Line an 8×8-inch baking pan with parchment paper, leaving an overhang on the sides for easy removal.
- In a large mixing bowl, whisk together the melted unsalted butter and granulated sugar until well combined.
- Whisk in the eggs one at a time, beating well after each addition, then stir in the vanilla extract until the mixture is smooth and shiny.
- Sift the glutinous rice flour, unsweetened cocoa powder, baking powder, and salt directly into the bowl with the wet ingredients.
- Pour in the whole milk and stir the mixture gently with a rubber spatula just until the dry ingredients are fully incorporated and a smooth, pourable batter forms.
- Pour the batter into the prepared baking pan and tap the pan firmly on the counter twice to release any large trapped air bubbles.
- Bake for 40 to 44 minutes, or until the top is shiny and crinkly, and the edges are completely set and pulling away slightly from the sides.
- Remove from the oven and place the pan on a wire rack. Allow the brownies to cool completely in the pan for at least 45 minutes to let the mochi texture set up properly.
- Use the parchment paper handles to lift the brownies out of the pan, place on a cutting board, and slice into 12 squares using a sharp knife.


Leave a Reply