












Want to save this recipe?
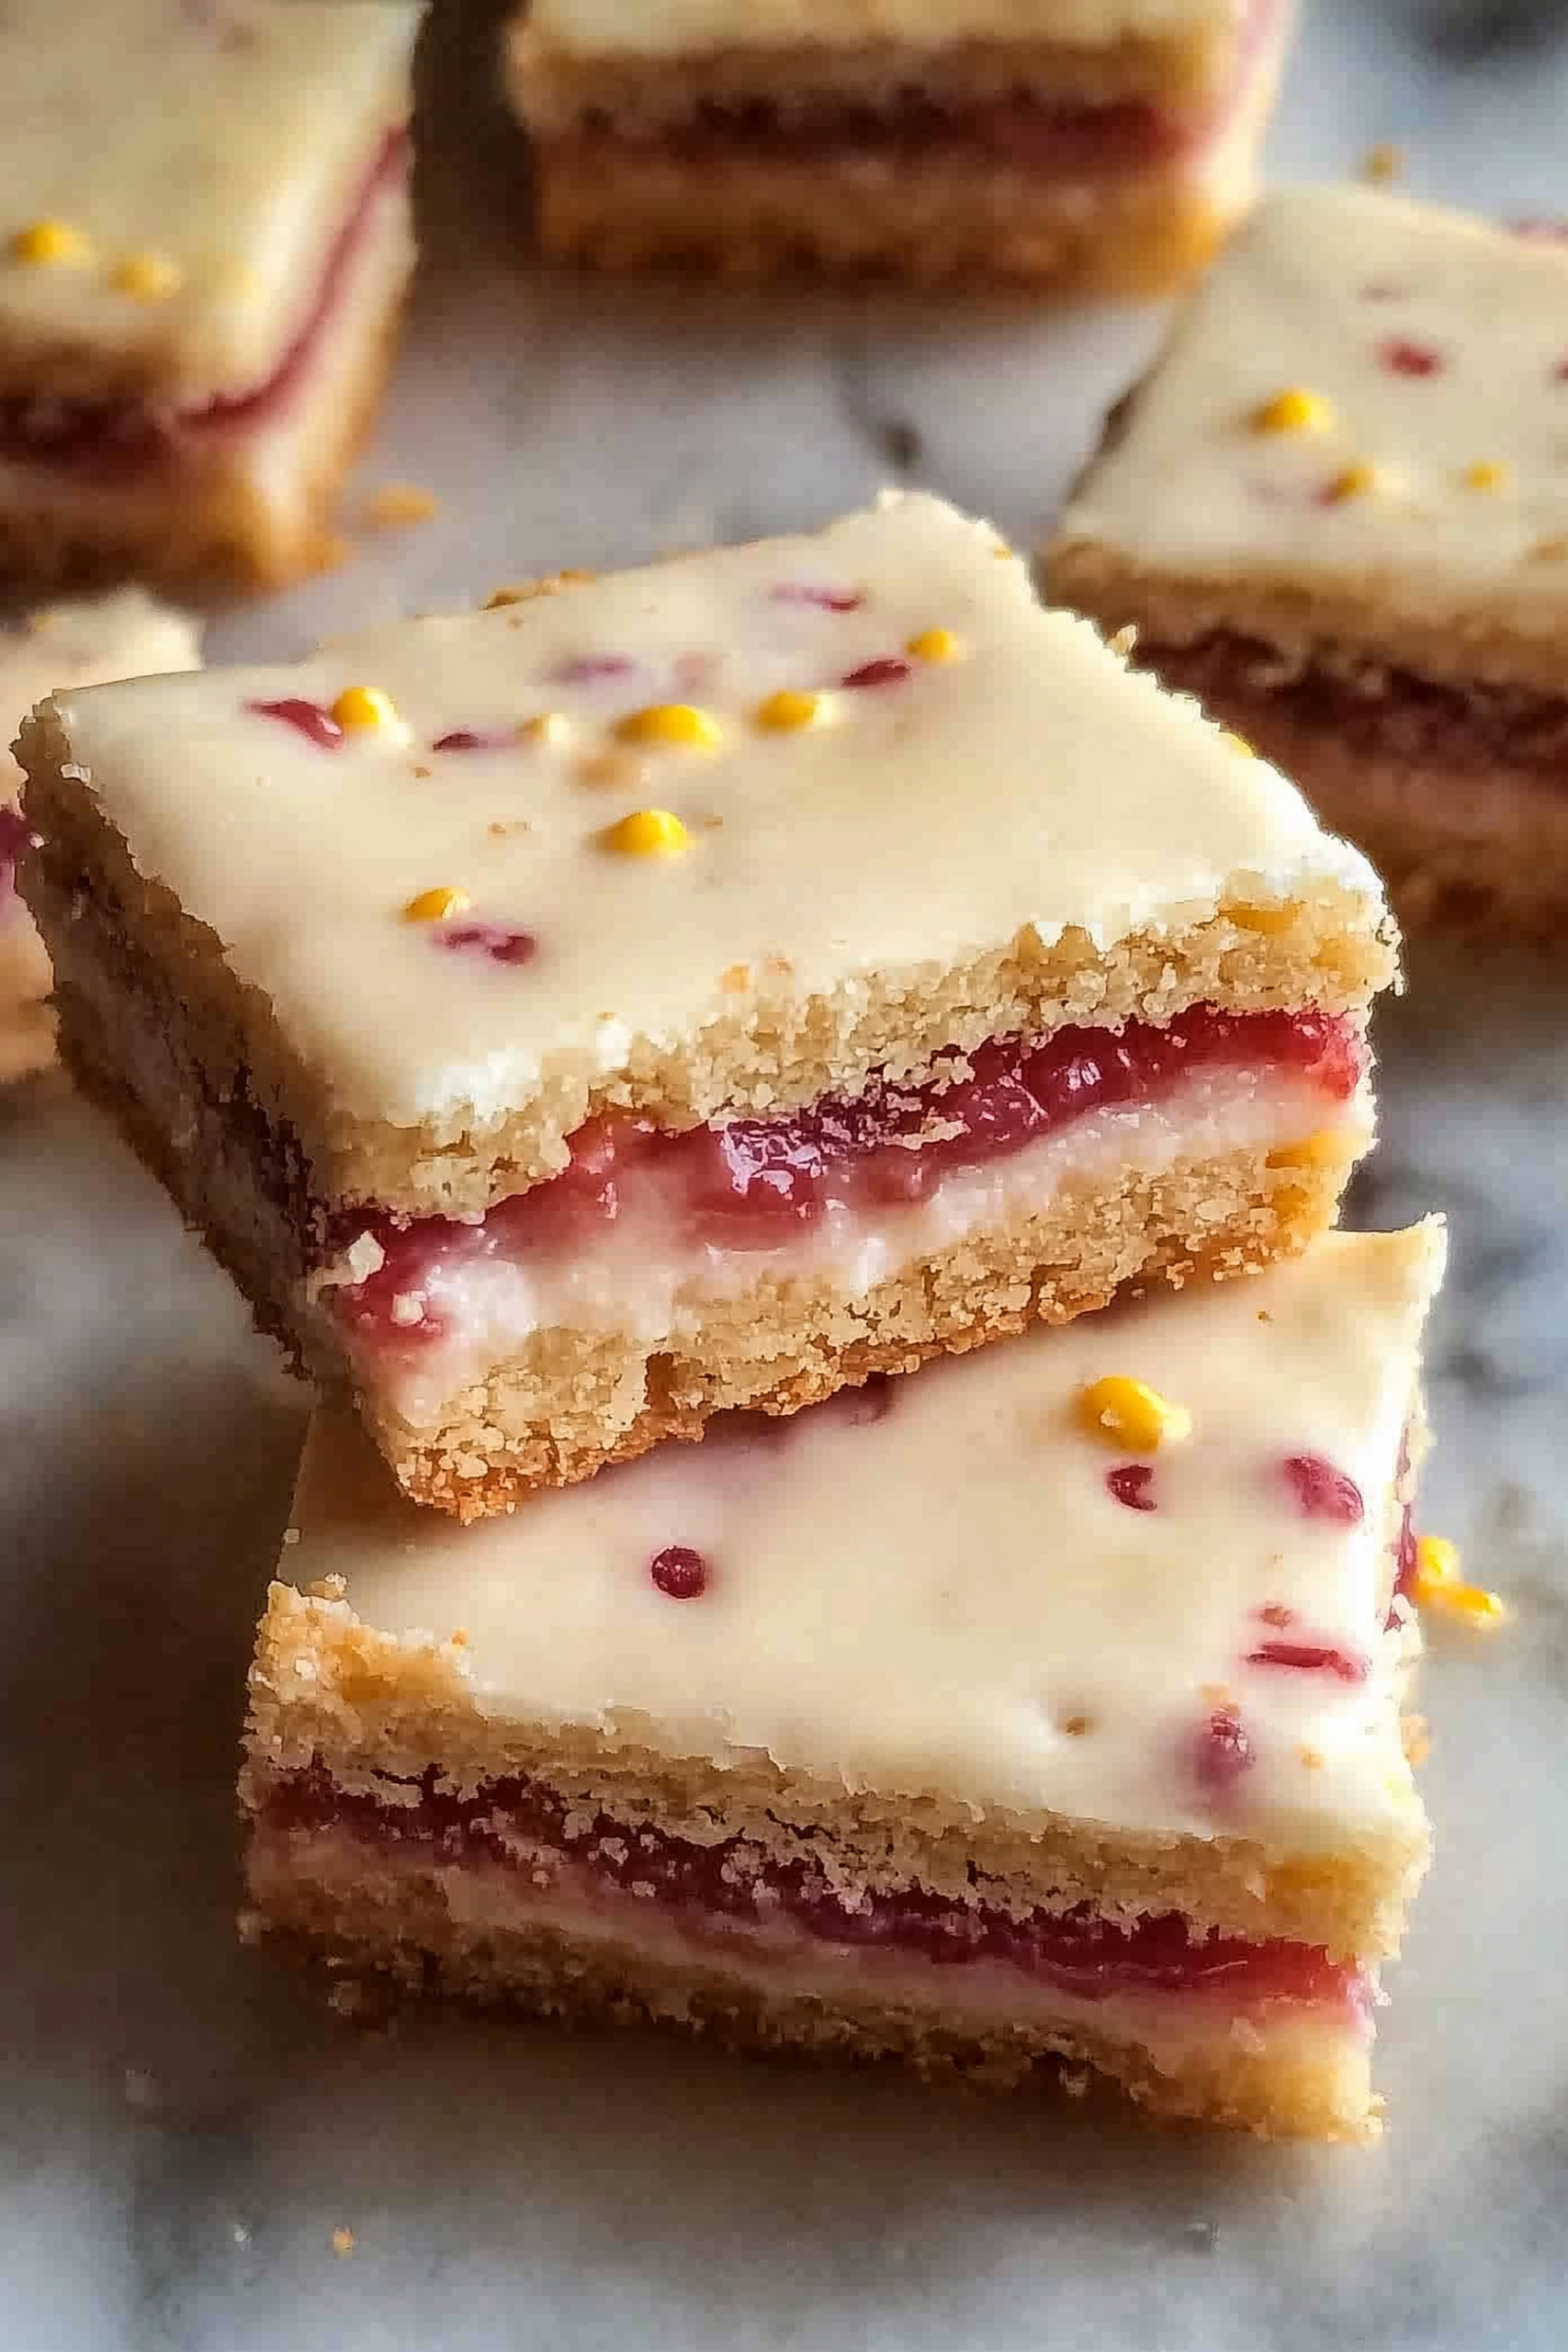
The nostalgic scent of sweet strawberry jam and warm vanilla dough baking in the oven takes me straight back to childhood mornings, but with a fun, soft-baked twist. These Strawberry Pop Tart Cookie Bars have quickly become a weekend favorite on my kitchen counter. They combine the soft, chewy comfort of a classic sugar cookie bar with the iconic, jam-filled joy of a vintage toaster pastry.
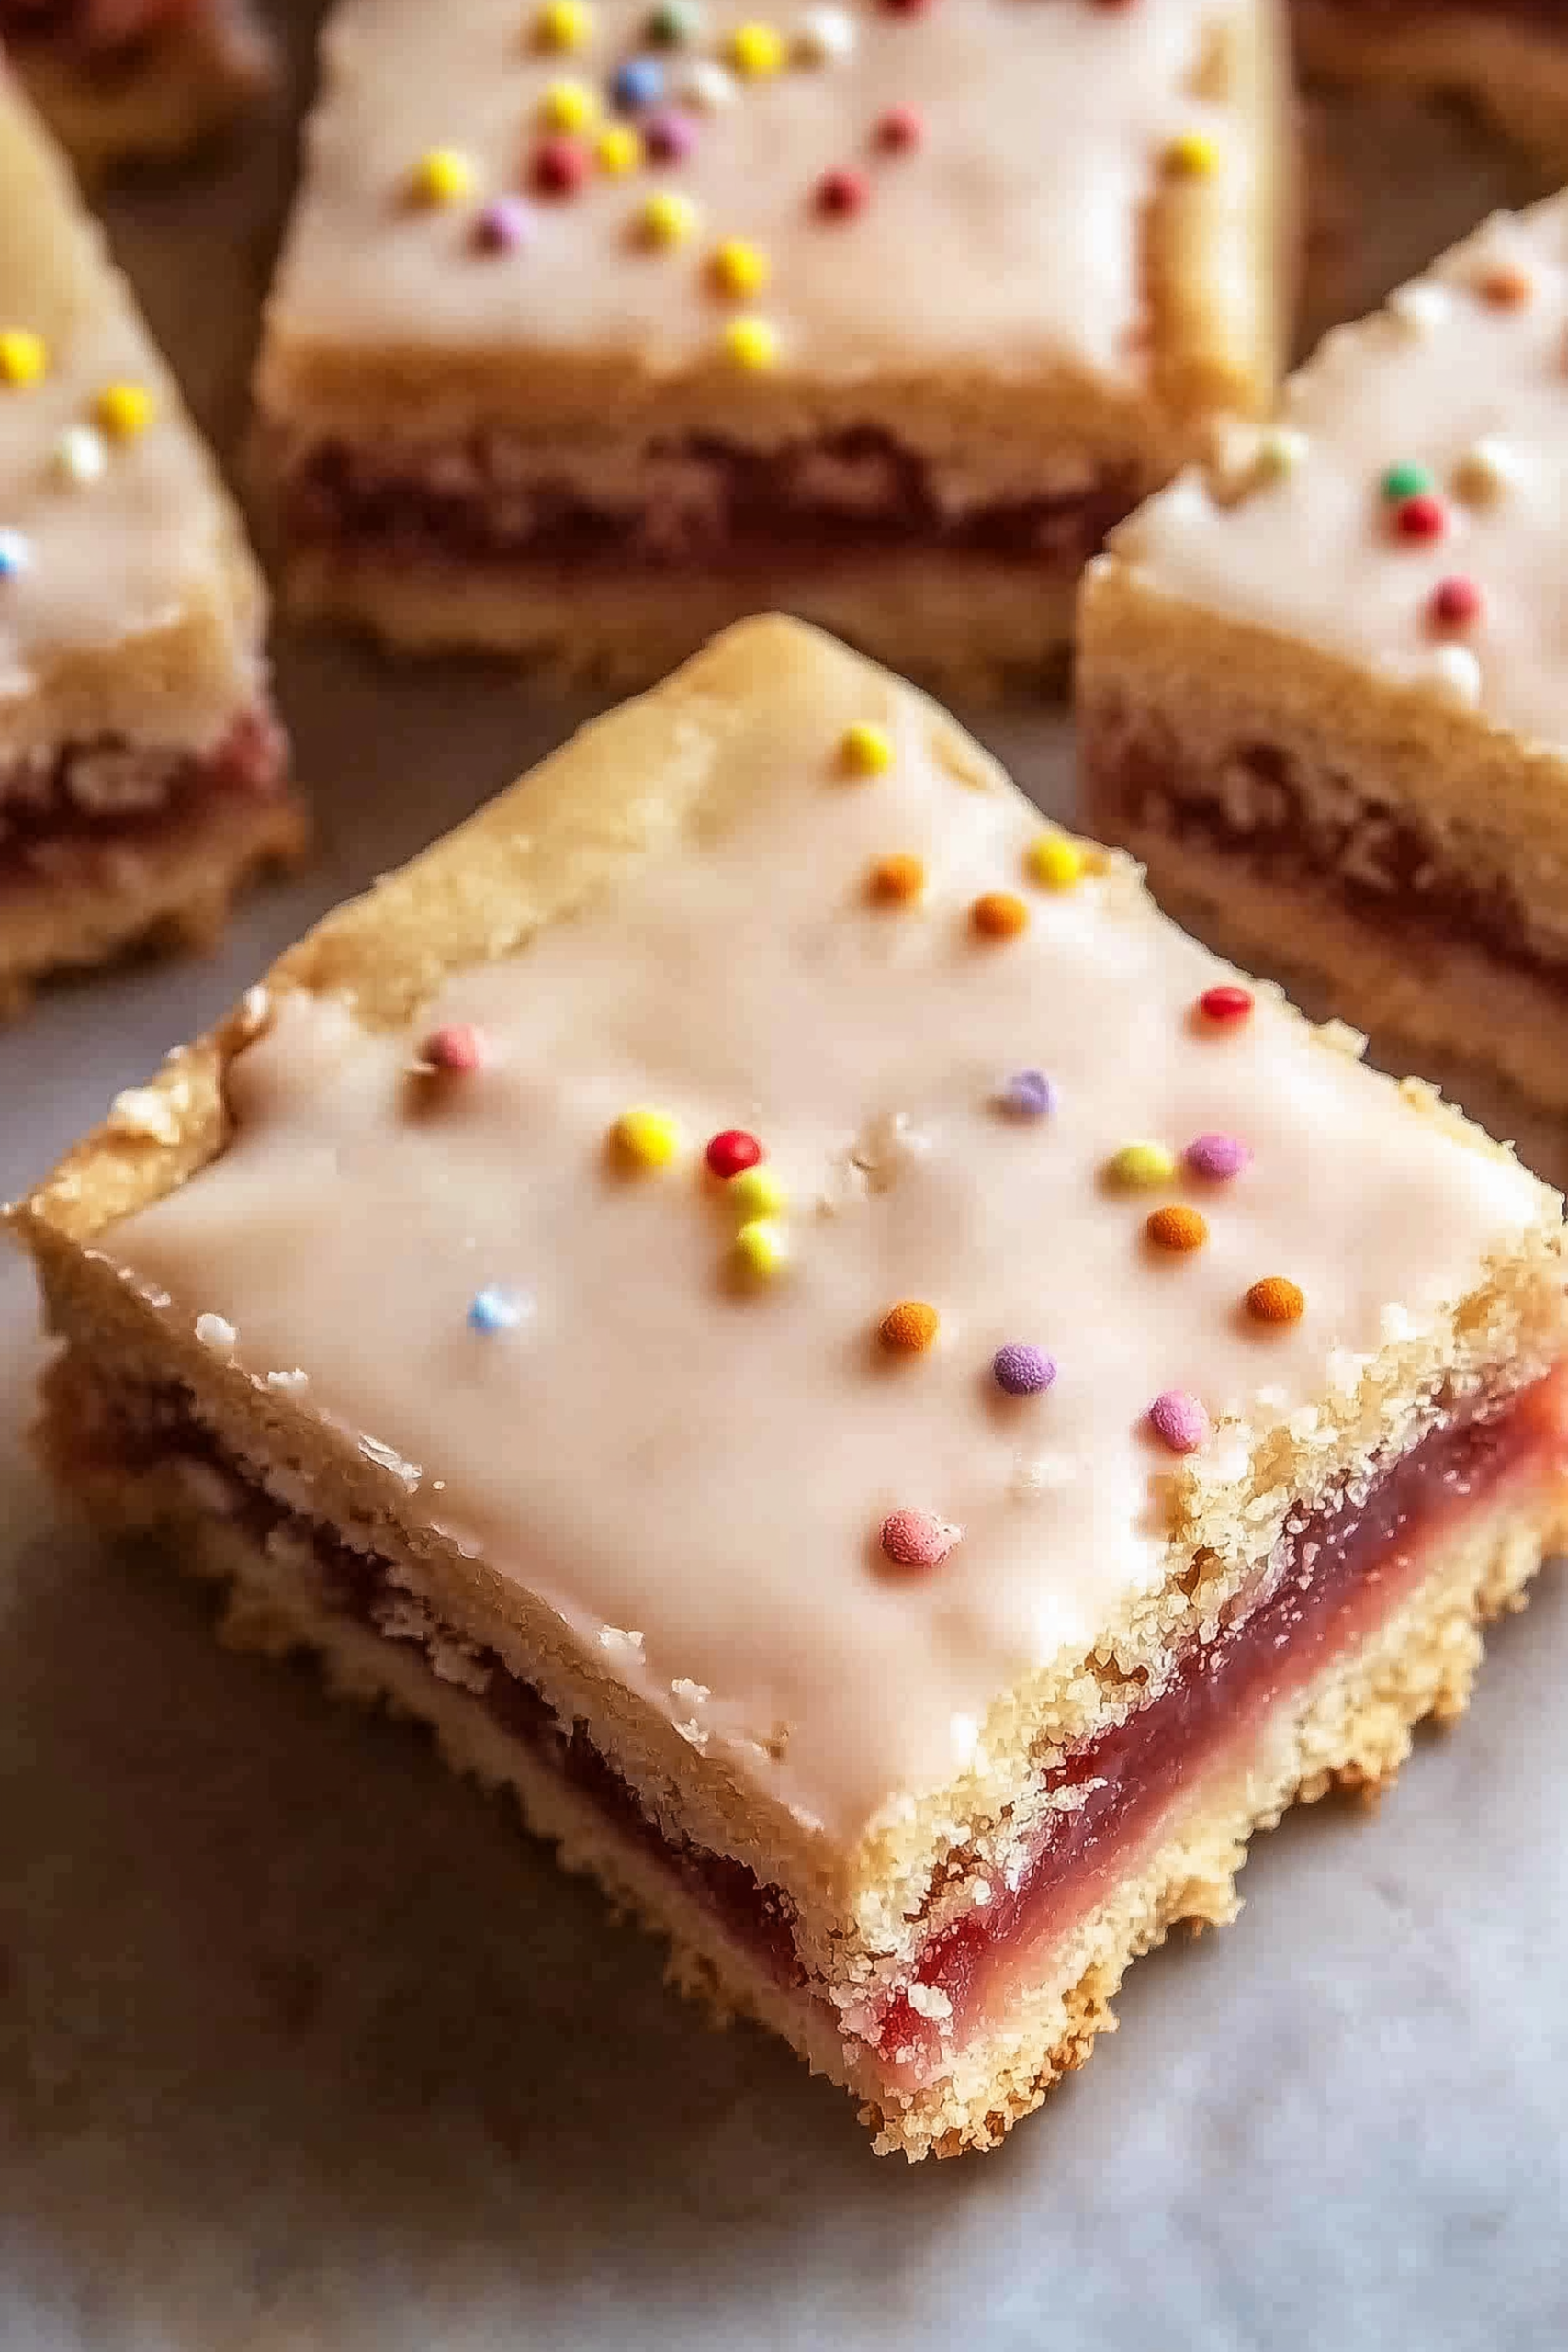
Every square delivers a beautiful contrast of textures. You get a dense, melt-in-your-mouth sugar cookie base, followed by a thick, sticky layer of fruity strawberry preserves, all sealed under a firm, sweet vanilla glaze topped with crunchy rainbow sprinkles. Serving a platter of these to my kids after school brings instant smiles, and honestly, the adults devour them just as fast. They are whimsical, incredibly comforting, and a fun way to bring a touch of nostalgia to your family table.
Why You’ll Love It
- No rolling pin required: Unlike traditional pastries, you do not have to roll out delicate, sticky dough; simply press it directly into your baking pan.
- Nostalgic childhood flavor: Recreates the beloved taste of a classic strawberry toaster pastry but elevates it with a rich, soft-baked cookie texture.
- Perfect for lunchboxes: These bars slice cleanly and hold their structure beautifully, making them an ideal sweet surprise for school or work lunches.
- Simple pantry staples: Uses basic baking ingredients like flour, butter, sugar, and store-bought jam that you likely already have on hand.
- Crowd-pleasing decoration: The glossy white icing and vibrant rainbow sprinkles make them an instant visual hit at birthday parties or potlucks.
Ingredient Notes & Details
- Unsalted butter: Provides the rich, melt-in-your-mouth flavor and tender structure for the sugar cookie dough layers. Ensure it is fully softened.
- Granulated sugar: Sweetens the dough while helping to lock in moisture, keeping the cookie bars soft and wonderfully chewy.
- Strawberry jam: The star filling. Use a high-quality, thick strawberry preserve or jam so it holds its shape during the baking process.
- All-purpose flour: Forms the sturdy structural base for both the bottom crust and the top cookie layer without spreading.
- Powdered sugar: Whisked with a splash of milk to create that signature, firm white toaster pastry glaze.
Natural Substitutions: If strawberry isn’t your favorite, swap it out for a homemade brown sugar cinnamon filling or seedless raspberry preserves. For a gluten-free adaptation, a high-quality 1:1 gluten-free baking flour blend works seamlessly. You can also replace the traditional rainbow sprinkles with freeze-dried strawberry pieces for a punchy, natural fruit look.
Step-by-Step Instructions
We begin by creaming the softened unsalted butter, granulated sugar, and vanilla extract together in a large mixing bowl until the mixture is light and fluffy. This step incorporates essential air pockets into the fat, which guarantees your cookie bars stay tender rather than turning hard or dense. Slowly beat in the eggs, then gradually fold in the flour, baking powder, and salt just until a soft, cohesive dough forms.
Divide the dough into two portions, making one slightly larger than the other. Press the larger portion firmly and evenly into the bottom of your parchment-lined baking pan to create a solid base crust. Next, spread a generous, even layer of the strawberry jam over the raw dough base, leaving a tiny border around the edges to prevent it from bubbling out and scorching against the pan sides. Take the remaining dough and flatten it into small pieces with your hands, patching them together across the top of the jam to seal the fruit inside. Bake until the top turns a beautiful light golden brown, then let it cool completely before spreading the sweet vanilla icing and throwing on the colorful sprinkles.
Expert Tips
- Chill the top dough: If the remaining dough feels too sticky to flatten and patch over the jam, pop it in the fridge for 10 minutes to make it easier to handle.
- Use a sharp knife: Wait until the glaze is fully set, then use a long, sharp chef’s knife wiped clean between cuts to get perfectly neat squares.
- Leave a jam border: Always leave a ¼-inch border of dough around the edges when spreading the jam to prevent it from burning against the pan.
- Line with parchment paper: Leave an overhang of parchment paper on the sides of the pan so you can easily lift the entire block of bars out before slicing.
- Measure flour accurately: Spoon your flour into the measuring cup and level it off with a knife instead of scooping directly from the bag to keep the dough soft.
- Don’t overbake: Remove the bars from the oven as soon as the edges turn light golden; overbaking will dry out the sugar cookie layers.
Storage & Reheating
Store these cookie bars in an airtight container at room temperature for up to 4 days. If you need to stack them, place a sheet of parchment paper or wax paper between the layers to keep the sweet white glaze from sticking together. These bars also freeze beautifully for up to 2 months; just slice them and freeze in a single layer before transferring to a freezer-safe bag, then thaw on the counter before enjoying.
Serving & FAQs
These whimsical bars pair magnificently with a tall glass of ice-cold milk for the kids or a warm vanilla latte for the adults during a cozy weekend morning.
Can I use fresh strawberries instead of jam? Fresh strawberries release far too much liquid as they cook, which will make the bottom sugar cookie layer soggy and wet. It’s best to stick with a thick store-bought or homemade jam.
Why did my top cookie layer mix into the jam? This happens if you try to spread the top dough with a knife. Instead, flatten small pieces of dough between your palms and gently lay them on top of the jam like a patchwork quilt.
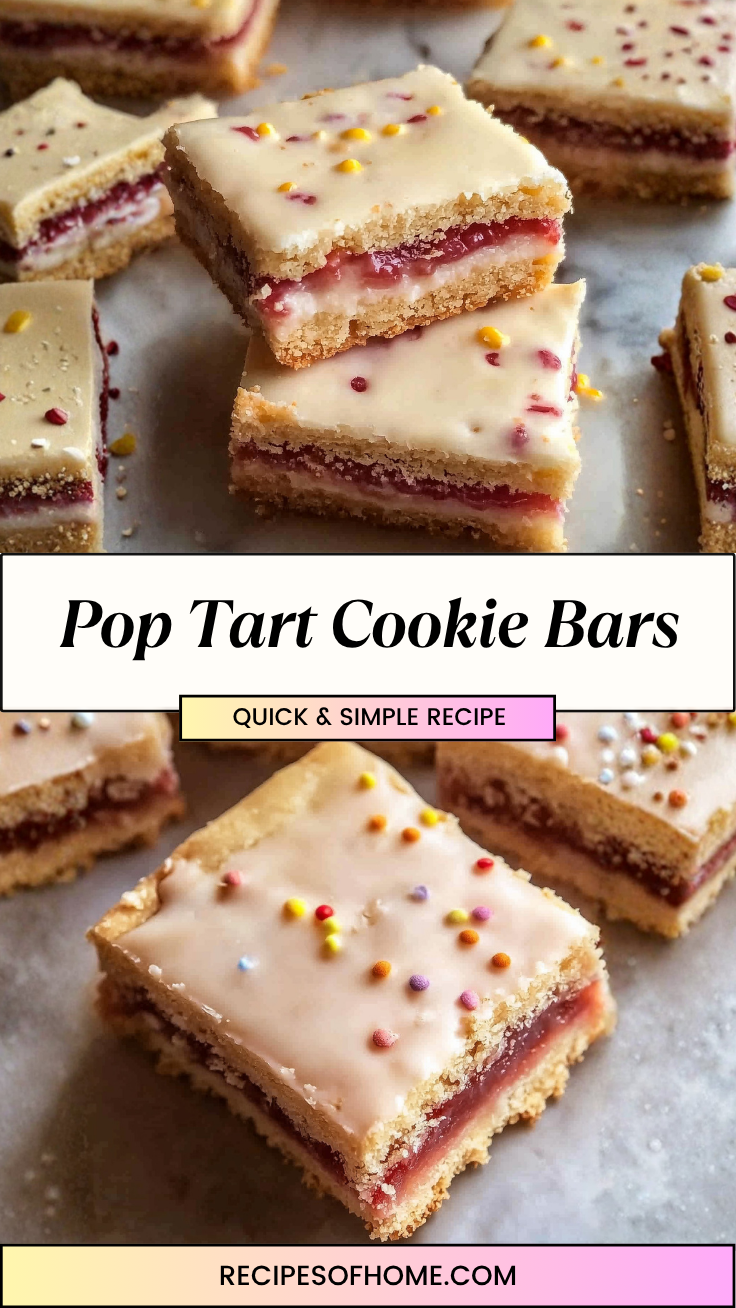
Chewy Strawberry Pop Tart Bars
Prep time: 18 minutes Cook time: 27 minutes Total time: 45 minutes Servings: 12 bars
Ingredients
For the Cookie Bars:
- ¾ cup unsalted butter, softened
- 1 cup granulated sugar
- 2 large eggs, room temperature
- 1 ½ teaspoons vanilla extract
- 2 ½ cups all-purpose flour
- ½ teaspoon baking powder
- ¼ teaspoon salt
- 1 cup thick strawberry jam
For the Icing:
- 1 ½ cups powdered sugar
- 2 tablespoons milk
- ½ teaspoon vanilla extract
- 2 tablespoons rainbow sprinkles
Instructions
- Preheat your oven to 350°F (175°C) and line a 9×9-inch baking pan with parchment paper, leaving an overhang on the sides.
- In a large bowl, beat the softened butter and granulated sugar together with a hand mixer for 3 minutes until light and fluffy.
- Add the eggs one at a time, beating well, then stir in the vanilla extract until smooth.
- In a medium bowl, whisk together the all-purpose flour, baking powder, and salt.
- Add the dry ingredients to the wet ingredients, stirring gently with a spatula just until a soft dough forms.
- Press about ⅔ of the dough firmly and evenly into the bottom of the prepared baking pan to form the bottom crust.
- Spread the strawberry jam evenly over the dough base, leaving a ¼-inch border around the edges.
- Flatten the remaining dough into small patches using your hands and place them gently over the jam layer, pinching the pieces together slightly to cover the fruit.
- Bake for 25 to 28 minutes, or until the top layer is set and the edges are lightly golden brown. Remove from the oven and cool completely in the pan.
- To make the icing, whisk the powdered sugar, milk, and vanilla extract together in a small bowl until completely smooth and thick.
- Spread the icing evenly over the cooled cookie bars, top immediately with rainbow sprinkles, and let the glaze set completely before slicing into 12 bars.
Leave a Reply