












Want to save this recipe?
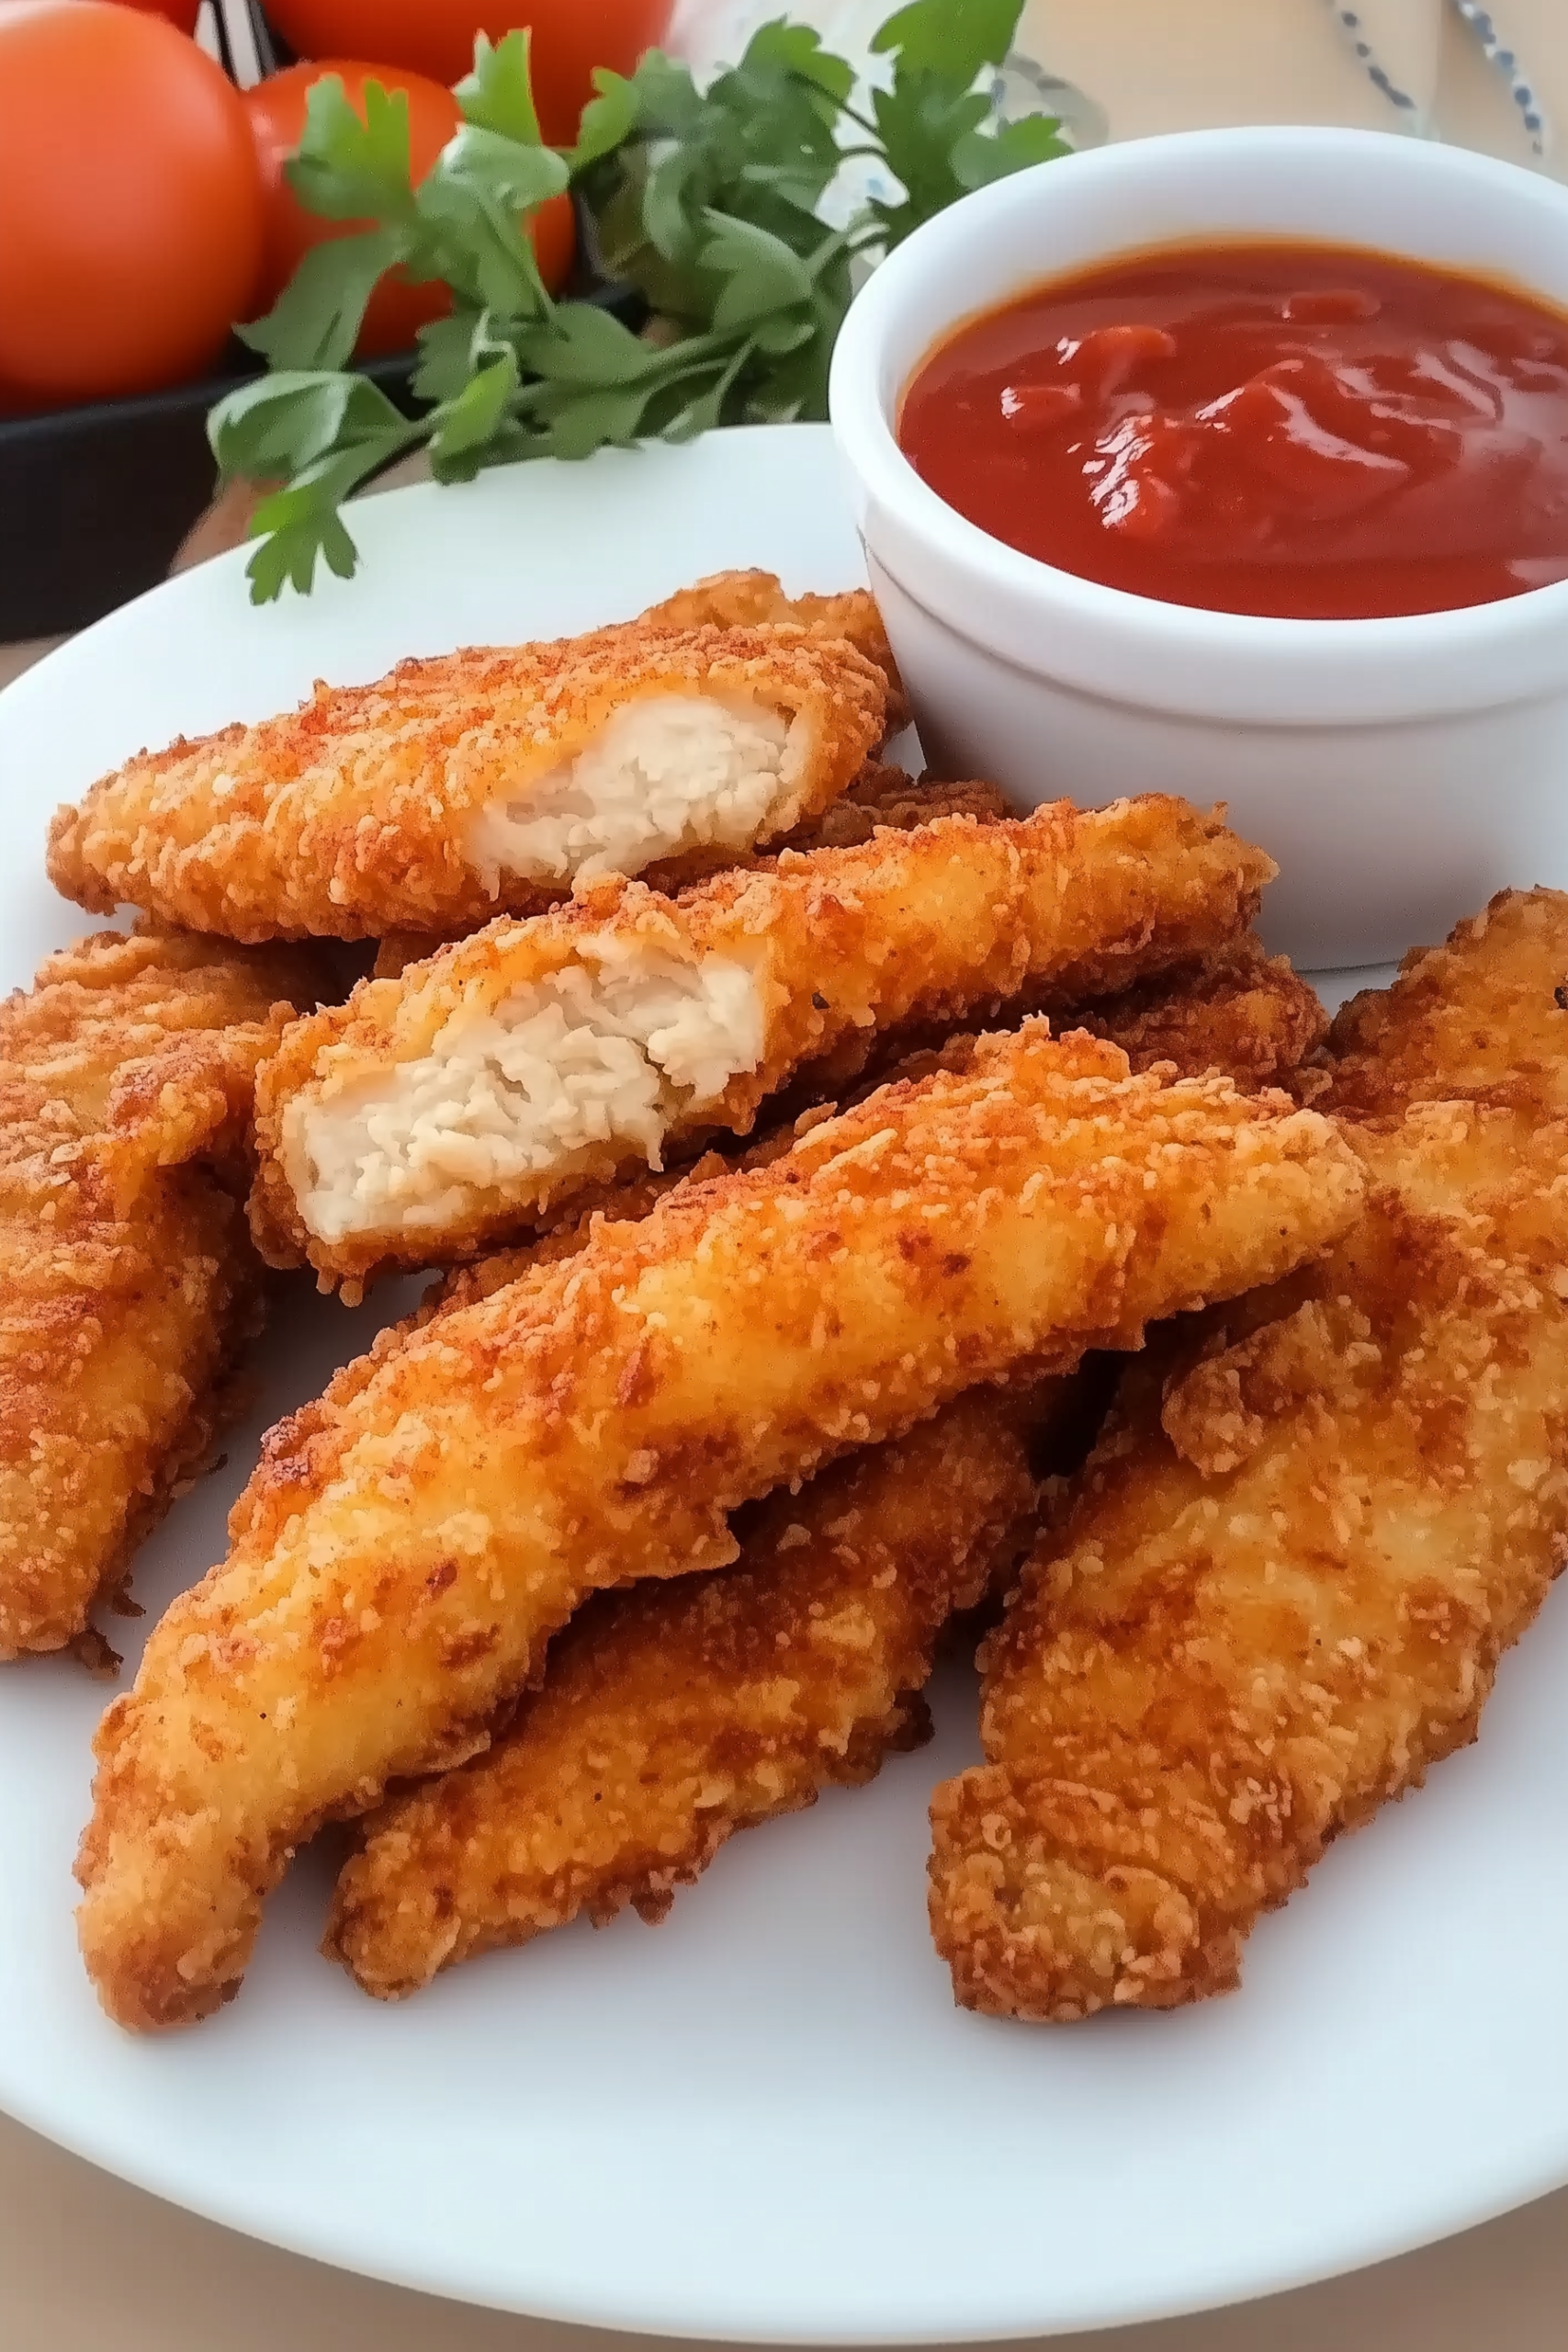
Nothing beats the sound of that first satisfying crunch when you bite into a perfectly breaded chicken tender. These Crispy Oven-Baked Chicken Tenders are a staple in our home because they deliver all the nostalgic, golden-brown goodness of a deep-fried classic without the heavy oil or the stovetop mess. There is something so comforting about the aroma of toasted breadcrumbs and savory spices wafting through the house as these crisp up in the oven.
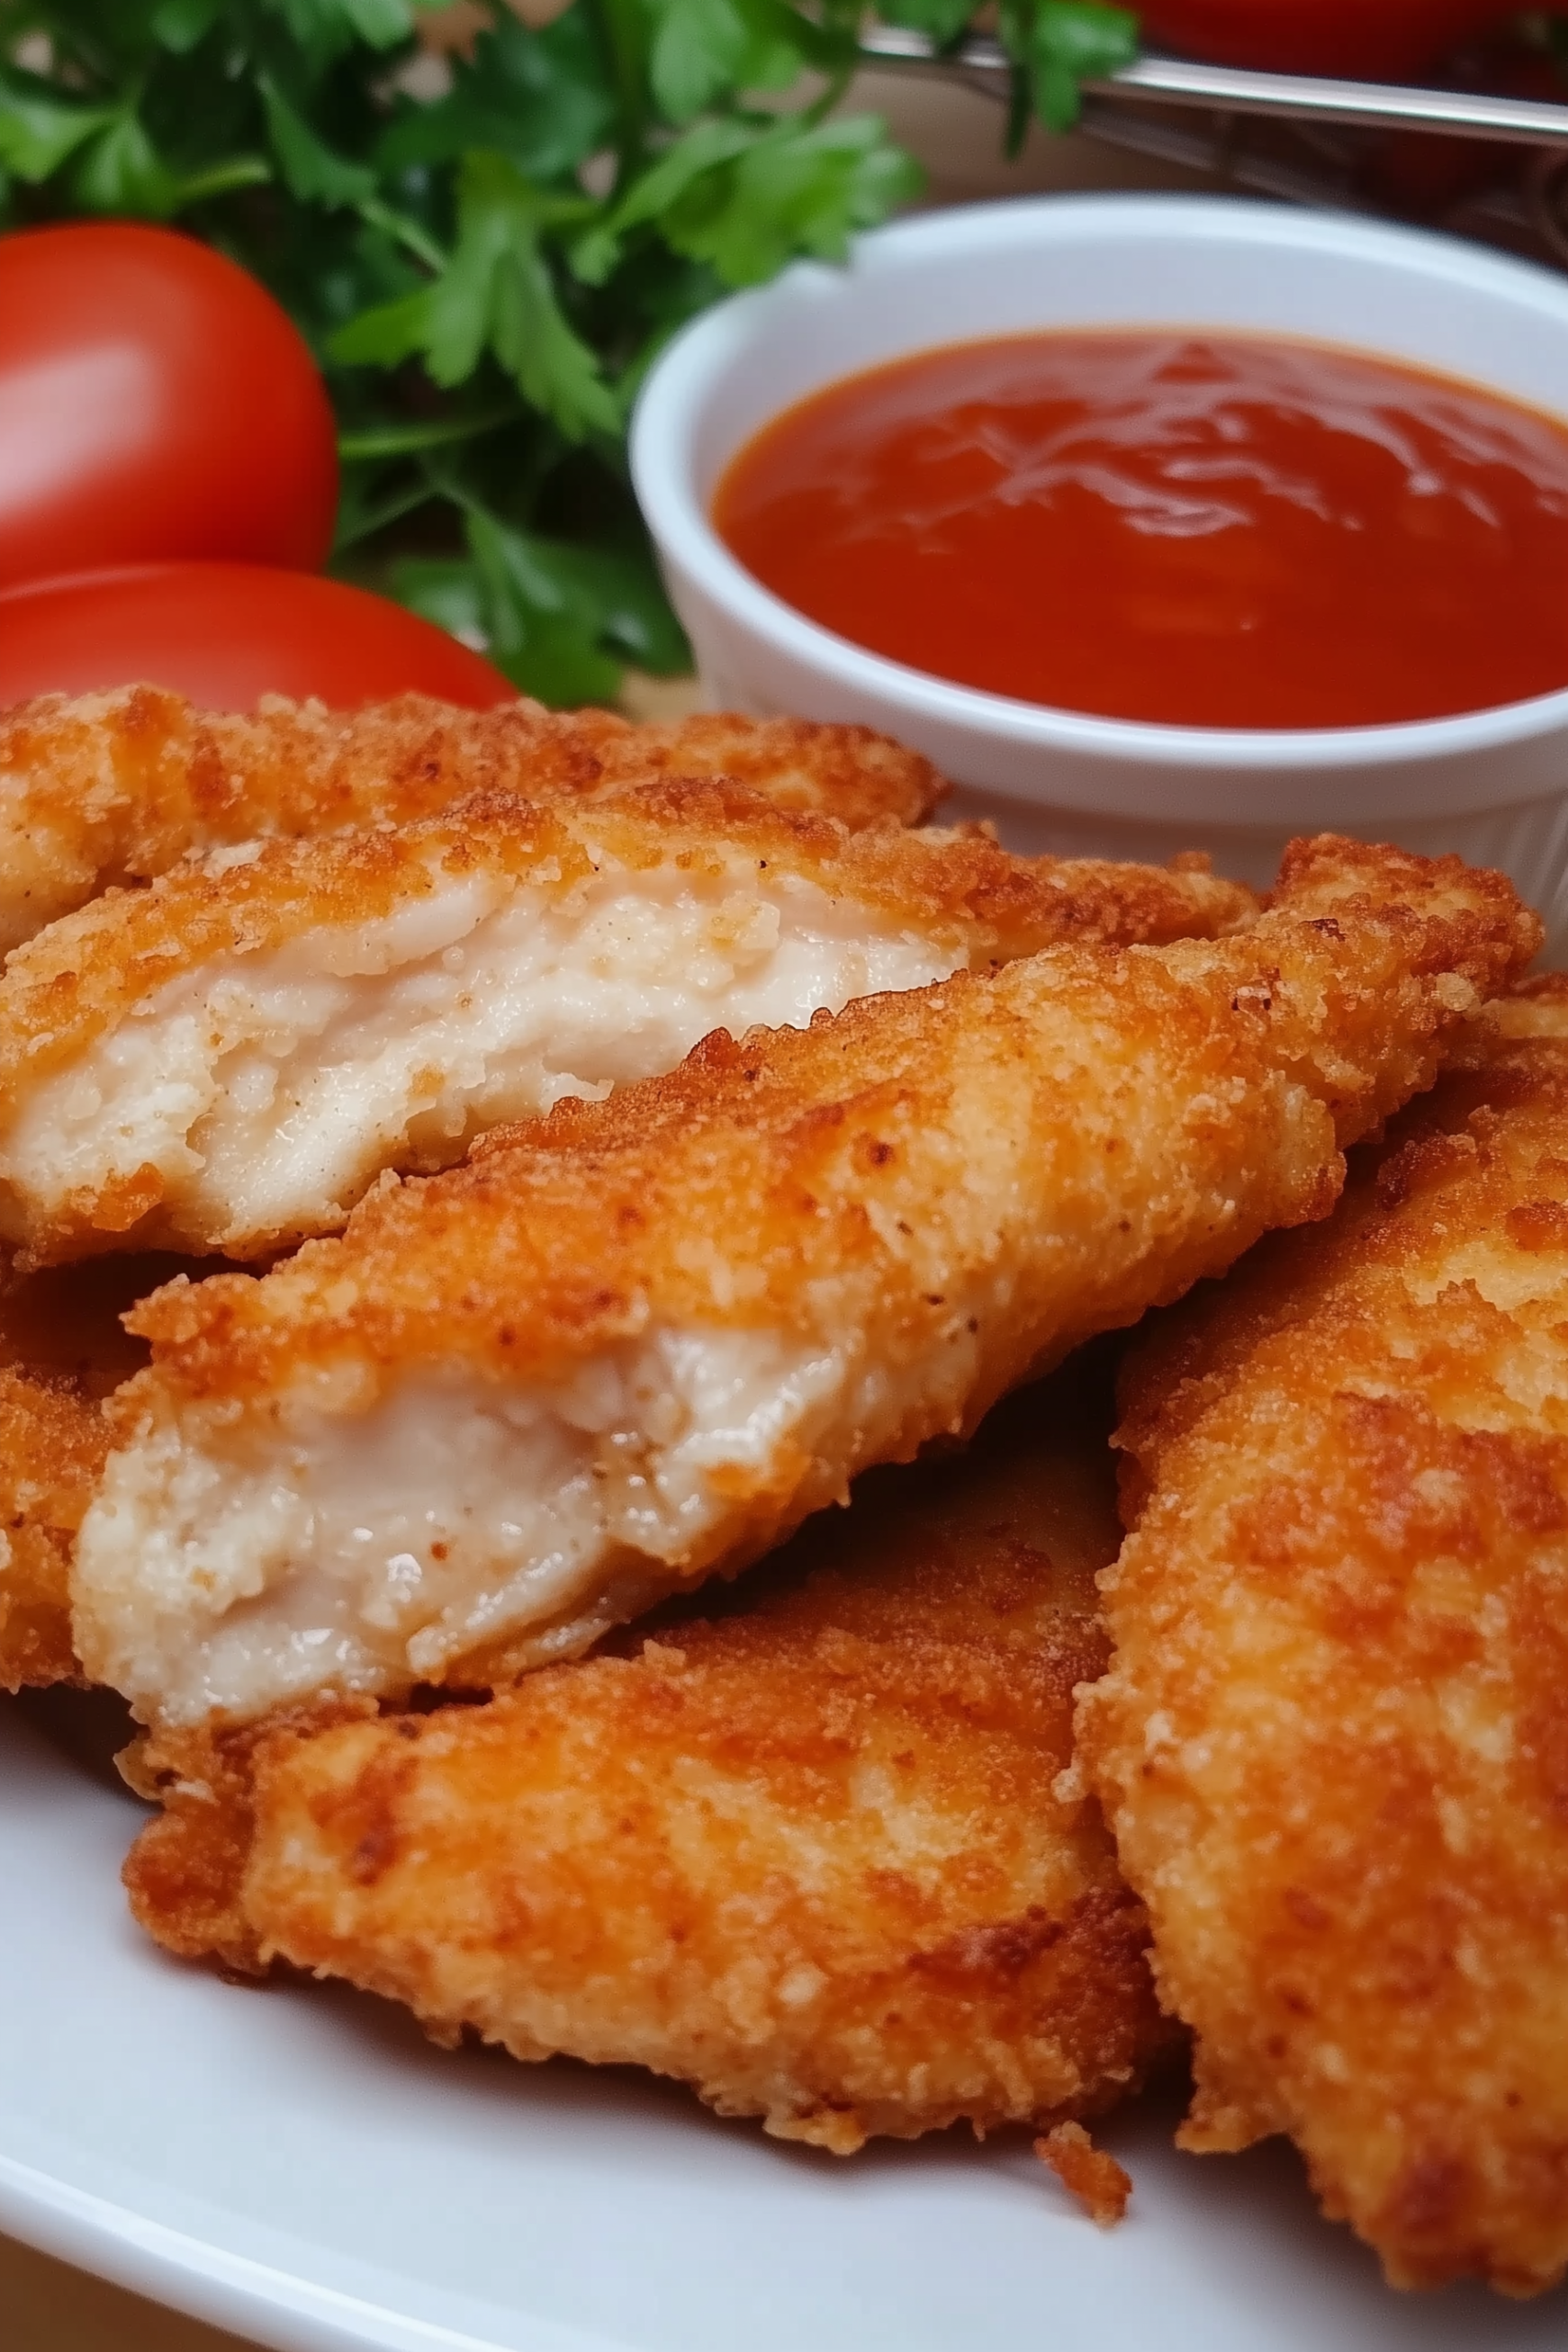
I love serving these on a big platter, piled high and glistening with a light golden hue, ready for a variety of dipping sauces. They have a shatteringly crisp exterior that gives way to incredibly juicy, tender chicken inside. Whether you’re feeding a group of hungry kids or just looking for a wholesome version of your favorite comfort food, these tenders are proof that you don’t need a fryer to achieve restaurant-quality results.
Why You’ll Love It
- Healthier “Fried” Flavor: You get that iconic crispy texture using just a fraction of the oil used in traditional frying.
- Family Favorite: These are guaranteed to be a hit with everyone from toddlers to adults, making them the ultimate versatile dinner.
- Quick Prep & Bake: With a simple breading station, you can have these ready for the oven in minutes.
- Better-Than-Store-Bought: Homemade tenders mean no mysterious fillers or excessive preservatives—just real, simple ingredients.
- Minimal Cleanup: Using a parchment-lined baking sheet ensures your cleanup is done as soon as the last tender is eaten.
Ingredient Notes & Details
- Chicken Tenderloins: These are naturally the most tender part of the breast. If you have full chicken breasts, simply slice them into uniform 1-inch strips.
- Panko Breadcrumbs: These Japanese-style breadcrumbs are larger and airier than standard crumbs, which is the secret to that extreme crunch.
- Parmesan Cheese: Mixing a little finely grated Parmesan into the breading adds a salty, savory depth and helps the crust brown beautifully.
- Flour & Egg Wash: This two-step coating process acts as the “glue” that keeps your crispy breading firmly attached to the chicken.
- Smoked Paprika & Garlic Powder: These spices give the breading a subtle warmth and an appetizing golden color.
Natural Substitutions: For a gluten-free version, swap the flour for cornstarch and use gluten-free panko or crushed gluten-free crackers.
Step-by-Step Instructions
The key to a successful oven-bake is the “Standard Breading Procedure.” Set up three shallow bowls: one with seasoned flour, one with whisked eggs, and one with your Panko and Parmesan mixture. Pat your chicken tenders completely dry before starting—this ensures the flour sticks properly and prevents the breading from sliding off during baking.
Dredge each tender in the flour, dip it into the egg wash, and finally press it firmly into the Panko mixture. For the best “oven-fried” results, place a wire rack on top of your baking sheet; this allows hot air to circulate under the chicken, ensuring the bottom stays just as crispy as the top. Give the tenders a light spritz of olive oil spray before sliding them into a hot oven. Bake until they are golden brown and reach an internal temperature of 165°F. Let them rest for just two minutes before serving to let the crust fully set.
Tips
- Pre-Toast the Crumbs: For an even deeper golden color, toast your Panko in a dry skillet for 2 minutes before breading the chicken.
- Don’t Overcrowd: Leave space between each tender on the rack so the moisture can escape; otherwise, they will steam instead of crisp.
- Oil Spray is Essential: A light coating of oil spray helps the Panko achieve that “fried” look and texture in the dry heat of the oven.
- Use a Wire Rack: Elevating the chicken is the single best way to avoid “soggy bottom” syndrome.
- Season Every Layer: Add a pinch of salt and pepper to the flour, the eggs, and the breadcrumbs for maximum flavor in every bite.
Storage & Reheating
Leftover tenders store well in an airtight container for up to 3 days. To regain that signature crunch, reheat them in an air fryer or a 375°F oven for about 5 minutes. Avoid the microwave, as it will make the breading soft and rubbery.
Serving & FAQs
What should I serve these with? Classic honey mustard, barbecue sauce, or a creamy ranch are the perfect dipping companions. Pair them with a side of sweet potato fries or a fresh coleslaw for a complete meal.
Can I freeze these? Yes! You can freeze them after breading but before baking. Cook them directly from frozen, adding an extra 5–8 minutes to the baking time.
📖 Recipe
Classic Crispy Baked Chicken Tenders
Ingredients
- 1.5 lbs chicken tenderloins
- ½ cup all-purpose flour
- 2 large eggs whisked
- 1.5 cups Panko breadcrumbs
- ¼ cup grated Parmesan cheese
- 1 tsp garlic powder
- 1 tsp smoked paprika
- ½ tsp salt
- ½ tsp black pepper
- Olive oil cooking spray
Instructions
- Prep: Preheat your oven to 425°F. Line a baking sheet with parchment paper and place a wire cooling rack on top.
- Setup: Prepare three bowls: 1) Flour mixed with salt and pepper. 2) Whisked eggs. 3) Panko mixed with Parmesan, garlic powder, and paprika.
- Bread: Dredge each tender in flour, dip in egg, then coat thoroughly in the Panko mixture, pressing down to adhere.
- Arrange: Place tenders on the wire rack and spray lightly with olive oil spray.
- Bake: Cook for 15–18 minutes, flipping halfway through and spraying the other side, until golden brown and cooked through.
- Rest: Let rest for 2 minutes before serving with your favorite dipping sauces.

Leave a Reply