
Want to save this recipe?
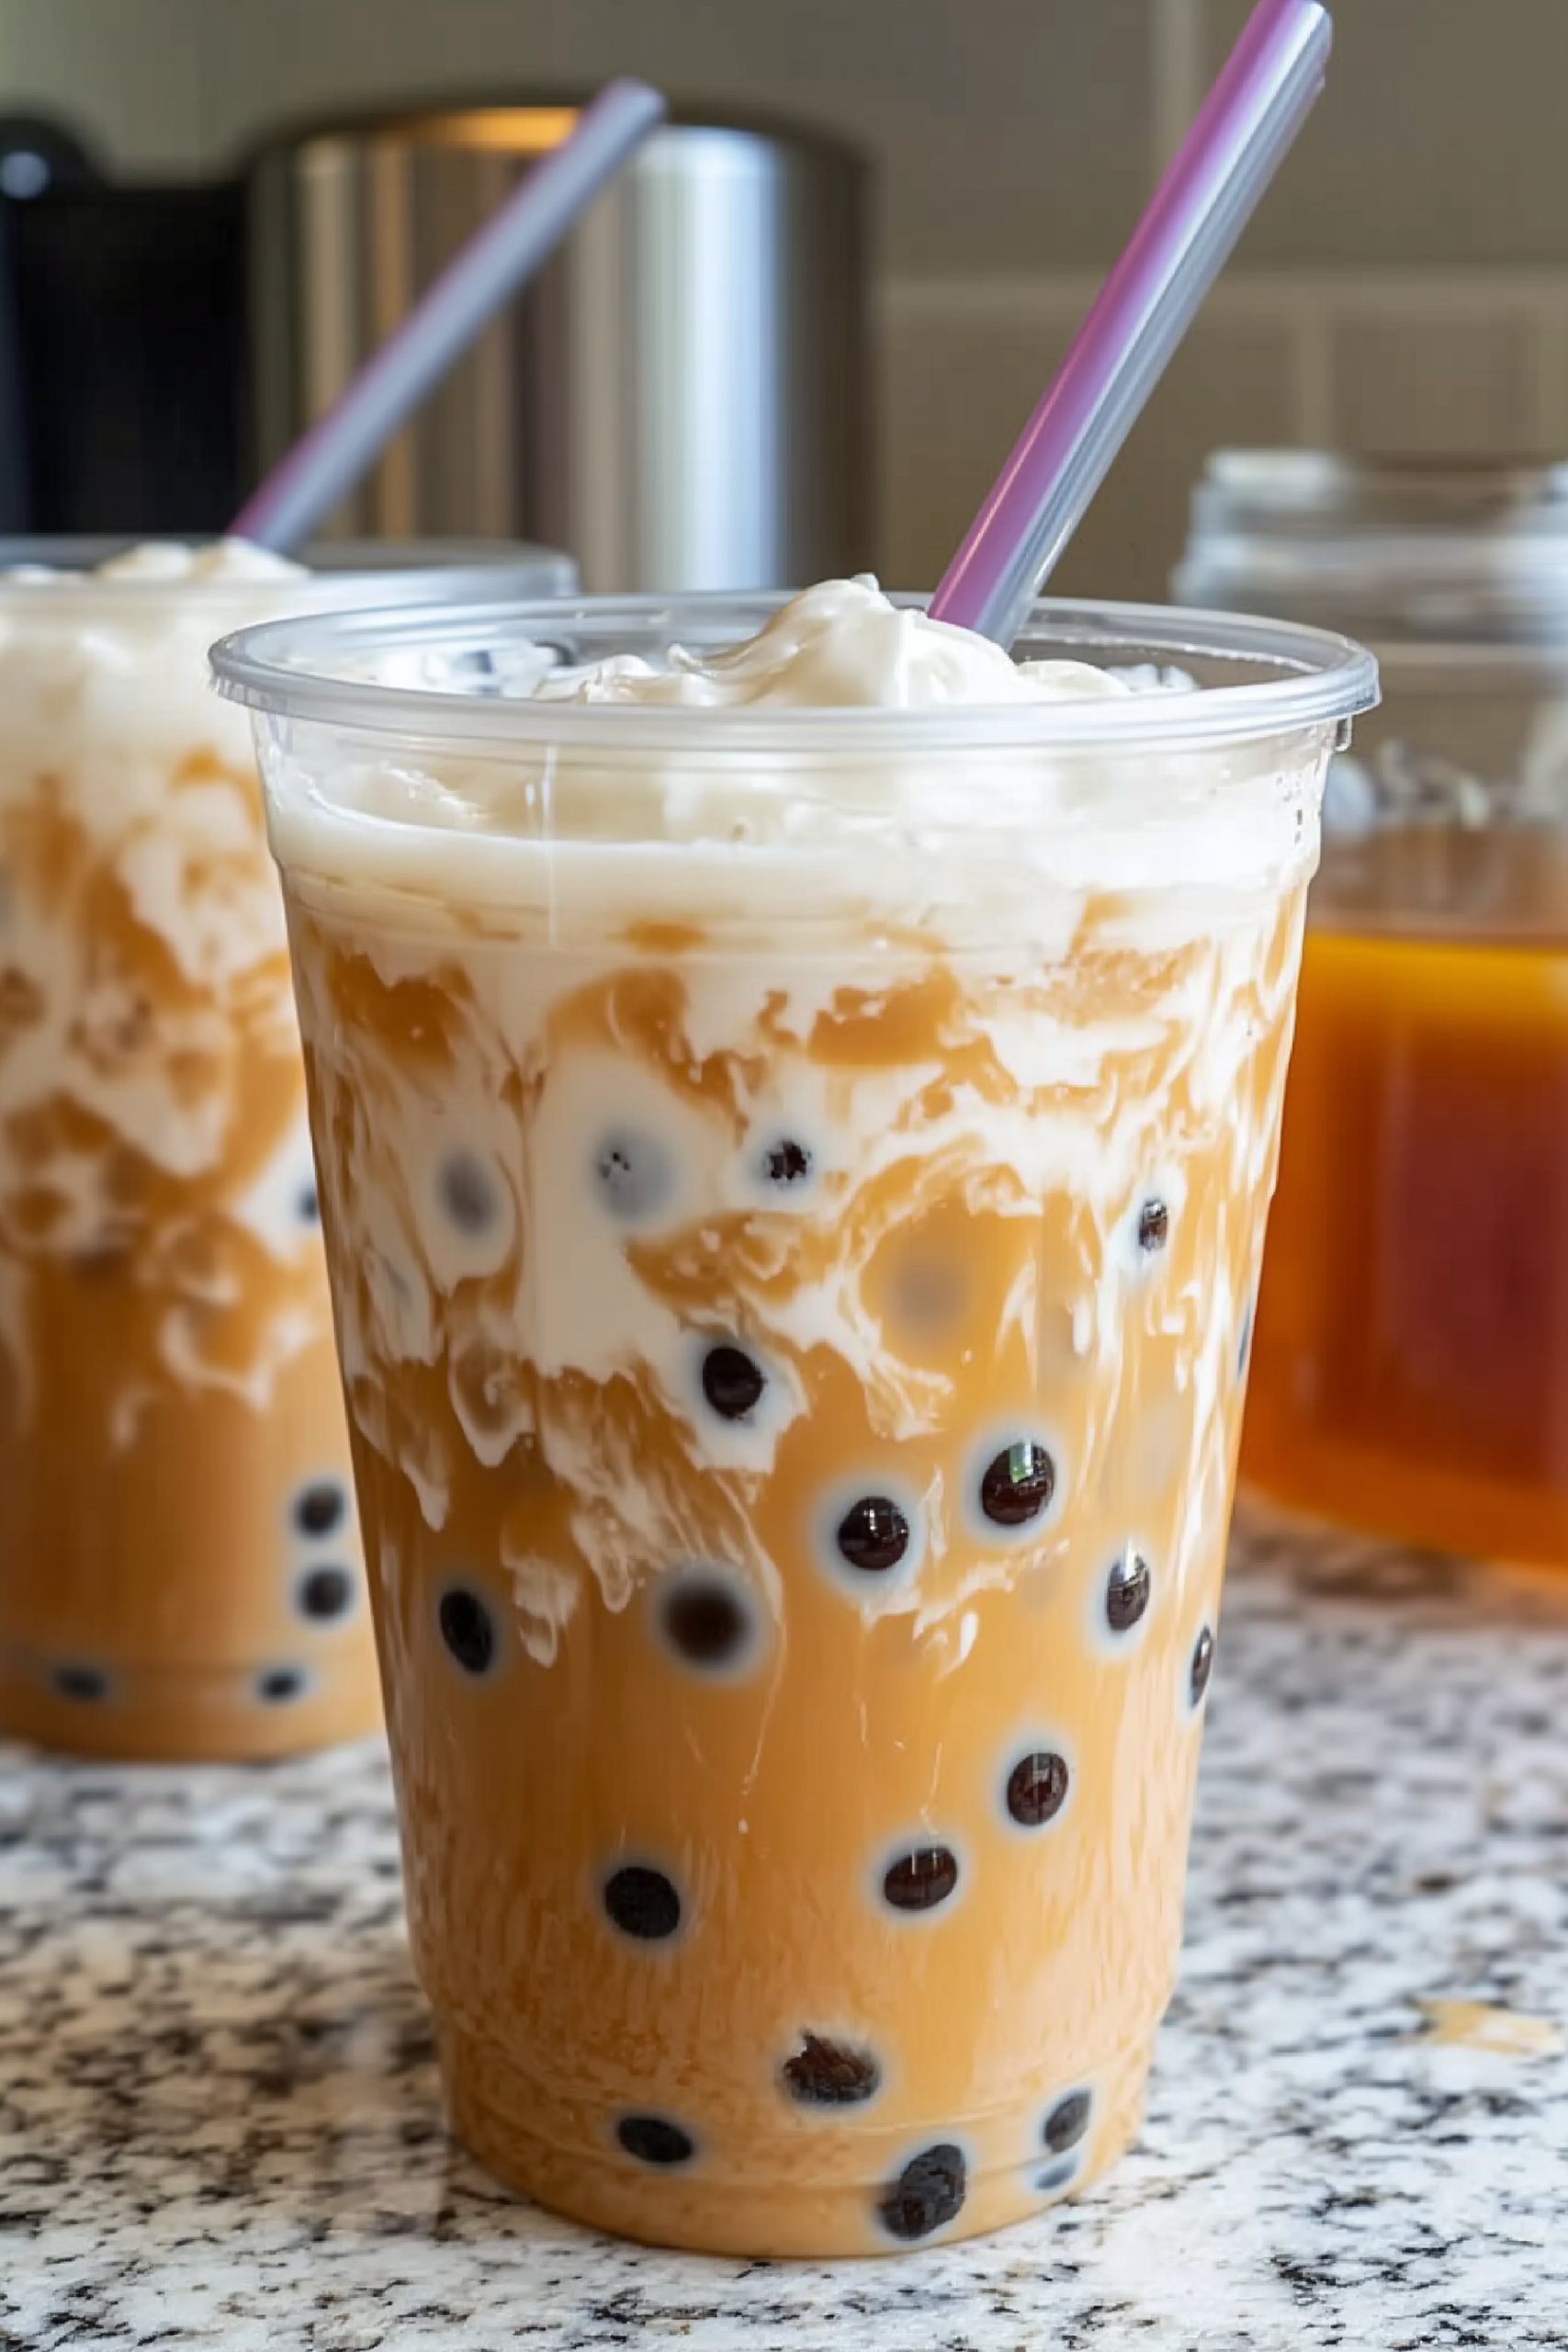
There is something incredibly satisfying about the distinct “chew” of a perfectly prepared boba pearl. Whenever I make this at home, the kitchen fills with the deep, caramel-like aroma of brown sugar simmering away. It’s a scent that immediately signals a special treat is on the way. Watching the pearls transform from dull, starchy rounds into glossy, translucent gems is almost as therapeutic as drinking the tea itself.
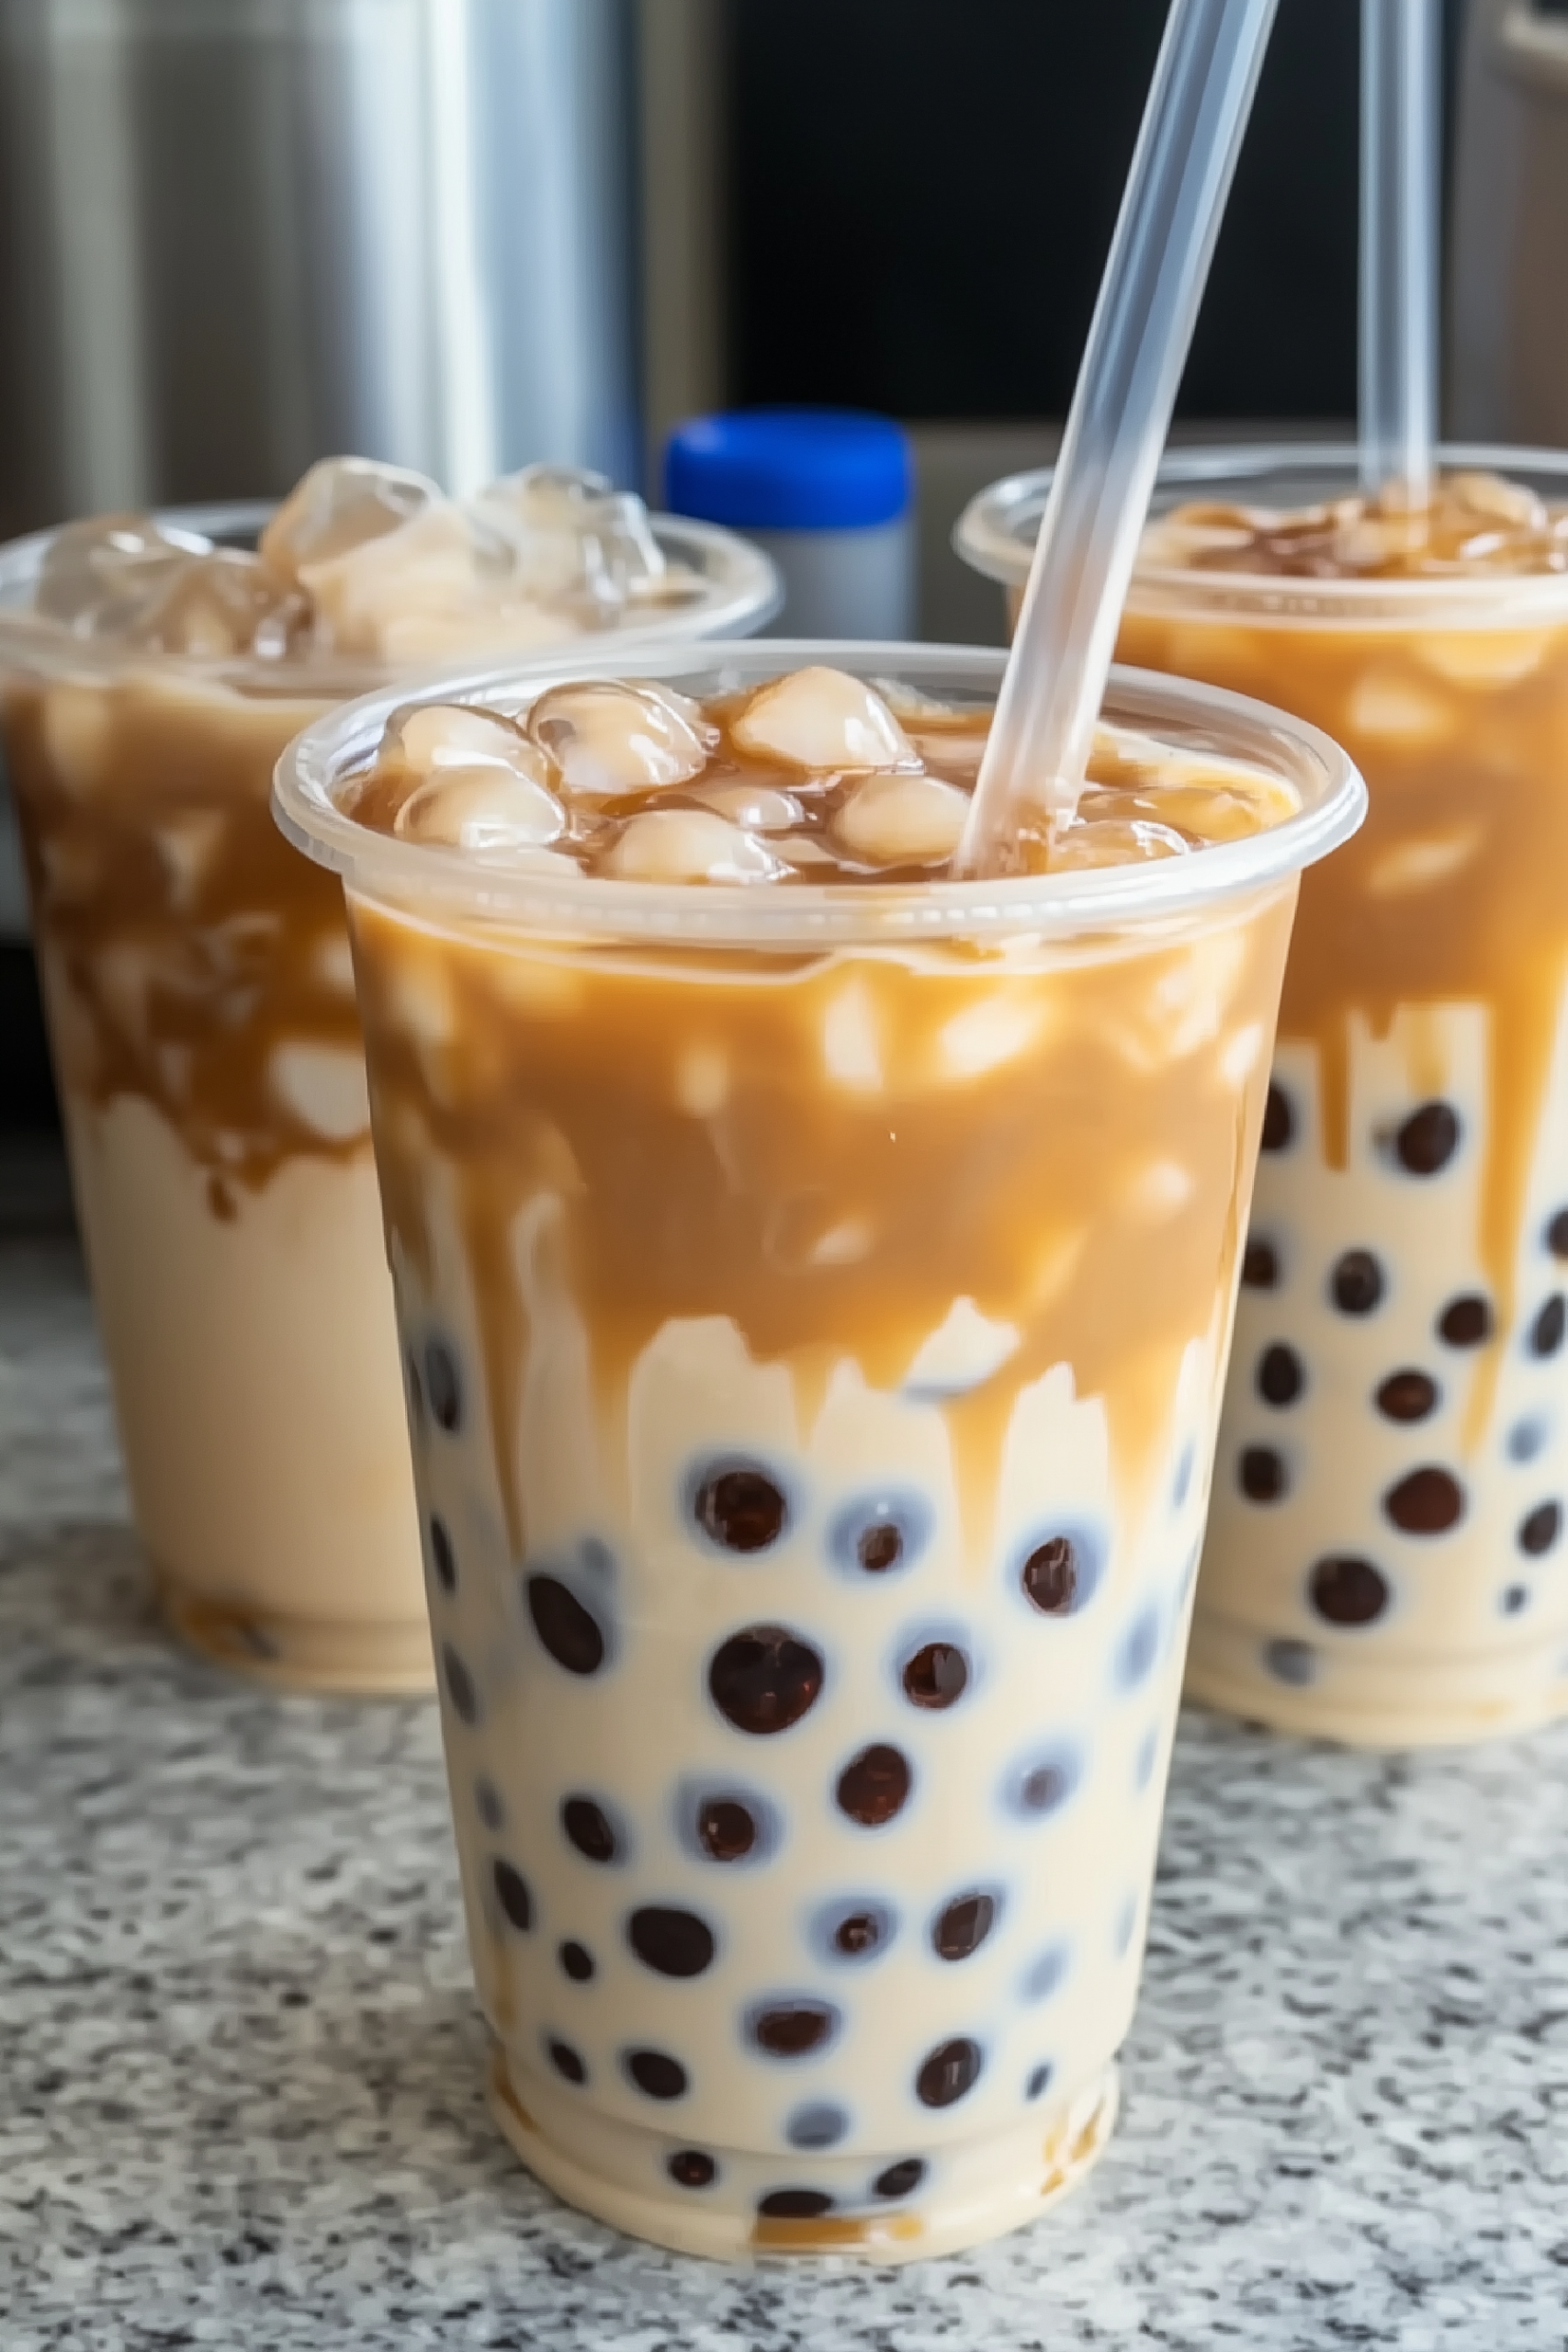
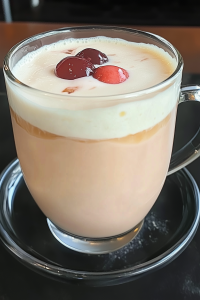
Serving these pearls in a tall glass of iced milk tea feels like bringing a high-end boba shop right into my own dining room. The contrast between the ice-cold, creamy tea and the warm, soft, brown sugar-soaked pearls is a sensory experience that never gets old. Whether it’s a sunny afternoon pick-me-up or a fun weekend project with the kids, these pearls turn a simple drink into an event.
Why You’ll Love It
- Better-Than-Shop Texture: Achieving that perfect “QQ” (bouncy and chewy) texture at home is easier than you think.
- Customizable Sweetness: You control exactly how much brown sugar goes into the syrup, avoiding the cloying sweetness of some commercial versions.
- Cost-Effective: Making your own pearls is a fraction of the price of a daily boba run.
- Preservative-Free: By making them from scratch, you know exactly what’s going into your snack—no weird additives.
- Fun Kitchen Project: Rolling the pearls is a tactile, relaxing activity that’s great for getting the whole family involved.
Ingredient Notes & Details
- Tapioca Starch: This is the non-negotiable base. It’s what gives the pearls their signature elastic chew. Do not swap for cornstarch!
- Muscovado or Dark Brown Sugar: This provides that deep, molasses-heavy flavor and the iconic dark color.
- Boiling Water: The water must be boiling hot when mixed with the starch to partially gelatinize it, or you’ll end up with a puddle of goo.
- Black Tea: A strong Assam or Ceylon tea provides the robust base needed to stand up to milk and sugar.
Substitutions:
- Sugar: Honey or maple syrup can be used for a different flavor profile, though the color will be lighter.
- Milk: Oat milk or almond milk are fantastic dairy-free alternatives that pair beautifully with brown sugar.
Step-by-Step Instructions
Creating the dough is all about temperature. You’ll dissolve your sugar in boiling water and immediately stir in half the starch to create a “starter.” Once you fold in the rest, you’ll knead it into a smooth, playdough-like consistency. Rolling the tiny balls takes a little patience, but the uniform size ensures they cook evenly.
When boiling, the pearls will initially sink and then float to the surface—this is your sign they are cooking through. After a good simmer and a brief rest in the hot water, they get a cold bath to “shock” them, which locks in that bouncy texture. The final, most important step is simmering them in a thick brown sugar syrup until they look like shimmering obsidian.
Tips
- Keep Dough Covered: Tapioca dough dries out in seconds. Keep your unused dough under plastic wrap or a damp cloth while rolling.
- Sieve the Pearls: Toss your rolled pearls in a bit of extra starch and then shake them in a sieve to remove the excess before boiling.
- The “Cold Shock”: Don’t skip the ice water bath; it’s the secret to keeping the pearls from sticking together in a clump.
- Small Batches: If you aren’t a pro roller yet, work in small batches so the dough stays pliable.
- Syrup Consistency: Simmer the syrup until it’s thick enough to coat the back of a spoon; this ensures it clings to the pearls and the sides of your glass.
Storage & Reheating
Boba pearls are best within 4 hours of cooking. If they sit too long, they lose their bounce and become tough. Never refrigerate cooked pearls, as the starch will crystallize and turn them hard. If you have leftovers, keep them in their syrup at room temperature. To “revive” them slightly, you can microwave them for 15 seconds, but fresh is always best.
Serving & FAQs
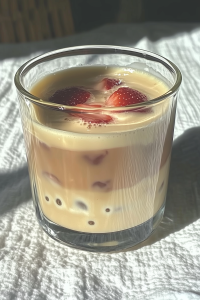
How do I get the “tiger stripe” look on the glass? Before adding your tea, spoon the warm pearls and a good amount of syrup into the glass. Tilt the glass and rotate it so the thick syrup coats the sides before pouring in the cold milk tea.
Why did my dough turn into a liquid? This usually happens if the water wasn’t truly boiling or if it cooled down too much before hitting the starch. The heat is what “sets” the starch into a dough.
📖 Recipe
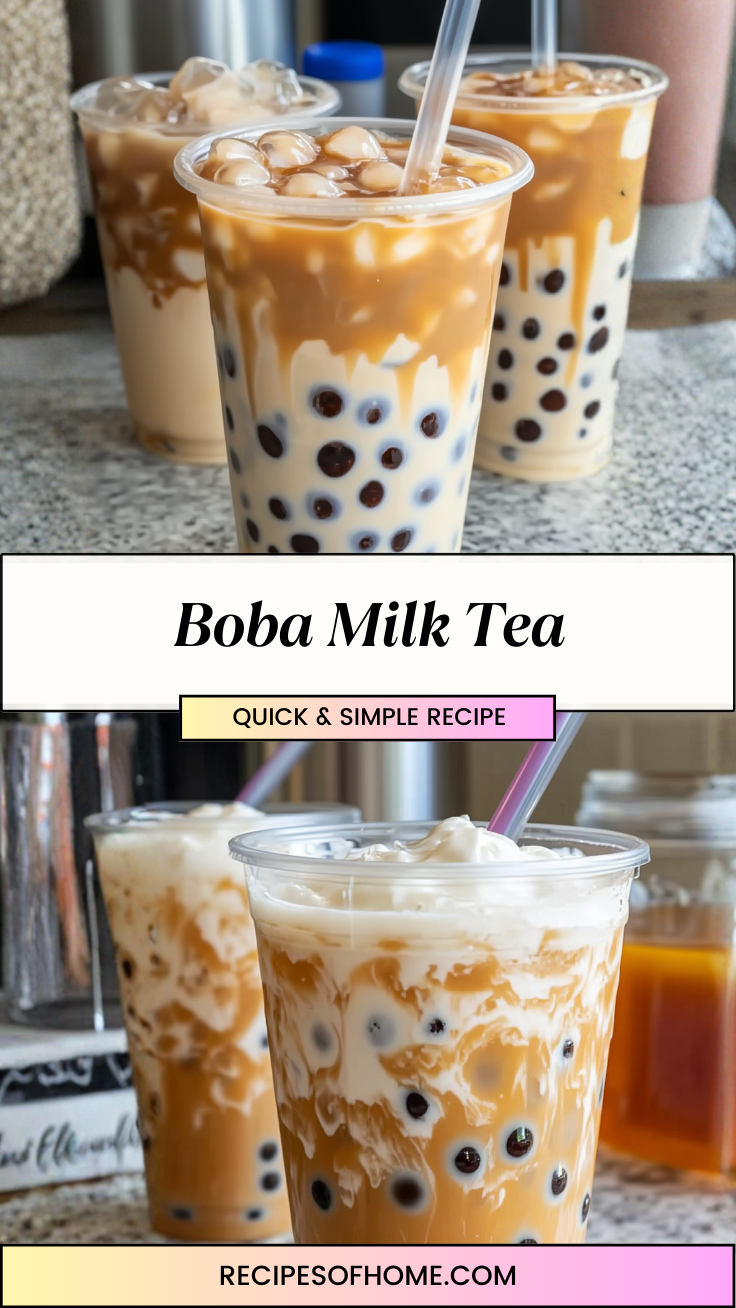
Homemade Brown Sugar Boba Pearls
Ingredients
For the Pearls:
- 135 g Tapioca starch plus extra for dusting
- 60 g Dark brown sugar
- 75 ml Water
For the Syrup:
- 100 g Brown sugar
- 50 ml Water
For Serving:
- Strong brewed black tea
- Whole milk or oat milk
- Ice cubes
Instructions
- In a small pot, combine 75ml water and 60g brown sugar. Bring to a rolling boil.
- Turn heat to low and add about 1 tablespoon of tapioca starch. Whisk quickly until thickened.
- Remove from heat and stir in the remaining starch until a shaggy dough forms.
- Turn the dough onto a clean surface and knead until smooth and elastic.
- Roll dough into long thin ropes (about ½ inch thick) and cut into tiny pieces. Roll pieces into small spheres.
- Bring a large pot of water to a boil. Drop in the pearls and stir gently so they don’t stick.
- Once they float, cover and boil for 20 minutes. Turn off the heat and let them sit (covered) for another 15 minutes.
- Drain the pearls and immediately rinse under cold running water.
- In a clean pan, combine the syrup ingredients and the cooked pearls. Simmer over medium heat for 5 minutes until the syrup is thick and glossy.
- Spoon pearls and syrup into glasses, add ice, and pour over your prepared milk tea.
Leave a Reply