

Want to save this recipe?
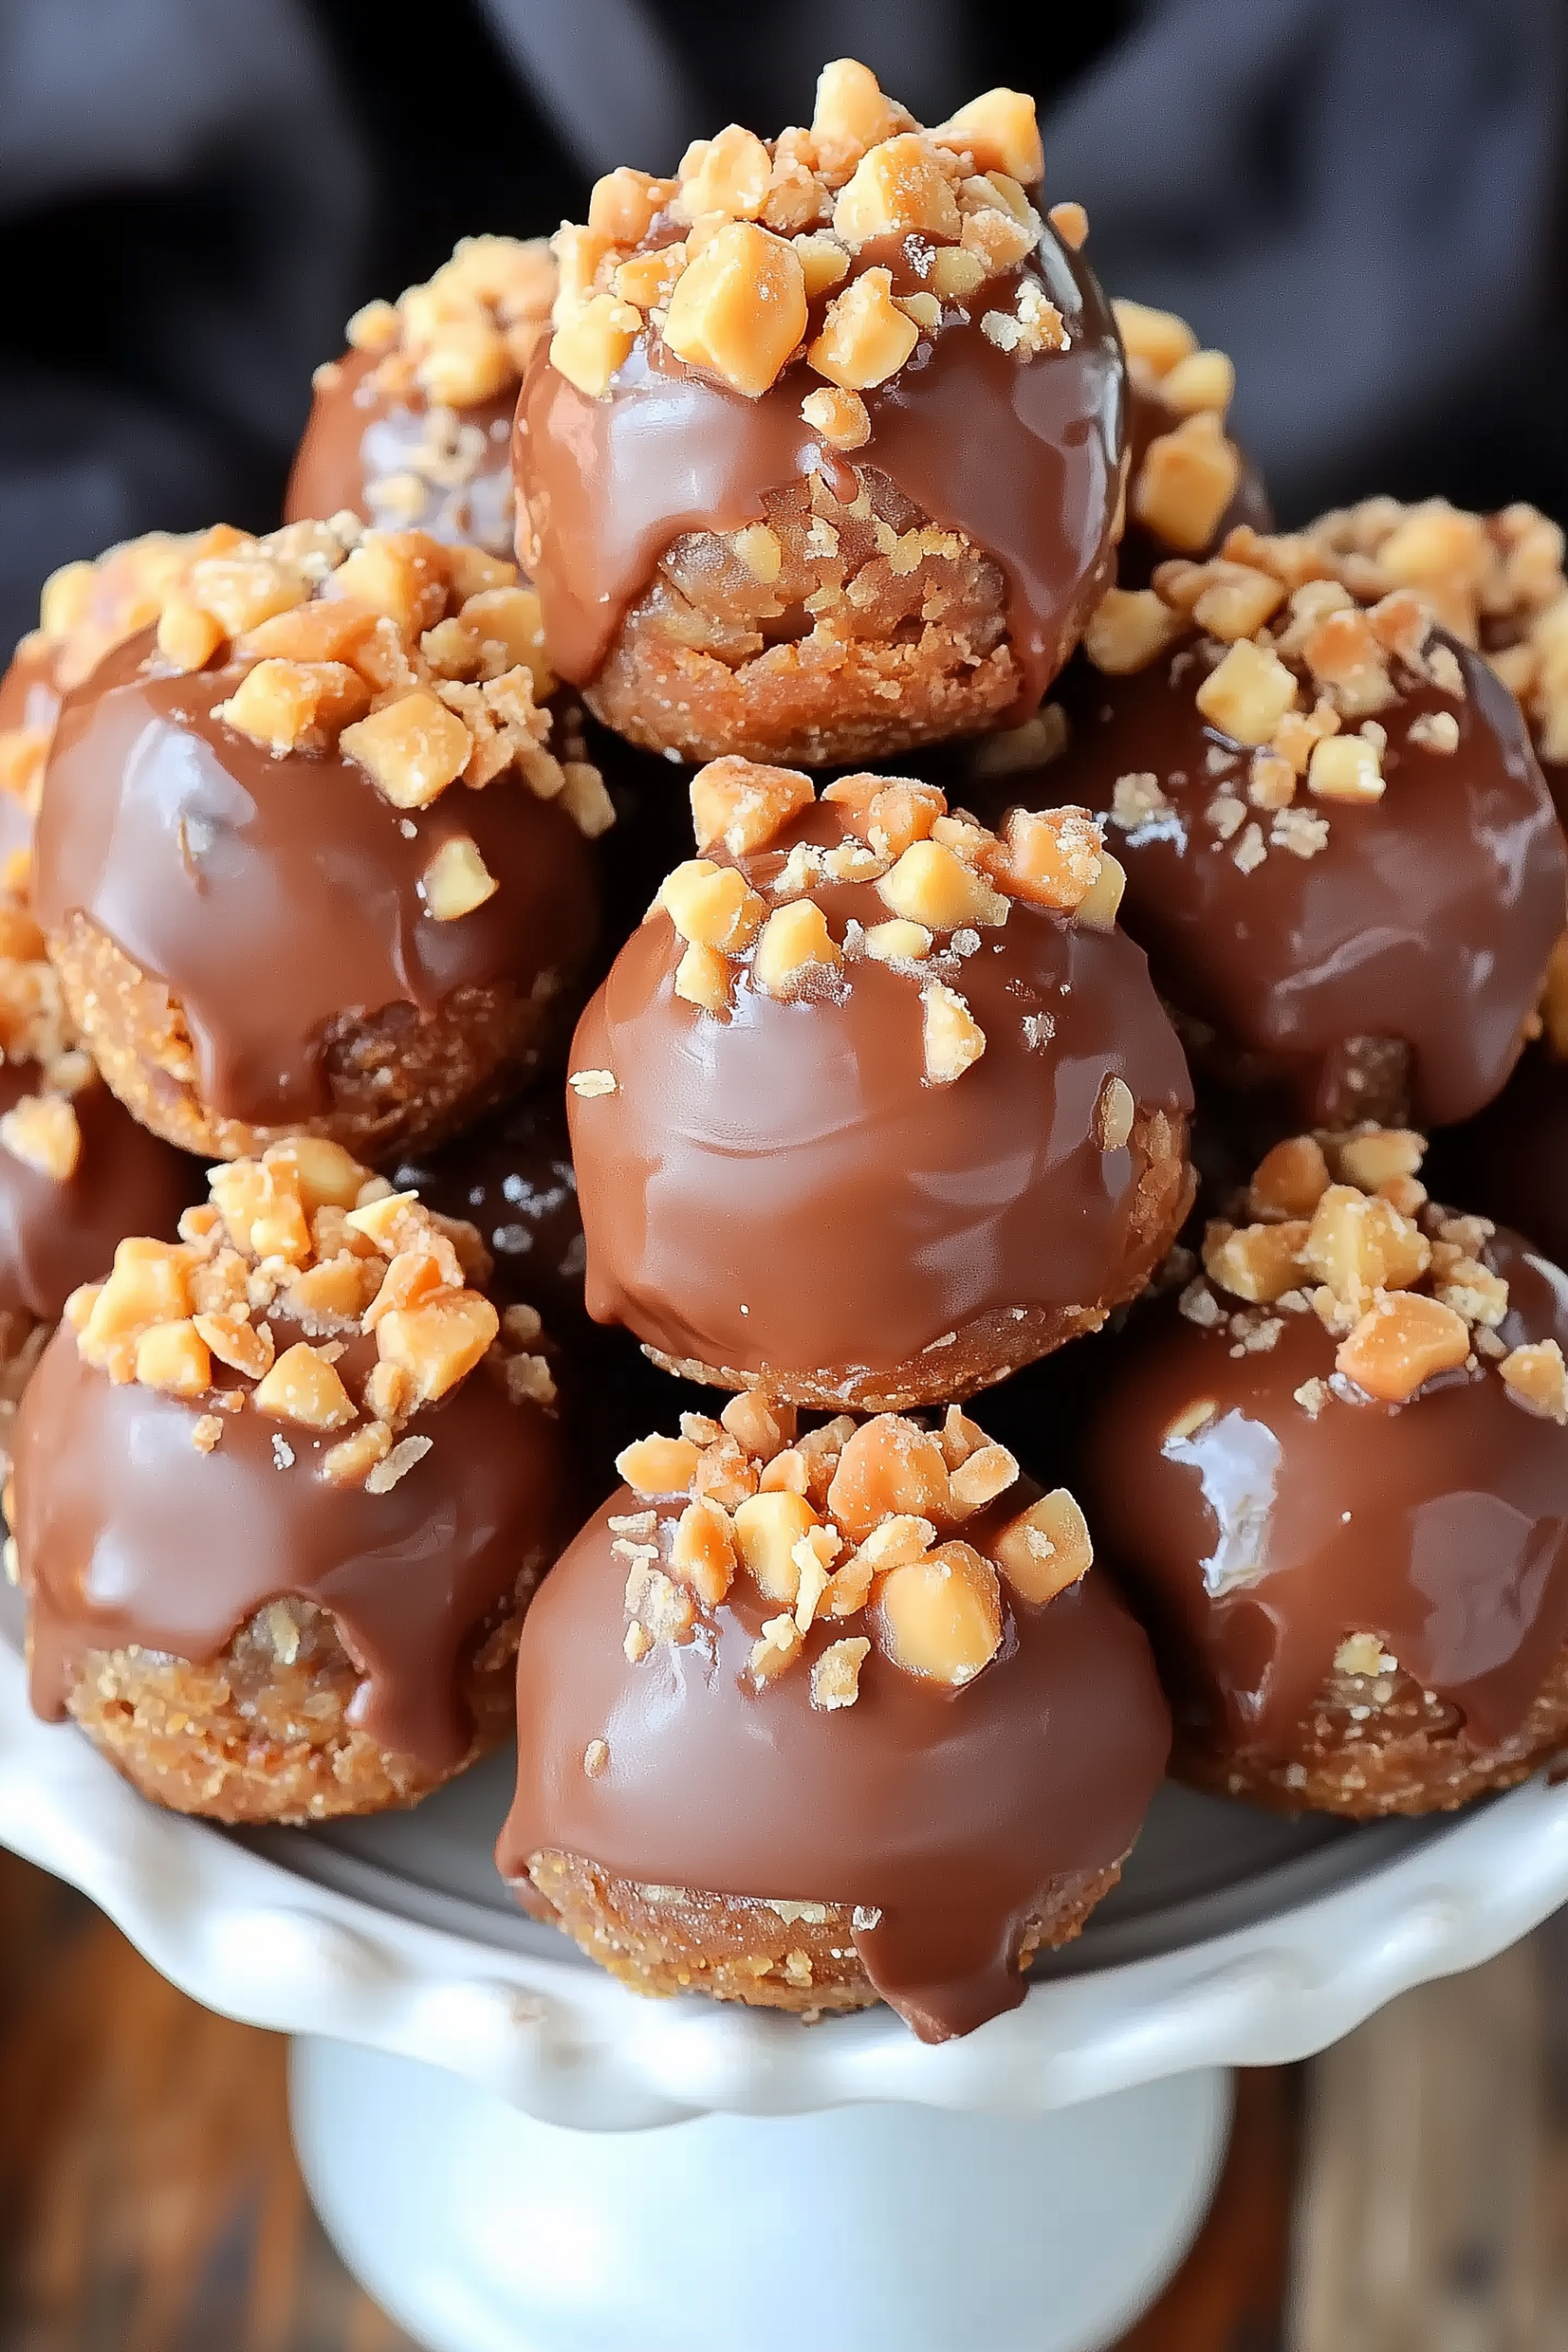
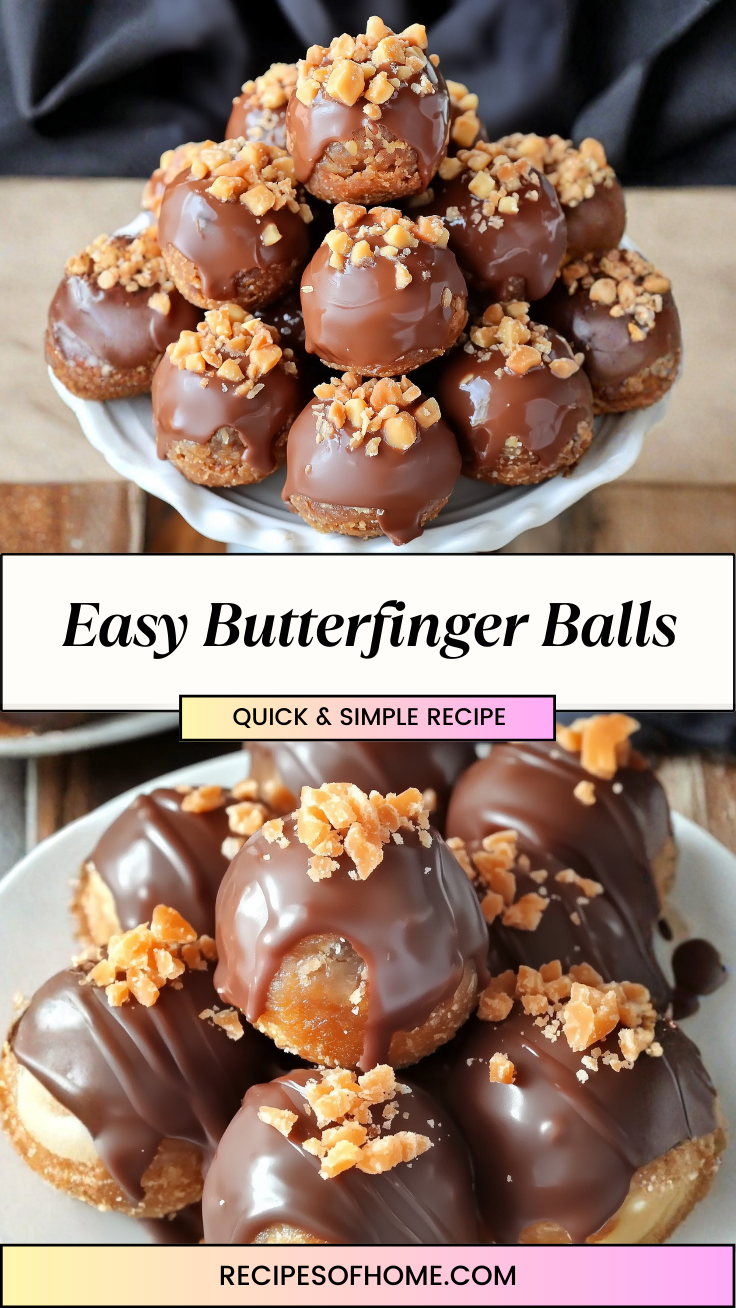
Forget the complicated baking projects—these Easy Butterfinger Balls are the ultimate “no-bake” victory for your sweet tooth. There is something deeply addictive about the combination of creamy peanut butter, crunchy candy bar pieces, and a smooth, snap-perfect chocolate coating. It is the kind of treat that looks like it came from a high-end confectionary shop but is secretly one of the easiest recipes in my arsenal.
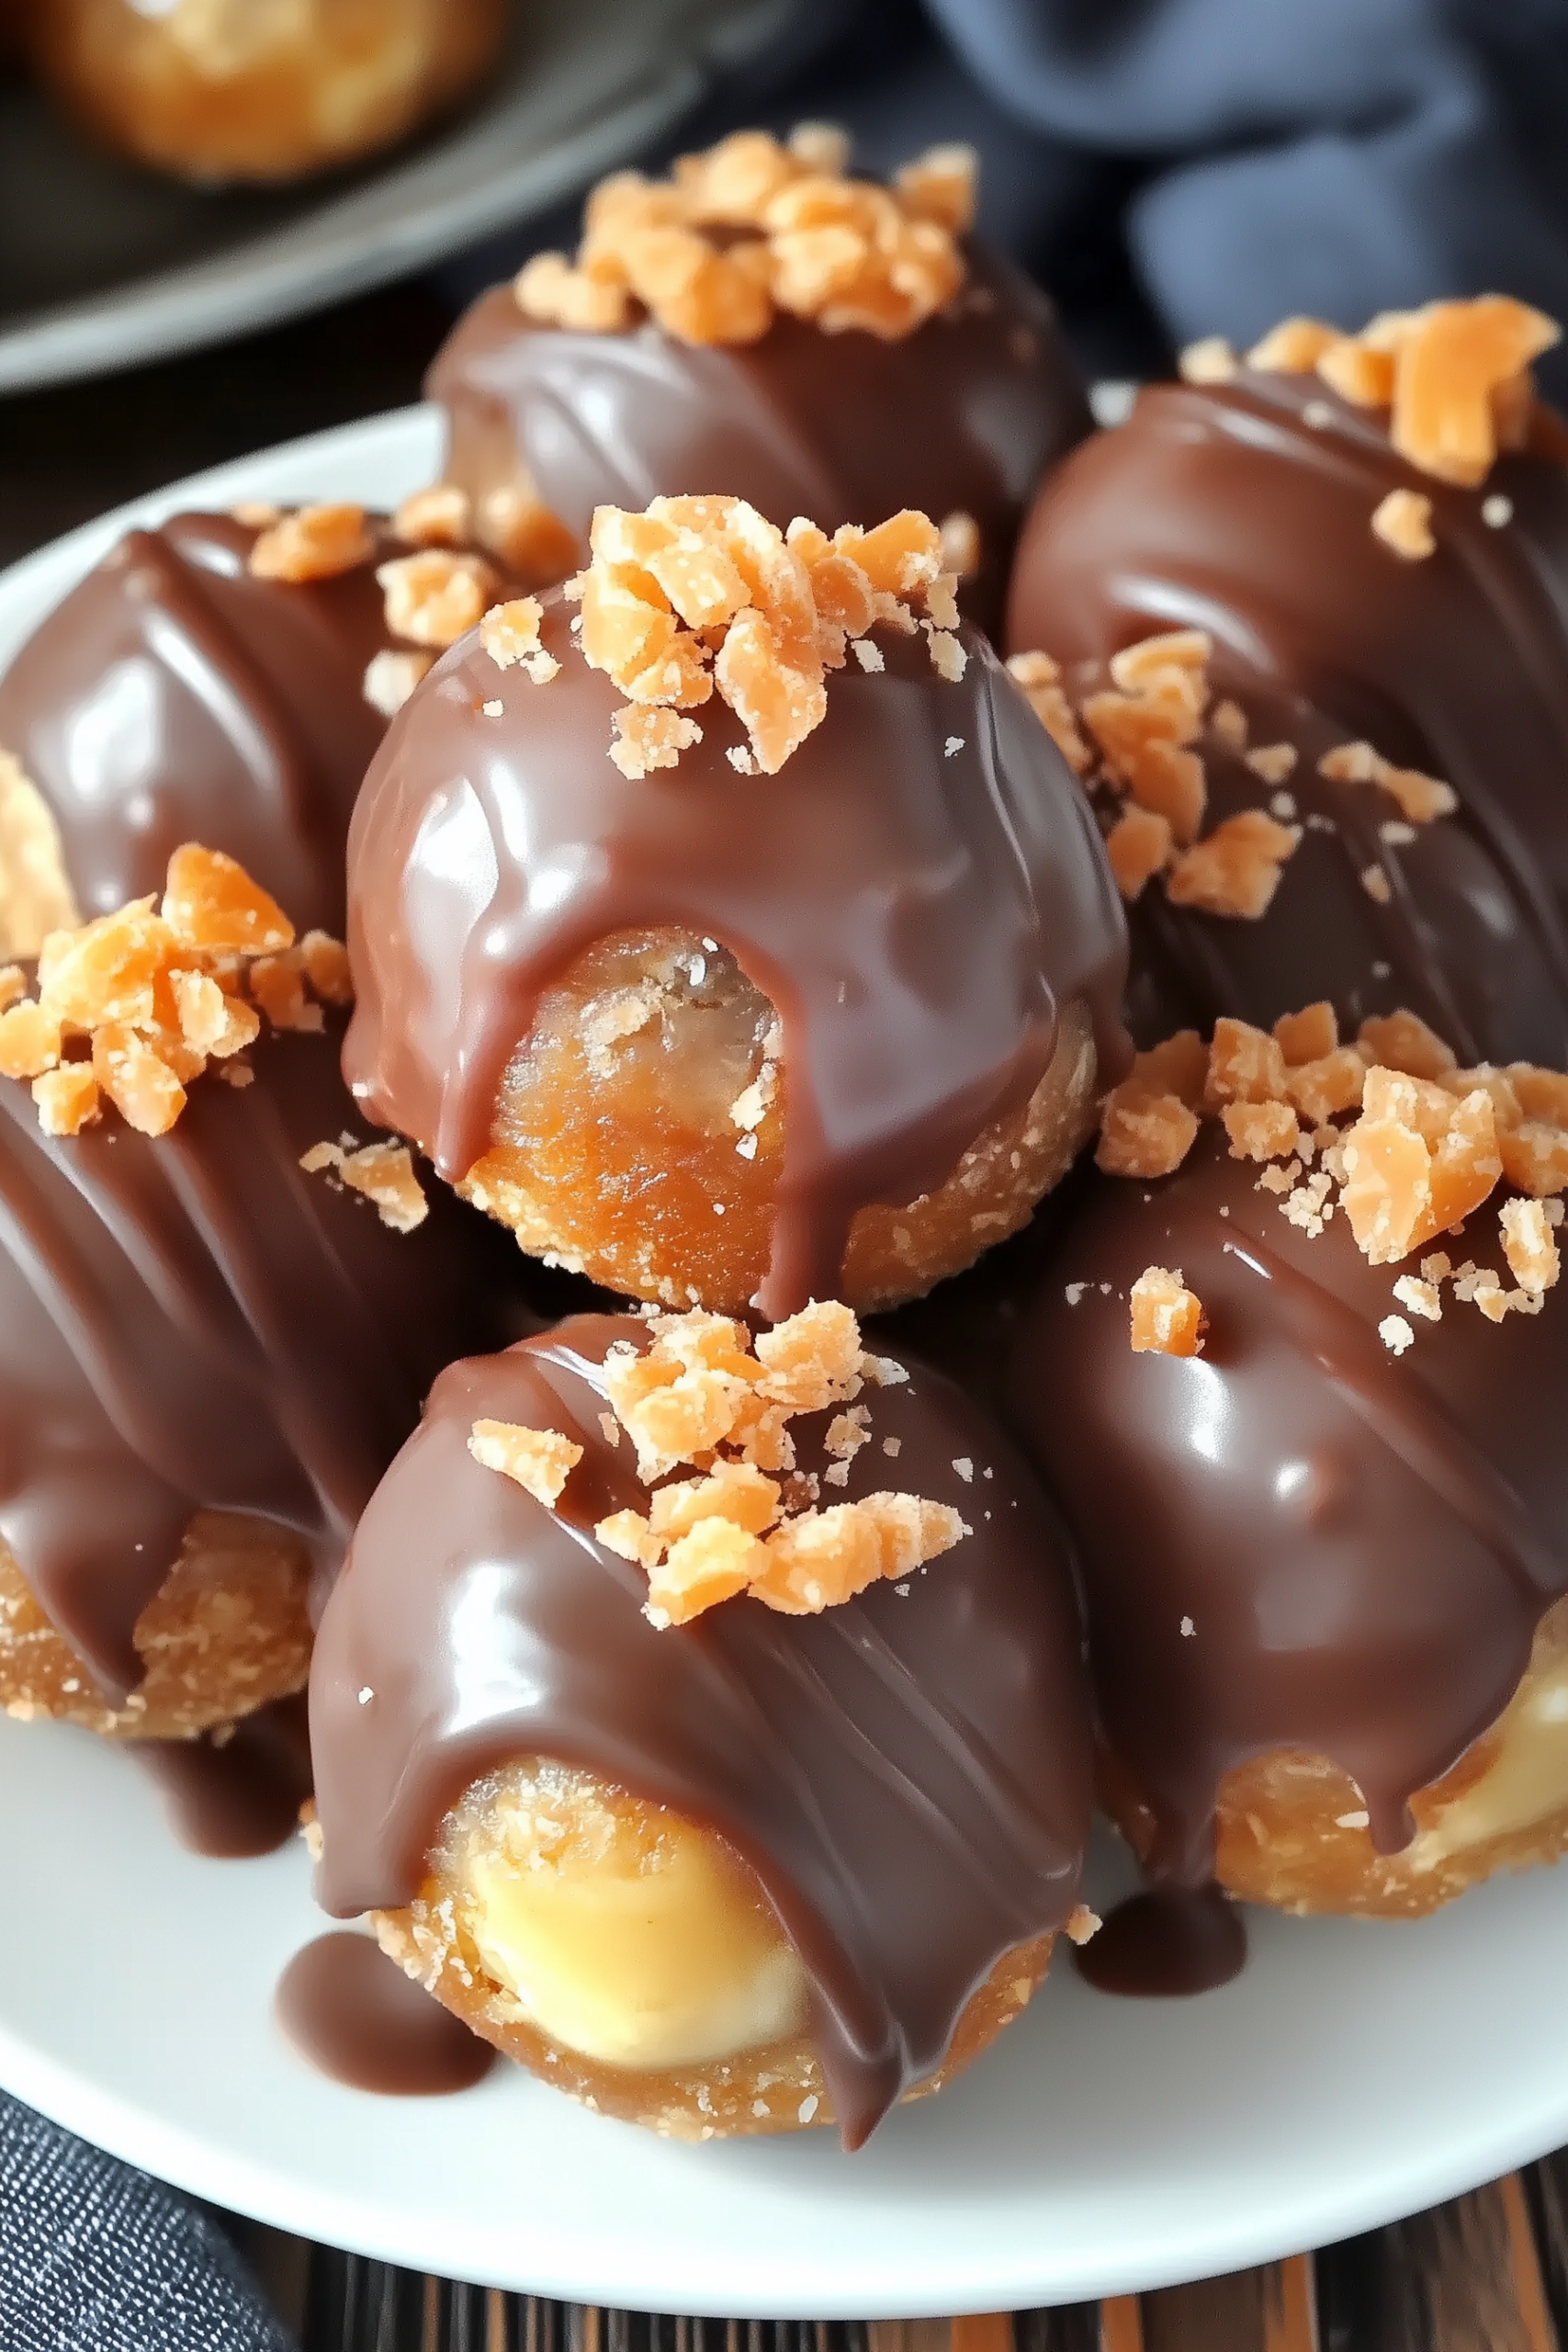
When I set a plate of these out, they vanish faster than I can say “don’t lay a finger.” The contrast between the chilled, dense peanut butter center and the rich, dark chocolate is exactly what dessert dreams are made of. Whether you’re looking for a standout addition to a holiday cookie tray or just a bite-sized reward to keep in the fridge for late-night cravings, these little gems are a guaranteed crowd-pleaser that everyone will be begging you for the recipe for.
Why You’ll Love It
- No-Bake Ease: You can skip the oven entirely, making this a perfect stress-free dessert for hot days or busy holidays.
- Three-Ingredient Base: The core of the recipe relies on simple pantry staples that transform into a gourmet treat.
- Perfect Texture: You get a wonderful mix of silky smooth peanut butter and the signature honeycomb crunch of Butterfinger bars.
- Great for Gifting: These hold up beautifully at room temperature, making them ideal for festive gift tins or party favors.
- Kid-Friendly Fun: This is a fantastic “kitchen project” for little helpers who love rolling dough and dipping things in chocolate.
Ingredient Notes & Details
- Butterfinger Candy Bars: You’ll want to crush these into a fine rubble. Some larger chunks are okay for texture, but a fine crumble ensures the balls hold their shape.
- Creamy Peanut Butter: Standard commercial peanut butter (like Jif or Skippy) works best here because it is emulsified and won’t separate like “natural” oily versions.
- Powdered Sugar: This acts as the binder, giving the peanut butter enough structure to be rolled into firm, round balls.
- Chocolate Melting Wafers: I recommend high-quality dark or semi-sweet melting wafers for a smooth, glossy finish that sets quickly.
- Graham Cracker Crumbs (Optional): A small amount can be added if your mixture feels too soft; it adds a nice wheaty depth to the sweetness.
Step-by-Step Instructions
Start by crushing your Butterfinger bars. I usually put them in a heavy-duty freezer bag and go to town with a rolling pin—it’s great stress relief! In a large bowl, beat together your creamy peanut butter and powdered sugar until a stiff “dough” forms. Fold in most of your crushed candy pieces, saving a handful for the final garnish.
Using a small cookie scoop, portion out the mixture and roll it between your palms into uniform 1-inch spheres. The “why” behind this step is consistency; you want them all to chill and set at the same rate. Place your rolled balls on a parchment-lined tray and pop them into the freezer for at least 30 minutes. Chilling them is non-negotiable—if they are too warm, they will melt into your hot chocolate dip.
Once firm, melt your chocolate wafers in 30-second bursts in the microwave. Use a fork to dip each chilled peanut butter ball into the chocolate, tapping off the excess. While the chocolate is still wet, sprinkle the remaining Butterfinger crumbles on top. The cold center will help the chocolate set almost instantly, creating that professional-looking shell.
Tips
- Chilled Hands: If the peanut butter dough starts sticking to your palms while rolling, wash your hands in cold water and dry them thoroughly before continuing.
- Use a Dipping Tool: A specialized chocolate dipping fork or a plastic fork with the center tines removed makes it much easier to lift the balls without leaving messy marks.
- Consistency Check: If your mixture feels too dry and crumbly, add a teaspoon of melted butter. If it’s too sticky, add a bit more powdered sugar.
- Microwave Safety: Stir your chocolate every 30 seconds, even if it doesn’t look melted yet. Chocolate burns easily, and residual heat often does the most work.
- Parchment Paper is King: Never skip the parchment paper! It ensures your chocolate bottoms don’t stick to the tray.
Storage & Reheating
These treats are best stored in an airtight container in the refrigerator for up to two weeks. If you want them to last longer, they freeze beautifully for up to three months. Just take them out about 10 minutes before serving so the centers soften slightly. There is no reheating required—these are strictly a “cool and crisp” experience!
Serving & FAQs
Can I use a different candy bar? Absolutely! This method works great with Heath bars or even crushed pretzels for a salty-sweet twist.
How do I prevent the chocolate from “blooming” or turning white? Using high-quality melting wafers (like Ghirardelli) instead of standard chocolate chips helps, as they are formulated to set with a stable finish.
📖 Recipe
Homemade Butterfinger Truffle Balls
Ingredients
- 6 standard-sized Butterfinger candy bars crushed
- 1 cup creamy peanut butter
- 1.5 cups powdered sugar
- 12 oz semi-sweet chocolate melting wafers
- ½ tsp vanilla extract
Instructions
- In a large mixing bowl, combine the peanut butter, powdered sugar, and vanilla extract. Mix until a firm dough forms.
- Fold in ¾ of the crushed Butterfinger pieces until evenly distributed.
- Line a baking sheet with parchment paper.
- Roll the mixture into 1-inch balls and place them on the prepared sheet.
- Place the sheet in the freezer for 30–40 minutes until the balls are very firm.
- In a microwave-safe bowl, melt the chocolate wafers in 30-second increments, stirring between each, until completely smooth.
- Using a fork, dip each chilled ball into the chocolate, let the excess drip off, and return to the parchment paper.
- Immediately sprinkle with the remaining crushed Butterfinger pieces while the chocolate is still wet.
- Allow to set completely at room temperature or in the fridge before serving.
Leave a Reply