












Want to save this recipe?
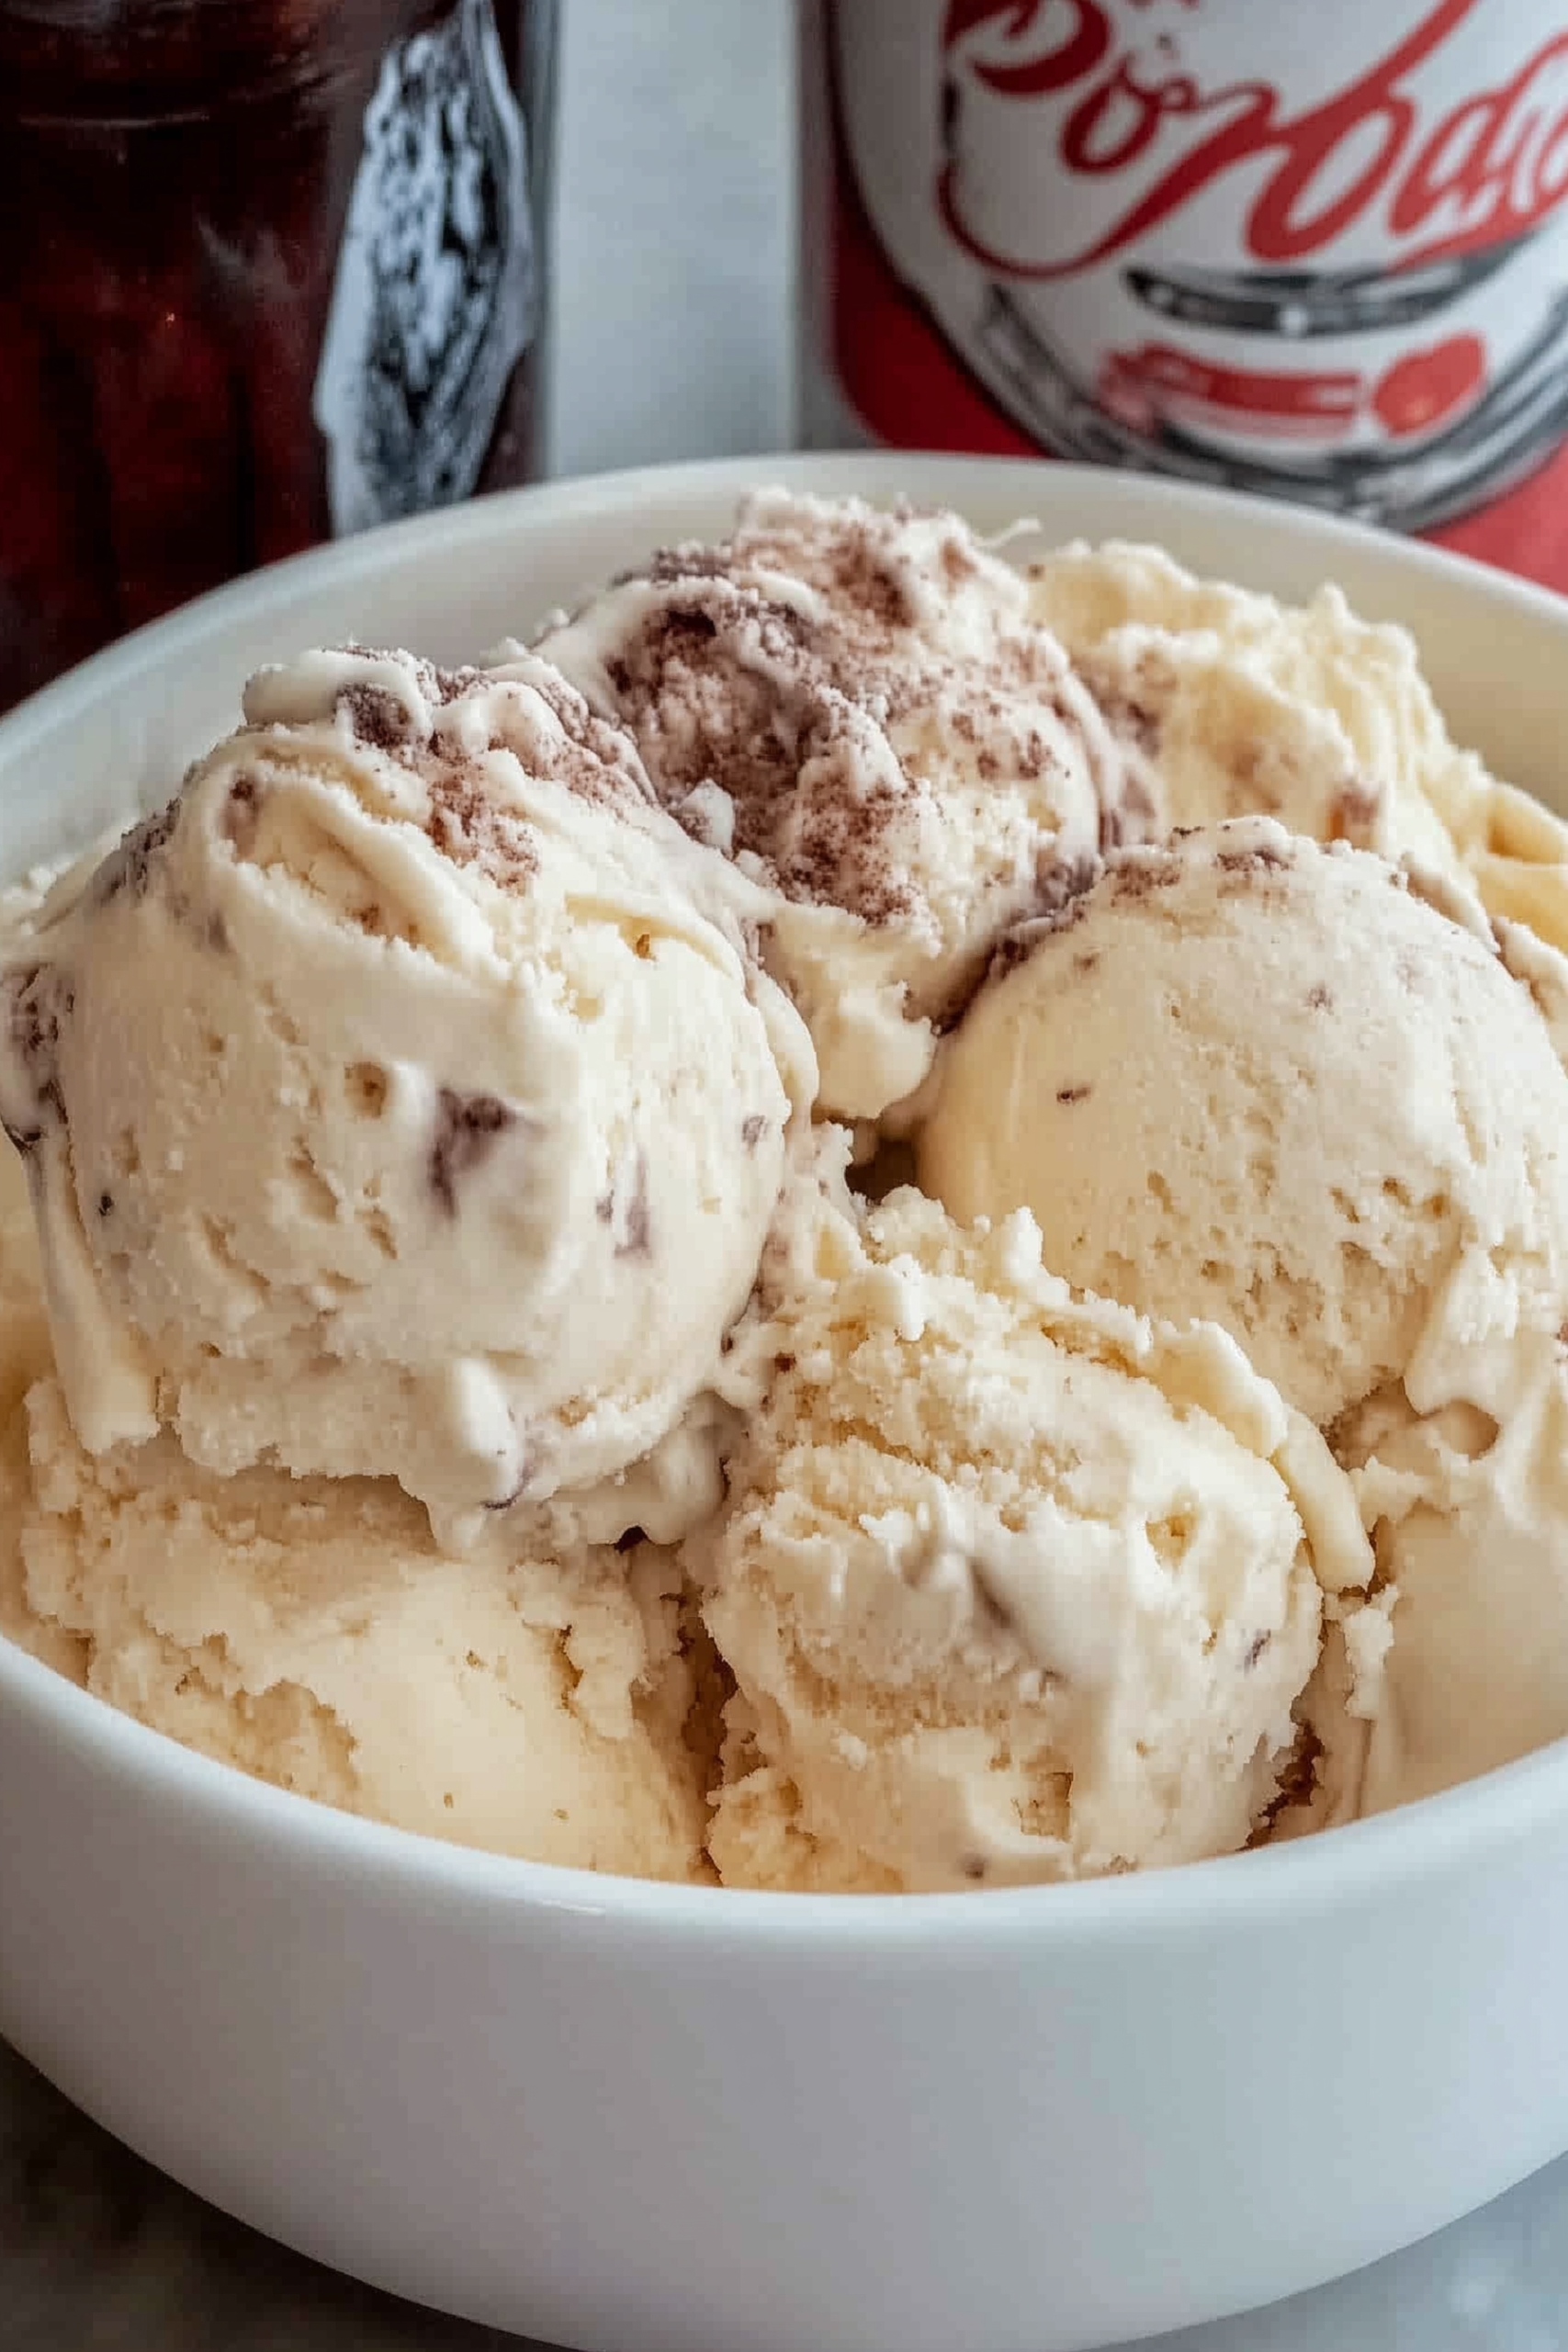
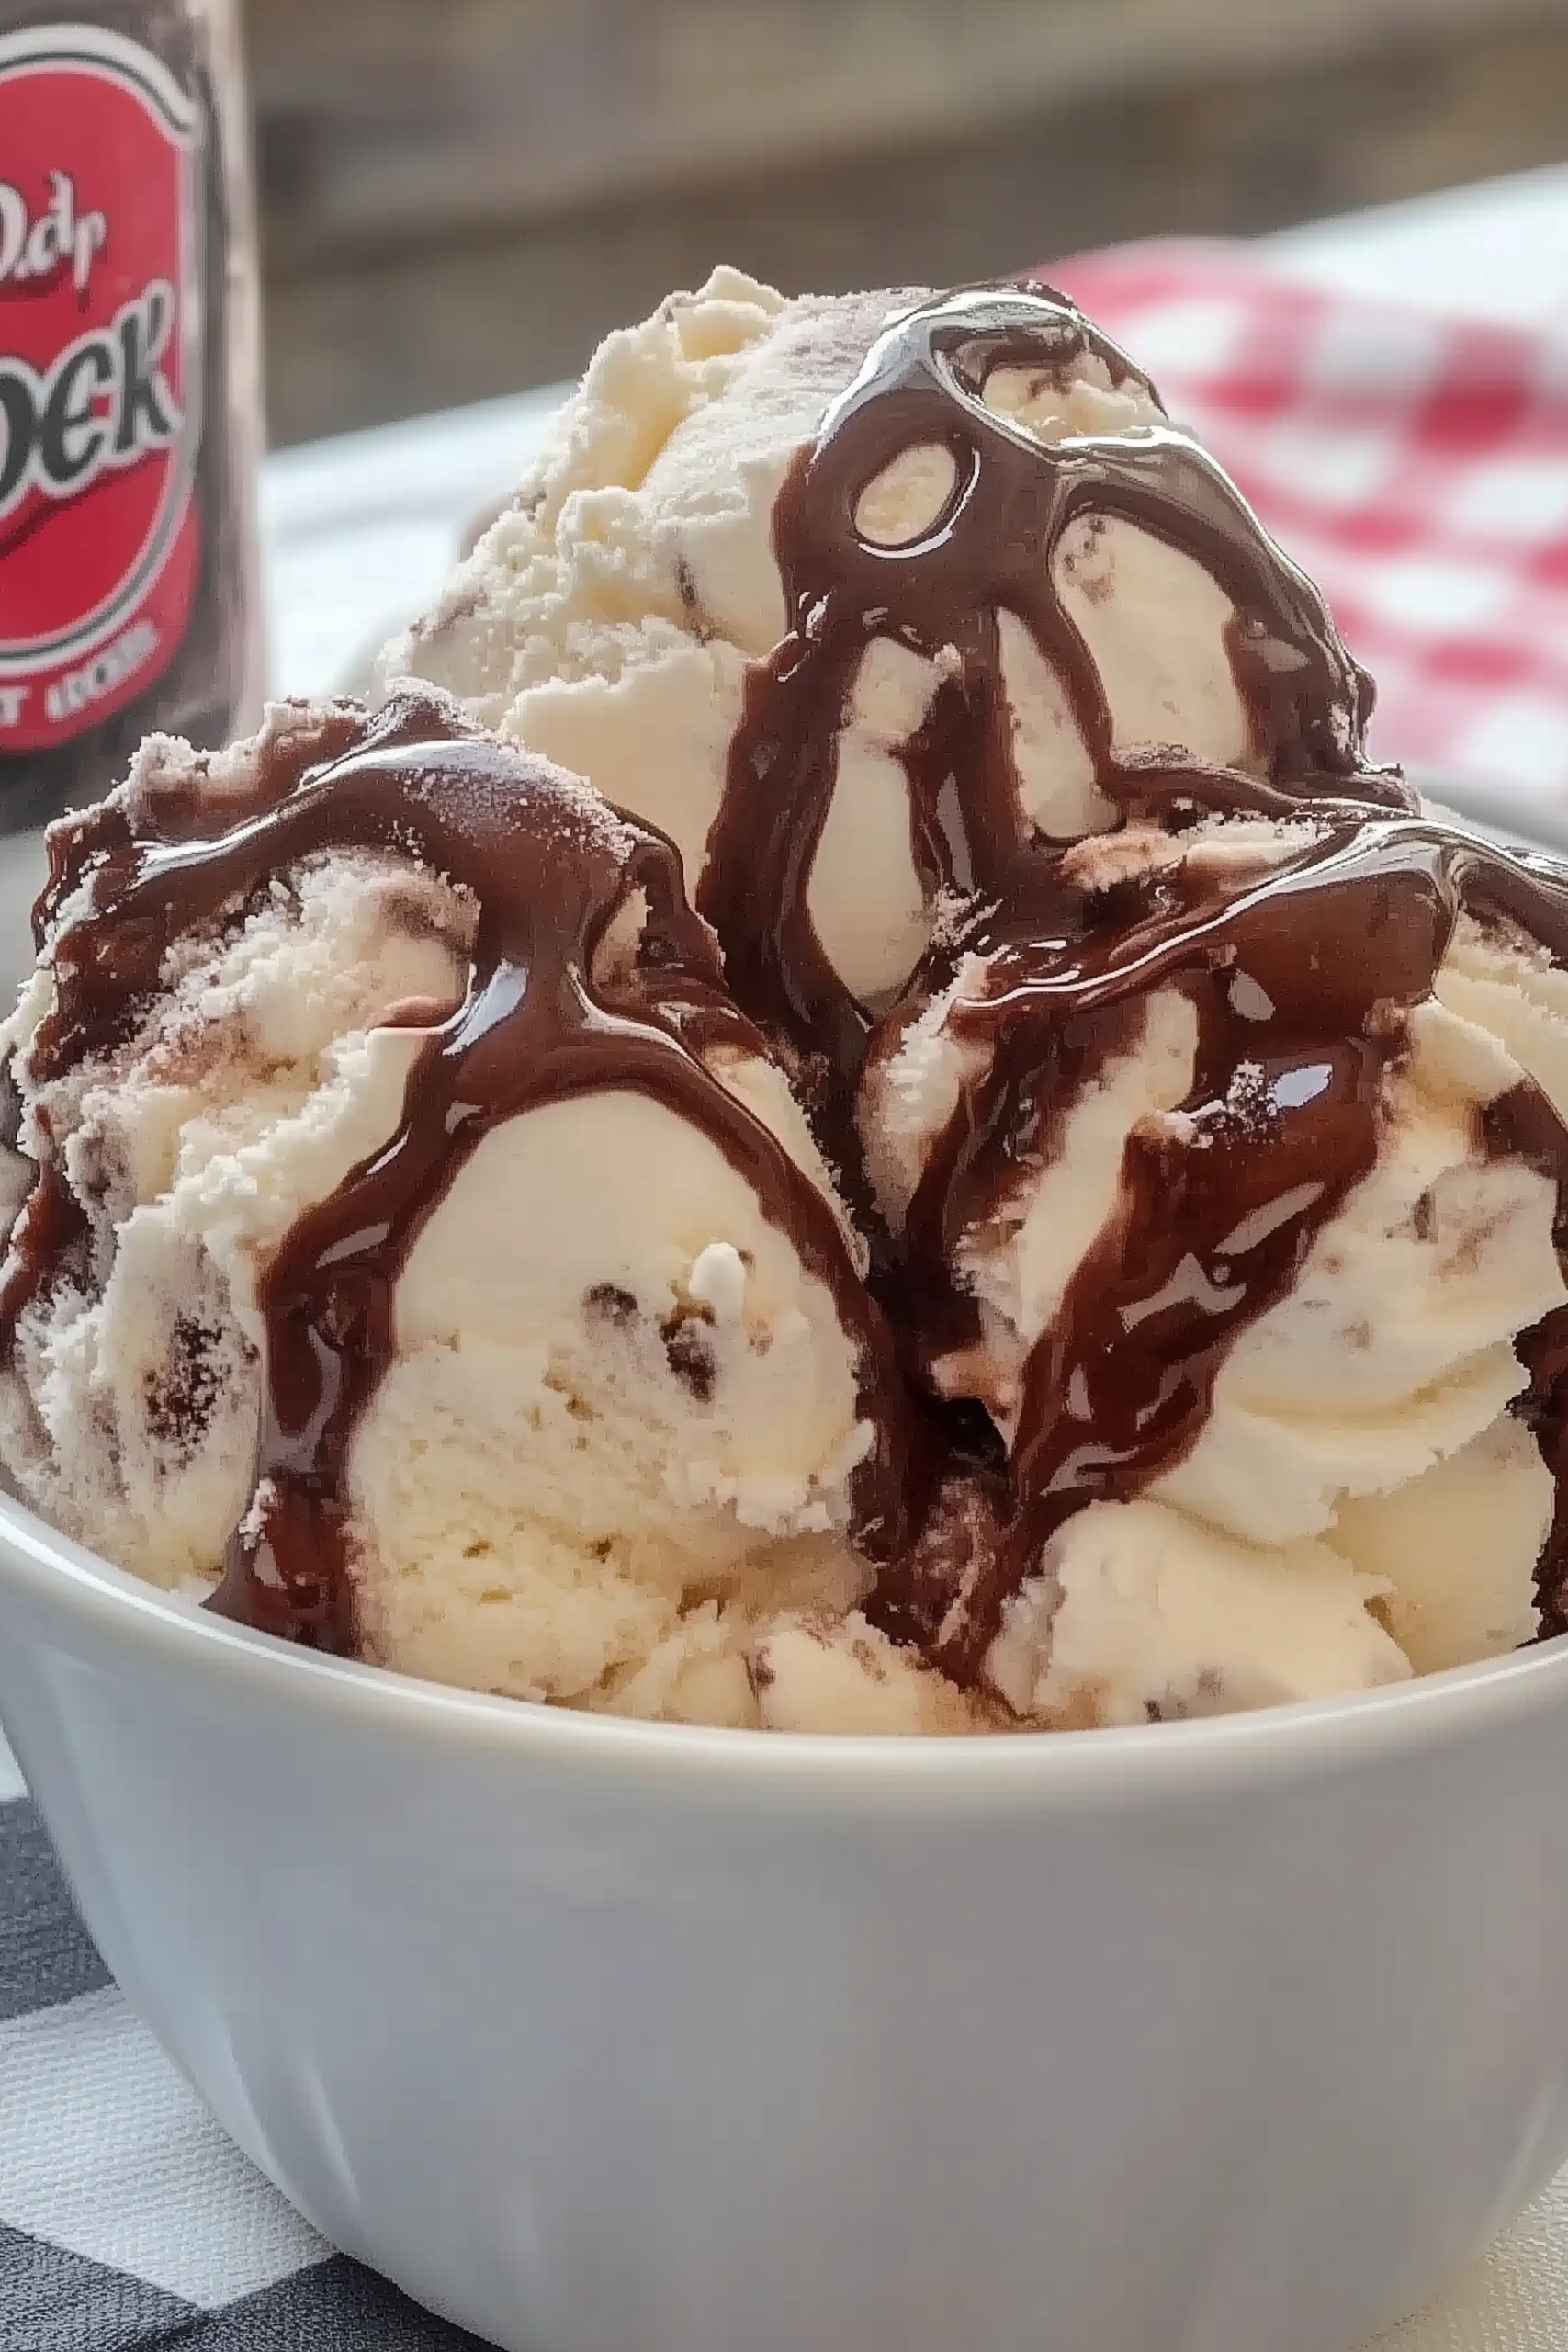
Scooping a cold, velvety ball of this homemade Dr Pepper ice cream into a bowl brings an unexpected, nostalgic joy to our kitchen. It delivers an ultra-creamy, melt-in-your-mouth texture that rivals any high-end parlor, but carries that distinct, signature spicy-sweet hint of the 23-flavored soda running through every single bite. The faint aroma of sweet cherry, dark vanilla, and caramelized sugar swirls up from the bowl, making it an instant conversation starter.
When I first whipped this up on a whim during a sweltering afternoon, my family was pleasantly surprised. My husband and kids took their first spoonfuls and immediately fell in love with how it captures that fun, old-fashioned soda float energy in a rich, scoopable format. Setting a big bowl of this unique treat down on our counter feels like bringing a vintage soda fountain straight into our home, creating a fun dessert experience that satisfies everyone.
Why You’ll Love It
- No ice cream maker required: Skip the bulky, expensive machinery; a standard electric hand mixer handles all the heavy lifting easily.
- Only three base ingredients: Built entirely on simple, budget-friendly kitchen staples that require zero advanced grocery store prep.
- Nostalgic soda fountain flavor: Perfectly concentrates the complex, spicy-sweet essence of Dr Pepper into a luxurious frozen dairy base.
- Ultra-velvety texture: Combining heavy cream and condensed milk prevents ice crystals from forming, ensuring a perfectly smooth scoop.
- Fun family interaction: Kids love watching their favorite soda transform into a thick, premium dessert right before their eyes.
Ingredient Notes & Details
- Heavy whipping cream: The vital foundation of the recipe, building a cloud-like, airy structure when whipped to trap the liquid ingredients smoothly.
- Sweetened condensed milk: Provides the necessary sugar and dense moisture, working to keep the ice cream scoopable and preventing it from freezing rock-hard.
- Dr Pepper soda: Infuses the base with its signature, complex blend of cherry, dark vanilla, and warm spice notes.
- Dr Pepper Cherry (Variation): Swap the standard soda for the cherry version to amplify the bright, fruity undertones of the dessert.
- Root Beer or Cola (Variation): Use this exact same framework with your other favorite dark sodas for a completely different nostalgic twist.
- Chocolate chip fold-in (Variation): Stir in a half-cup of mini chocolate chips right before freezing to introduce a wonderful, crisp texture contrast.
Step-by-Step Instructions
Start by pouring your Dr Pepper into a small saucepan and bringing it to a boil on the stovetop. Simmering the soda down into a thick, concentrated syrup is a crucial secret step here; it evaporates the excess water content while locking in those iconic flavor notes. If you pour straight soda into the dairy, the high water content will freeze into icy, crunchy shards rather than a smooth cream. Let the reduced syrup cool completely.
In a large chilled mixing bowl, whip your heavy cream until it forms stiff, rigid peaks. This step traps air, which guarantees your final no-churn ice cream has that luxurious, light boutique texture.
In a separate bowl, whisk your sweetened condensed milk with the cooled Dr Pepper reduction until uniform. Gently fold your whipped cream into the condensed milk mixture using a flexible rubber spatula. A slow, folding motion is vital here to preserve the whipped air pockets; folding prevents the heavy milk from deflating the cloud-like cream. Pour the uniform mixture into a metal loaf pan, wrap tightly, and freeze until solid.
Expert Tips
- Chill your tools thoroughly: Place your mixing bowl and beaters in the freezer for 15 minutes before whipping the heavy cream to build maximum volume faster.
- Cool the reduction completely: Never mix warm soda syrup into the cold dairy, or it will instantly melt the whipped cream structure and ruin the texture.
- Use a metal pan: A metal loaf pan conducts freezing temperatures much faster than ceramic or glass, helping the ice cream set quickly and evenly.
- Watch the stove simmer closely: Keep the stove heat at a gentle simmer so you do not accidentally burn the sugars in the soda while reducing it.
- Press plastic wrap tight: Press a sheet of plastic wrap directly against the surface of the cream before freezing to block out frost and ice crystals.
Storage Advice
Keep this no-churn ice cream stored in the very back of your freezer, which maintains a more consistent temperature than the freezer door shelves. Keep it covered tightly with plastic wrap or a fitted airtight lid to prevent the dairy from absorbing any unwanted freezer odors. Because this homemade recipe contains no artificial stabilizers or chemical preservatives, let the container sit on the counter for 3 to 5 minutes before scooping to achieve that perfect, effortless parlor glide.
Serving Ideas & FAQs
Pair a scoop of this unique ice cream with a crispy waffle cone, sandwich it between two warm chocolate chip cookies, or drop a scoop into a tall glass of cold soda for the ultimate double Dr Pepper float.
Can I use Diet Dr Pepper or Dr Pepper Zero for this recipe? It is highly recommended to stick with regular soda. Diet varieties rely on artificial sweeteners that do not reduce down into a thick, jammy syrup properly, which can result in an icy, crunchy texture.
How long does it take to fully freeze? Because it is a no-churn recipe without a machine, it needs a solid six hours in the deepest part of your freezer to set up completely, though letting it freeze overnight yields the absolute best scooping results.
Homemade Creamy Dr Pepper Ice Cream
Prep Time: 18 minutes
Cook Time: 12 minutes
Freeze Time: 6 hours
Total Time: 6 hours 30 minutes
Servings: 6 servings
Ingredients
- 1 can (12 ounces) regular Dr Pepper soda
- 1 can (14 ounces) sweetened condensed milk
- 2 cups heavy whipping cream, chilled
Instructions
- Pour the can of Dr Pepper into a small saucepan over medium-high heat and bring to a boil.
- Reduce the heat to medium-low and let it simmer for 12 to 15 minutes, or until the liquid reduces down to roughly ⅓ cup of thick, concentrated syrup.
- Remove the syrup from the heat and let it cool completely to room temperature.
- In a large bowl, whisk together the sweetened condensed milk and the cooled Dr Pepper syrup until completely smooth and combined.
- In a separate, chilled large bowl, beat the heavy whipping cream on high speed with an electric mixer for 3 to 4 minutes until stiff peaks form.
- Using a rubber spatula, gently fold one-third of the whipped cream into the condensed milk mixture to lighten it up.
- Add the remaining whipped cream and fold very gently just until combined, being careful not to deflate the mixture.
- Pour the ice cream mixture into a 9×5-inch metal loaf pan, smoothing the top with your spatula.
- Cover the pan tightly with plastic wrap, pressing it gently against the surface of the cream. Freeze for at least 6 hours, or overnight, until firm before scooping.
Leave a Reply