

Want to save this recipe?
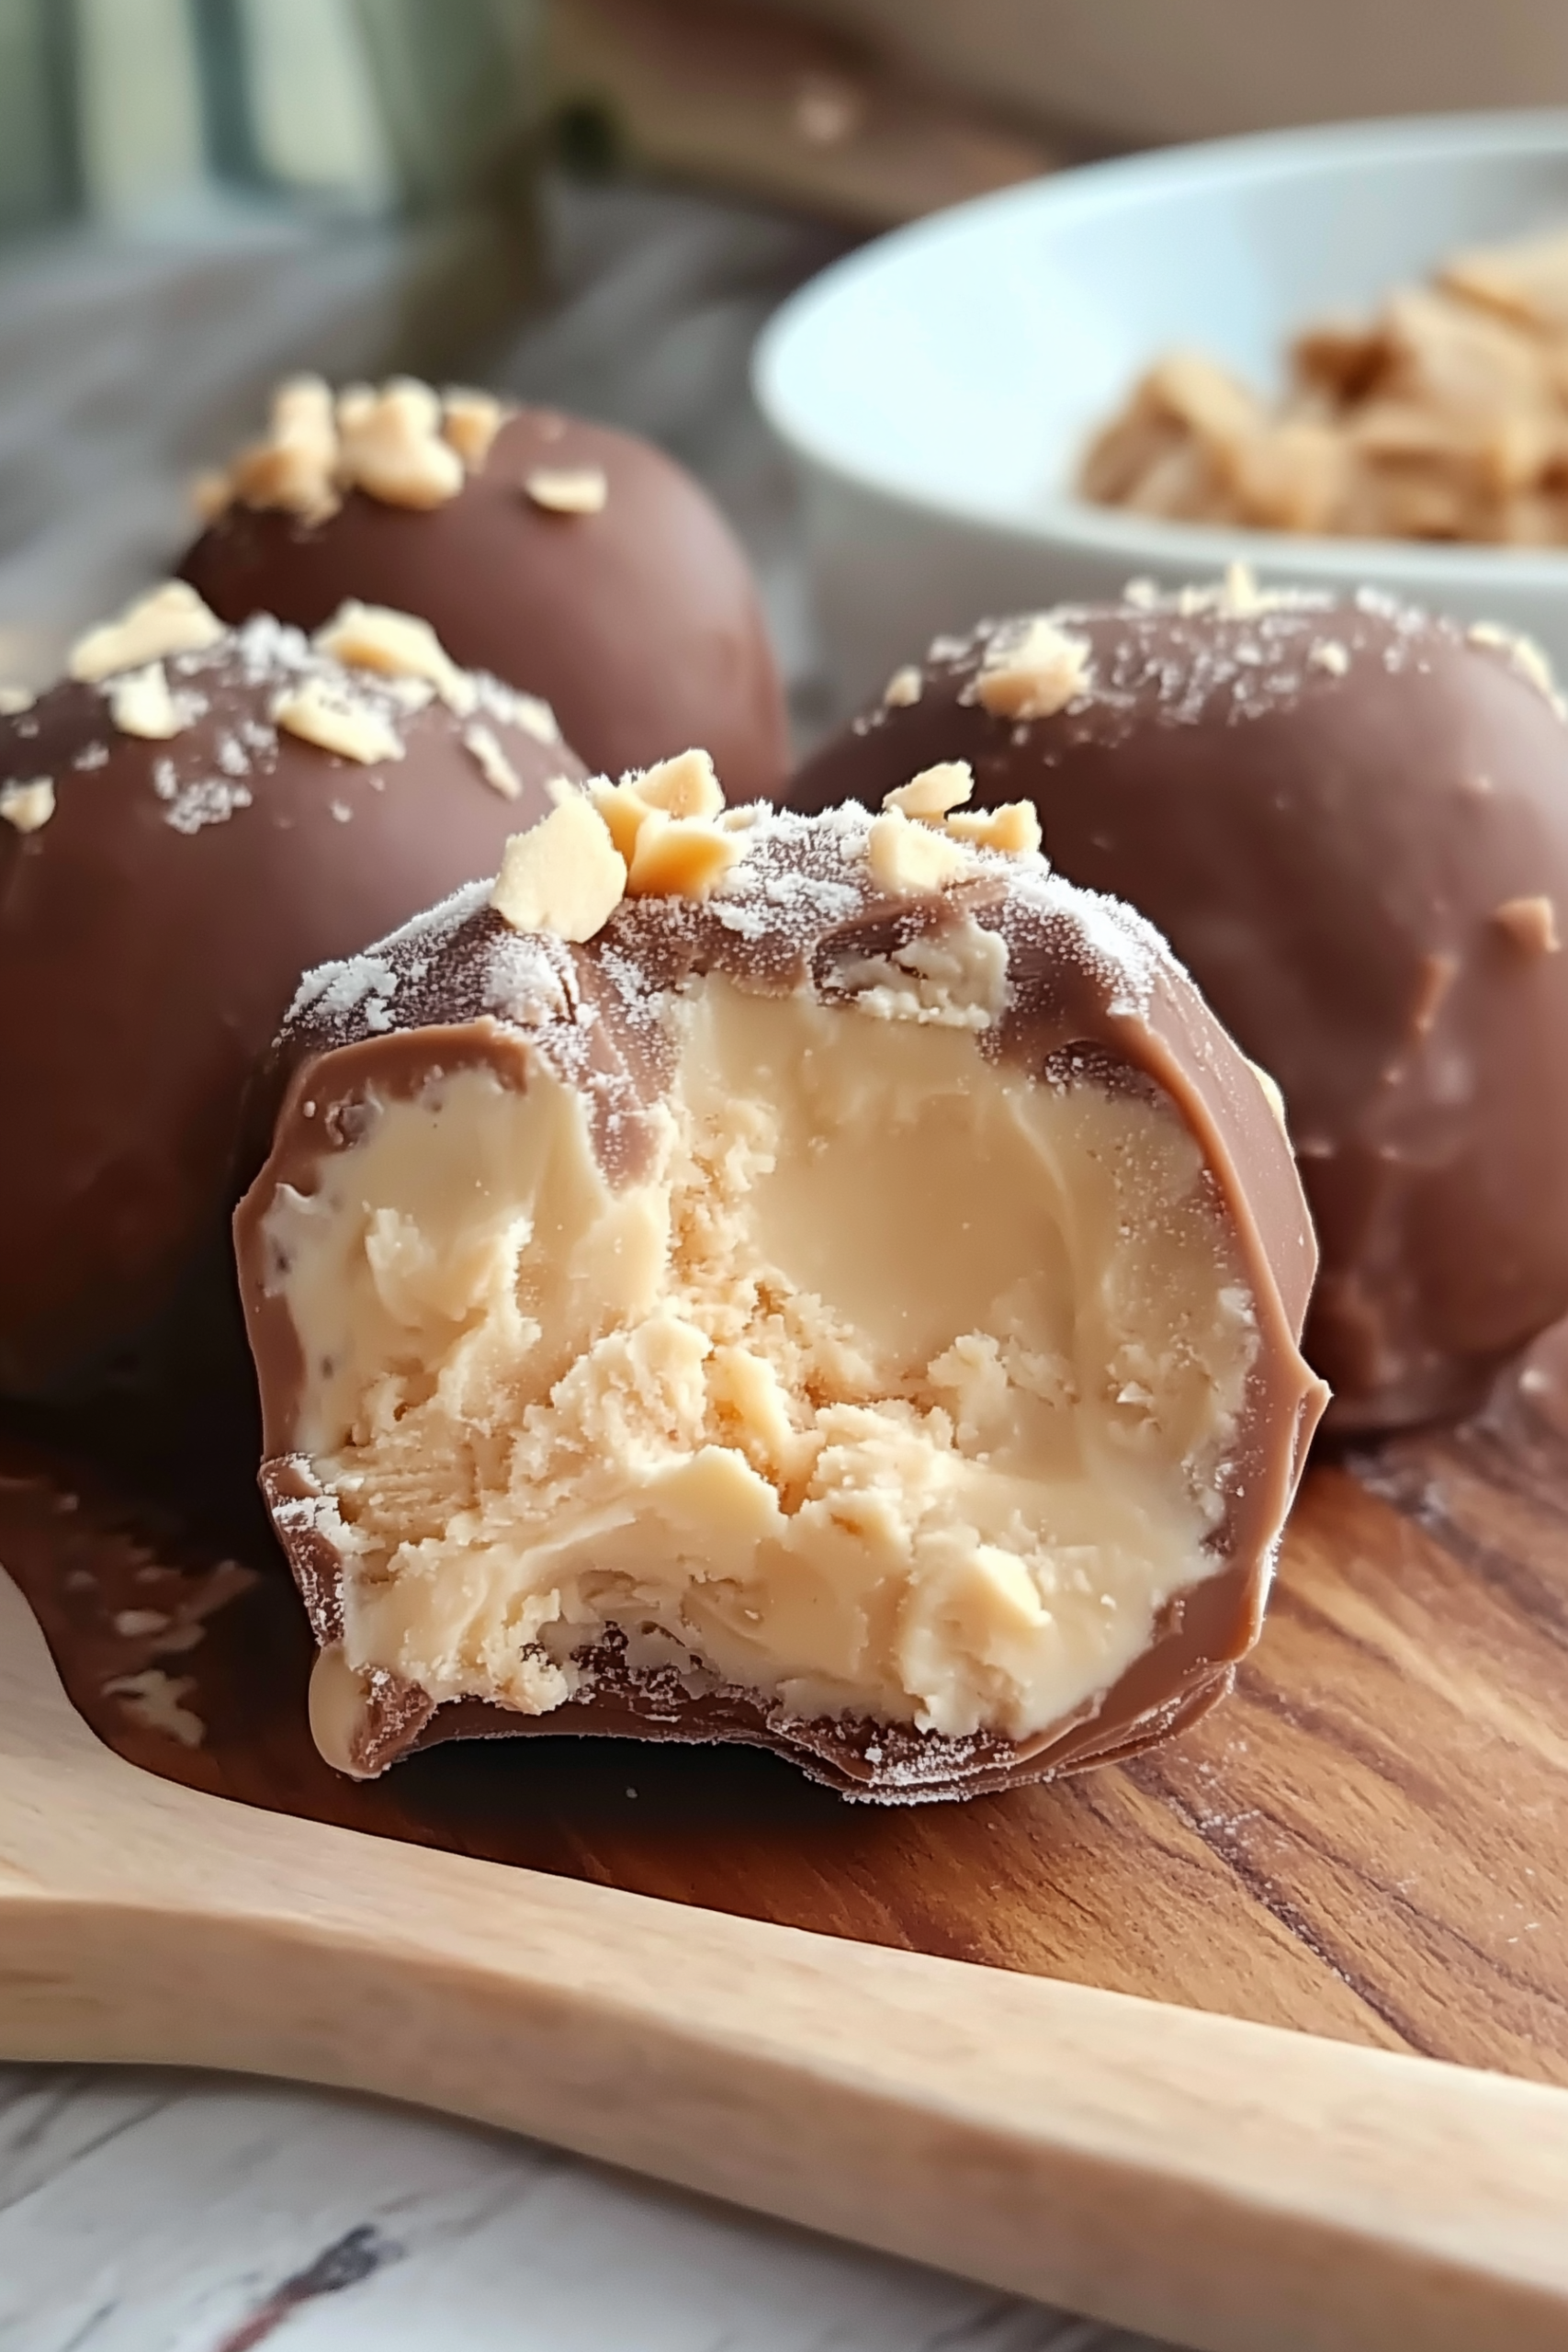
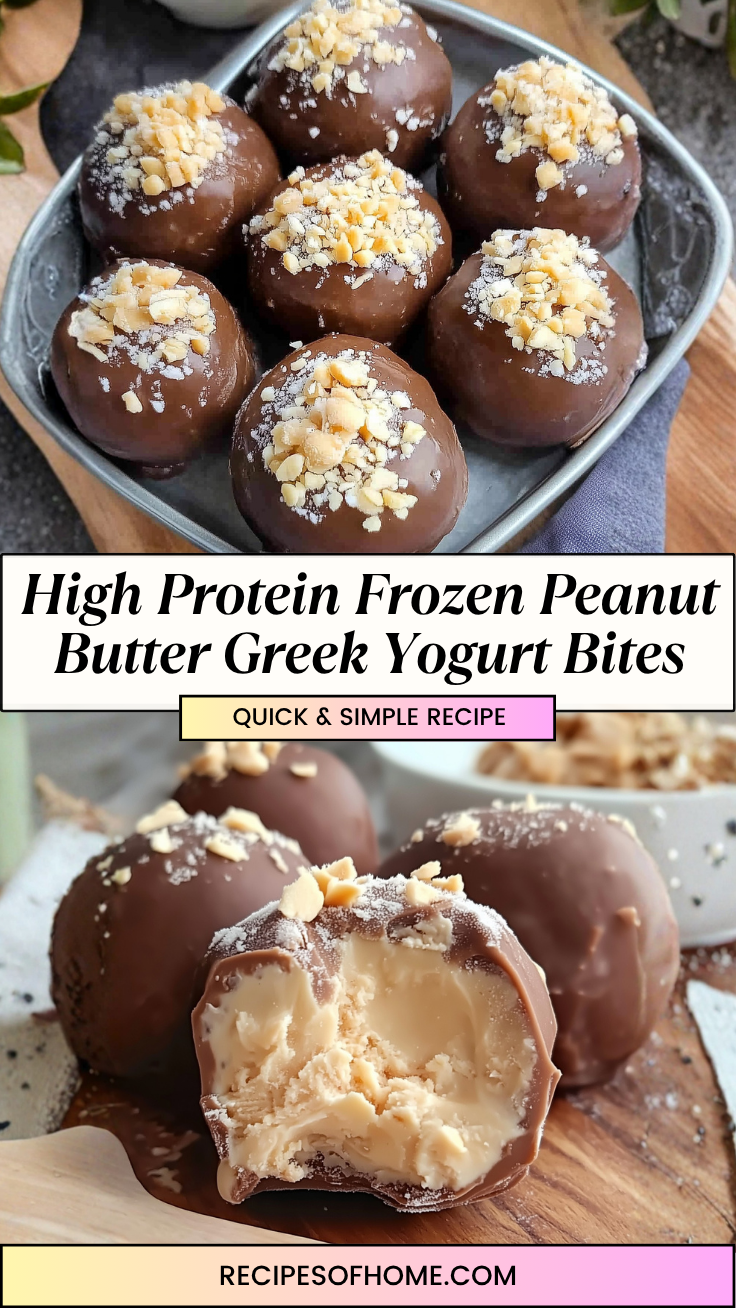
Biting into one of these Frozen Peanut Butter Greek Yogurt Bites feels like a secret victory. You get that satisfying, audible snap of a dark chocolate shell followed immediately by a center that tastes exactly like premium peanut butter cheesecake, yet it’s packed with protein. They are the perfect solution for that 3:00 PM sugar craving or a post-dinner treat that doesn’t leave you feeling weighed down by a heavy dessert.
I keep a stash of these in the back of the freezer, tucked away from the kids—though they’re healthy enough that I don’t really have to. The tang of the Greek yogurt perfectly balances the richness of the peanut butter, while a tiny pinch of flaky sea salt on top makes the chocolate feel gourmet. It’s a simple, cold, and creamy bite that honestly rivals any store-bought ice cream truffle, and since they are made with wholesome ingredients, you can feel good about grabbing two (or three).
Why You’ll Love It
- Protein-Packed Snacking: Using Greek yogurt as the base provides a solid protein boost, making these far more satisfying and filling than a standard candy bar.
- Refined Sugar-Free Options: By opting for honey or maple syrup and high-percentage dark chocolate, you can keep these bites relatively low in sugar.
- The Ultimate Kid-Approved “Ice Cream”: Children think they’re getting a decadent frozen treat, but you know they’re actually getting probiotics and healthy fats.
- No Fancy Equipment Needed: You don’t need a mixer, a blender, or an ice cream maker—just a bowl, a spoon, and a baking sheet.
- Perfectly Portion Controlled: Because they are bite-sized, it is easy to grab just one to hit that sweet spot without the temptation of a whole pint of ice cream.
Ingredient Notes & Details
- Greek Yogurt: I highly recommend using full-fat (5%) Greek yogurt. Non-fat or low-fat versions have a higher water content, which can lead to an “icy” or gritty texture once frozen.
- Peanut Butter: Natural, drippy peanut butter works best here. It incorporates into the yogurt much more smoothly than the stiff, no-stir varieties.
- Dark Chocolate Chips: Look for 70% cocoa or higher. The bitterness of dark chocolate is the perfect foil for the creamy, slightly sweet peanut butter filling.
- Coconut Oil: Adding just a teaspoon to your melted chocolate is the secret to a professional “magic shell.” It thins the chocolate so it coats evenly and snaps when you bite it.
- Honey or Maple Syrup: This adds a soft, floral sweetness that rounds out the tang of the yogurt without overpowering the nuttiness.
- Flaky Sea Salt: Don’t skip this! A tiny sprinkle on top elevates these from a simple snack to a sophisticated dessert.
Natural Substitutions:
- Almond Butter: Swap the peanut butter for almond or cashew butter for a more mellow, buttery flavor profile.
- Dairy-Free: Use a thick, Greek-style coconut yogurt to make these completely vegan-friendly.
- Agave Nectar: If you are vegan or simply out of honey, agave is a great neutral-tasting liquid sweetener.
Step-by-Step Instructions
The process for these bites is remarkably therapeutic. Start by whisking your yogurt, peanut butter, and sweetener in a medium bowl until the mixture is thick and completely uniform. You want it to be stiff enough to hold its shape on a spoon; this is why Greek yogurt is non-negotiable—regular yogurt is far too runny for this. Use a small cookie scoop or a tablespoon to dollop mounds onto a parchment-lined tray.
The most important “why” behind this recipe is the initial freeze. You must let these yogurt mounds freeze for at least two hours until they are rock-solid. If they are even slightly soft, they will dissolve into the warm chocolate during the dipping process. When you’re ready to coat them, melt your chocolate and coconut oil in 30-second bursts in the microwave. spearing the frozen centers with a toothpick makes dipping much cleaner than using a fork. Submerge them quickly, let the excess drip off, and place them back on the parchment. The chocolate will set almost instantly because the yogurt is so cold, so be sure to sprinkle your salt on right away!
Tips
- The Toothpick Method: Use a toothpick to spear each frozen yogurt ball. It gives you more control and prevents the chocolate from getting “clumpy” from too much handling.
- Tap for Smoothness: After dipping, gently tap the hand holding the toothpick against your other wrist. This shakes off the excess chocolate for a thin, elegant shell.
- Don’t Over-Microwave: Chocolate burns easily. Stir it well between every 30-second burst; the residual heat usually melts the last few chips.
- Flash Freeze: If your kitchen is warm, work in small batches. Keep half of the yogurt bites in the freezer while you dip the first half so they stay as cold as possible.
- Use a Silicone Mat: If you have one, a silicone baking mat is even better than parchment paper for ensuring the bites pop off cleanly without sticking.
Storage & Reheating
These must be stored in the freezer at all times. Place them in an airtight container or a freezer-safe Ziploc bag. They will stay fresh for up to two months, though they rarely last that long in my house! Do not try to store them in the fridge, or the yogurt center will turn back into a soft mush and the chocolate shell will lose its snap.
Serving & FAQs
What should I serve these with? While they are perfect on their own, they are also delicious chopped up and served over a bowl of warm oatmeal or as a topping for a smoothie bowl.
Can I use chunky peanut butter? Absolutely! It adds a nice extra bit of texture, though the finished bites will look a little more “lumpy” and less like smooth truffles.
Why did my chocolate seize? Make sure not a single drop of water gets into your melting chocolate. Water causes chocolate to turn into a dry, grainy paste instantly.
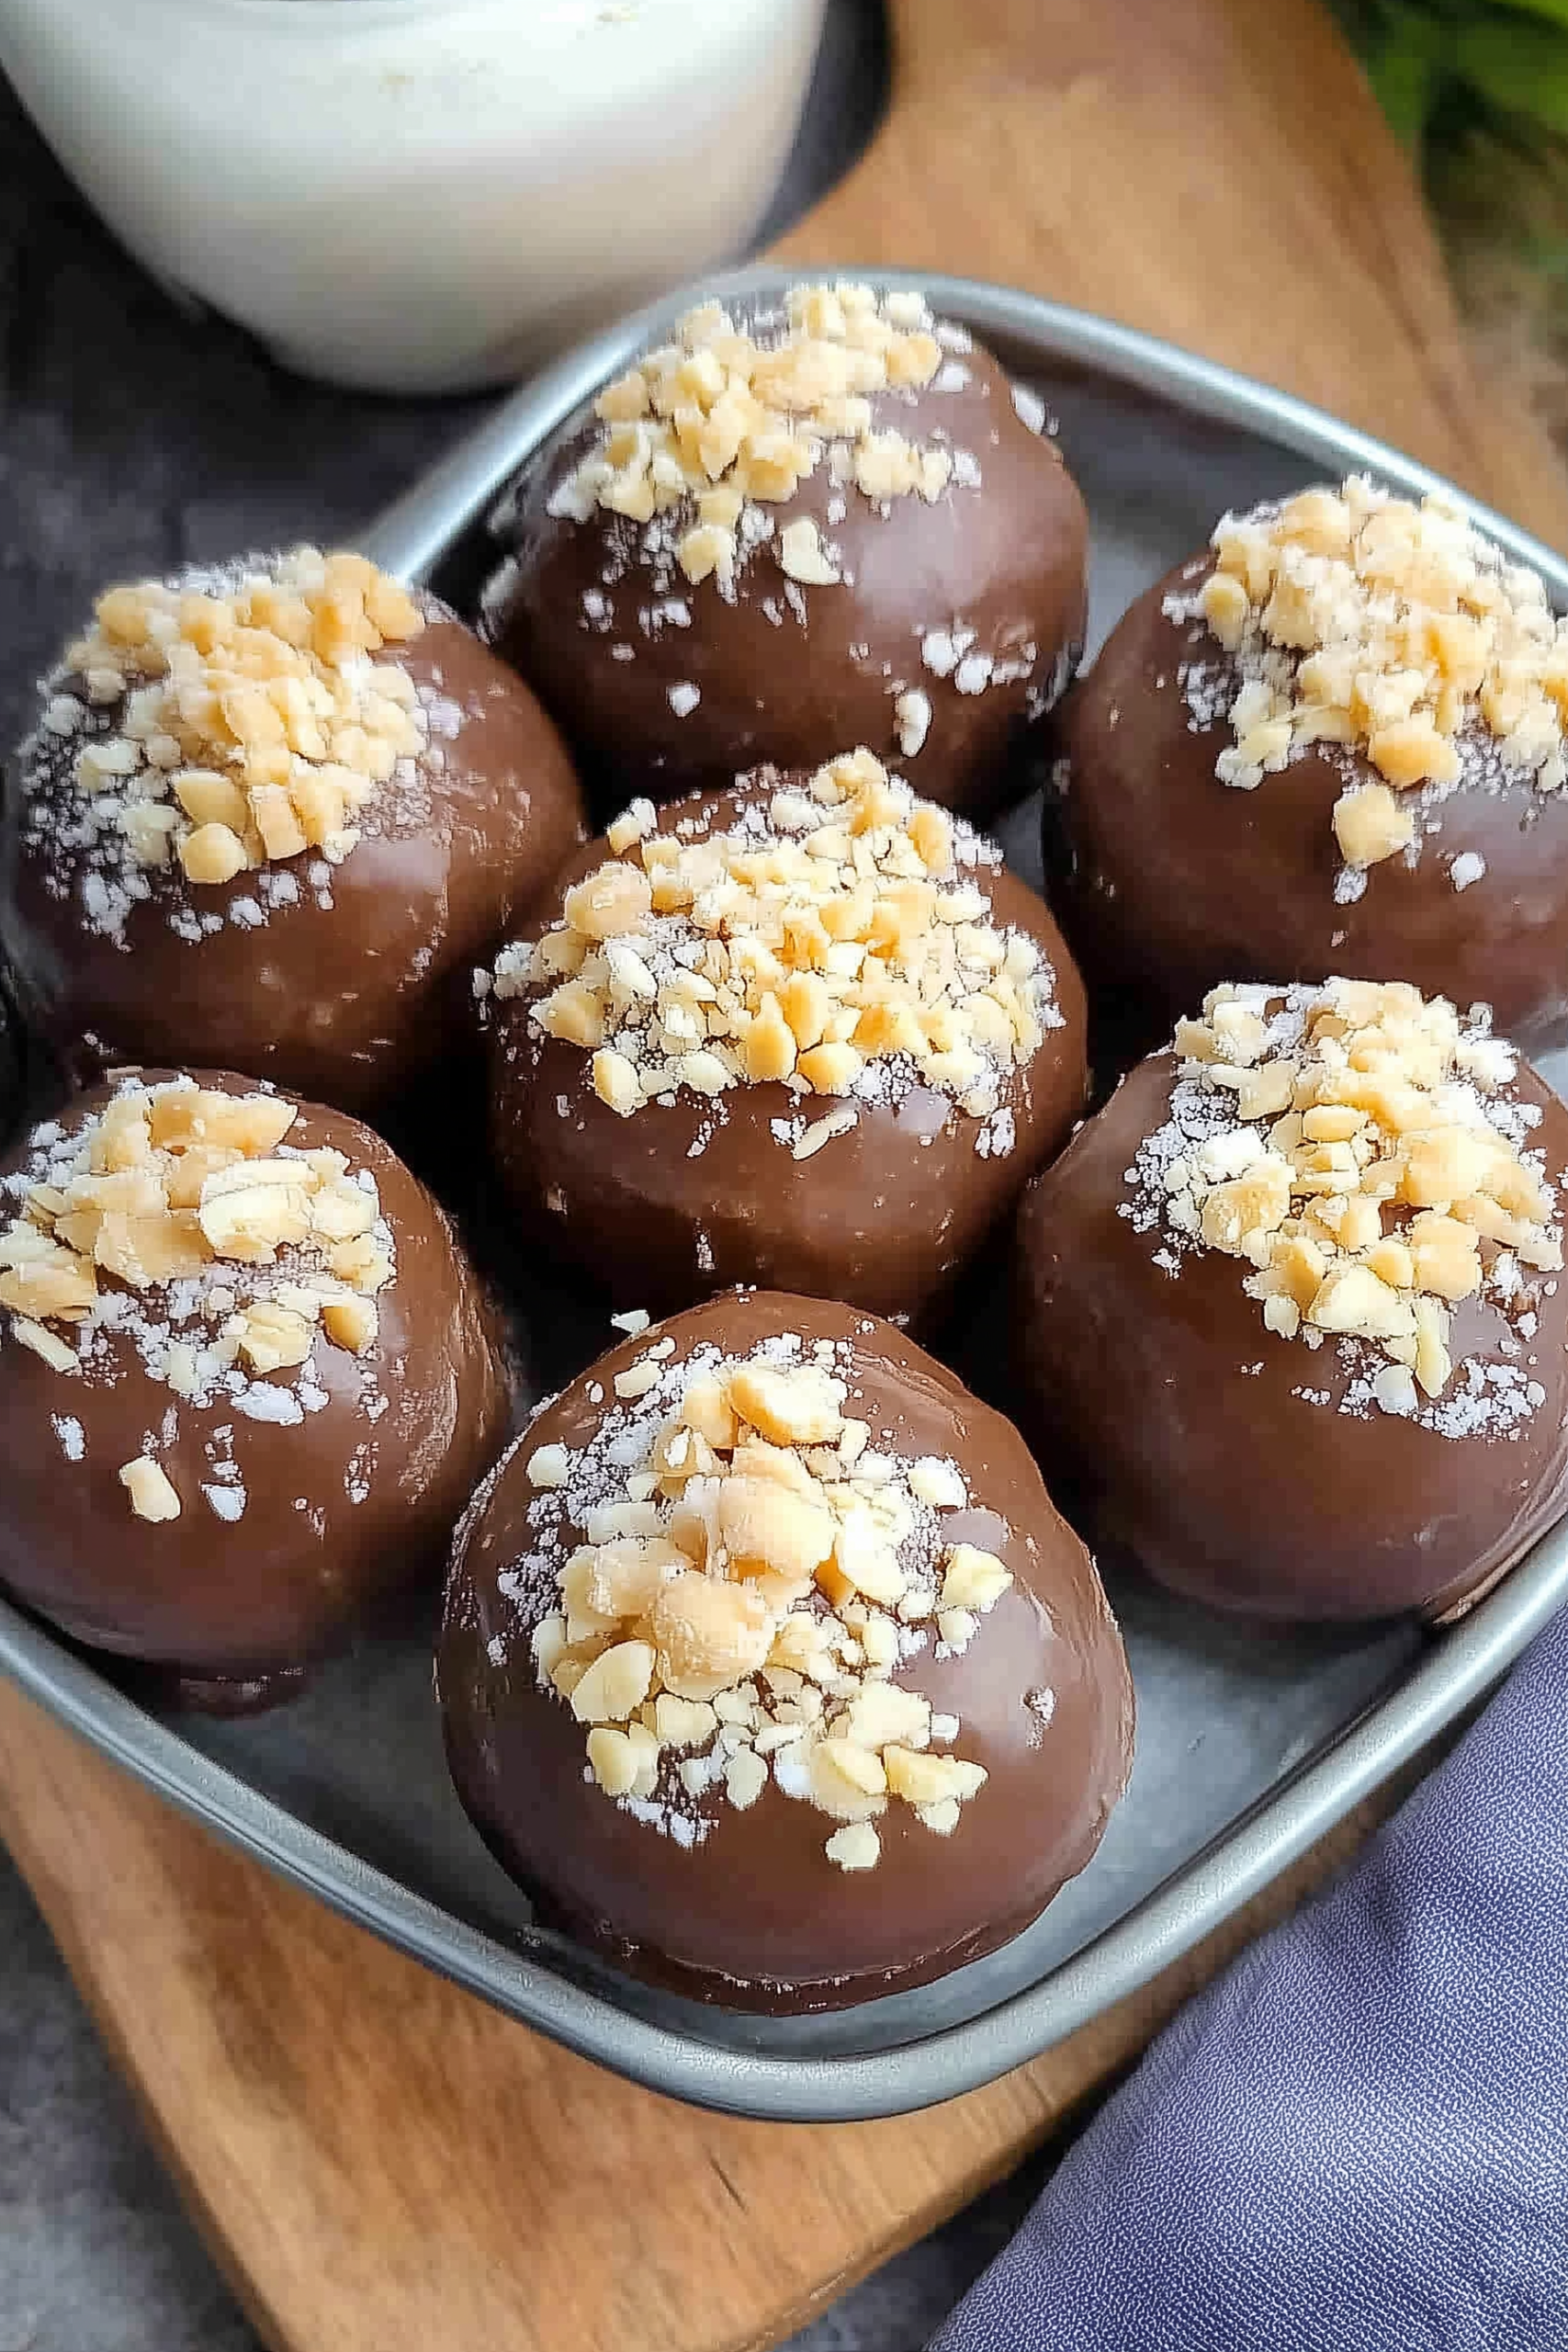
Homemade Frozen Peanut Butter Yogurt Truffles
A protein-rich, creamy snack featuring a tangy peanut butter yogurt center encased in a thin, snappy dark chocolate shell. These are the ultimate guilt-free frozen treats.
- Prep time: 15 minutes
- Freeze time: 2 hours 30 minutes
- Yield: 18 bites
Ingredients
- 1 cup plain full-fat Greek yogurt
- ½ cup creamy natural peanut butter
- 2 tablespoons honey or maple syrup
- 1 teaspoon vanilla extract
- 1 ¼ cups dark chocolate chips (60%–70% cocoa)
- 2 teaspoons coconut oil
- Flaky sea salt for topping
Instructions
- In a medium mixing bowl, whisk together the Greek yogurt, peanut butter, honey, and vanilla extract until the mixture is smooth and thickened.
- Line a small baking sheet with parchment paper. Using a tablespoon or a small cookie scoop, drop 18 mounds of the mixture onto the paper.
- Place the tray in the freezer for at least 2 hours, or until the mounds are completely solid to the touch.
- In a small, deep microwave-safe bowl, combine the dark chocolate chips and coconut oil. Microwave in 30-second intervals, stirring in between, until the chocolate is completely melted and glossy.
- Remove the yogurt bites from the freezer. Using a toothpick, spear a yogurt bite and dip it into the melted chocolate, swirling to coat it entirely.
- Lift the bite out, let the excess chocolate drip off, and return it to the parchment paper.
- Immediately sprinkle a tiny amount of flaky sea salt over the top before the chocolate sets.
- Repeat with the remaining bites. Return the tray to the freezer for another 20–30 minutes to ensure the chocolate is fully hardened.
- Transfer the finished bites to an airtight container and keep stored in the freezer.
Leave a Reply