












Want to save this recipe?
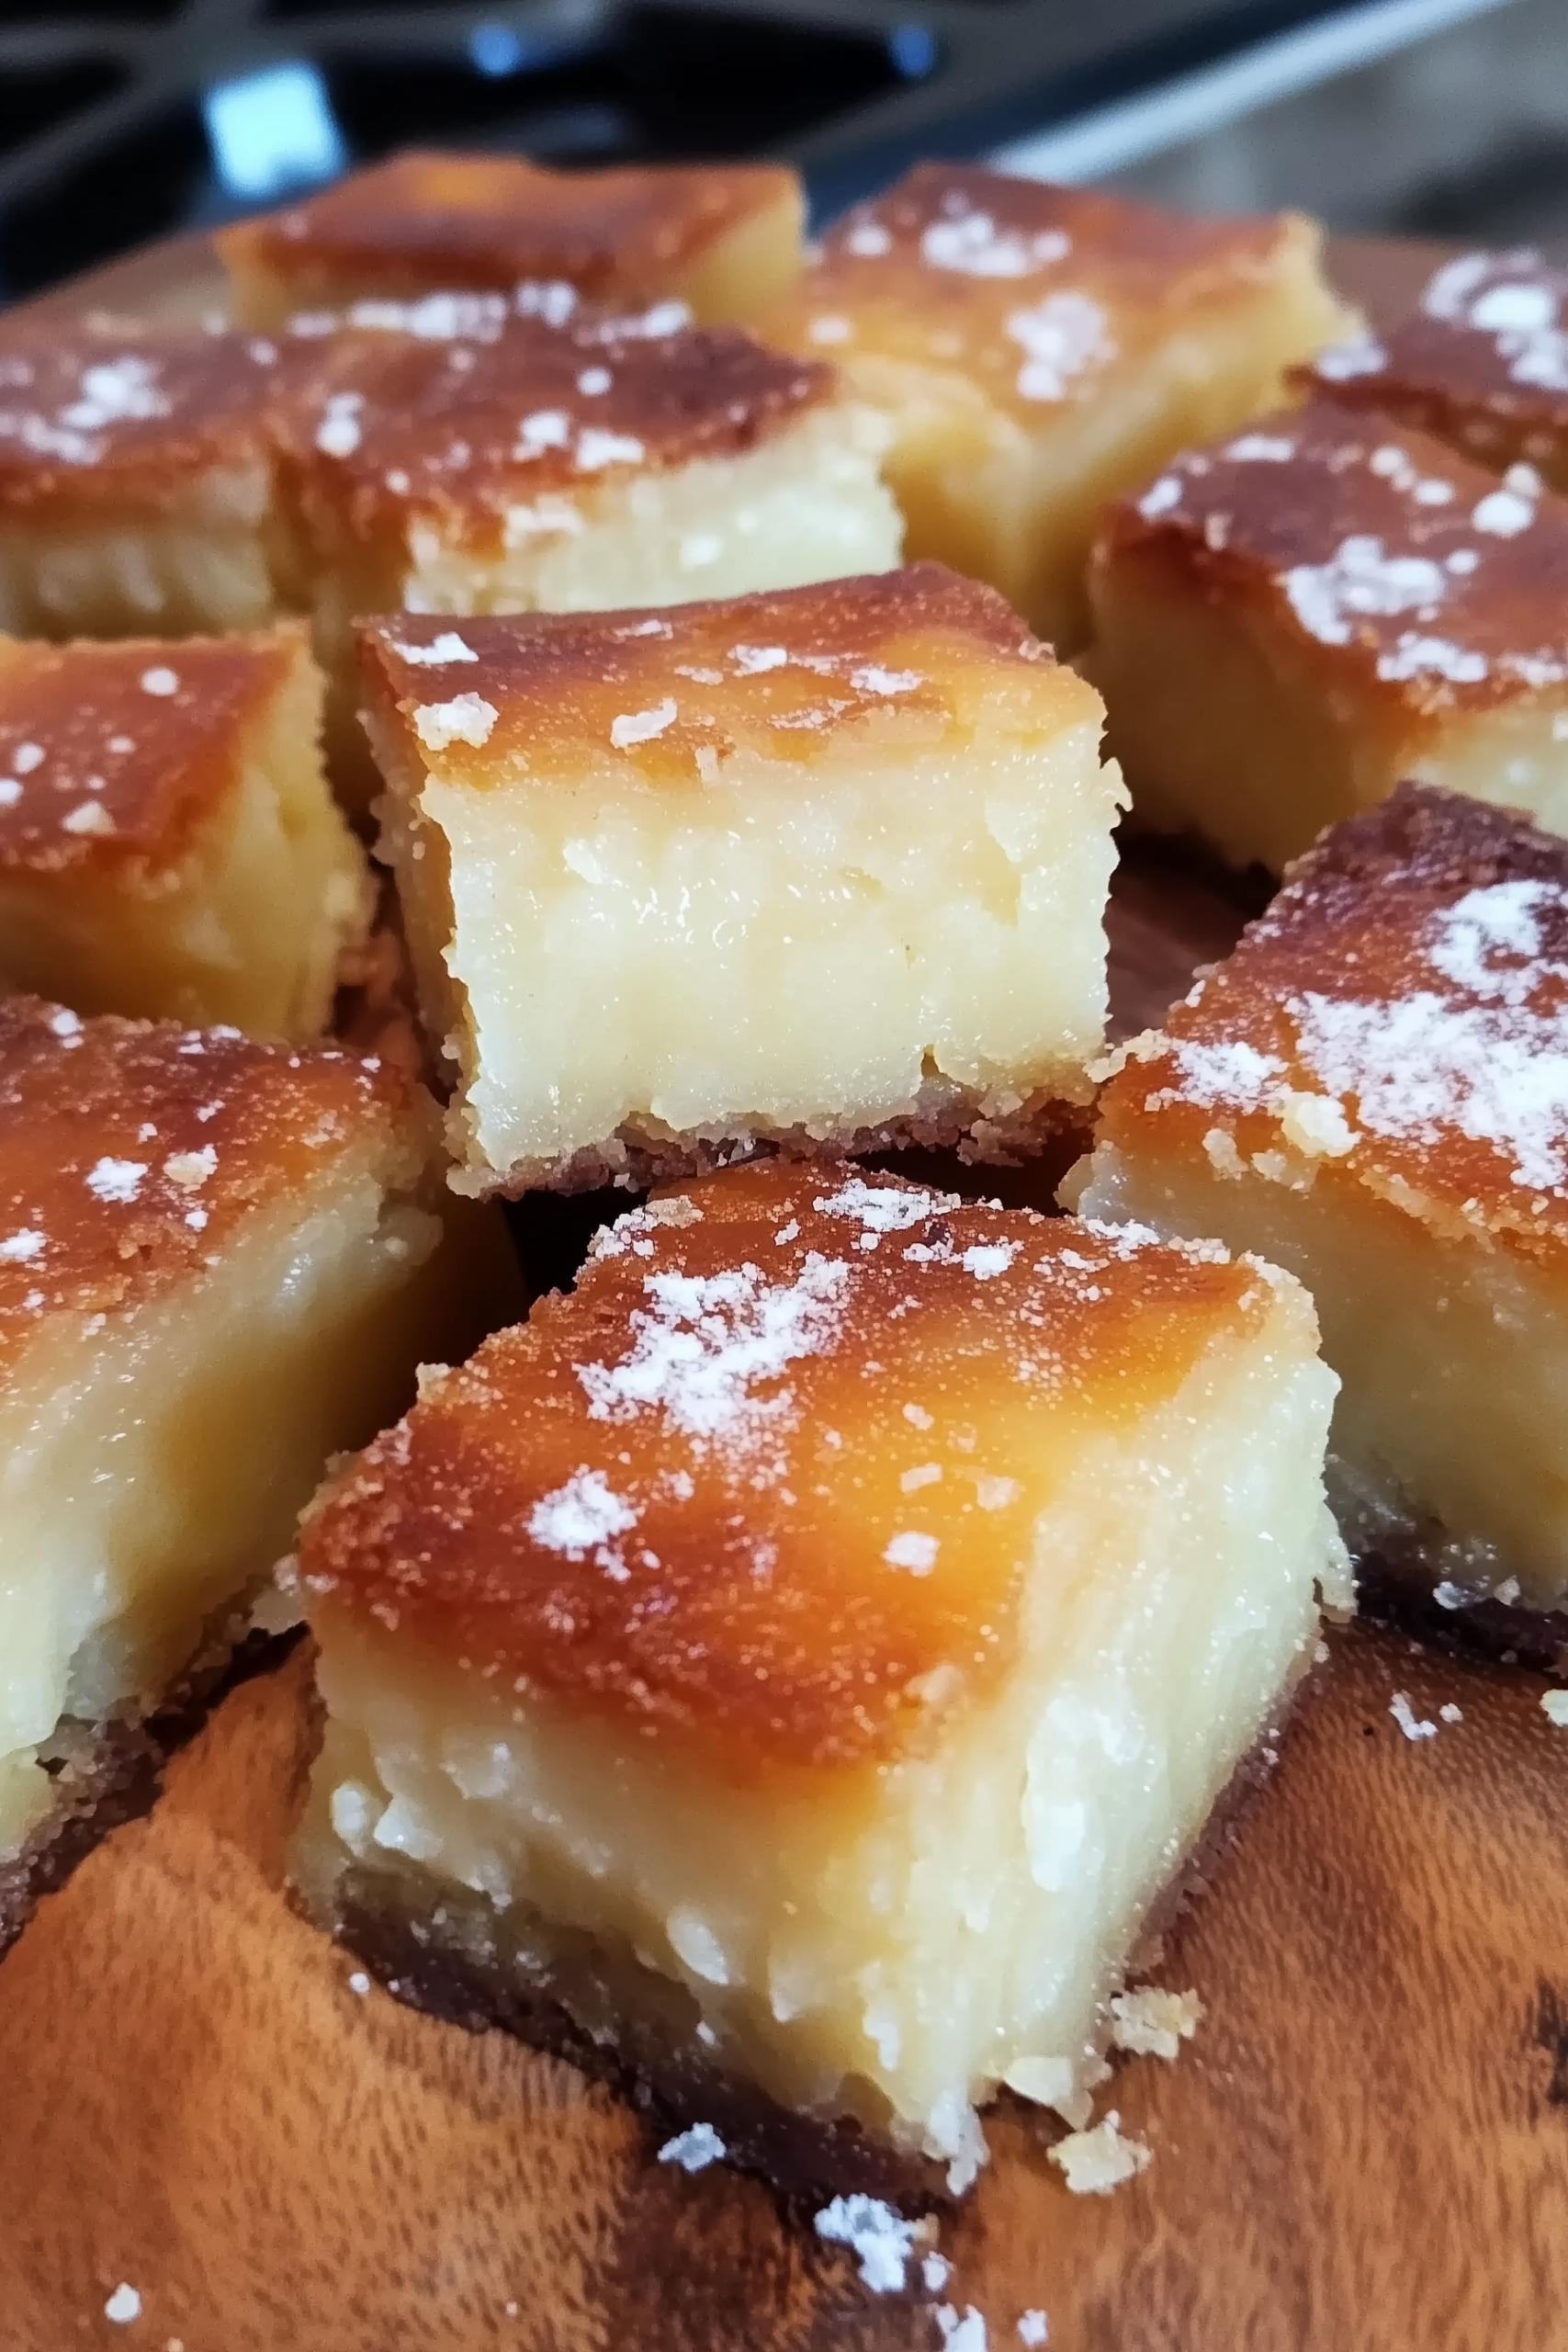
This Butter Mochi recipe is a stunningly simple Hawaiian-inspired treat that balances a chewy, custard-like center with a golden, slightly crisp exterior. There is something deeply addictive about the springy texture of glutinous rice flour when it meets the richness of melted butter and sweet coconut milk. It is a humble, one-pan dessert that manages to feel both exotic and incredibly comforting, perfect for sharing at a casual get-together or as a unique afternoon snack.
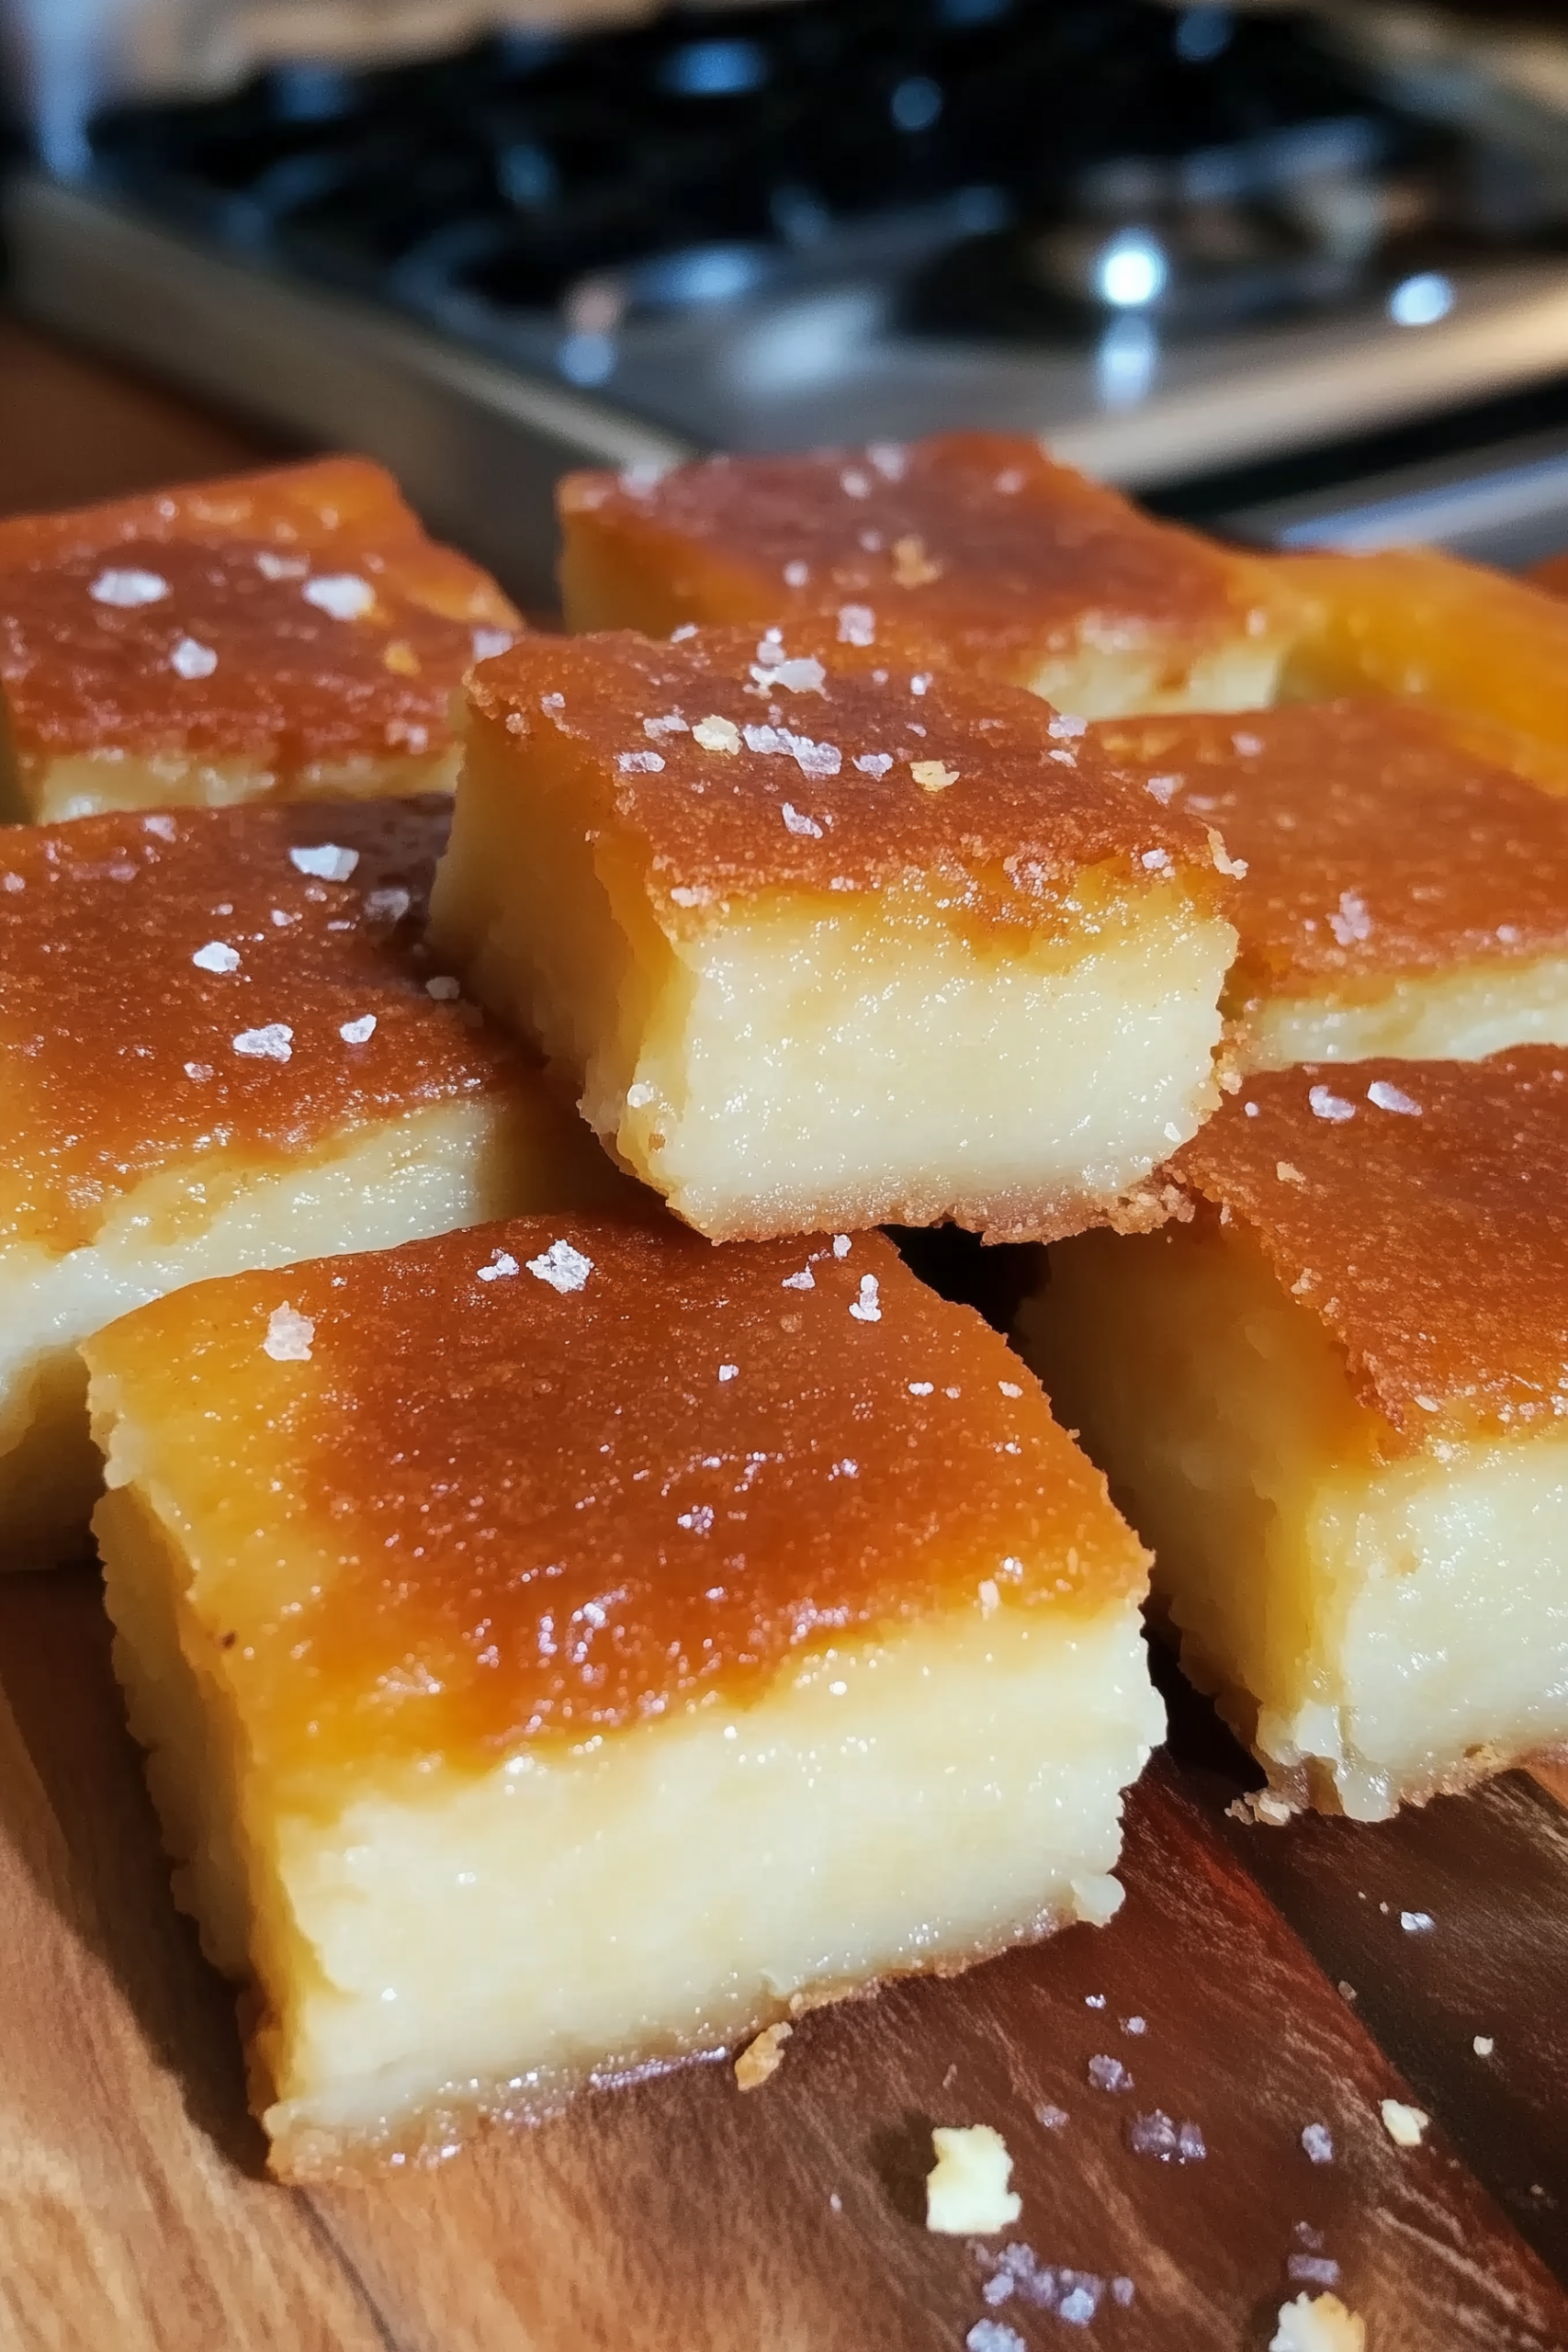
When I pull this tray from the oven, the sweet, buttery aroma immediately fills the house. The top develops a beautiful crackled crust that hides the dense, mochi-style interior. Whether you are a fan of traditional mochi or just looking for a gluten-free dessert that actually satisfies, these bars are a guaranteed winner that will have everyone reaching for a second piece.
Why You’ll Love It
- Unique Textural Experience: You get the perfect contrast between a crunchy, toasted top and a soft, bouncy center.
- Naturally Gluten-Free: Using glutinous rice flour makes this a safe and delicious option for those with gluten sensitivities.
- One-Bowl Preparation: The batter comes together in minutes with very little equipment needed.
- Highly Shareable: These bars slice cleanly into squares, making them ideal for potlucks or lunchboxes.
- Stays Fresh for Days: Mochi bars maintain their delightful chewiness long after they’ve cooled.
Ingredient Notes & Details
- Mochiko (Glutinous Rice Flour): This is the essential ingredient that provides the signature chewy “mochi” texture; do not substitute with regular rice flour.
- Coconut Milk: Use full-fat canned coconut milk for the richest flavor and most luxurious mouthfeel.
- Unsalted Butter: Melted butter adds a deep, savory richness that differentiates this from traditional steamed mochi.
- Evaporated Milk: This helps create the custard-like consistency and adds a hit of creamy sweetness.
- Wild Honey & Sea Salt: Using honey instead of plain sugar adds a floral depth, while a touch of sea salt makes all the buttery flavors “pop.”
- Pure Vanilla Extract: Enhances the natural sweetness of the coconut and butter.
Step-by-Step Instructions
Start by whisking together your dry ingredients—the Mochiko flour, sugar, and baking powder—in a large mixing bowl. In a separate bowl or measuring cup, combine your wet ingredients: the coconut milk, evaporated milk, melted butter, eggs, and vanilla. Pour the wet mixture into the dry and whisk until the batter is completely smooth and free of lumps.
Pour the luscious, thin batter into a well-greased 9×13 inch baking pan. You want it to be spread evenly so the bars have a uniform thickness. Tap the pan gently on the counter a few times to release any trapped air bubbles.
Bake at 350°F for about an hour. The top should be a deep golden brown and the edges should be slightly pulled away from the sides of the pan. The most difficult part is waiting—you must let the mochi cool completely in the pan before slicing. This resting time allows the starches to set, ensuring you get those perfect, chewy squares.
Tips
- Don’t Rush the Cooling: Slicing mochi while it’s warm will lead to a sticky mess. For the best squares, let it cool for at least two hours.
- Grease the Pan Well: Mochi is notoriously sticky; use plenty of butter or a neutral oil on your pan to ensure easy removal.
- Whisk Thoroughly: Ensure the eggs are fully incorporated into the milk before adding to the flour to prevent “eggy” streaks in the final cake.
- Check for Doneness: A toothpick should come out clean, but the real sign is that beautiful, dark golden crust on top.
- Plastic Knife Trick: If the mochi is still a bit tacky, use a plastic knife to slice it—the mochi won’t stick to plastic nearly as much as it does to metal.
Storage & Practical Advice
Store your butter mochi bars in an airtight container at room temperature for up to 3 days. If you prefer them to last longer, you can refrigerate them for up to a week, but they will firm up significantly. To bring back that soft, chewy texture, simply give a chilled square a quick 10-second zap in the microwave.
Serving & FAQs
Is butter mochi supposed to be jiggly? It will be slightly soft when it first comes out of the oven, but once cooled, it should be firm and springy, not liquid.
Can I add toppings? Absolutely! Toasted sesame seeds or shredded coconut sprinkled on top before baking add a lovely extra crunch and flavor.
📖 Recipe
Homemade Hawaiian Butter Mochi
Ingredients
- 1 box 1 lb Mochiko (glutinous rice flour)
- 2 cups granulated sugar
- 2 tsp baking powder
- ½ tsp sea salt
- ½ cup 1 stick unsalted butter, melted and cooled
- 2 tbsp wild honey
- 1 can 13.5 oz full-fat coconut milk
- 1 can 12 oz evaporated milk
- 4 large eggs room temperature
- 2 tsp pure vanilla extract
Instructions
- Preheat your oven to 350°F and generously grease a 9×13 inch baking pan.
- In a large bowl, whisk together the Mochiko, sugar, baking powder, and salt.
- In a separate bowl, whisk the eggs, then add the coconut milk, evaporated milk, melted butter, honey, and vanilla.
- Pour the wet ingredients into the dry ingredients and whisk until the batter is smooth.
- Pour the batter into the prepared pan and tap it on the counter to remove air bubbles.
- Bake for 55–60 minutes until the top is golden brown and the center is set.
- Let the mochi cool completely in the pan on a wire rack before slicing into squares.
Leave a Reply