












Want to save this recipe?
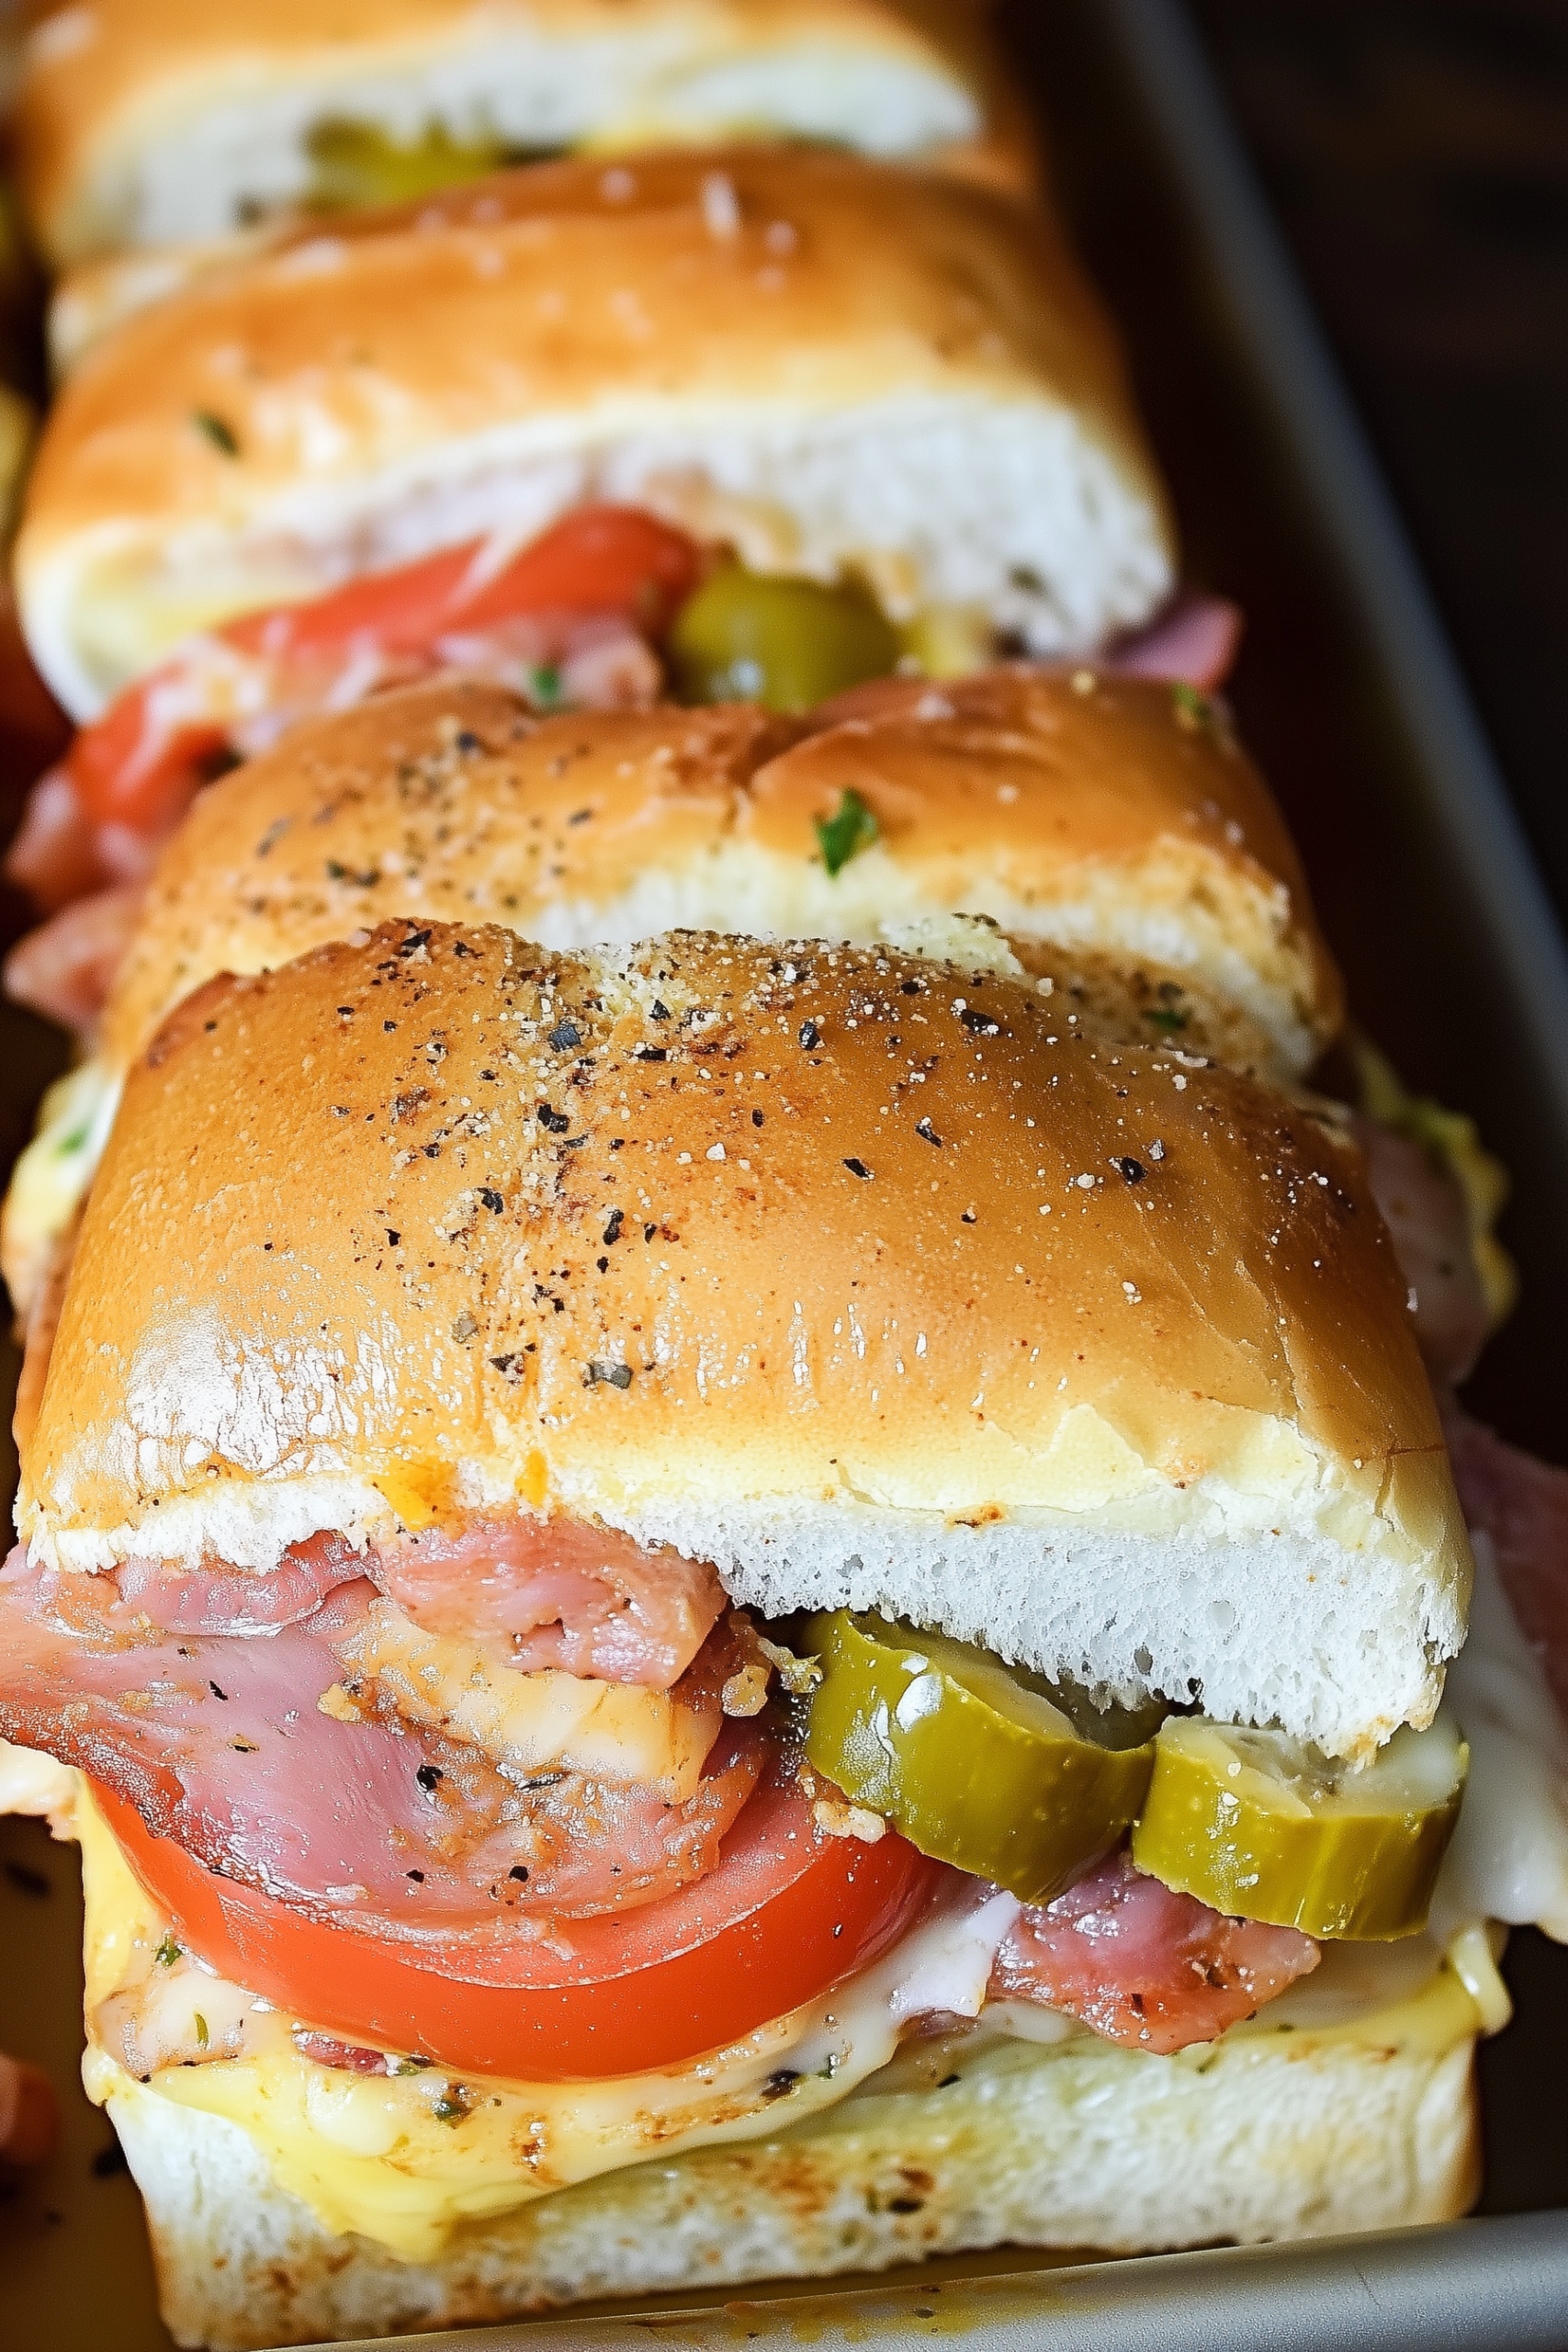
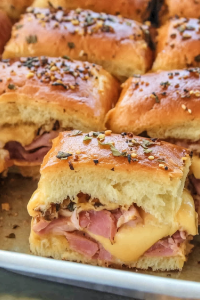
There is something absolutely electric about the smell of Hot Italian Sub Sliders pulling out of the oven. It’s the intoxicating aroma of melted provolone, zesty Italian meats, and that signature garlic-herb butter soaking into soft, toasted sweet rolls. These sliders take everything you love about a classic deli sub—the tang of pepperoncini, the saltiness of salami and ham, and the kick of pepperoni—and transform it into a warm, pull-apart feast that is impossible to eat just one of.
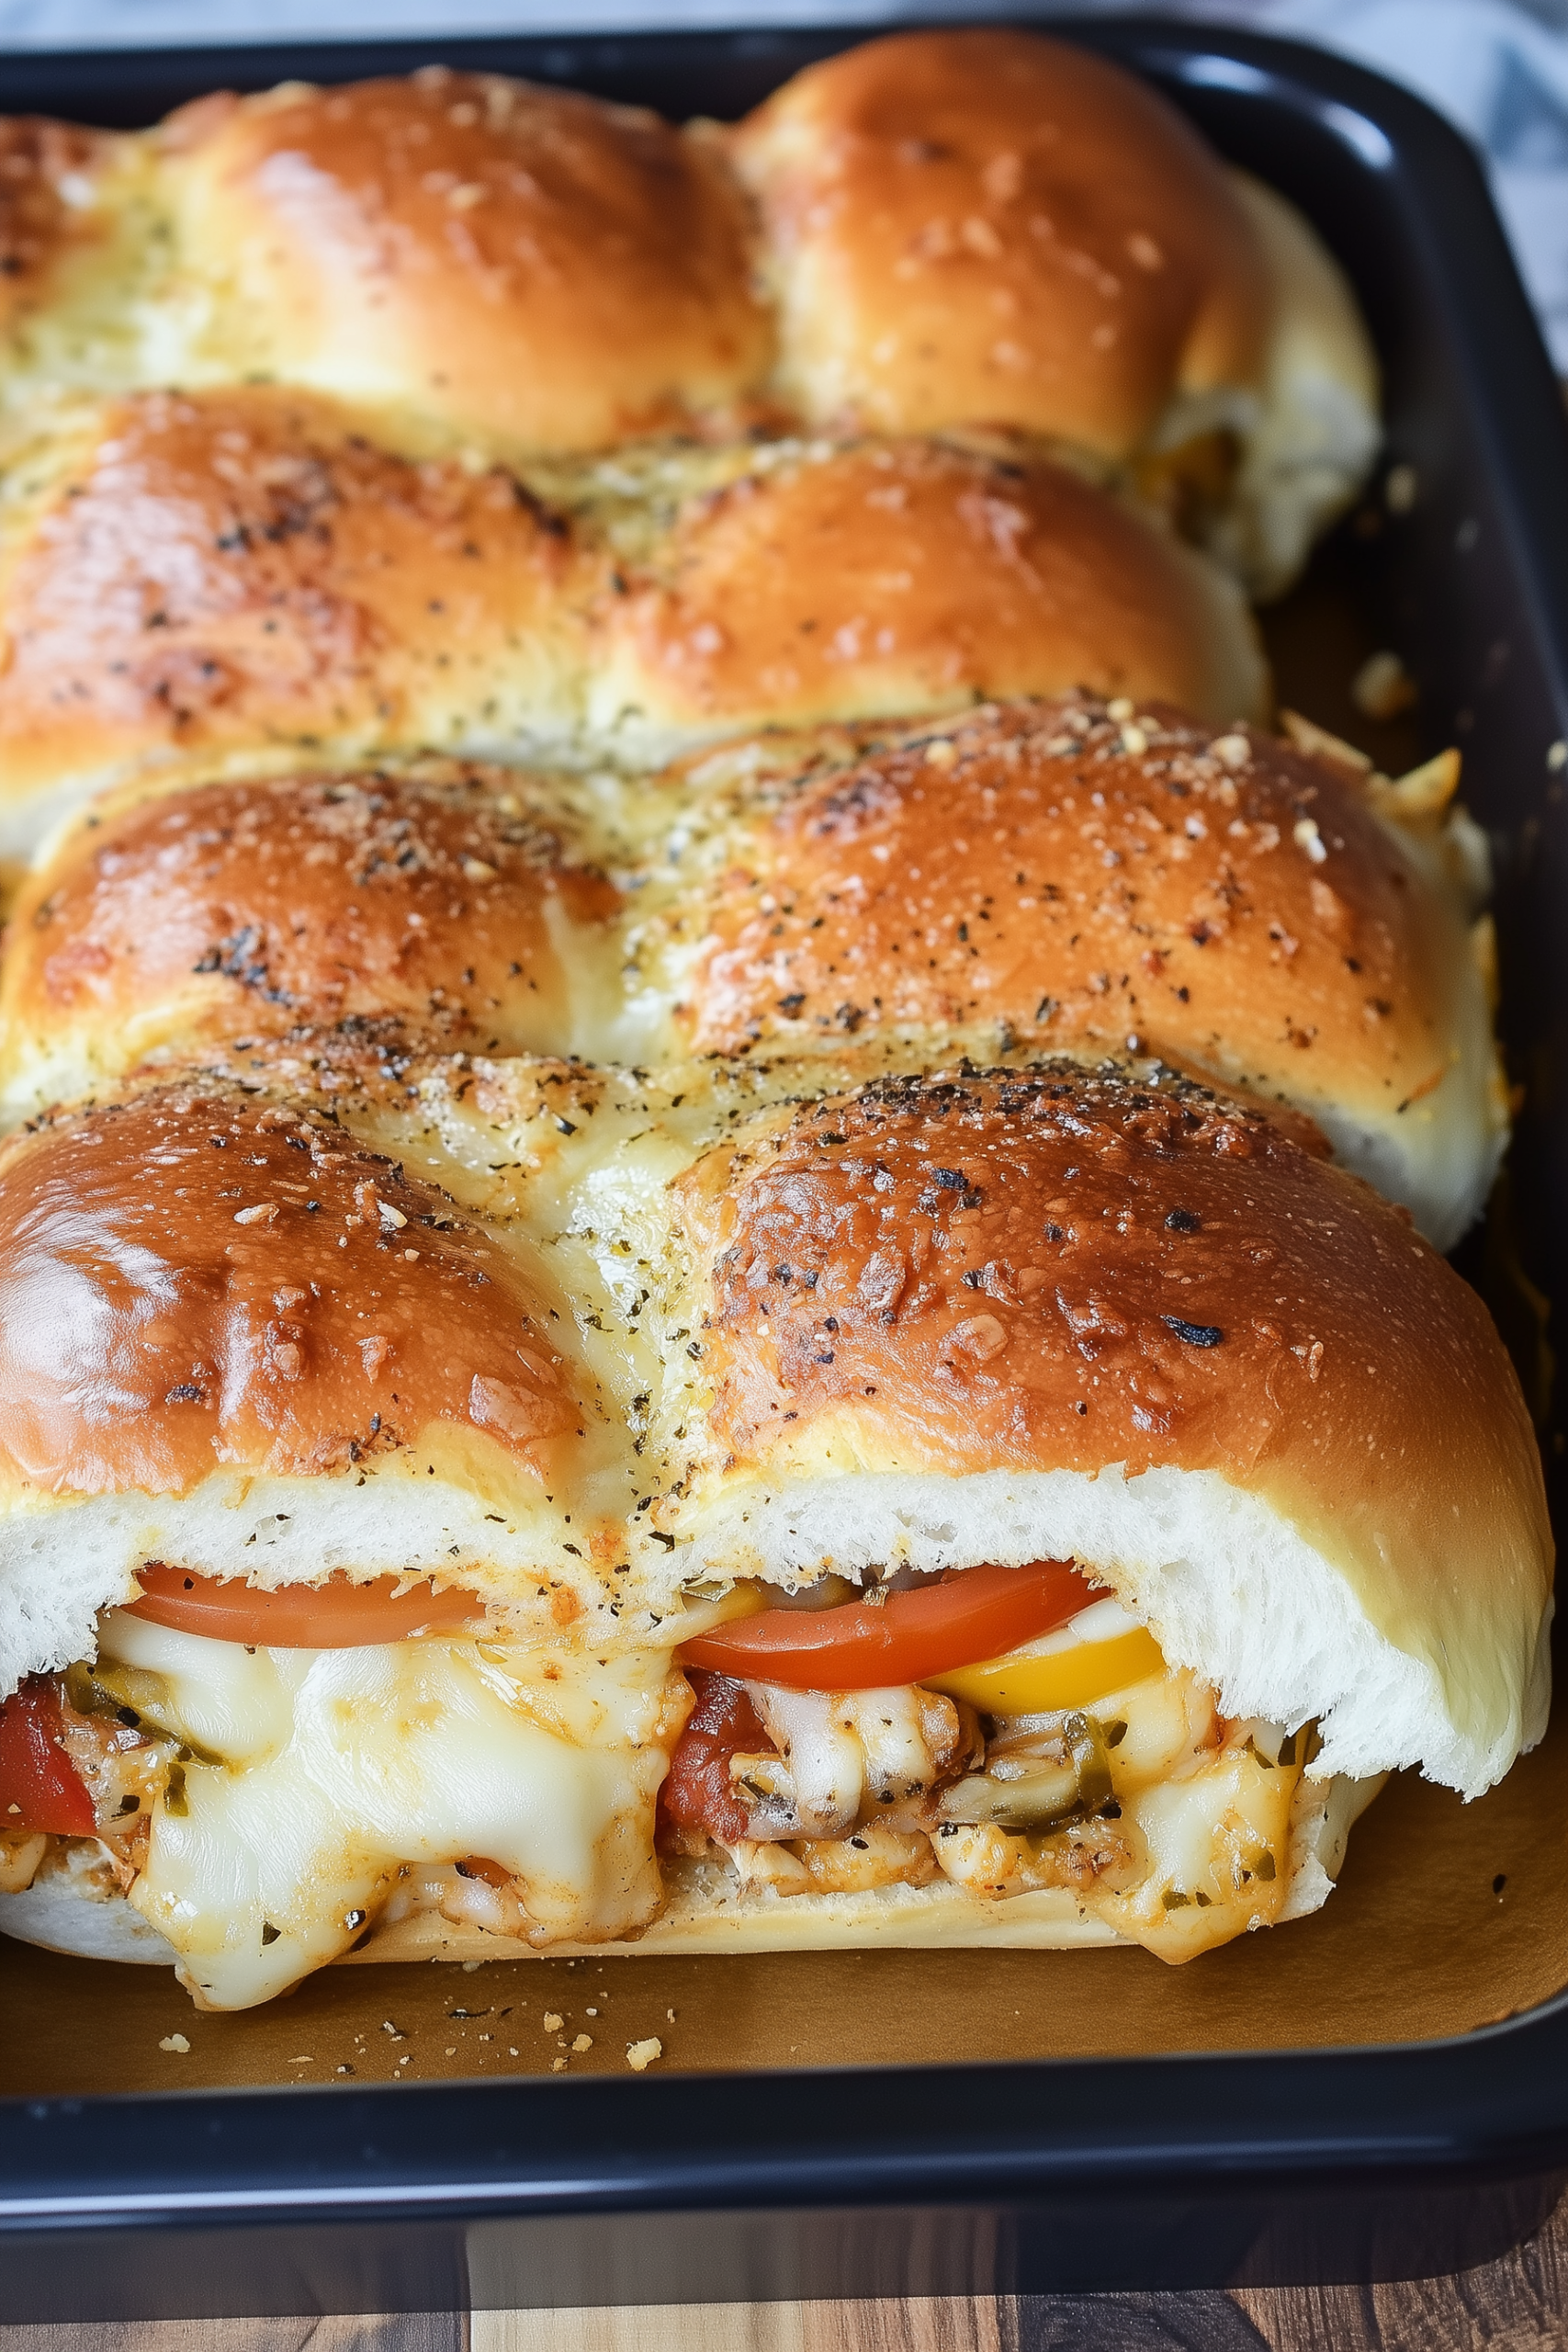
When I set a tray of these down during a football game or a casual family get-together, they disappear faster than I can set out the napkins. The tops of the rolls get that perfect, buttery crunch, while the inside remains soft and gooey with melted cheese. They are rustic, messy in the best way possible, and bring a fun, high-energy vibe to any table. Whether you’re feeding a crowd of hungry teenagers or looking for a stress-free party appetizer, these sliders are a total home run that feels like a celebration in every bite.
Why You’ll Love It
- Effortless Entertaining: You can assemble an entire batch of 12 sliders at once rather than making individual sandwiches.
- Layered Flavor Profile: The combination of three different Italian meats provides a complex, salty, and savory punch.
- The Signature Butter Crust: A seasoned garlic-herb butter topping creates a professional, bakery-style finish on simple store-bought rolls.
- Kid and Adult Approved: It has enough “pizza-adjacent” flavors for the kids, but the zesty peppers keep the adults coming back.
- Make-Ahead Friendly: You can assemble the sandwiches a few hours early and just pop them in the oven when your guests arrive.
Ingredient Notes & Details
- Sweet Hawaiian Rolls: The slight sweetness of the bread perfectly balances the salty meats and tangy peppers.
- Italian Meat Trio: A blend of ham, salami, and pepperoni is classic, but you can add prosciutto or capicola for extra flair.
- Provolone Cheese: Mild and creamy, it melts beautifully to act as the “glue” for all your toppings.
- Pepperoncini or Banana Peppers: These add a necessary vinegary crunch and a mild heat that cuts through the richness of the meat.
- Garlic Herb Butter: A mix of melted butter, garlic powder, and Italian seasoning creates that irresistible golden crust.
Natural Substitutions:
- Meat-Free: Use roasted red peppers, marinated artichokes, and extra cheese for a delicious vegetarian version.
- Spice it Up: Swap the provolone for pepper jack cheese if you want a bolder, spicier kick.
Step-by-Step Instructions
The secret to a perfect slider is the base layer. Instead of pulling the rolls apart, slice the entire slab in half horizontally. Place the bottom half in your baking dish and start layering your cheese first—this prevents the bread from getting soggy from the meat juices.
Pile on your meats in generous, overlapping layers, then top with the peppers and another layer of cheese. Once the top buns are replaced, the real magic happens: the butter bath. Brush every single inch of those rolls with your seasoned butter, making sure it seeps down into the cracks.
Cover the dish with foil for the first half of baking to melt the cheese thoroughly without burning the bread. For the final few minutes, remove the foil to let those tops get deeply golden and crispy. The result is a tray of glistening, savory sliders that are ready to be pulled apart and devoured.
Expert Tips
- Don’t Skimp on the Butter: The seasoned butter is what transforms these from “sandwiches” to “gourmet sliders”.
- Drain Your Peppers: Pat the pepperoncini dry with a paper towel before adding them to the rolls to avoid a soggy middle.
- The Foil Trick: Keeping them covered for the first 10 minutes is the only way to ensure the middle is hot and cheesy while the bread stays soft.
- Use a Serrated Knife: A long bread knife is essential for getting a clean, even cut through the entire slab of rolls.
- Add Freshness: A small side of marinara sauce for dipping or a sprinkle of fresh parsley on top adds a bright, restaurant-quality finish.
Storage & Reheating
These sliders are definitely best fresh out of the oven, but you can store leftovers in an airtight container in the fridge for up to 2 days. To reheat, I highly recommend using an oven or air fryer at 350°F for 5 minutes. This will bring back the crunch of the rolls and the gooeyness of the cheese in a way the microwave simply can’t.
Serving & FAQs
What should I serve with these? A simple Caesar salad or a bowl of kettle-cooked potato chips provides a great textural contrast. They also pair perfectly with a side of cold pasta salad for a full lunch spread.
Can I use a different type of bread? While Hawaiian rolls are the favorite for their soft texture, savory slider buns or even a slab of dinner rolls will work beautifully.
📖 Recipe
Homemade Hot Italian Sub Sliders
Ingredients
- 1 pack 12 count Hawaiian Sweet Rolls
- ½ lb deli ham thinly sliced
- ¼ lb hard salami thinly sliced
- ¼ lb pepperoni slices
- 6 slices provolone cheese
- ¼ cup sliced pepperoncini or banana peppers
- 4 tbsp unsalted butter melted
- 1 tsp garlic powder
- 1 tsp Italian seasoning
- ½ tsp dried oregano
Instructions
- Preheat your oven to 350°F and lightly grease a 9×13 inch baking dish.
- Without separating the rolls, slice the entire slab in half horizontally. Place the bottom half in the baking dish.
- Layer 3 slices of provolone on the bottom bread. Layer the ham, salami, and pepperoni evenly over the cheese.
- Distribute the peppers over the meat, then top with the remaining 3 slices of cheese. Place the top half of the rolls on top.
- In a small bowl, whisk together the melted butter, garlic powder, Italian seasoning, and oregano.
- Brush the butter mixture generously over the tops of the rolls.
- Cover the dish with aluminum foil and bake for 15 minutes.
- Remove the foil and bake for an additional 5–8 minutes until the cheese is melted and the tops are golden brown.
- Slice into individual sliders and serve warm.
Leave a Reply