

Want to save this recipe?
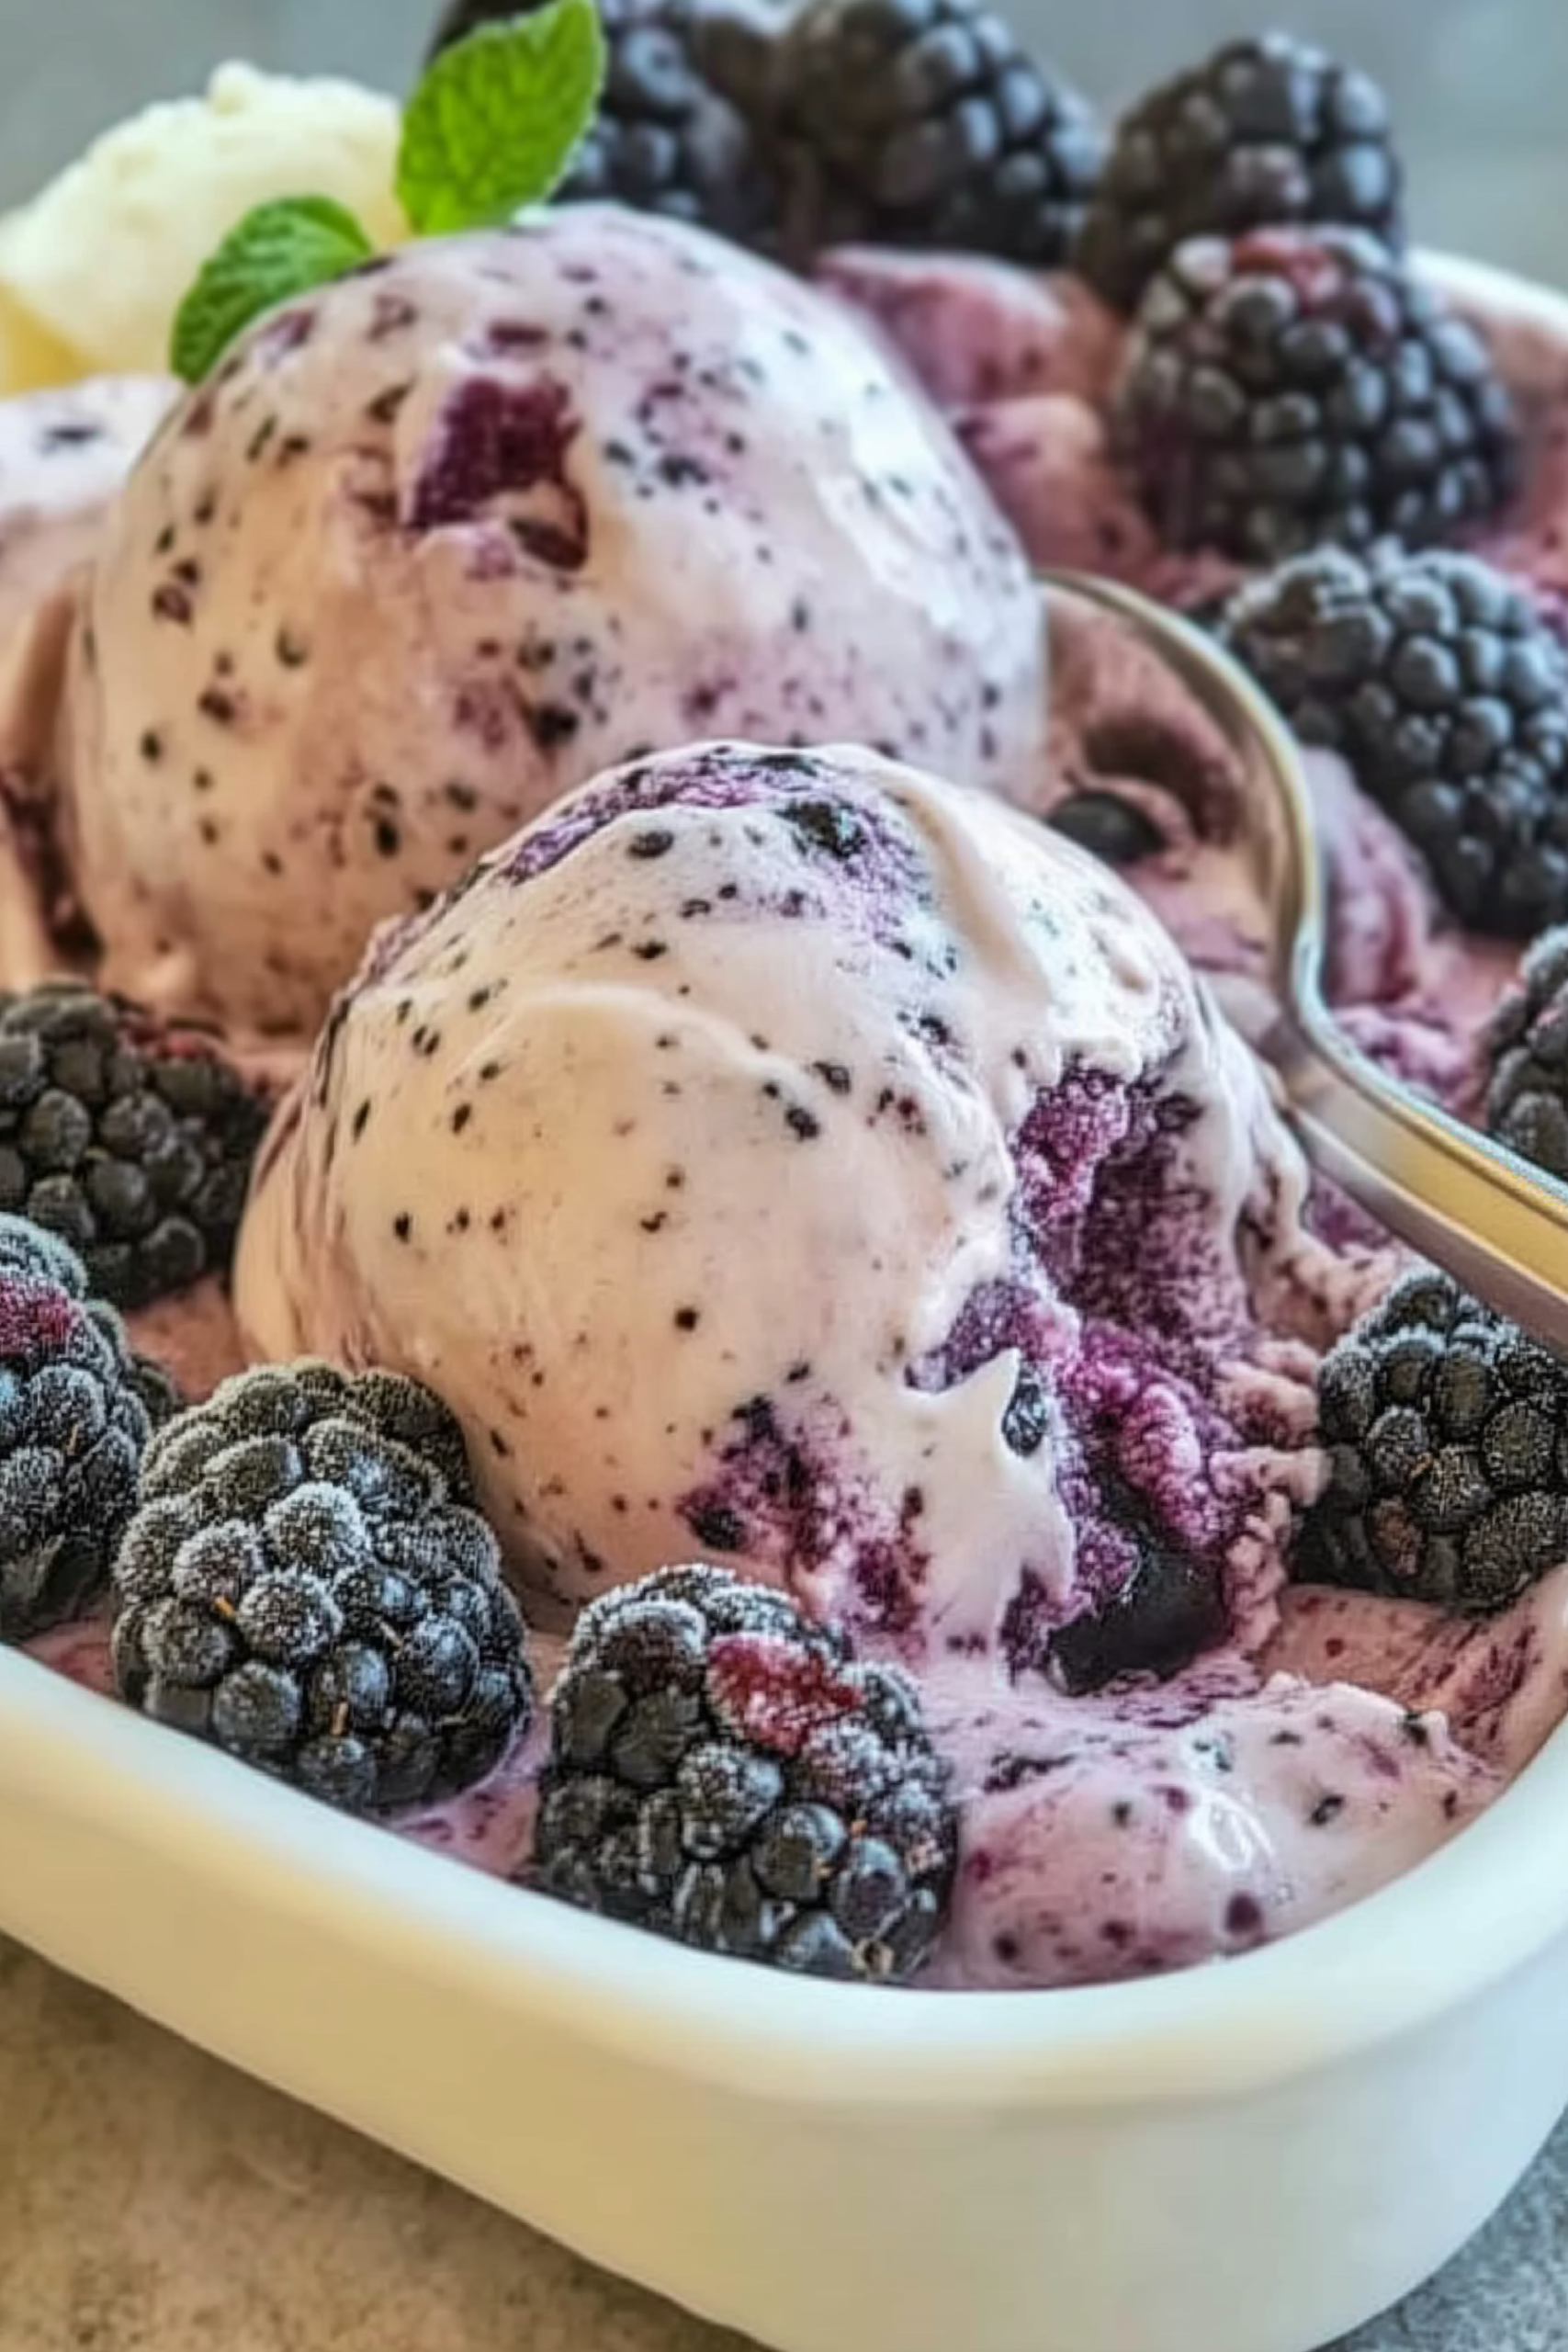
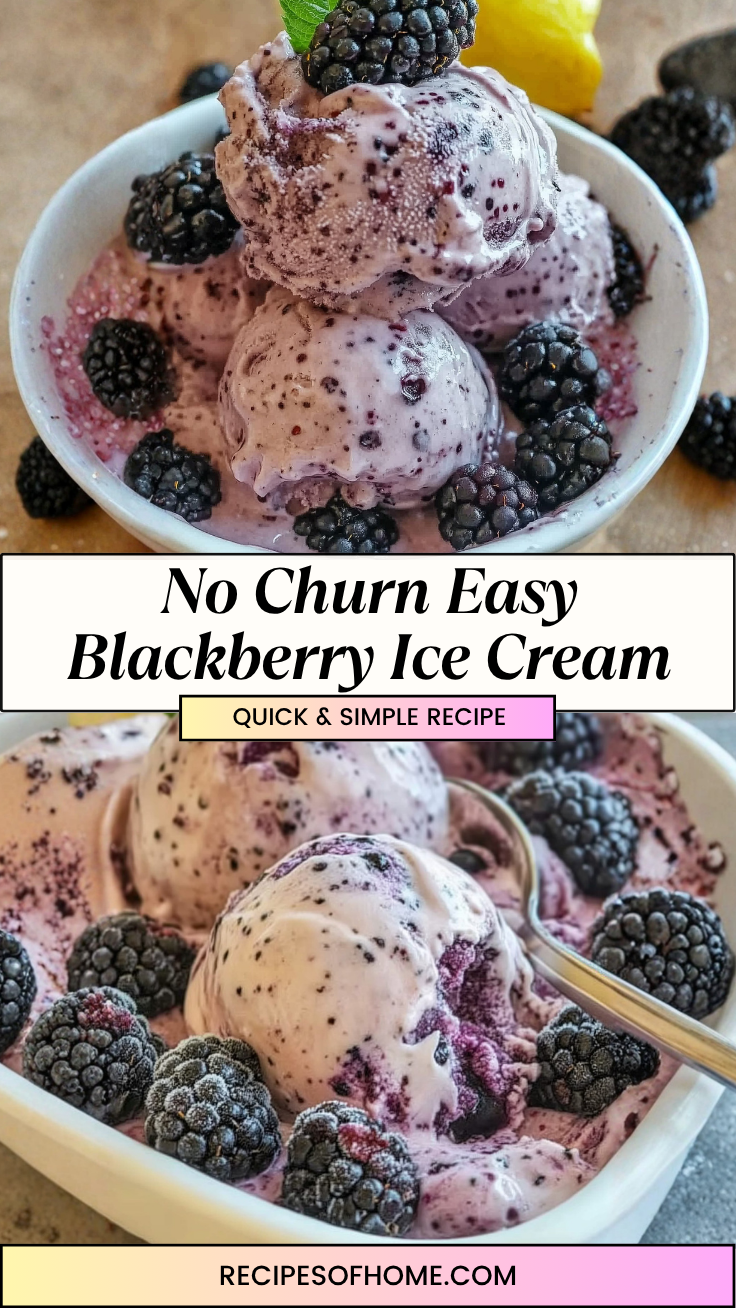
The vibrant purple hue and the bright, sweet aroma of fresh berries simmering on the stove make this No Churn Easy Blackberry Ice Cream an absolute showstopper. Summer afternoons in our household mean constant requests for cold treats, and this recipe delivers pure, scoopable joy without the need for a bulky ice cream machine. It captures the essence of peak-season blackberries, transforming them into a velvety, frozen dessert that my kids and husband go completely wild for.
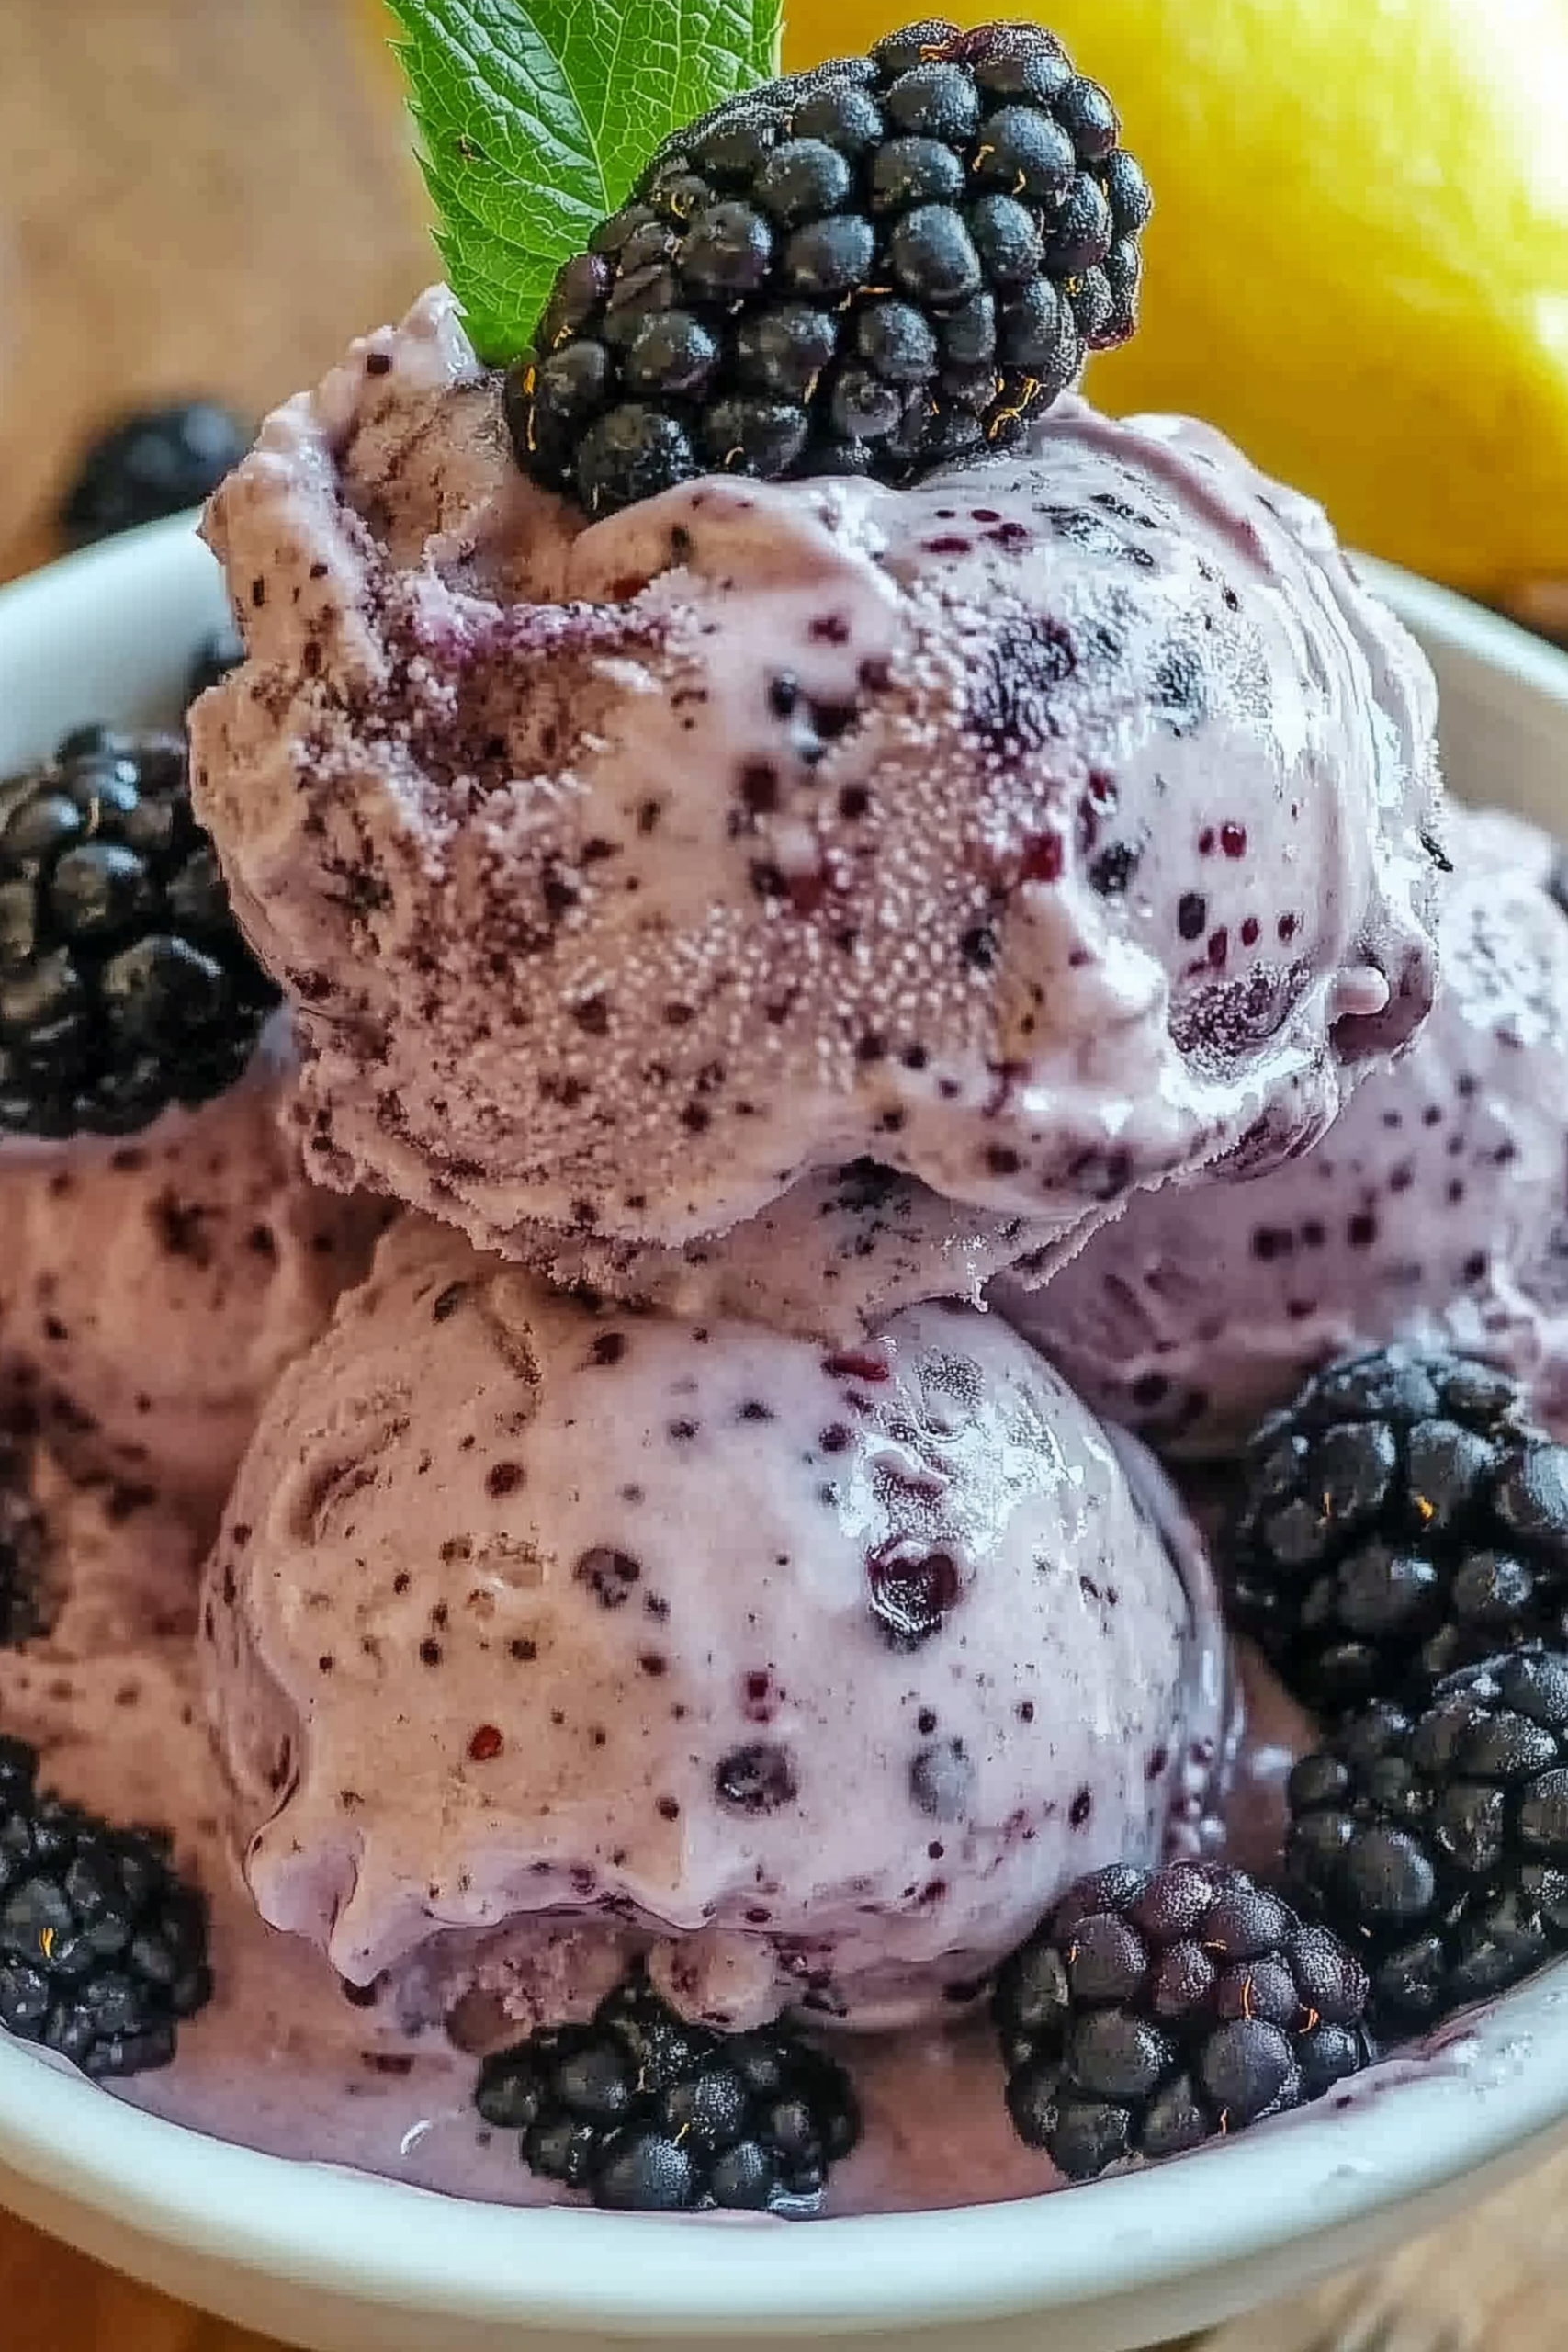
The texture is remarkably smooth, creamy, and decadent, studded with gorgeous ripples of homemade blackberry compote that provide a beautiful punch of tart fruitiness in every bite. Serving a bowl of this gorgeous ice cream on a hot Saturday evening brings an immediate wave of refreshment to our patio table. It feels incredibly luxurious, like something you would buy from a boutique gelateria, yet it is simple enough to whip up on a whim using basic kitchen tools.
Why You’ll Love It
- No ice cream maker needed: Skip the expensive gadgets and freezer bowls; this recipe relies on simple whipping techniques to achieve peak creaminess.
- Stunning natural color: The gorgeous, vibrant purple shade comes entirely from real fruit, completely free from artificial dyes or food colorings.
- Minimal prep cleanup: The base comes together in just one main mixing bowl, keeping your kitchen cool and tidy on hot days.
- Perfect texture balance: Combines an ultra-rich, velvety cream base with sweet-tart fruit ripples that prevent the dessert from feeling overly cloying.
- Make-ahead convenience: You can easily prep a batch days in advance, leaving it ready to slice or scoop whenever sweet cravings hit.
Ingredient Notes & Details
- Fresh blackberries: The star flavor. Simmering them down breaks down the fruit and concentrates their sweet, slightly tart juices into a rich syrup.
- Heavy whipping cream: Whipped to stiff peaks to trap air, which acts as the natural lifting agent that keeps the ice cream soft and scoopable without churning.
- Sweetened condensed milk: Provides the essential sugar and moisture balance, preventing large ice crystals from forming during the freezing process.
- Lemon juice: A tiny splash cuts through the heavy dairy richness and emphasizes the bright, natural acidity of the berries.
- Vanilla extract: Adds a warm, aromatic baseline that elevates the fruit flavors and rounds out the cream.
Natural Substitutions: If fresh blackberries aren’t available, frozen blackberries work beautifully—just thaw them slightly before cooking. You can easily swap the blackberries for red raspberries or wild blueberries for a fun flavor twist. For a slightly lighter base, you can replace a quarter-cup of the heavy cream with full-fat Greek yogurt to introduce a subtle, refreshing tang.
Step-by-Step Instructions
We begin by creating our intense fruit ribbon base. Combine the blackberries, granulated sugar, and fresh lemon juice in a small saucepan over medium heat, cooking until the berries burst and release their beautiful deep juices. Mashing them gently with a fork helps release all the flavorful juices. Simmer for about eight minutes until the mixture thickens into a glossy compote, then strain it through a fine-mesh sieve to remove the seeds before letting it cool completely. Straining is non-negotiable if you want a perfectly smooth, velvet-like mouthfeel.
Next, pour the cold heavy whipping cream into a large, chilled bowl. Beat the cream on high speed until stiff peaks form; this traps the air pockets that replace the churning action of a traditional ice cream machine. Gently fold the sweetened condensed milk and vanilla extract into the whipped cream using a rubber spatula. Take care not to over-mix, as deflating the cream will make the ice cream turn out rock-hard instead of light and airy. Finally, pour half the cream mixture into a loaf pan, drizzle over the cooled blackberry syrup, layer the remaining cream, and use a butter knife to gently swirl the fruit throughout before freezing.
Expert Tips
- Chill your tools: Place your mixing bowl and beaters in the freezer for fifteen minutes before whipping the cream to get maximum volume.
- Cool the fruit completely: Never add warm blackberry compote to the whipped cream base, or it will instantly melt the air pockets and turn runny.
- Strain the seeds: Straining the cooked berries ensures a luxurious, smooth finish that mimics premium, store-bought churned ice cream.
- Press plastic wrap: Press a sheet of plastic wrap directly onto the surface of the ice cream before freezing to prevent ice crystals from forming.
- Don’t over-swirl: Only drag your knife through the mixture a few times; over-mixing will turn the entire batch solid purple instead of creating distinct ripples.
Storage & Reheating
Keep the ice cream stored in a tightly sealed container or a loaf pan wrapped securely in double layers of plastic wrap in the deepest part of your freezer for up to 2 weeks. Because no-churn ice cream lacks chemical stabilizers, it can freeze quite firm. Before serving, let the container sit on the kitchen counter for 5 to 7 minutes to allow it to soften up naturally to its perfectly scoopable, velvet texture.
Serving & FAQs
This vibrant dessert serves beautifully in chilled bowls garnished with fresh, plump blackberries, a sprig of fresh mint, or a crisp waffle cone. It also pairs spectacularly when scooped alongside a warm slice of homemade lemon pound cake.
Can I leave the seeds in the blackberry compote? You can, but blackberry seeds are quite large and woody. Straining them out delivers a much more pleasant, professional-quality texture that is smooth on the tongue.
Why is my ice cream icy instead of creamy? This typically happens if the heavy cream wasn’t whipped to true stiff peaks, or if the blackberry compote was still warm when swirled into the dairy base.
Homemade No Churn Blackberry Ice Cream
Prep time: 15 minutes Cook time: 8 minutes Freeze time: 6 hours Total time: 6 hours 23 minutes Servings: 8 servings
Ingredients
- 2 cups fresh blackberries
- 2 tablespoons granulated sugar
- 1 tablespoon fresh lemon juice
- 2 cups heavy whipping cream, cold
- 1 can (14 ounces) sweetened condensed milk
- 1 ½ teaspoons vanilla extract
- Extra fresh blackberries for serving
Instructions
- In a small saucepan over medium heat, combine the fresh blackberries, granulated sugar, and fresh lemon juice.
- Cook for 7 to 9 minutes, mashing the berries with a fork, until they break down and the mixture turns into a thickened syrup.
- Pour the hot mixture through a fine-mesh sieve into a small bowl, using a spoon to press out all the liquid while discarding the seeds. Let the syrup cool completely to room temperature.
- In a large, chilled mixing bowl, beat the cold heavy whipping cream on high speed until stiff peaks form.
- Pour the sweetened condensed milk and vanilla extract into the whipped cream, folding very gently with a rubber spatula until fully incorporated.
- Pour half of the cream mixture into a 9×5-inch metal loaf pan.
- Drizzle half of the cooled blackberry syrup over the cream layer.
- Top with the remaining cream mixture, then drizzle the rest of the blackberry syrup across the very top.
- Drag a butter knife gently through the layers in a figure-eight pattern to create beautiful purple swirls.
- Cover the pan tightly with plastic wrap and freeze for at least 6 hours, or overnight, until completely firm before scooping.
Leave a Reply