












Want to save this recipe?
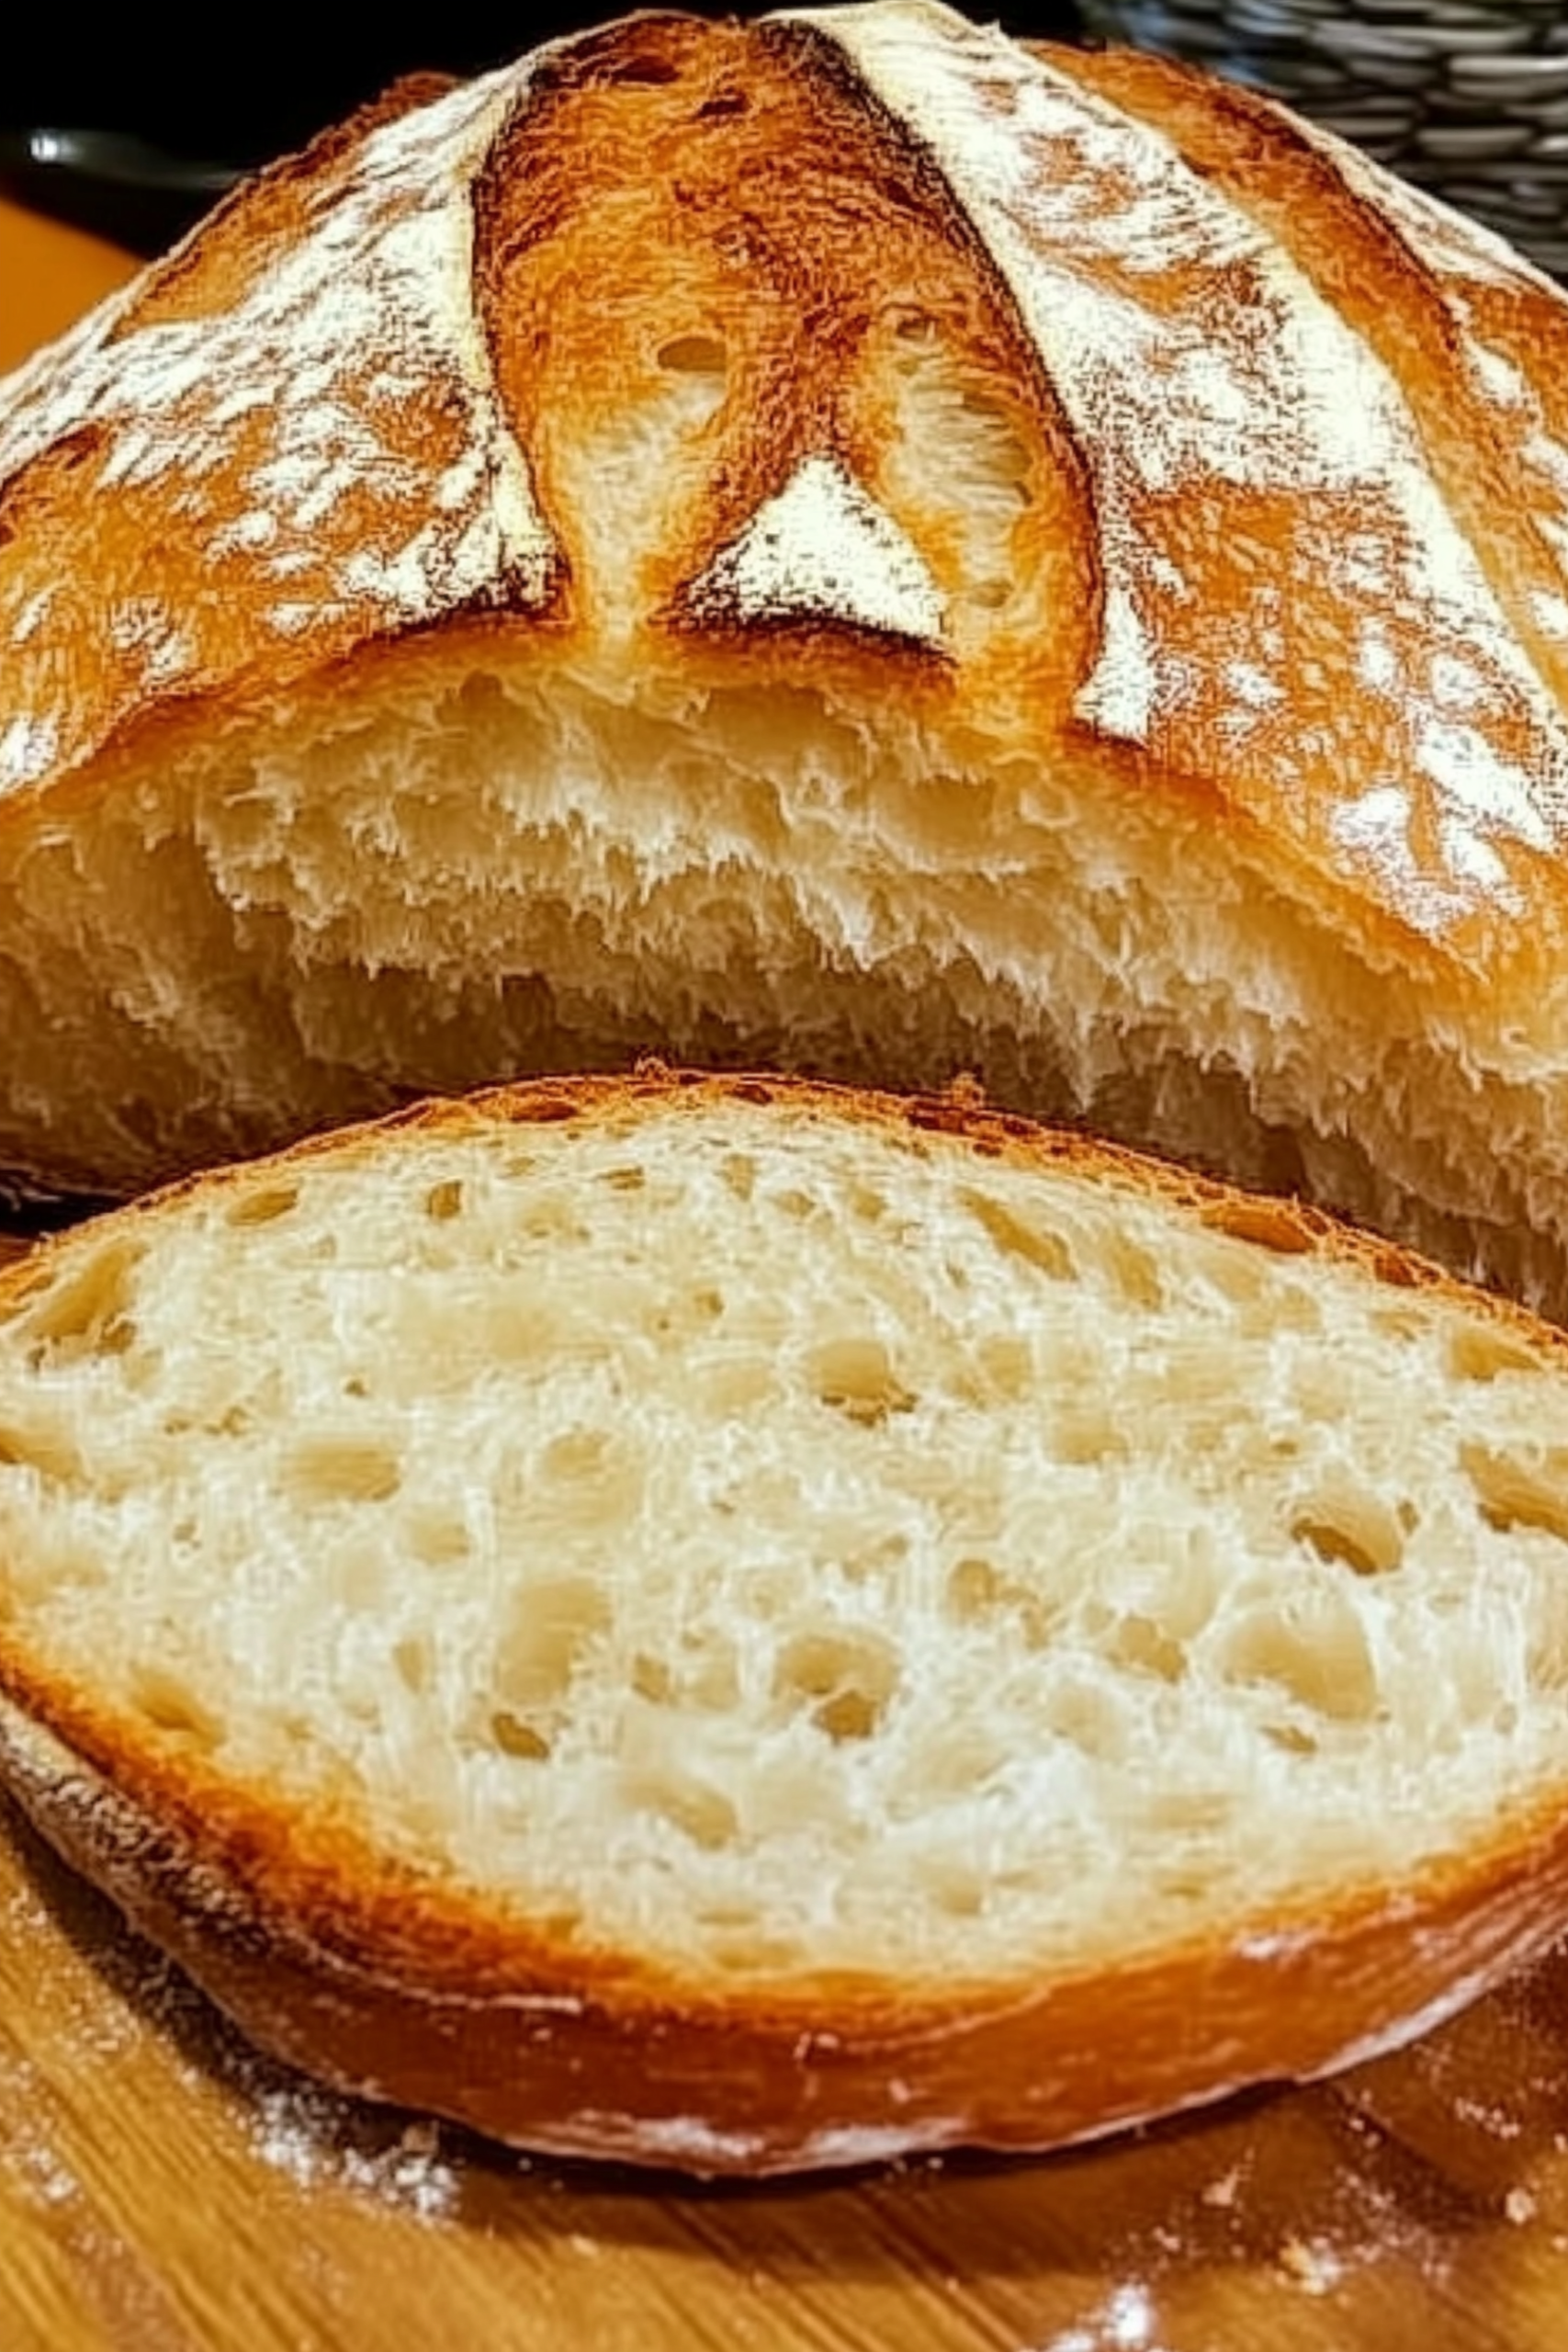
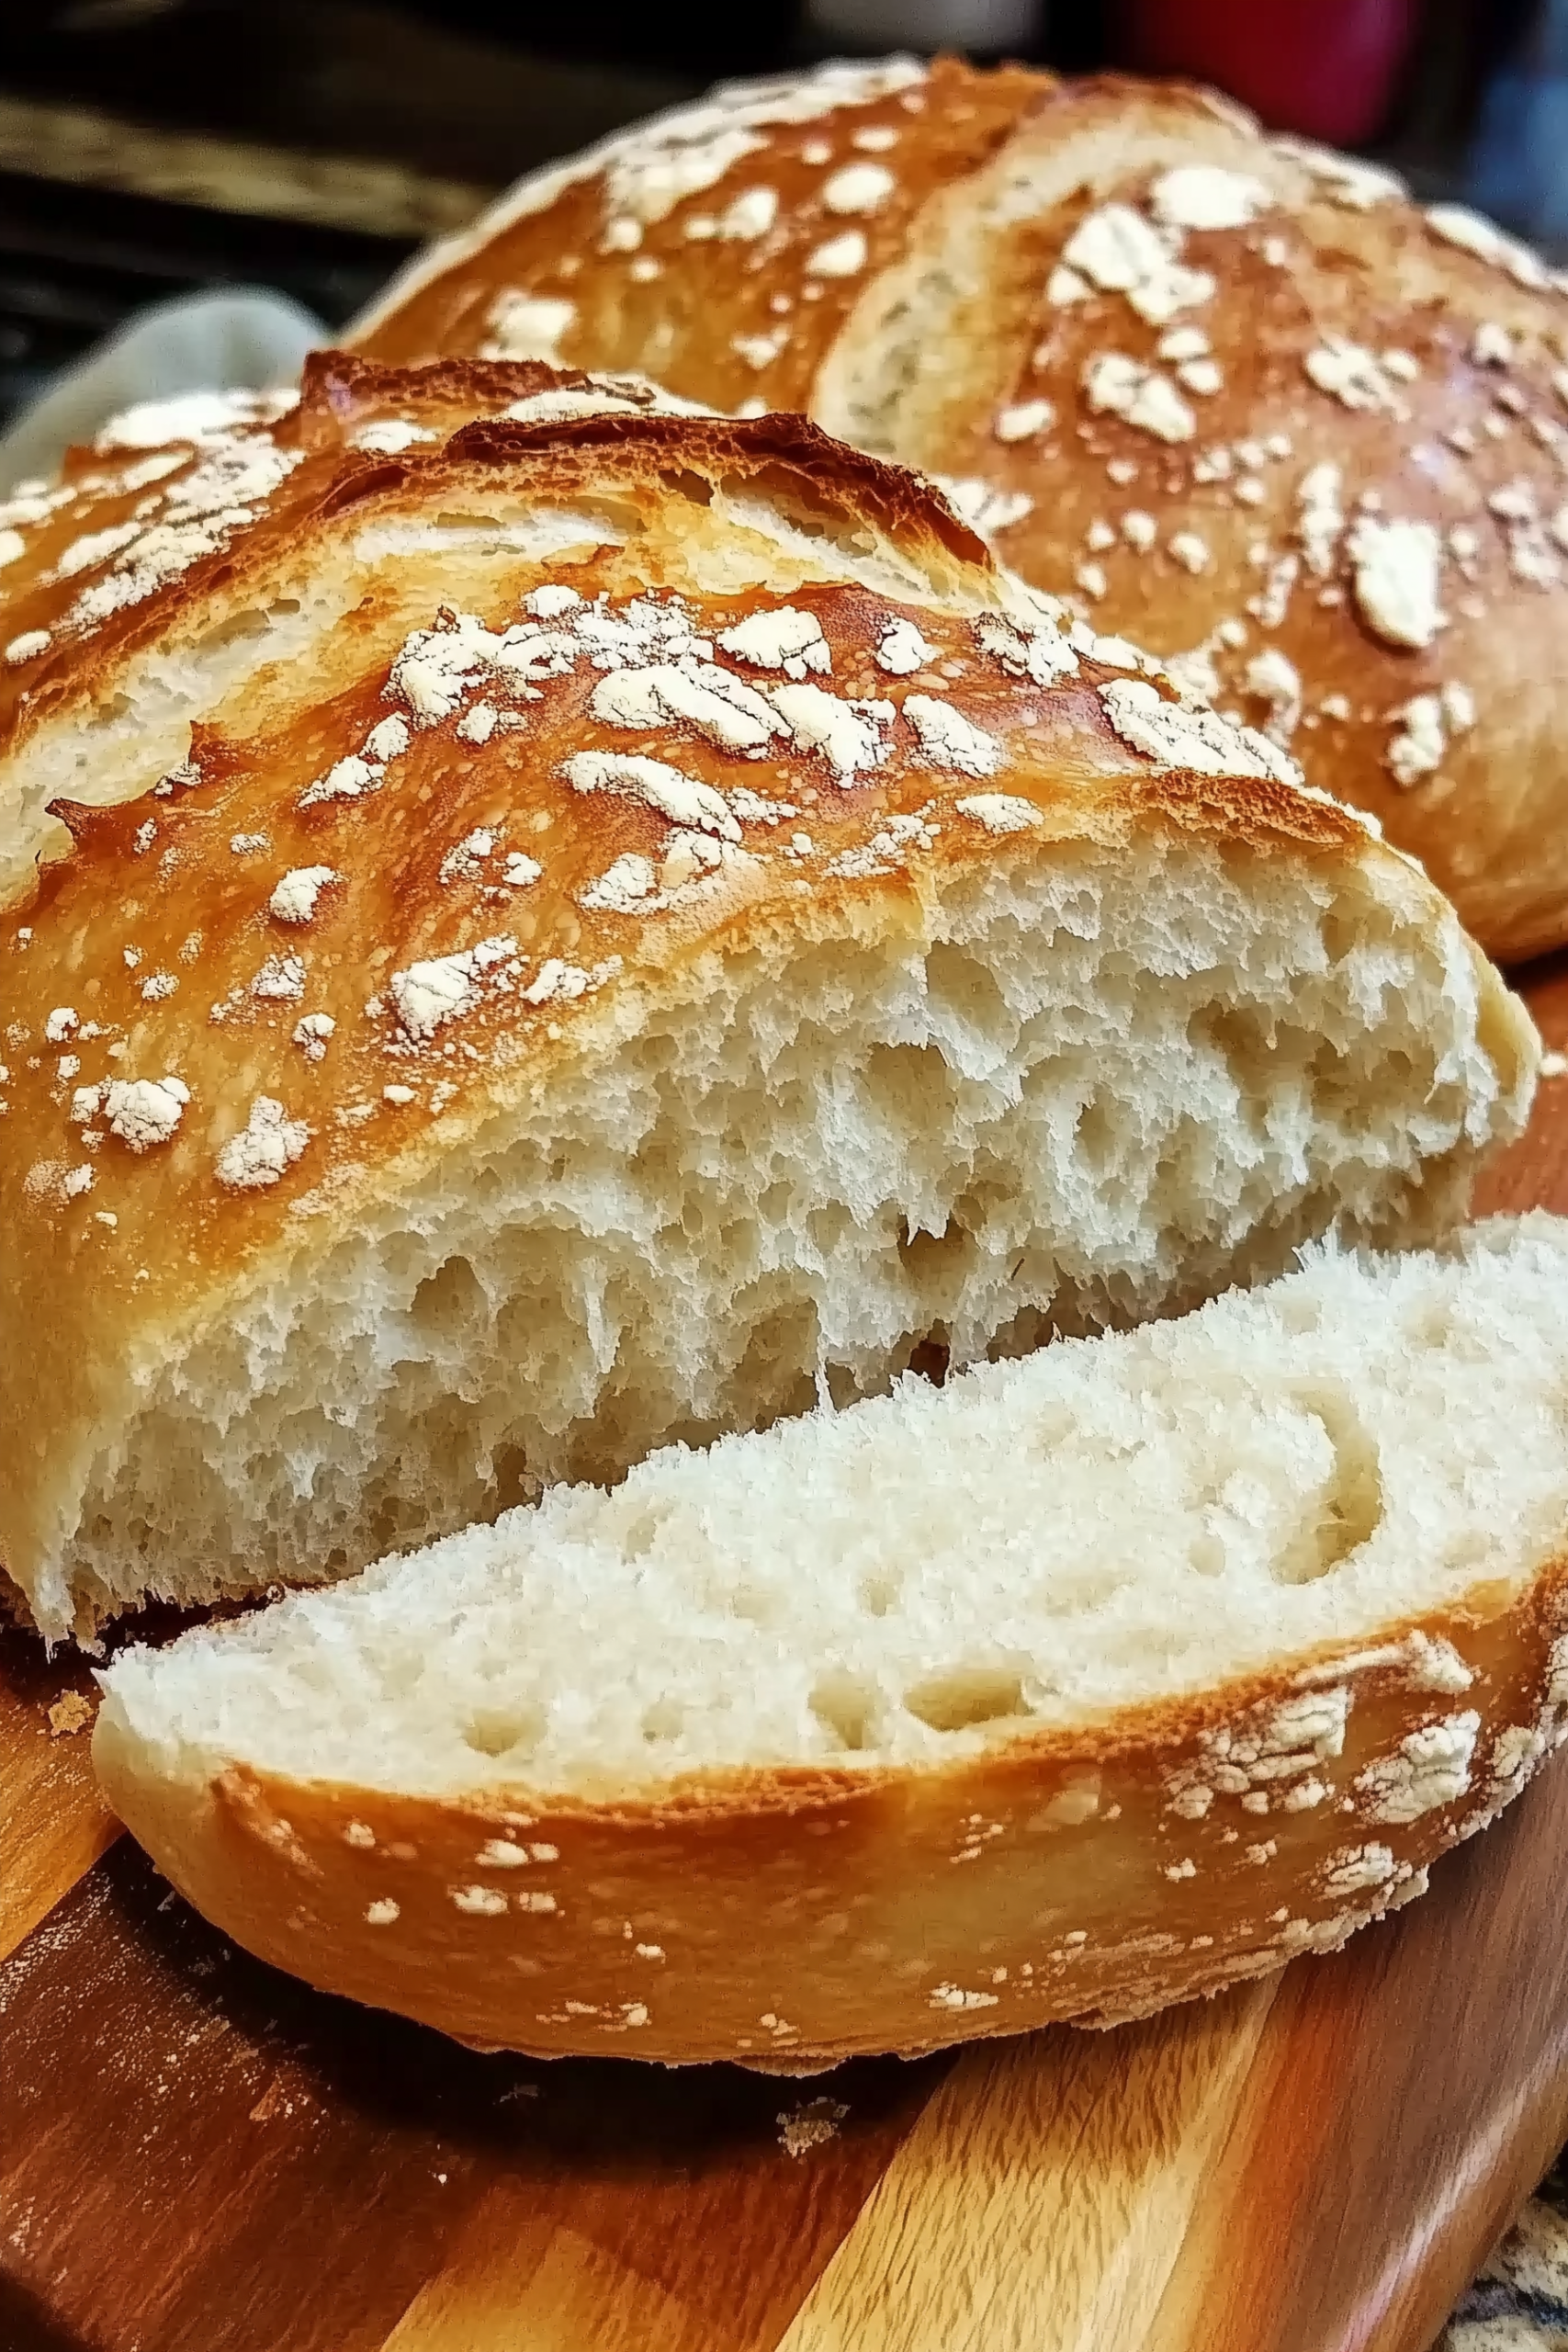
There is nothing quite like the sound of a bread knife sawing through a truly crusty, artisanal loaf, followed by the sight of steam rising from a soft, airy center. For a long time, that experience felt out of reach for the gluten-free community, often replaced by dense, brick-like loaves that required a chemistry degree to execute. This No-Knead Gluten-Free Bread changes the game entirely. It fills your kitchen with that unmistakably yeasty, bakery-fresh aroma and yields a loaf with a shatteringly crisp crust and a tender, “holey” crumb that actually bends instead of breaking.
Serving this loaf to my family is a moment of pure joy. Whether it’s slathered in salted butter while still warm or used as the foundation for a gourmet grilled cheese, it brings back the simple pleasure of “real” bread. You don’t need to be a master baker or own a fancy stand mixer to master this. It’s a forgiving, rustic process that relies on time rather than elbow grease. It’s the kind of recipe that makes you realize you don’t have to settle for the frozen aisle anymore—you can have a beautiful, golden boule sitting on your counter by dinner time.
Why You’ll Love It
- Zero Hand-Kneading: Gluten-free dough is notoriously sticky and difficult to handle; this method bypasses the mess entirely by using a simple “stir and rise” technique.
- Artisanal Dutch Oven Crust: Using a preheated heavy pot creates a steam-filled environment that mimics a professional deck oven, giving you that golden, blistered exterior.
- Reliable Structure: Thanks to a smart blend of binders, this bread holds together perfectly for sandwiches or dipping into soups without crumbling into a mess.
- Beginner-Friendly: This is the ultimate “gateway” bread for GF bakers. If you can stir a bowl and set a timer, you can bake a bakery-quality loaf.
- Budget-Saving: Making your own high-quality gluten-free bread at home is significantly cheaper than buying premium specialty loaves from the store.
Ingredient Notes & Details
- Gluten-Free All-Purpose Flour: Look for a high-quality “1-to-1” blend that contains xanthan gum. This gum acts as the “glue” that replaces the missing gluten, providing the necessary elasticity for the bread to rise.
- Psyllium Husk Powder: This is the secret weapon for gluten-free bread. It absorbs a massive amount of water and creates a gel-like structure that allows the dough to be shaped and helps it retain those beautiful air bubbles.
- Active Dry Yeast: Ensure your yeast is fresh! You’ll proof it in warm water (around 110°F) to make sure it’s alive and kicking before adding it to the flour.
- Warm Water: Temperature is vital. Too cold and the yeast stays asleep; too hot and you’ll kill it. Think “warm baby bath” temperature.
- Honey or Maple Syrup: This provides a tiny bit of “food” for the yeast to eat, which speeds up the fermentation and helps with the browning of the crust.
Natural Substitutions:
- Apple Cider Vinegar: Adding a teaspoon to the water provides a subtle “sourdough” tang and helps the yeast react more vigorously for a better lift.
- Sparkling Water: You can replace half of the still water with unflavored sparkling water. The extra carbonation helps create a lighter, even airier crumb.
- Egg White: If you want a slightly more “chewy” and enriched crumb, you can stir in one beaten egg white with the wet ingredients.
Step-by-Step Instructions
The journey to a perfect loaf begins with the “shaggy dough” phase. You aren’t looking for a smooth, elastic ball like traditional wheat bread; instead, you’ll stir the ingredients until they form a wet, sticky mass that looks a bit like thick porridge. The “why” here is hydration—gluten-free flours need significantly more moisture to prevent the bread from becoming gritty or dry. Once mixed, cover it and let it rest in a warm, draft-free spot. This long fermentation is where the flavor develops and the psyllium husk does its heavy lifting.
After the rise, you’ll gently turn the dough out onto a floured piece of parchment paper. Don’t overwork it! You want to preserve all those delicate air pockets the yeast worked so hard to create. Use floured hands to tuck the edges under into a round boule shape.
The real secret happens in the oven. You’ll preheat a Dutch oven (cast iron is best) until it’s screaming hot. Carefully drop the dough—parchment and all—into the pot and cover it. The lid traps the moisture escaping from the dough, creating a mini-steam room. This keeps the outside of the bread soft for the first half of the bake, allowing the loaf to expand fully (the “oven spring”) before the crust finally sets and browns. Removing the lid for the final 15 minutes is what gives you that deep, mahogany color and the perfect “crunch.”
Tips
- Weigh Your Flour: For the most consistent results, use a kitchen scale. Gluten-free flour is very fine and can pack down in a measuring cup, leading to a dense loaf.
- The Finger Test: After the first rise, the dough should feel bouncy. If you poke it gently, it should slowly spring back about halfway.
- Score the Top: Use a very sharp knife or a razor blade to cut an “X” or a long slit across the top. This gives the steam an escape route and prevents the bread from “bursting” in odd places.
- Don’t Cut it Hot: I know it’s tempting, but cutting into hot GF bread will result in a gummy center. The structure needs to finish “setting” as it cools to room temperature.
- Check the Internal Temp: If you’re unsure if it’s done, use a meat thermometer. The center of the loaf should reach 205°F to 210°F.
Storage & Reheating
Gluten-free bread is best enjoyed within the first 24 hours. Because it lacks preservatives, it will dry out faster than store-bought bread. Store any leftovers in an airtight bag at room temperature for up to 2 days.
For longer storage, slice the loaf once it has completely cooled and freeze the slices in a zip-top bag. You can pop a frozen slice directly into the toaster for a “fresh-baked” taste and texture anytime. Avoid refrigerating the bread, as this actually accelerates the staling process in gluten-free starches.
Serving & FAQs
What goes best with this bread? This rustic loaf is a dream alongside a bowl of Roasted Cauliflower and Chickpea Soup. It’s also sturdy enough to be used as a base for avocado toast topped with an over-easy egg and a sprinkle of chili flakes.
Can I bake this without a Dutch oven? Yes, but you’ll need to create your own steam. Place a shallow pan of water on the bottom rack of your oven while it preheats. The results won’t be quite as “crusty,” but you’ll still get a great loaf.
Why is my bread gummy in the middle? This usually means the bread was underbaked or cut while still hot. Ensure you bake it long enough to reach an internal temperature of at least 205°F and let it cool for at least 2 hours before slicing.
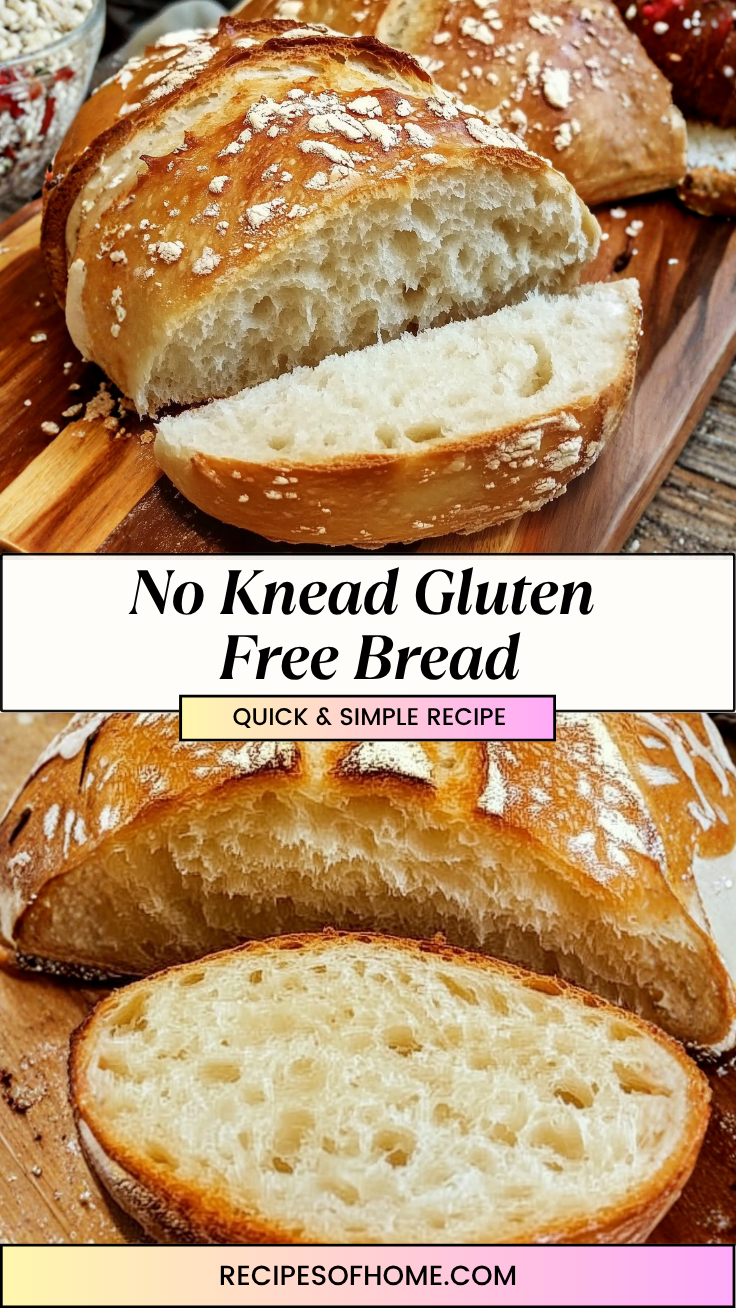
Homemade No-Knead Gluten Free Artisan Bread
A stunning, rustic loaf with a crackling golden crust and a soft, airy interior that requires no kneading and just a few simple ingredients.
- Prep time: 15 minutes (plus 2 hours rising)
- Cook time: 45 minutes
- Total time: 3 hours
- Servings: 1 large loaf
Ingredients
- 3.5 cups (450g) Gluten-free all-purpose flour blend (with xanthan gum)
- 2 tbsp Psyllium husk powder
- 1.5 tsp Fine sea salt
- 2.25 tsp Active dry yeast (1 packet)
- 1 tbsp Honey or sugar
- 1.75 cups Warm water (110°F)
- 1 tsp Apple cider vinegar
- 2 tbsp Olive oil (for the bowl)
Instructions
- Activate Yeast: In a small bowl, whisk the warm water, honey, and yeast. Let it sit for 5-10 minutes until it becomes foamy on top.
- Mix Dry: In a large bowl, whisk together the flour, psyllium husk powder, and salt.
- Combine: Pour the yeast mixture and apple cider vinegar into the dry ingredients. Stir with a sturdy wooden spoon or spatula for 2-3 minutes until a thick, sticky dough forms and no dry flour remains.
- First Rise: Shape the dough into a rough ball, coat with a little olive oil, and cover the bowl with plastic wrap or a damp towel. Let rise in a warm spot for 1.5 to 2 hours, or until nearly doubled in size.
- Preheat: 30 minutes before the rise is done, place a Dutch oven (with the lid) into your oven and preheat to 450°F.
- Shape: Gently turn the dough out onto a piece of parchment paper. Lightly flour your hands and pat into a round shape. Score the top with a sharp knife.
- Bake Covered: Carefully lift the parchment paper and place the dough into the hot Dutch oven. Cover with the lid and bake for 30 minutes.
- Bake Uncovered: Remove the lid and bake for another 15-18 minutes until the crust is deep golden brown and sounds hollow when tapped.
- Cool: Transfer to a wire rack. Crucial: Let the bread cool completely (at least 2 hours) before slicing to ensure the internal structure sets.


Leave a Reply