












Want to save this recipe?
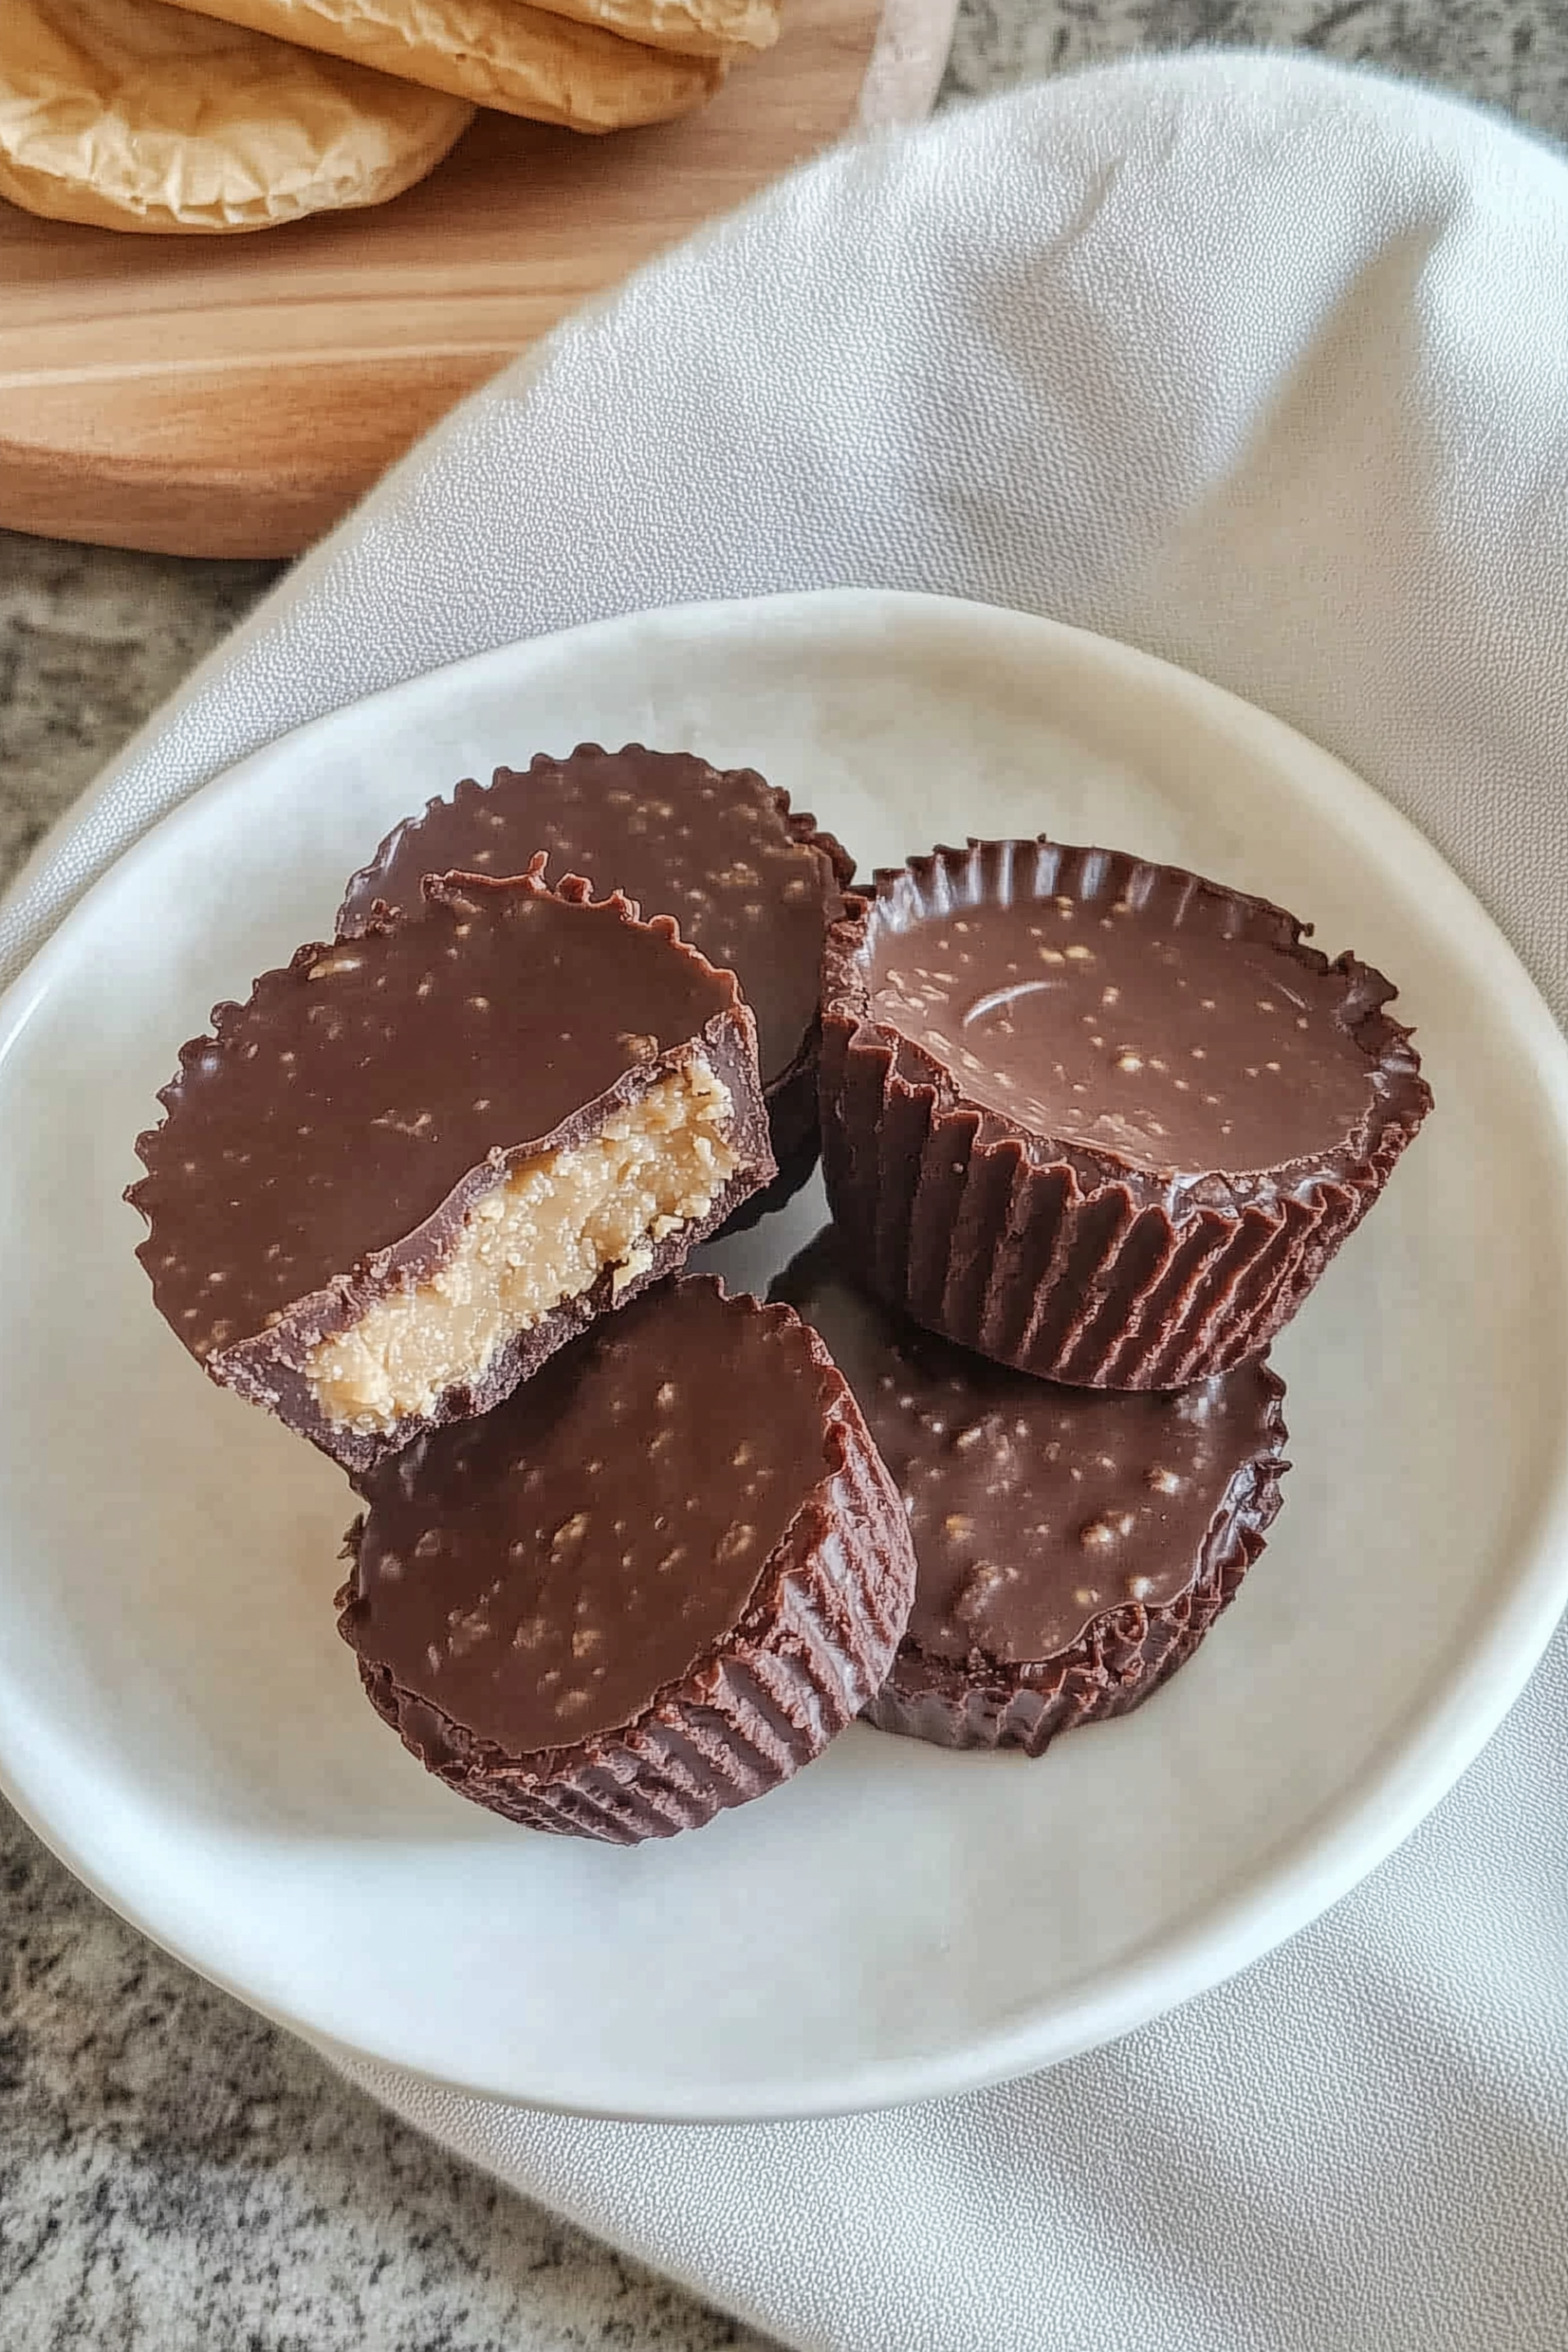
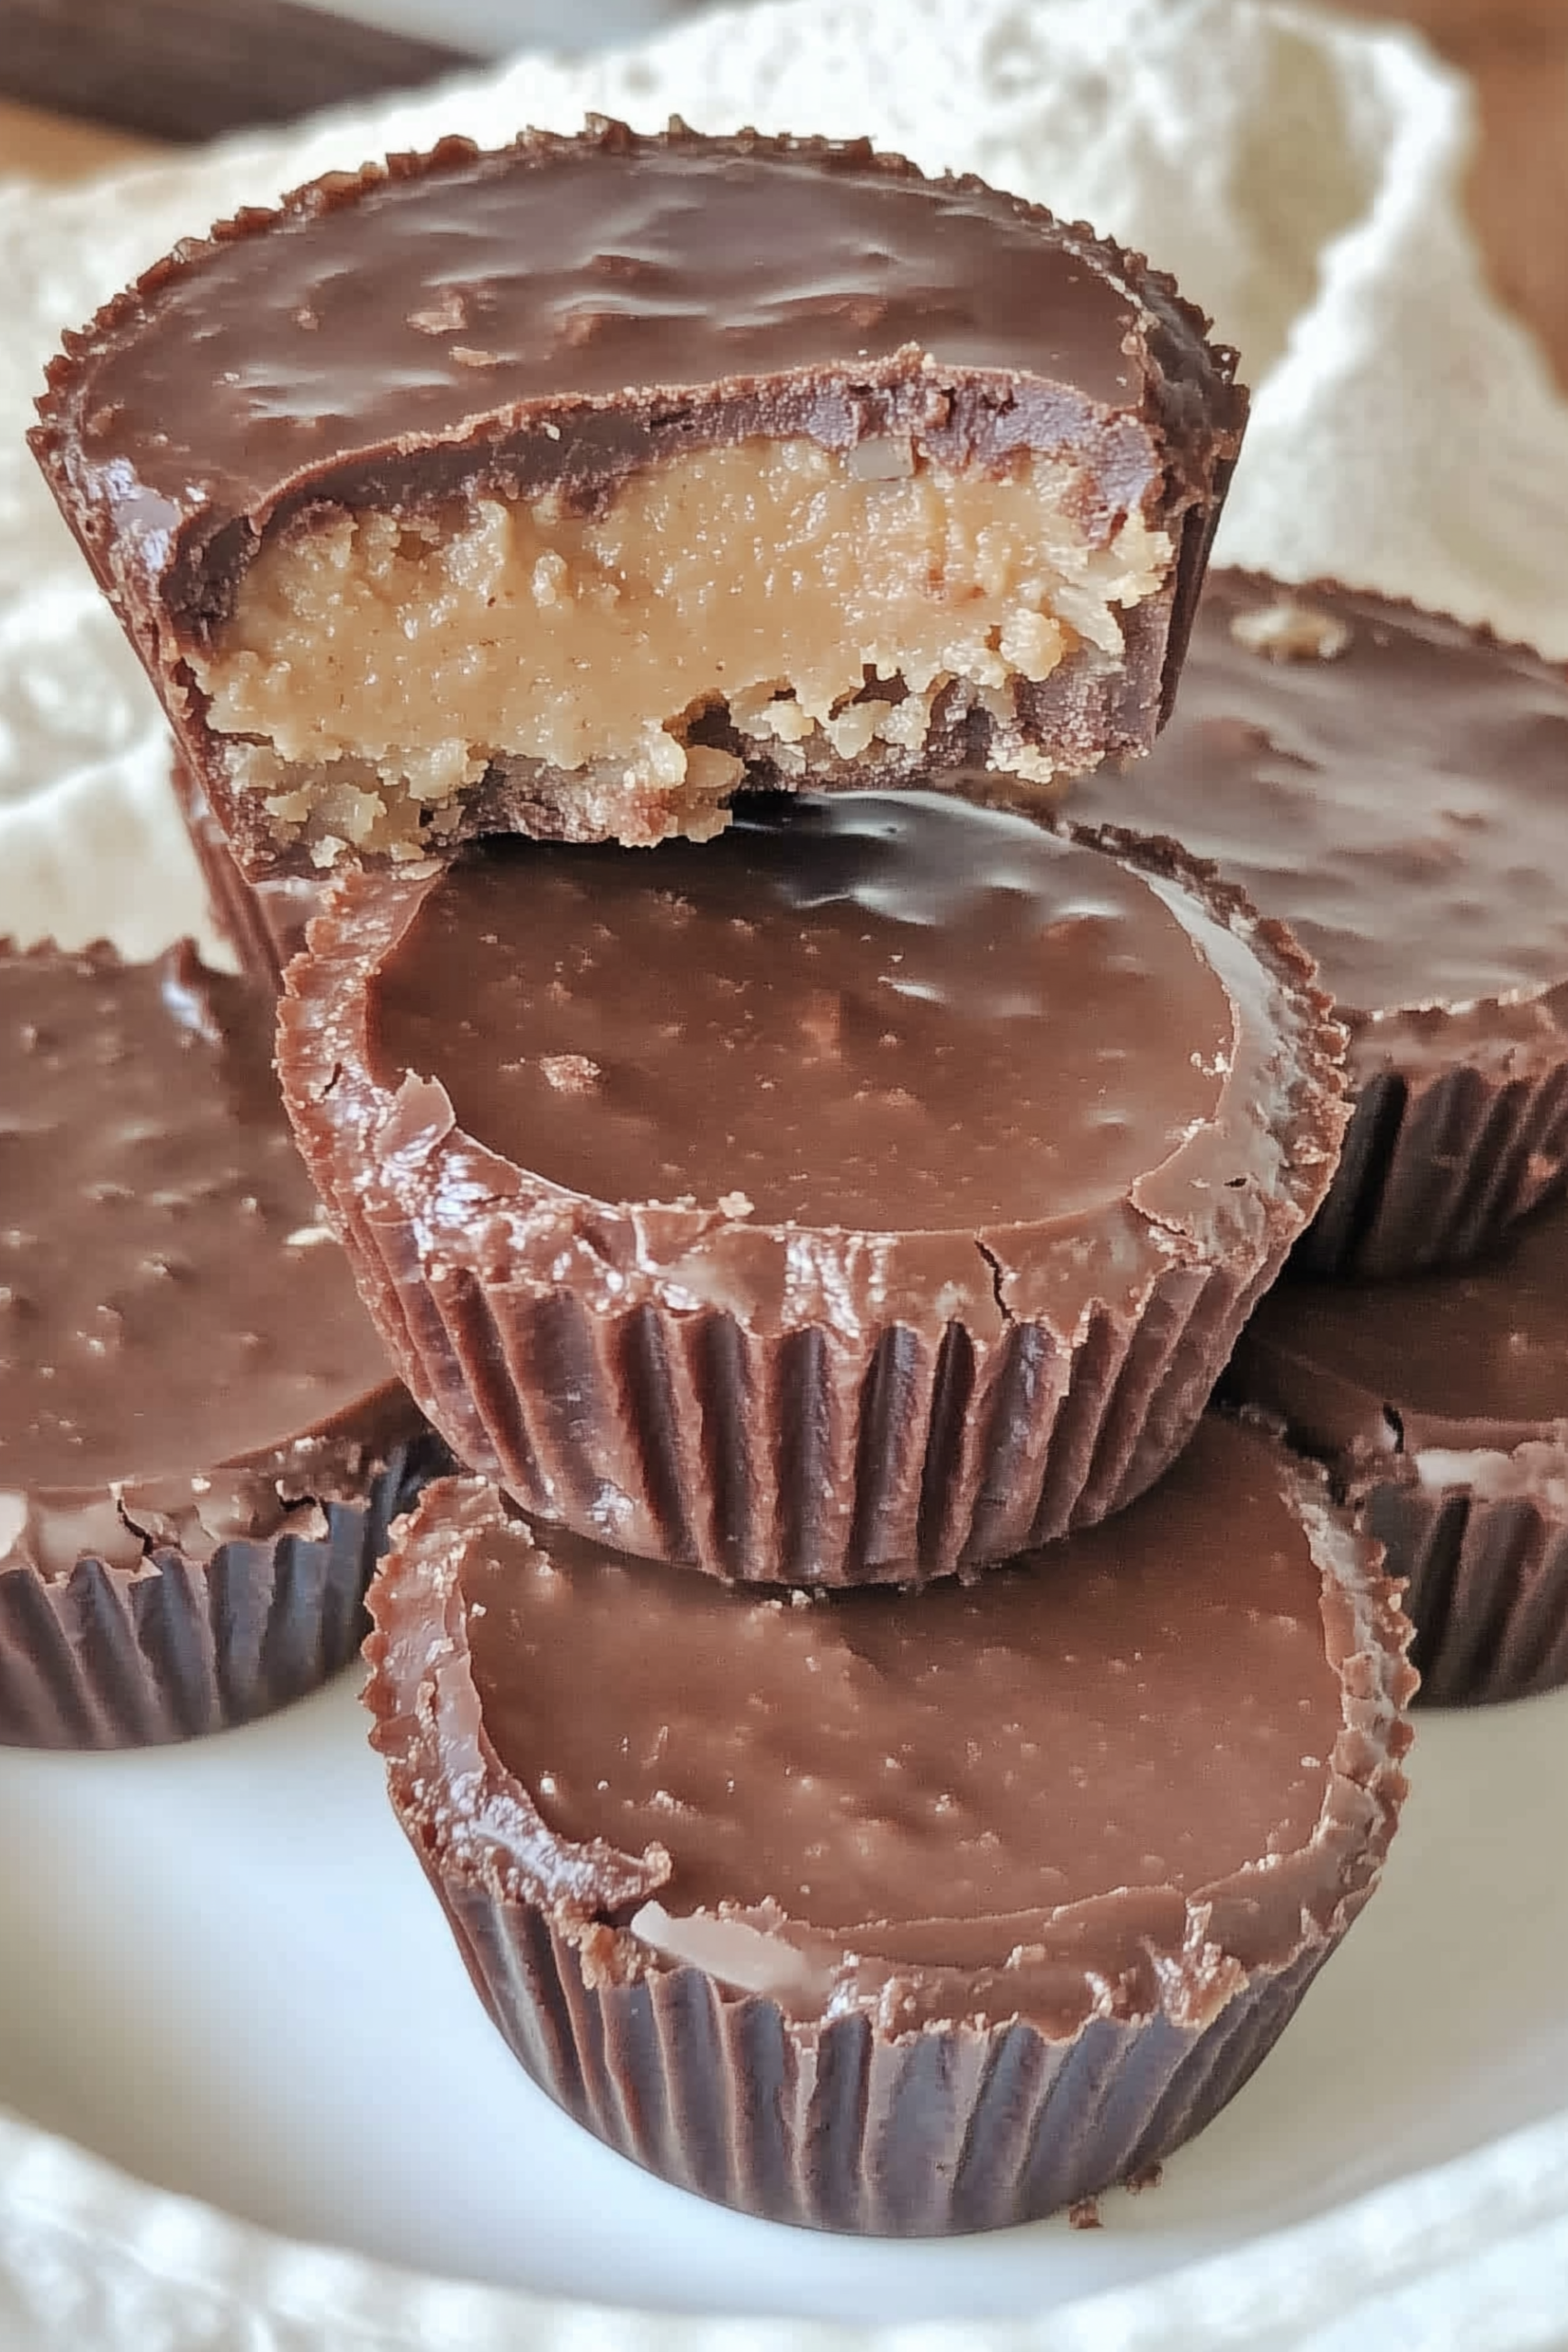
The audible snap of a chilled chocolate shell followed by the unexpected, crispy crackle of toasted quinoa is exactly why these peanut butter cups have become a permanent fixture in my freezer. I wanted a treat that felt indulgent but carried a bit more substance than the store-bought versions, and the addition of quinoa does exactly that. It adds a nutty, toasted flavor that perfectly complements the rich dark chocolate and the silky, salt-flecked peanut butter hidden inside.
Watching my kids reach for these after school makes me feel like I’ve won the “mom lottery.” They think they’re getting a decadent candy bar, but I know they’re getting a bite-sized snack powered by wholesome ingredients. Serving these chilled is key—the cold chocolate melts slowly on the tongue, letting the textures shine. It’s a simple, no-bake project that transforms basic pantry staples into something that looks and tastes like it came from a high-end boutique confectionary.
I usually make a double batch because they disappear faster than I can get the container lid closed. There’s something about the way the dark chocolate balances the creaminess of the peanut butter that makes it impossible to stop at just one. Whether you’re looking for a cleaner dessert option or just want to try a fun twist on a classic, these little cups are the perfect solution for satisfying a serious sweet tooth.
Why You’ll Love It
- The Ultimate Texture: Unlike standard peanut butter cups, these feature a distinct “crunch” from the quinoa that mimics a crispy rice cereal bar but with a deeper, nuttier profile.
- No-Bake Simplicity: You won’t even need to turn on the oven; a quick session with the microwave or a double boiler is all it takes to prep these treats.
- Meal Prep Friendly: These stay perfectly fresh in the freezer for weeks, making them the ideal grab-and-go solution for late-night sweet tooth cravings.
- Wholesome Swap: By using puffed quinoa and dark chocolate, you’re adding protein and antioxidants to a snack that usually offers very little nutritional value.
- Customizable Filling: Whether you prefer a saltier center or a sweeter one, the peanut butter mixture is easily adjustable to suit your specific palate.
Ingredient Notes & Details
- Dairy-Free Chocolate Chips: Use a high-quality dark chocolate (60% cocoa or higher) for the best flavor balance. It cuts through the richness of the peanut butter beautifully. Substitution: If you aren’t strictly vegan, milk chocolate chips work too.
- Puffed Quinoa: This is the secret to the “crunch.” It’s light, airy, and holds its crispiness even when coated in chocolate. Substitution: If you can’t find puffed quinoa, you can toast raw quinoa in a dry pan until it pops, or use crispy rice cereal.
- Natural Peanut Butter: Look for the kind where the only ingredients are peanuts and salt. The runny consistency makes it much easier to pipe or spoon into the centers. Substitution: Almond butter or sunflower seed butter (for a nut-free version) are excellent alternatives.
- Coconut Oil: Adding a teaspoon to your melting chocolate ensures a glossy finish and a “magic shell” snap when you bite into it. Substitution: Any neutral oil like avocado oil will work, though it won’t set quite as firmly.
- Maple Syrup: A touch of natural sweetener in the peanut butter center helps mimic that classic candy bar filling without refined sugars. Substitution: Agave nectar or honey (if not vegan) are great swaps.
- Vanilla Extract: Just a splash rounds out the flavors and makes the chocolate taste more complex and “gourmet.”
Step-by-Step Instructions
Start by melting your chocolate chips and coconut oil together. I prefer using a double boiler for this to avoid any risk of scorching the chocolate, but 30-second intervals in the microwave work just as well if you’re careful to stir between each burst. Once the mixture is glossy and smooth, fold in your puffed quinoa. You want every little grain to be fully submerged in that chocolate so the crunch stays protected from moisture.
Line a mini muffin tin with paper liners—this is a small step that makes removal effortless and keeps the sides of the cups perfectly ridged. Drop a teaspoon of the chocolate-quinoa mixture into each cup, pressing it down with the back of the spoon to form a solid, level base. Pop the tray in the freezer for about five minutes to set.
While that’s chilling, whisk together your peanut butter, maple syrup, and vanilla in a small bowl. It should be thick but still spoonable. Place a small dollop of the peanut butter mixture in the center of each chilled base. Be careful not to let the peanut butter touch the sides of the liner; you want the top layer of chocolate to flow down the sides and seal the center inside completely. Spoon the remaining chocolate-quinoa mixture over the top, smoothing it out. A final sprinkle of flaky sea salt on top before the final freeze is the professional touch that balances the sugar perfectly.
Tips
- The “Drop” Test: To get a perfectly flat top, gently tap the muffin tin against the counter several times after adding the final layer of chocolate. This releases trapped air bubbles and levels the surface.
- Chill the Liners: If your kitchen is warm, keep your muffin liners in the fridge before starting. This helps the first layer of chocolate set almost instantly upon contact.
- Use a Squeeze Bottle: For the peanut butter center, a small squeeze bottle or a plastic bag with the corner snipped off gives you much more control and keeps the edges clean.
- Toast for Flavor: Even if using pre-puffed quinoa, a 2-minute toast in a dry skillet can intensify that nutty aroma and ensure maximum crunch.
- Quality Matters: Since there are so few ingredients in this recipe, the quality of your chocolate makes the biggest difference. Spend the extra dollar on the high-quality chips!
Storage & Reheating
These treats are best kept in an airtight container in the freezer. Because of the coconut oil in the chocolate, they can soften at room temperature quite quickly. They’ll stay perfectly “snappy” and fresh in the freezer for up to 3 months. There’s absolutely no need to reheat or even thaw them; they are designed to be eaten straight from the cold, providing that satisfying, firm texture that melts into creaminess as you eat.
Serving & FAQs
I love serving these alongside a bowl of fresh raspberries—the acidity of the fruit cuts right through the dense peanut butter and rich chocolate. They also make a fantastic “crumble” topping if you chop one up and sprinkle it over vanilla bean coconut milk ice cream for a quick sundae.
Why is my chocolate seizing or turning grainy? This usually happens if even a tiny drop of water gets into the melting chocolate. Make sure all your bowls and spoons are bone-dry before you start. If using a microwave, avoid overheating.
Can I make these nut-free for school lunches? Absolutely. Swap the peanut butter for Sunflower Seed Butter (SunButter). It has a very similar flavor profile and the exact same consistency, making it a perfect 1:1 substitute.
Homemade Quinoa Crunch Peanut Butter Cups
Prep time: 15 mins
Freeze time: 35 mins
Servings: 12 mini cups
Ingredients
- 1 cup dairy-free dark chocolate chips
- 1 tsp coconut oil
- ½ cup puffed quinoa (or toasted raw quinoa)
- ⅓ cup creamy natural peanut butter
- 1 tbsp maple syrup
- ½ tsp vanilla extract
- Flaky sea salt for topping
Instructions
- Melt Chocolate: Combine chocolate chips and coconut oil in a microwave-safe bowl. Heat in 30-second increments, stirring until completely smooth.
- Add Crunch: Fold the puffed quinoa into the melted chocolate until evenly coated.
- Base Layer: Place paper liners in a mini muffin tin. Spoon 1-2 teaspoons of the chocolate-quinoa mixture into the bottom of each liner. Freeze for 5-7 minutes.
- Prepare Filling: In a small bowl, stir together the peanut butter, maple syrup, and vanilla until smooth.
- Add Center: Remove the tin from the freezer. Place a small dollop (about ½ teaspoon) of the peanut butter mixture in the center of each chocolate base.
- Top Layer: Cover the peanut butter centers with the remaining chocolate-quinoa mixture. Gently tap the tin on the counter to level.
- Final Set: Sprinkle with flaky sea salt. Freeze for at least 30 minutes before removing from the liners and serving. Store in the freezer.
Leave a Reply