












Want to save this recipe?
The scent of warm cinnamon and toasted oats drifting through the house is enough to bring anyone to the kitchen, but these Sourdough Oatmeal Cream Pies offer a depth of flavor that the store-bought version simply can’t touch. By using sourdough discard, we transform a classic childhood snack into something sophisticated, with a subtle tang that perfectly balances the rich, buttery sweetness of the cookies. They are incredibly soft, with just the right amount of chew to hold up against that velvety, marshmallow-like cream filling.
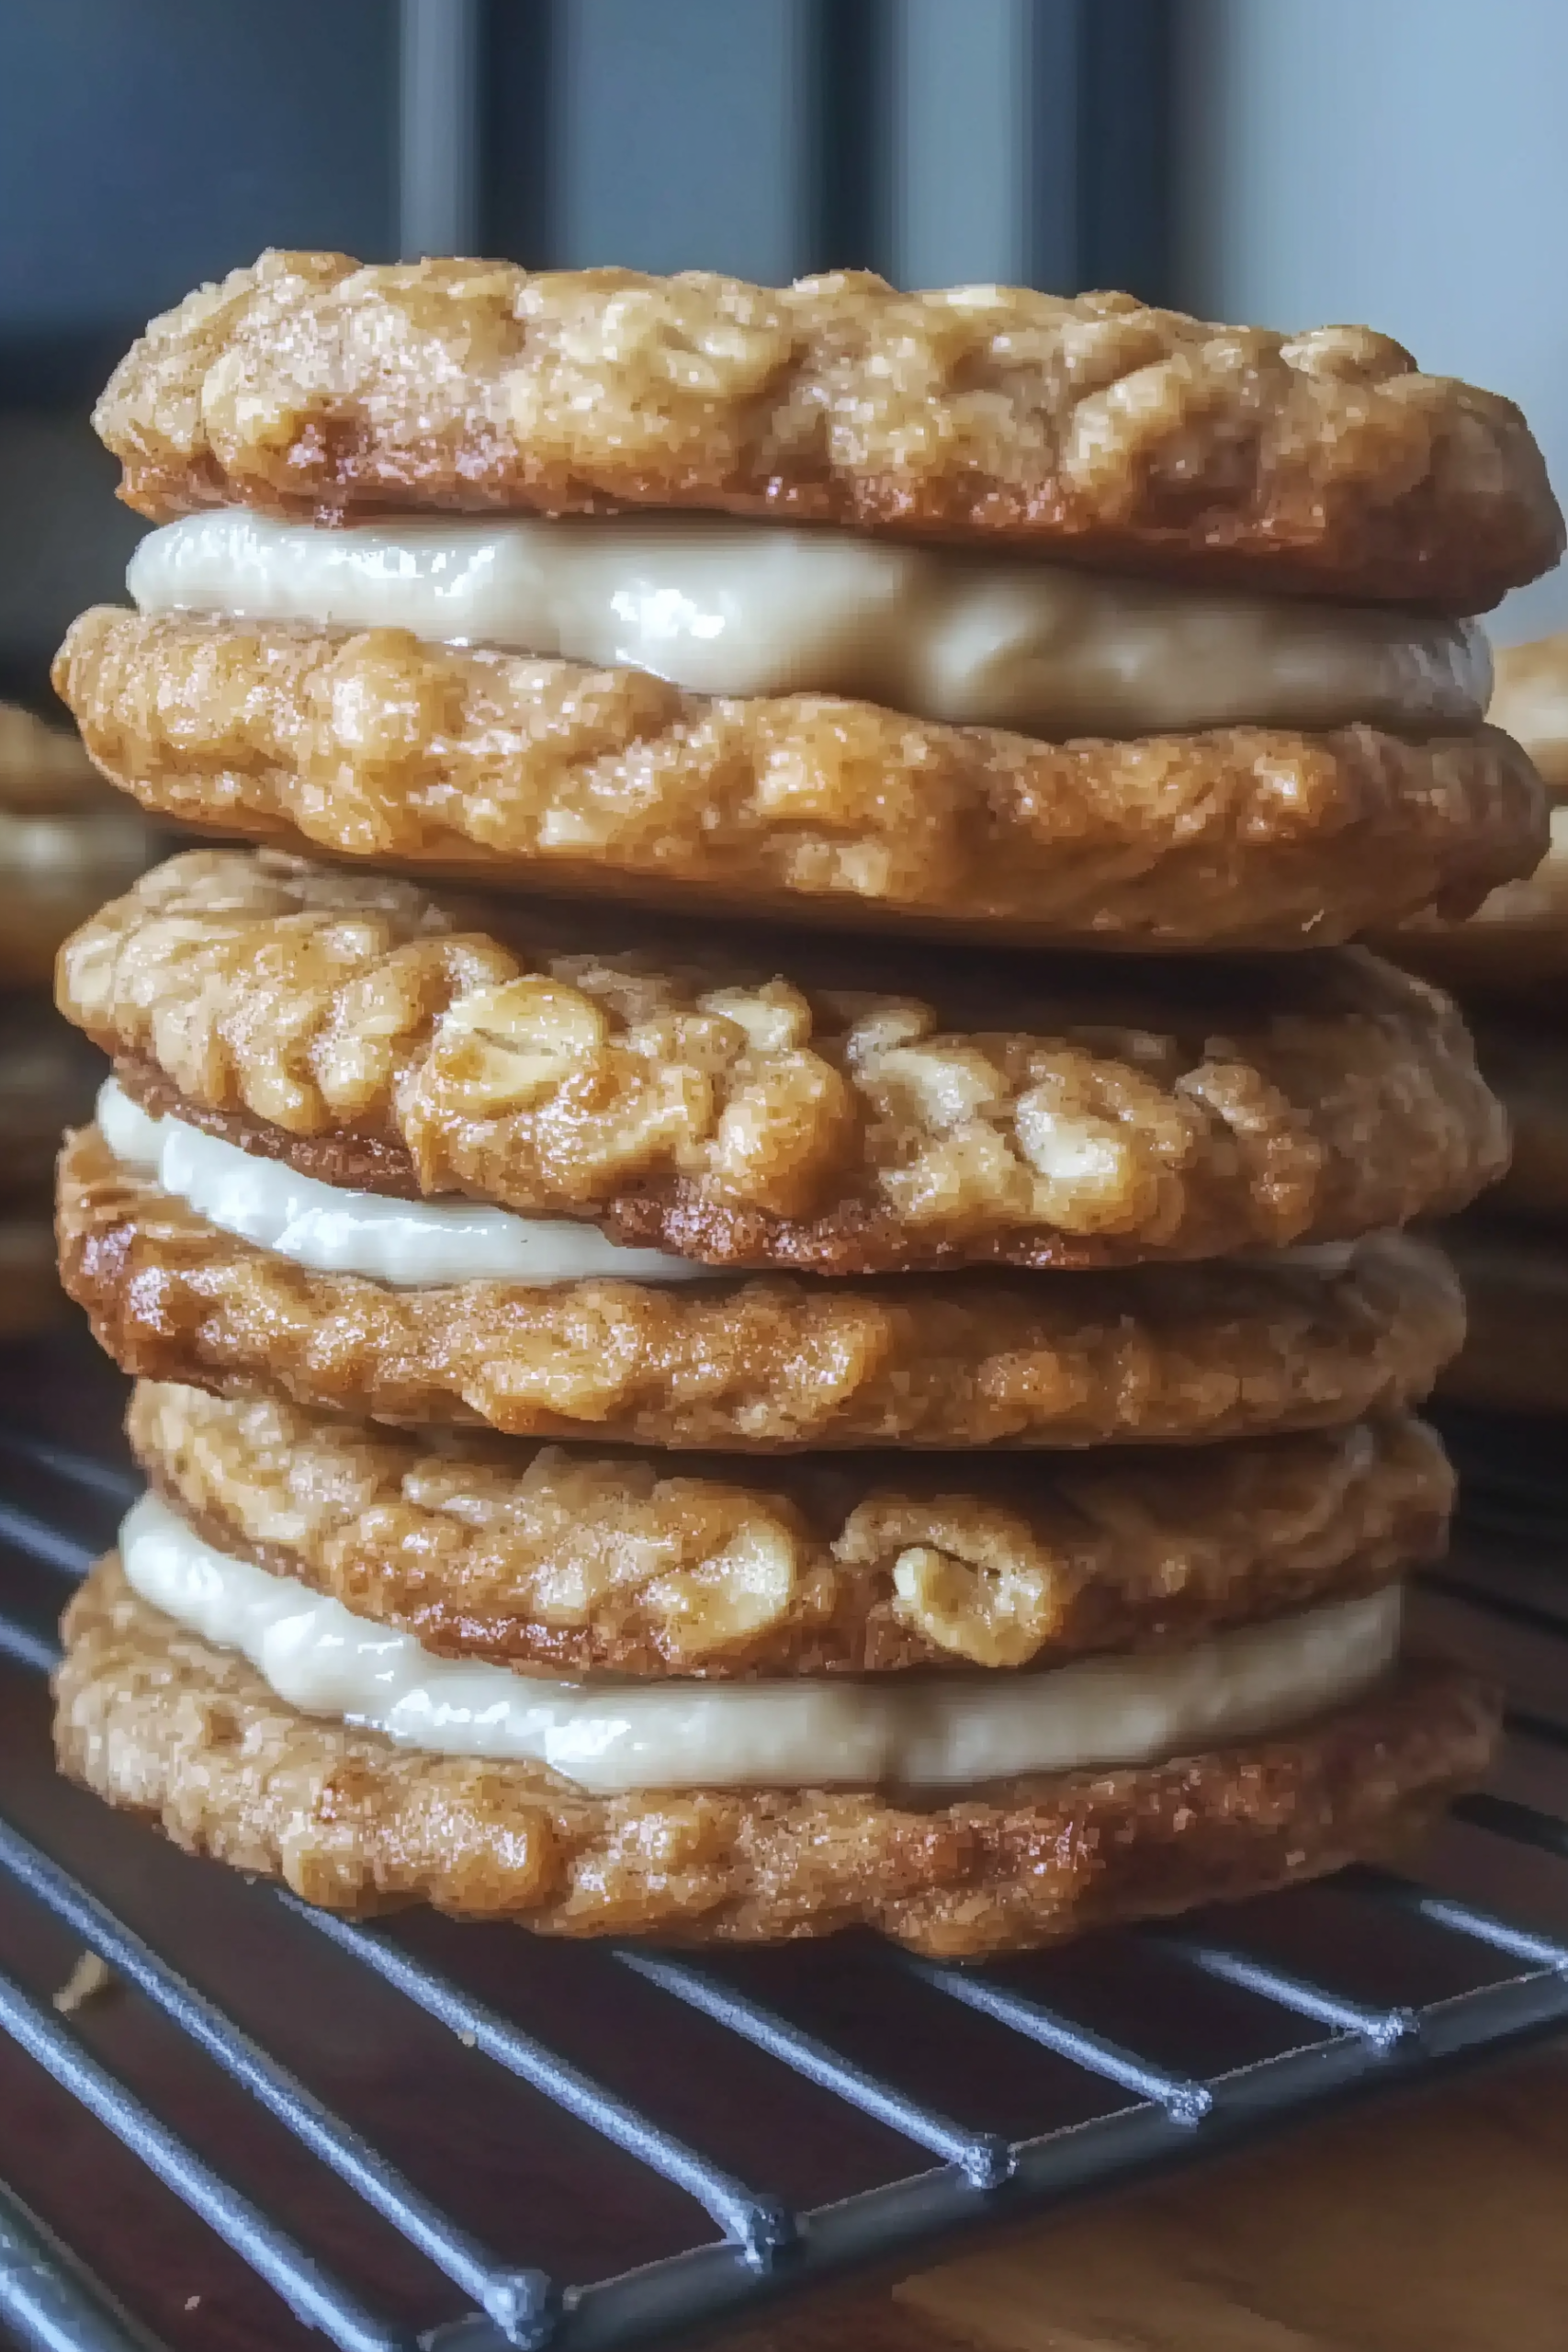
Serving these feels like giving a nostalgic hug to your family. There is something so satisfying about pressing two perfectly round, speckled cookies together over a cloud of frosting and seeing the cream peek out the sides. It’s the ultimate after-school treat or weekend project that fills your home with the aroma of brown sugar and molasses. Unlike the plastic-wrapped snack cakes from our lunchbox days, these are made with real ingredients and a lot of heart, making each squishy, sweet bite feel like a special occasion.
Why You’ll Love It
- Smart Discard Use: It’s the perfect way to use up that sourdough discard sitting in your fridge, adding a complex fermented note that cuts through the sugar.
- Irresistible Texture: The combination of old-fashioned oats and molasses creates a cookie that stays soft and “bendy” for days, rather than becoming crisp or crumbly.
- Better-Than-Store-Bought Filling: By using a hint of marshmallow fluff in the buttercream, you get that authentic, airy “cream pie” center without the preservatives.
- Perfectly Portionable: They are easy to grab and go, making them a hit for school lunches, bake sales, or neighborhood potlucks.
- Customizable Spices: You can easily dial the warmth up or down by adjusting the cinnamon and nutmeg to suit your family’s specific tastes.
Ingredient Notes & Details
- Sourdough Discard: This acts as a flavor enhancer and a moisture agent. Since it’s discard, it doesn’t need to be active; it just needs to be at room temperature for easy mixing.
- Old-Fashioned Rolled Oats: These provide the classic chew. Swap: You can use quick oats if you prefer a smoother texture, but avoid steel-cut oats as they won’t soften enough during the short bake.
- Dark Brown Sugar & Molasses: This duo is the secret to that deep, amber color and the soft, “chewy” bite. The molasses adds a moisture-retaining quality that is essential for a sandwich cookie.
- Butter: Use high-quality salted butter for the cookies to give them a savory edge, and unsalted butter for the filling to keep the frosting pure and sweet.
- Marshmallow Fluff: Stirring this into your buttercream provides that iconic, slightly sticky, and fluffy texture found in original cream pies. Swap: If you don’t have fluff, you can double the powdered sugar and add a splash more heavy cream.
- Vanilla Bean Paste: I love using paste in the filling so you can see those beautiful black flecks, but standard pure vanilla extract works just as well.
Step-by-Step Instructions
The journey to the perfect cream pie begins with creaming your butter and sugars until the mixture is pale and fluffy. This step is vital because it aerates the dough, ensuring the cookies stay light rather than dense. When you stir in the sourdough discard and molasses, the dough will take on a beautiful, glossy sheen. The discard doesn’t just add flavor; its acidity reacts with the baking soda to create a tiny bit of lift, resulting in that classic “rippled” cookie top you see in the photo.
Once your dry ingredients are folded in, the most important step is the chill. Sourdough cookie doughs are often quite hydrated, and chilling allows the oats to soak up that moisture and the butter to firm back up. This prevents the cookies from spreading into one giant thin sheet on your baking tray. I recommend at least two hours in the fridge—it’s the secret to a thick, soft cookie.
Baking is a quick affair; you want to pull them out when the edges are just set but the centers still look slightly “underdone.” They will firm up as they cool on the tray. While they cool, whip up your filling. The key is to beat the butter and fluff until they are completely unified before adding the sugar. This ensures there are no lumps in your “cloud.” Piping the filling onto a completely cooled cookie ensures it stays exactly where you put it without melting into a messy puddle.
Expert Tips
- Don’t Overbake: This is the golden rule. If these cookies get crispy, they aren’t cream pies anymore—they’re just oat sandwiches. Pull them out the moment the shine disappears from the center.
- Uniform Sizing: Use a medium cookie scoop to ensure every cookie is exactly the same size. This makes pairing them up for the “sandwich” phase much easier and more aesthetic.
- The Parchment Trick: Always bake on parchment paper or a silicone mat. Because of the high sugar and molasses content, these can be sticky if they come into direct contact with the metal pan.
- Sift Your Sugar: For the smoothest possible filling, sift your powdered sugar. No one wants a gritty crunch in their creamy center!
- Flatten Slightly: Before baking, use the palm of your hand to very gently press down the dough balls. This helps them spread into that perfect, flat circular shape suitable for sandwiching.
Storage & Reheating
These Sourdough Oatmeal Cream Pies are unique because they actually improve with age. As they sit, the moisture from the cream filling migrates slightly into the cookies, making them even softer and more cohesive. Store them in an airtight container at room temperature for up to 3 days, or in the refrigerator for up to a week.
If you like them extra “squishy,” let them sit at room temperature for 20 minutes before eating if they’ve been in the fridge. These also freeze beautifully! Wrap individual pies in plastic wrap and freeze for up to 3 months. Just thaw them on the counter for an hour whenever a craving hits.
Serving & FAQs
What should I serve with these? A tall, cold glass of milk is the traditional partner, but these are also incredible with a hot cup of black coffee or a spicy chai latte. The bitterness of the coffee plays off the sweet molasses and tang of the sourdough beautifully.
Can I make the dough ahead of time? Yes! You can keep the raw dough in the refrigerator for up to 48 hours. The longer it sits, the more the sourdough flavor will develop. You can also freeze the raw dough balls and bake them straight from frozen—just add 2 minutes to the cook time.
Why did my cookies spread too much? This usually happens if the butter was too soft when the cookies went into the oven. Make sure your dough is thoroughly chilled, and never place raw dough onto a hot baking sheet from a previous batch.
Homemade Sourdough Oatmeal Cream Pies
Prep time: 15 mins Cook time: 12 mins Chill time: 2 hours Servings: 12 assembled pies
Ingredients
The Oatmeal Cookies
- 1 cup (2 sticks) salted butter, softened
- 1 cup dark brown sugar, packed
- ½ cup granulated sugar
- 1 large egg, room temperature
- ½ cup sourdough discard, room temperature
- 1 tbsp molasses
- 1 tsp vanilla extract
- 1 ½ cups all-purpose flour
- 1 tsp baking soda
- 1 tsp ground cinnamon
- ½ tsp salt
- 3 cups old-fashioned rolled oats
The Marshmallow Cream Filling
- ½ cup unsalted butter, softened
- ¾ cup marshmallow fluff
- 1 ½ cups powdered sugar, sifted
- 1 tsp vanilla bean paste (or extract)
- 1 tbsp heavy cream (if needed for consistency)
Instructions
- Cream Butter & Sugars: In a large bowl, beat the softened butter, brown sugar, and granulated sugar until light and fluffy (about 3 minutes).
- Add Wet Ingredients: Beat in the egg, sourdough discard, molasses, and vanilla. Mix until the batter is smooth and glossy.
- Combine Dry Ingredients: In a separate bowl, whisk together the flour, baking soda, cinnamon, and salt. Gradually add the dry mixture to the wet ingredients.
- Fold in Oats: Stir in the oats by hand until just combined.
- Chill: Cover the dough and refrigerate for at least 2 hours (or overnight).
- Bake: Preheat oven to 350°F. Line baking sheets with parchment. Scoop 2-tablespoon-sized balls of dough and place them 3 inches apart. Flatten slightly with your palm.
- Cool: Bake for 10–12 minutes until the edges are golden but the centers are soft. Let cool completely on the pan.
- Make Filling: Beat the unsalted butter and marshmallow fluff until smooth. Add powdered sugar and vanilla, beating on high until light and airy. Add cream if the frosting is too stiff.
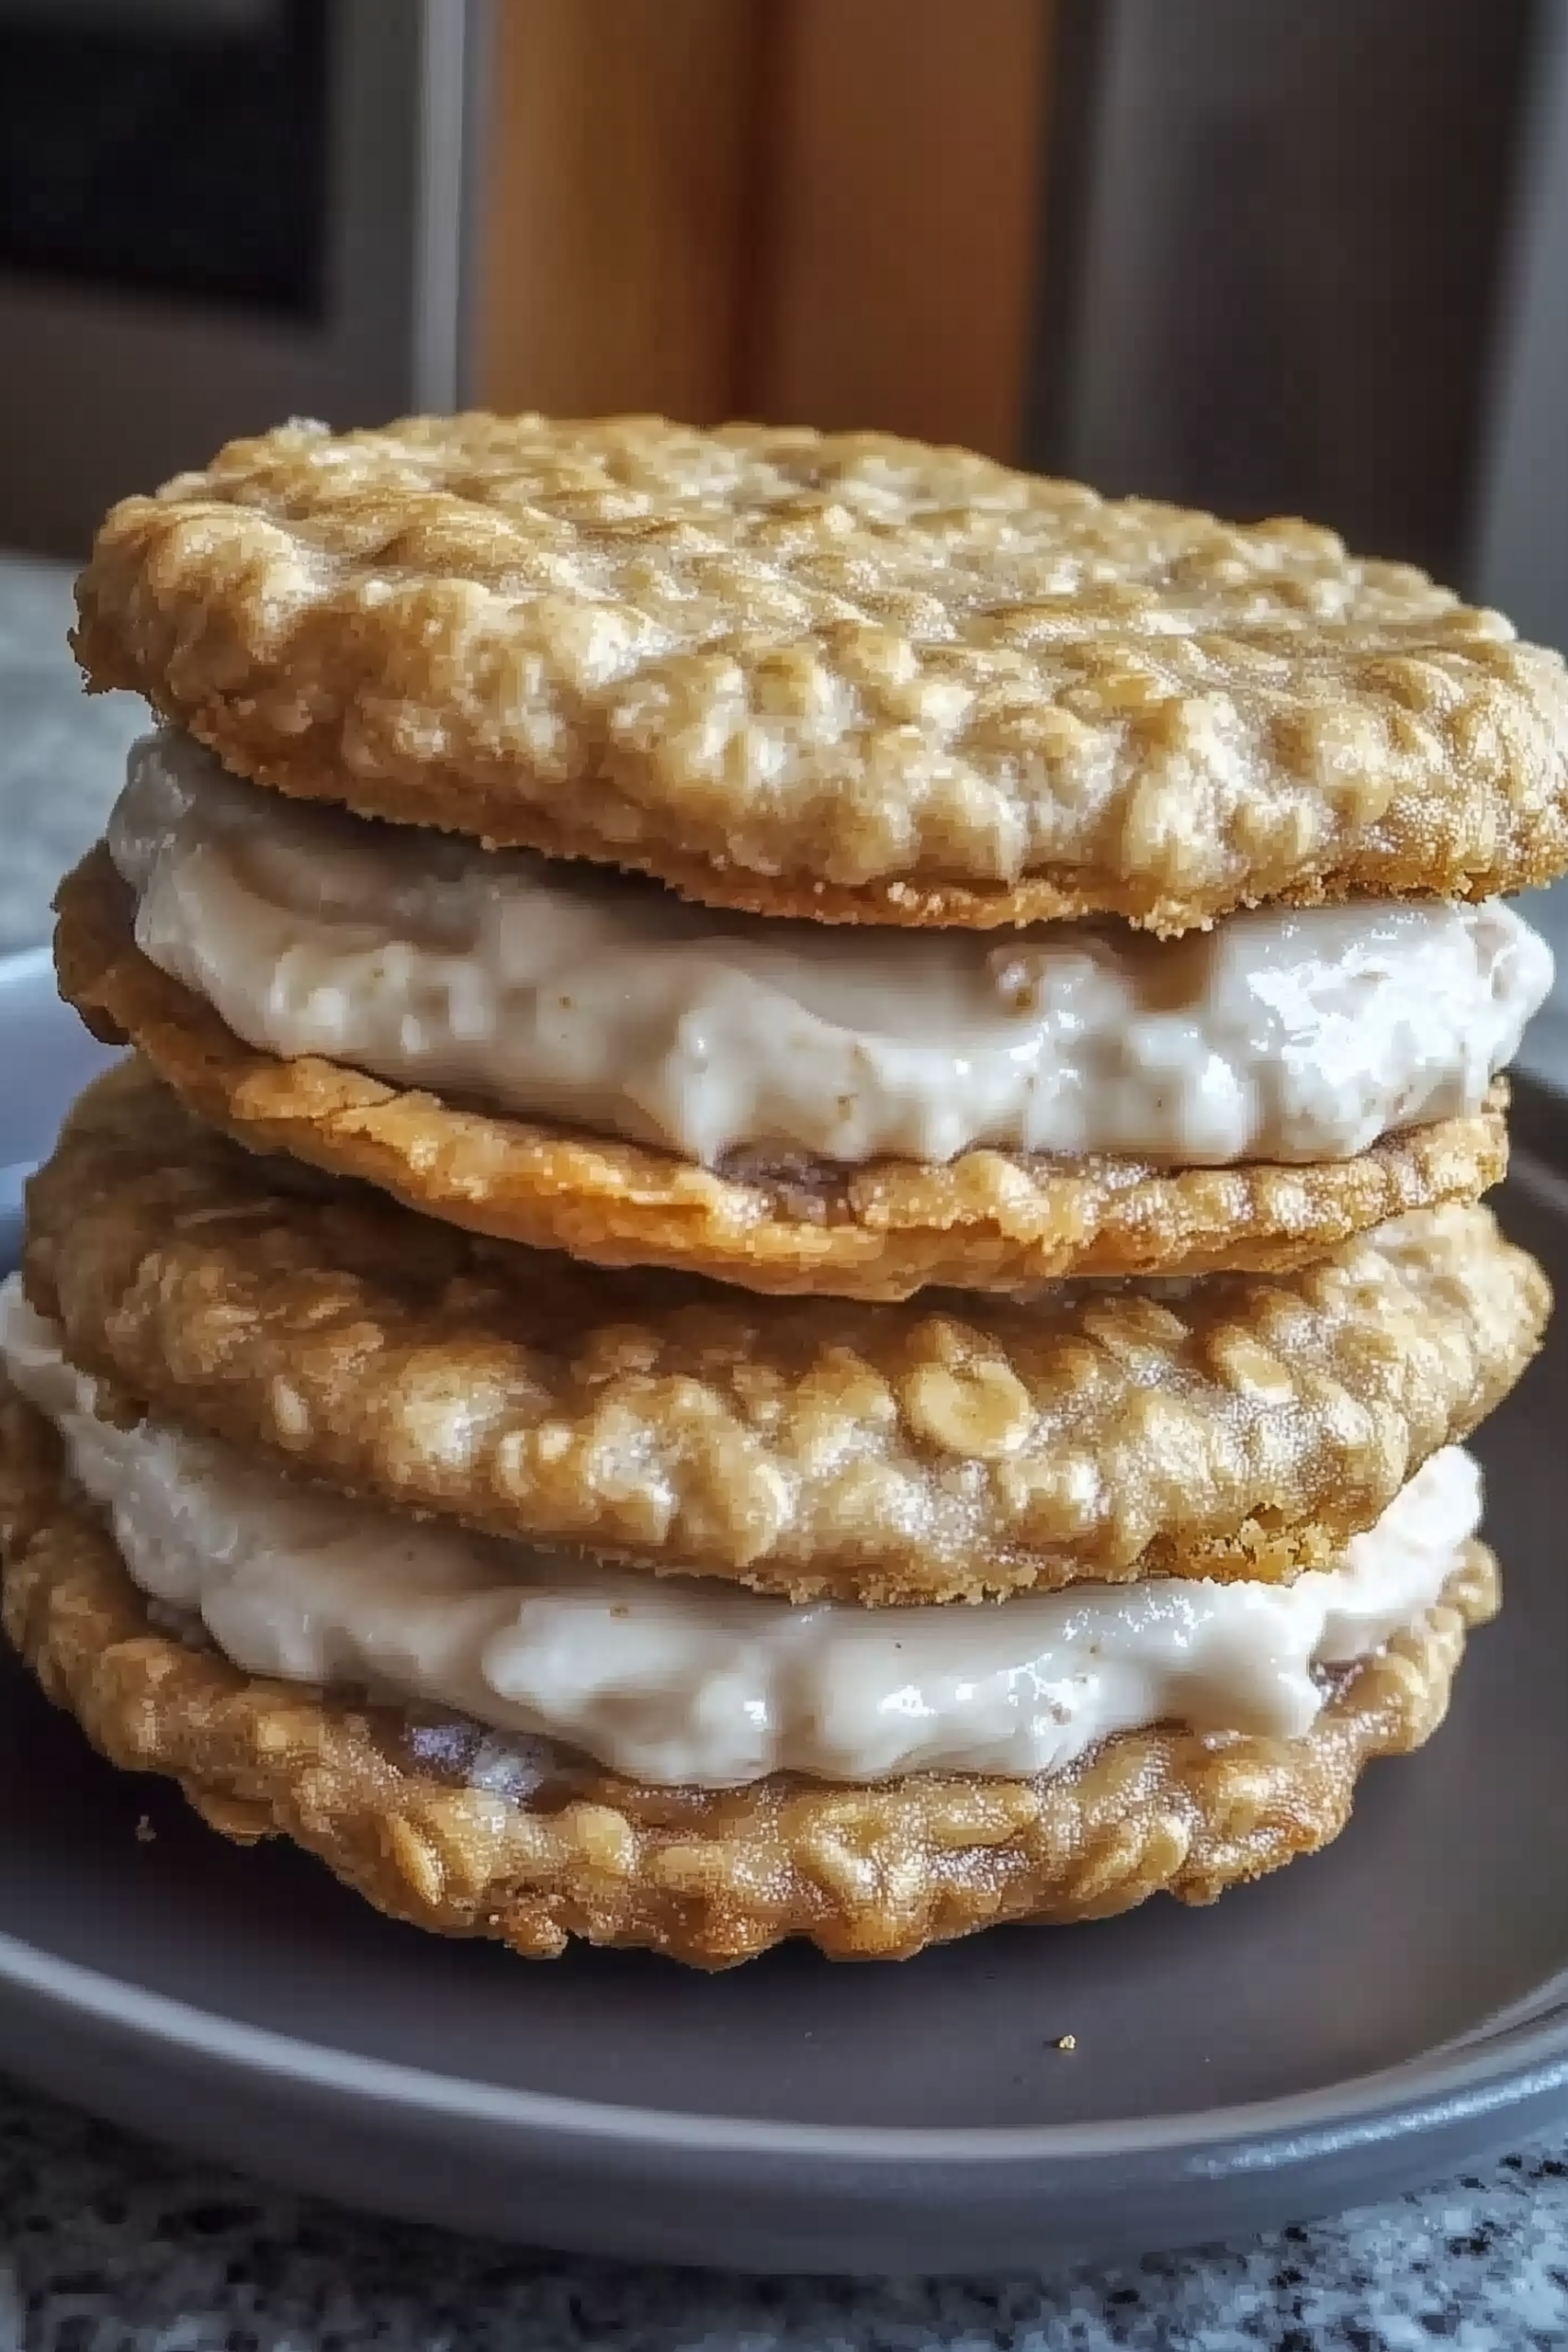
- Assemble: Match cookies of similar sizes. Pipe or spoon a generous amount of filling onto the flat side of one cookie and top with another. Press gently until the cream reaches the edges.


Leave a Reply