












Want to save this recipe?
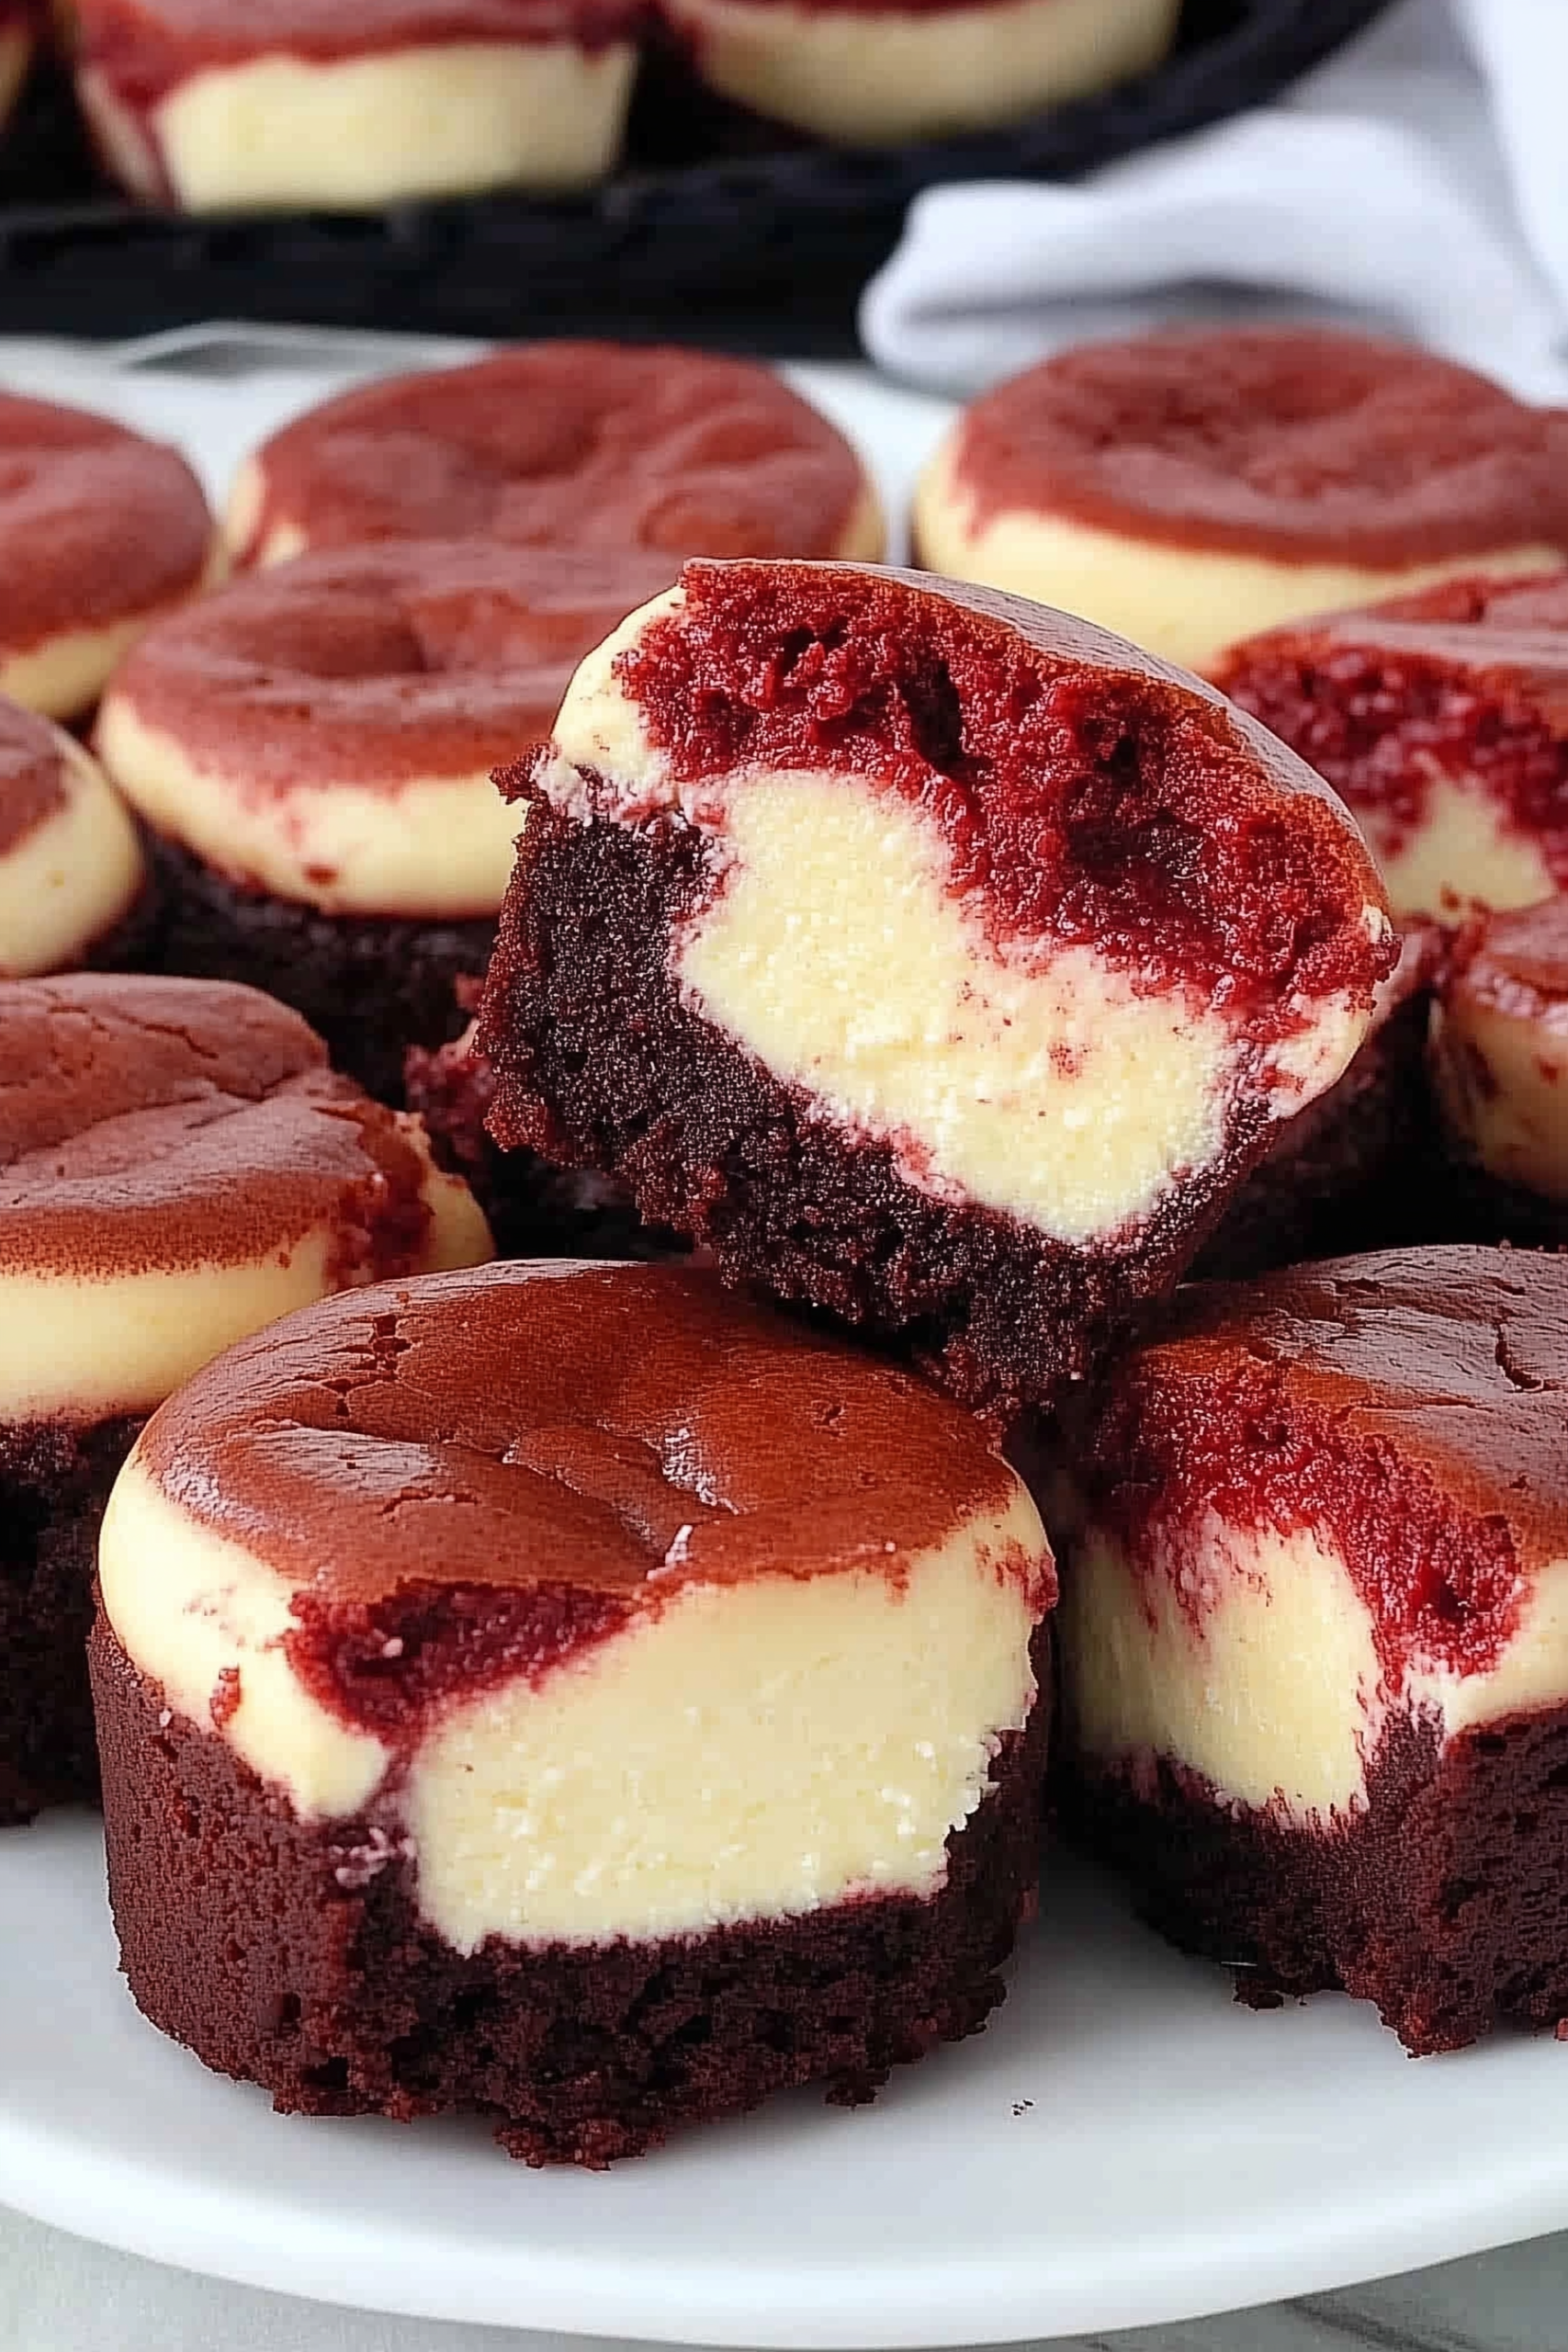
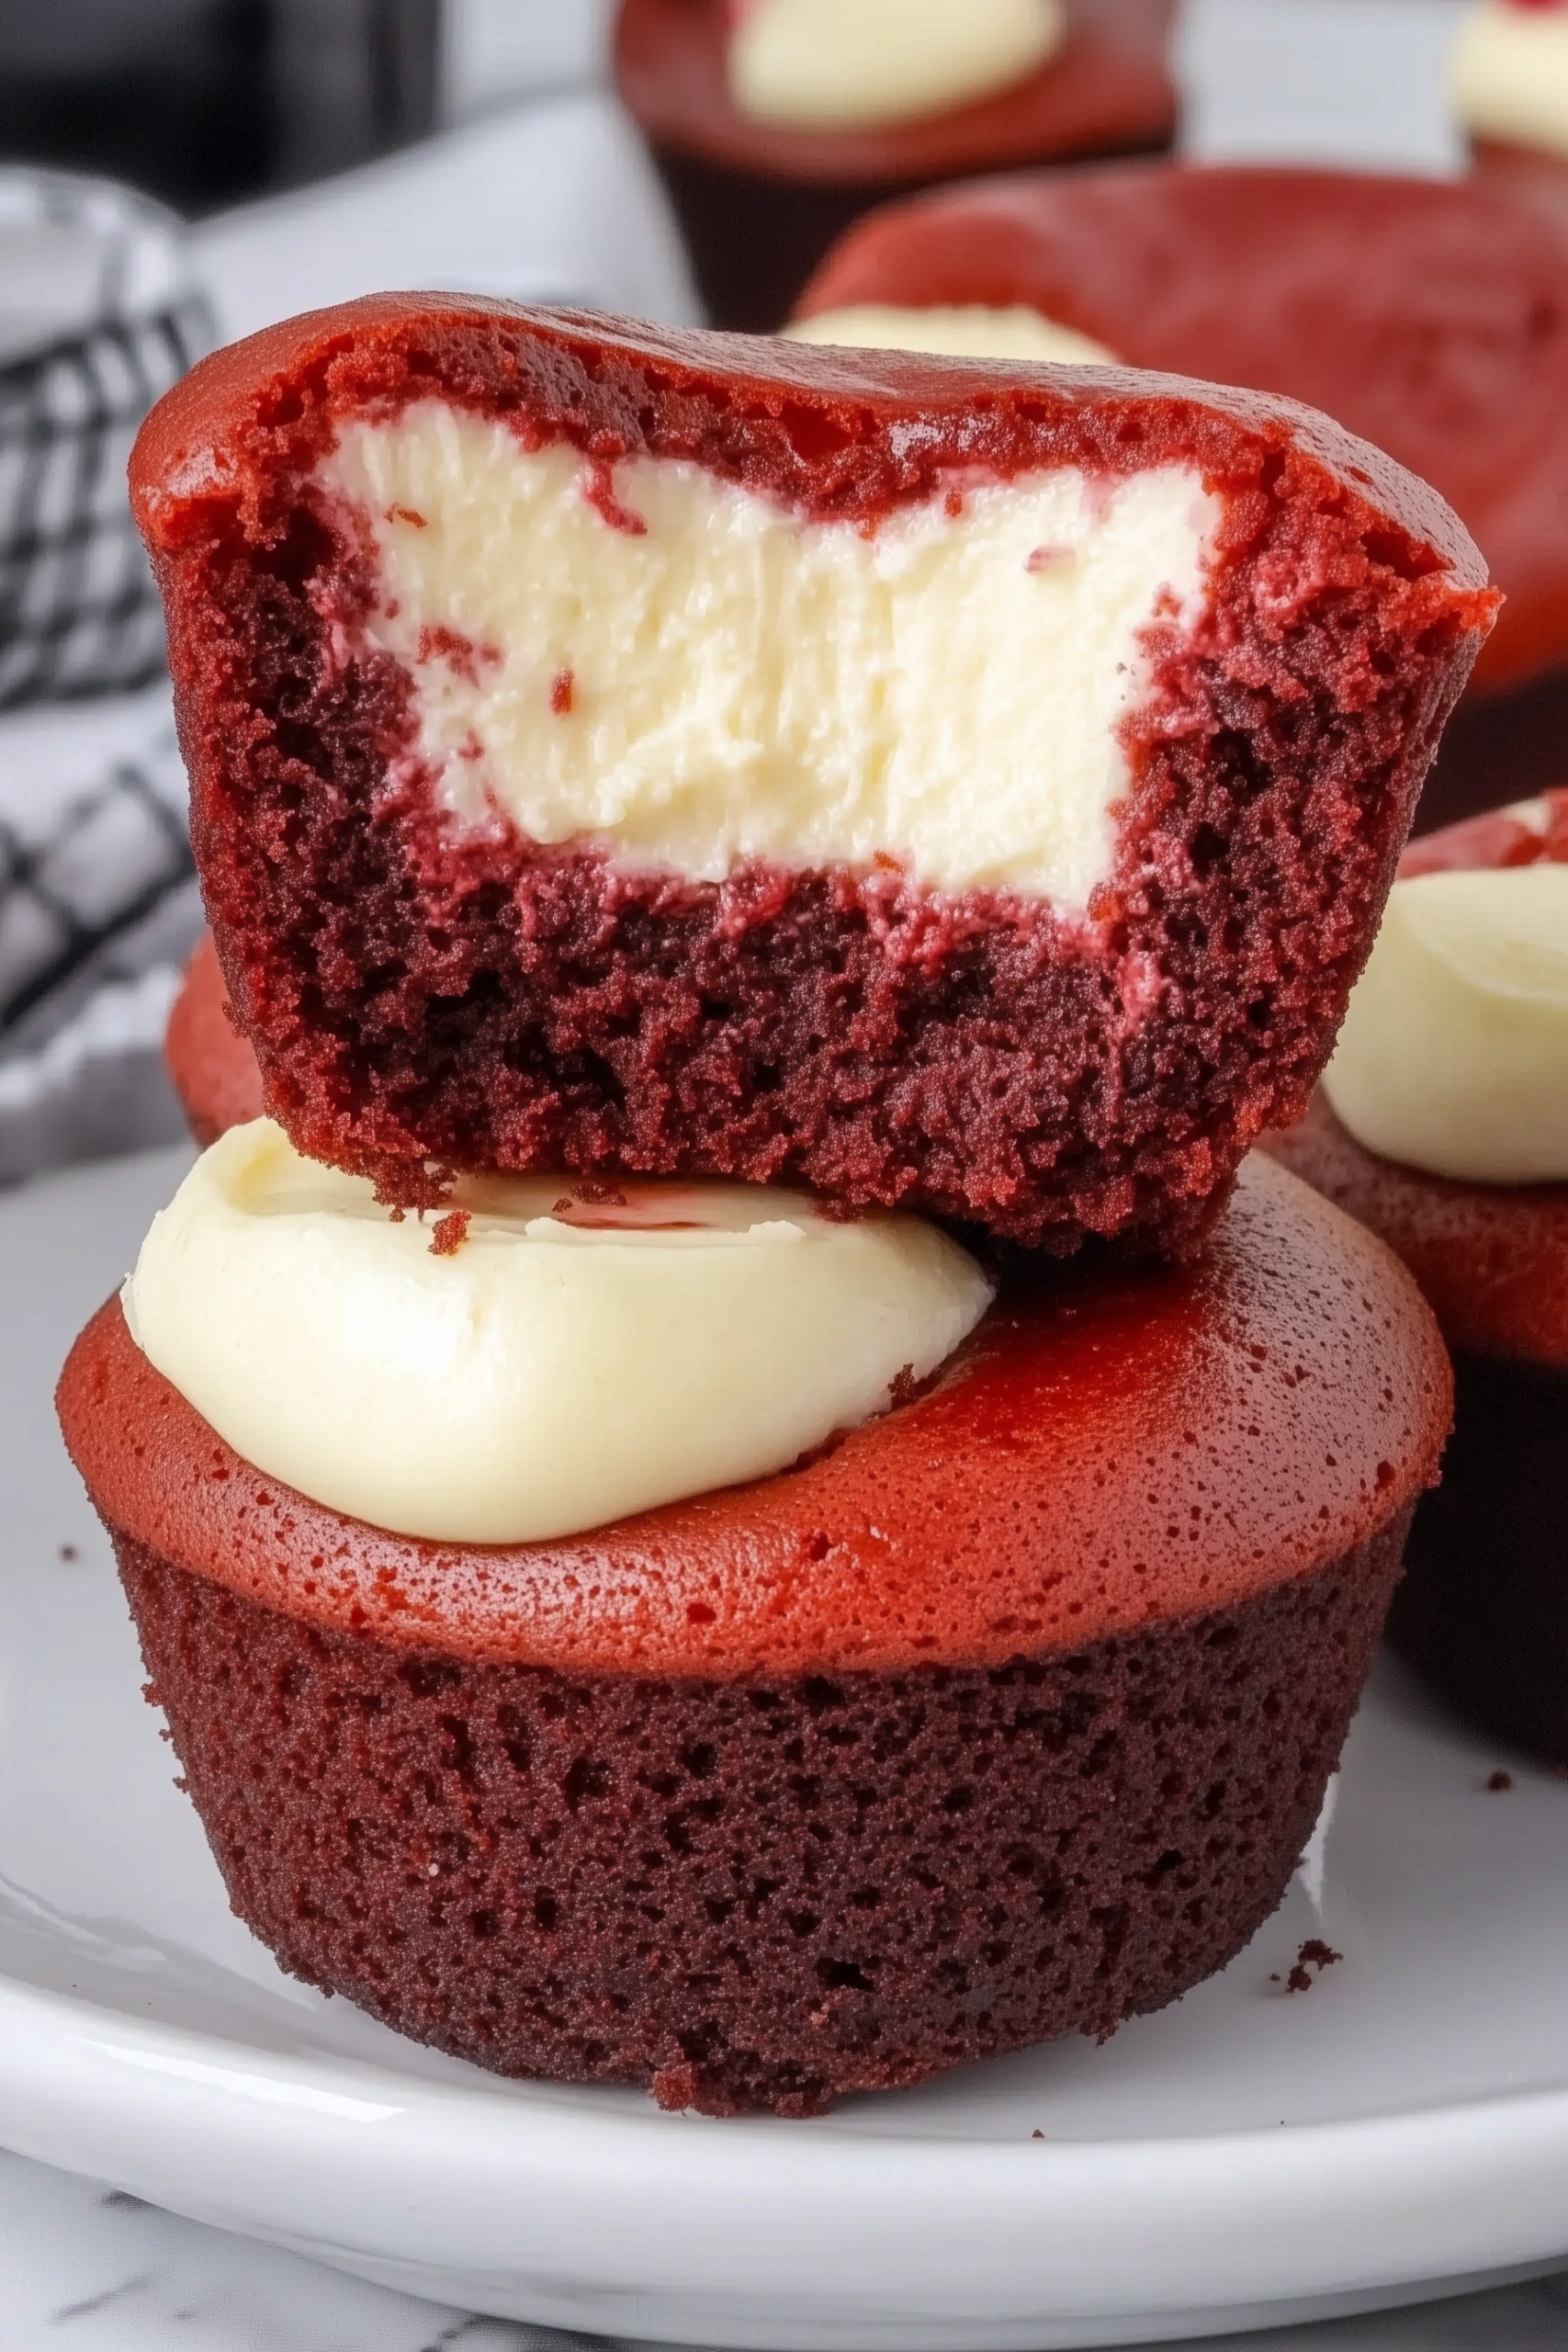
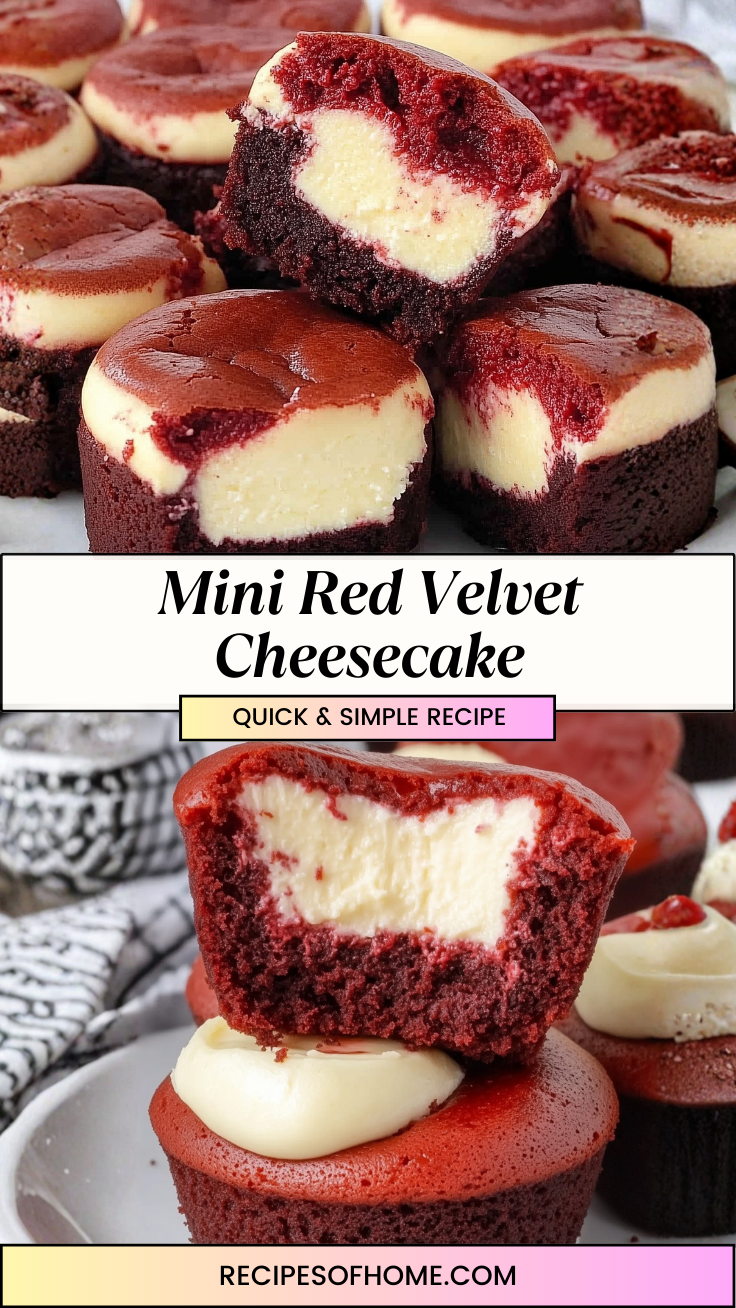
These Mini Red Velvet Cheesecakes offer a delightful and sophisticated twist on two classic desserts. Featuring a rich, cocoa-infused red velvet cake base with a creamy, velvety cheesecake center, these bite-sized treats are as visually stunning as they are delicious. The striking contrast between the deep red cake and the bright white cheesecake makes them a perfect centerpiece for any celebration, from Valentine’s Day to holiday parties.
Why You’ll Love It
- Best of Both Worlds: These minis combine the iconic flavors of moist red velvet cake and smooth, rich cheesecake into one convenient, handheld treat.
- Perfect Portions: The mini size makes them ideal for dessert platters, allowing guests to indulge without committing to a full slice of cake.
- Visually Striking: The vibrant colors and distinct layers create a professional bakery look that is sure to impress.
- Versatile Occasions: Their elegant appearance makes them suitable for everything from casual family gatherings to formal events.
- Easy to Serve: Because they are individually portioned, there is no need for messy slicing or serving utensils.
Ingredient Notes & Details
- Cocoa Powder: A small amount of high-quality cocoa powder is essential for the subtle chocolate flavor characteristic of red velvet.
- Red Food Coloring: Use gel or liquid food coloring to achieve that iconic, vibrant red hue.
- Cream Cheese: Full-fat, room-temperature cream cheese is necessary for a smooth, lump-free cheesecake filling.
- Buttermilk: Adds the traditional tang and moisture to the red velvet base.
- Sugar: Granulated sugar provides the perfect level of sweetness to both the cake and the cheesecake layers.
Step-by-Step Instructions
Start by preparing the red velvet batter. Cream together softened butter and sugar, then add eggs, buttermilk, vanilla, and red food coloring. Sift in the dry ingredients, including flour and cocoa powder, and mix until just combined.
In a separate bowl, whisk together softened cream cheese, sugar, and a small amount of egg until smooth and creamy.
To assemble, grease a mini muffin tin or line it with paper liners. Fill each cavity about two-thirds full with the red velvet batter. Use a small spoon to create a slight indentation in the center of the batter and fill it with a dollop of the cheesecake mixture. Bake in a preheated oven until the cake is set and a toothpick comes out clean from the red velvet portion.
Expert Tips
- Room Temperature Ingredients: Ensure your butter, eggs, and cream cheese are at room temperature to ensure a smooth batter and filling.
- Don’t Overmix: Overmixing the red velvet batter can result in a tough, dry cake.
- Use a Piping Bag: For the cleanest results, use a piping bag to fill the muffin tins with both the batter and the cheesecake filling.
- Cool Completely: Let the minis cool in the tin for at least 10 minutes before transferring them to a wire rack; this helps them set and prevents them from breaking.
- Achieve the Swirl: If you prefer a marbled look, use a toothpick to gently swirl the cheesecake filling into the red velvet batter before baking.
Storage & Serving
- To Store: These cheesecakes should be stored in an airtight container in the refrigerator for up to 5 days.
- To Serve: While they can be eaten cold, letting them sit at room temperature for 15-20 minutes before serving allows the flavors to truly shine.
📖 Recipe
Mini Red Velvet Cheesecake Recipe
Ingredients
- Red Velvet Base: 1 ½ cups flour 1 cup sugar, 1 tsp cocoa powder, ½ cup butter, ½ cup buttermilk, 1 egg, 1 tsp vanilla, red food coloring.
- Cheesecake Filling: 8 oz cream cheese ¼ cup sugar, 1 small egg, ½ tsp vanilla.
Instructions
- Preheat oven to 350°F and grease or line a mini muffin tin.
- Prepare the red velvet batter by mixing wet and dry ingredients as described above.
- Prepare the cheesecake filling by whisking ingredients until smooth.
- Fill muffin cavities with red velvet batter and top with a dollop of cheesecake filling.
- Bake for 18-22 minutes until set.
- Cool completely before serving.

Leave a Reply