












Want to save this recipe?
Cozy caramel apple goodness layered into individual cups for an easy, crowd-pleasing dessert.
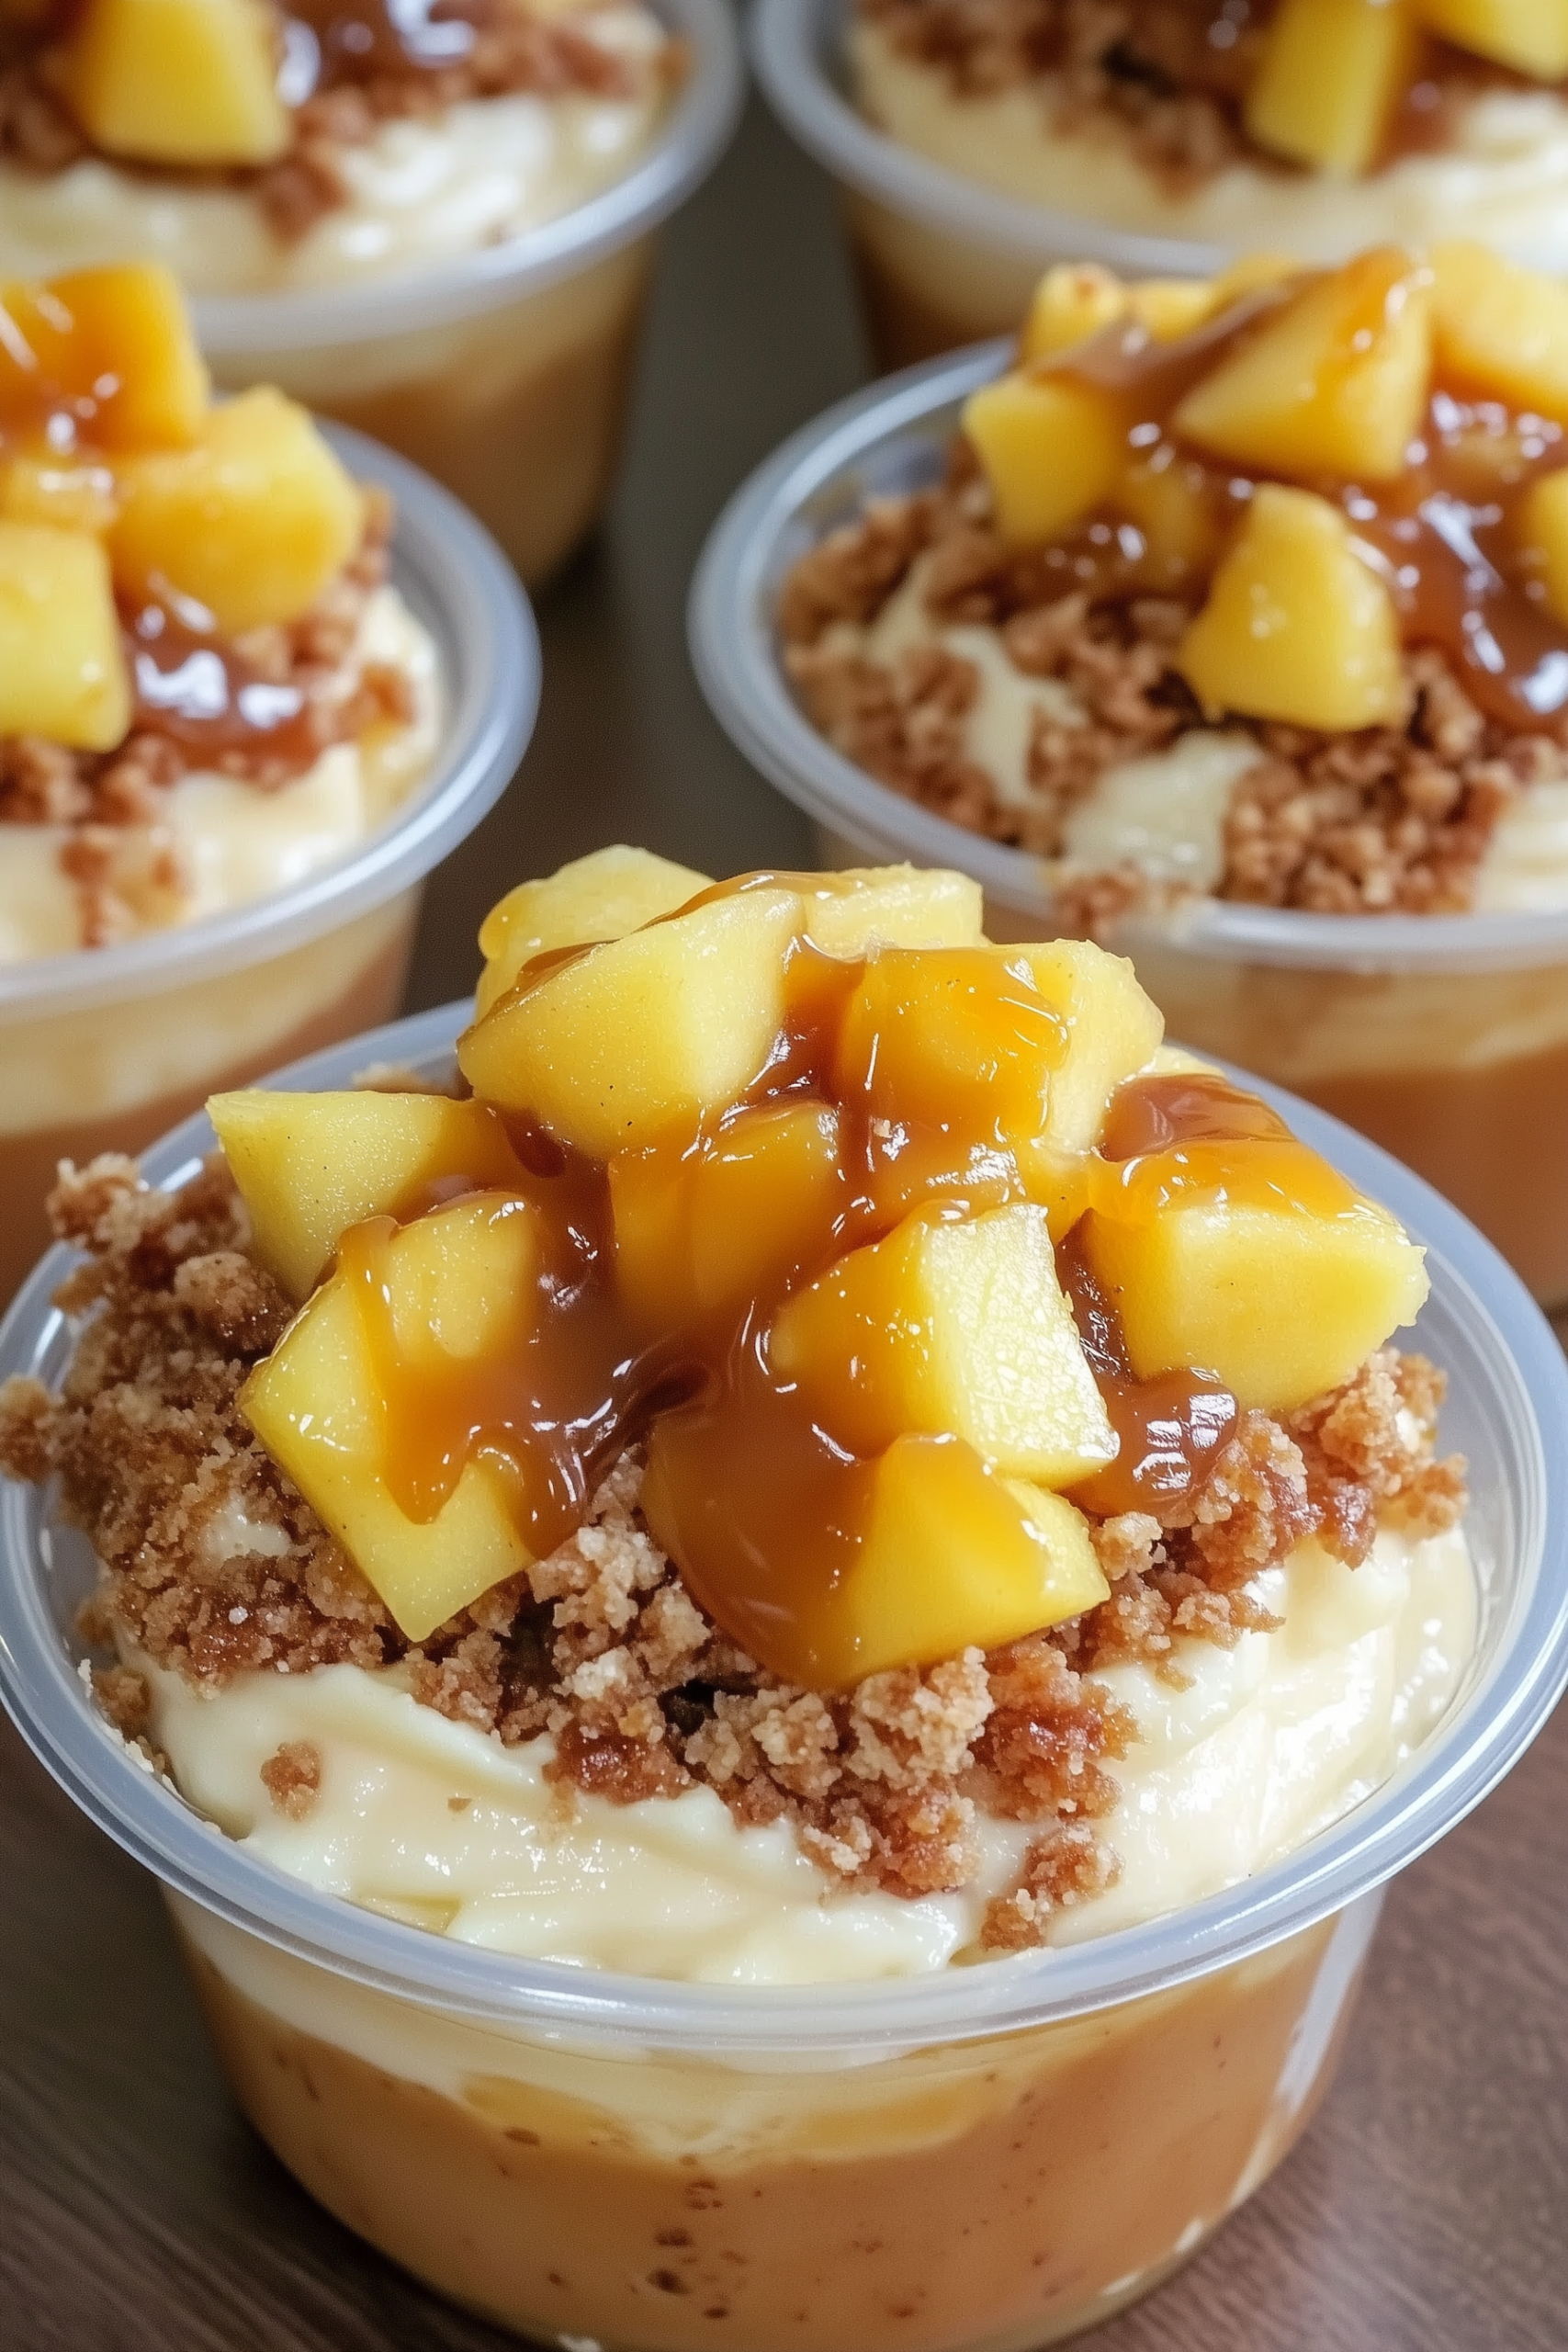
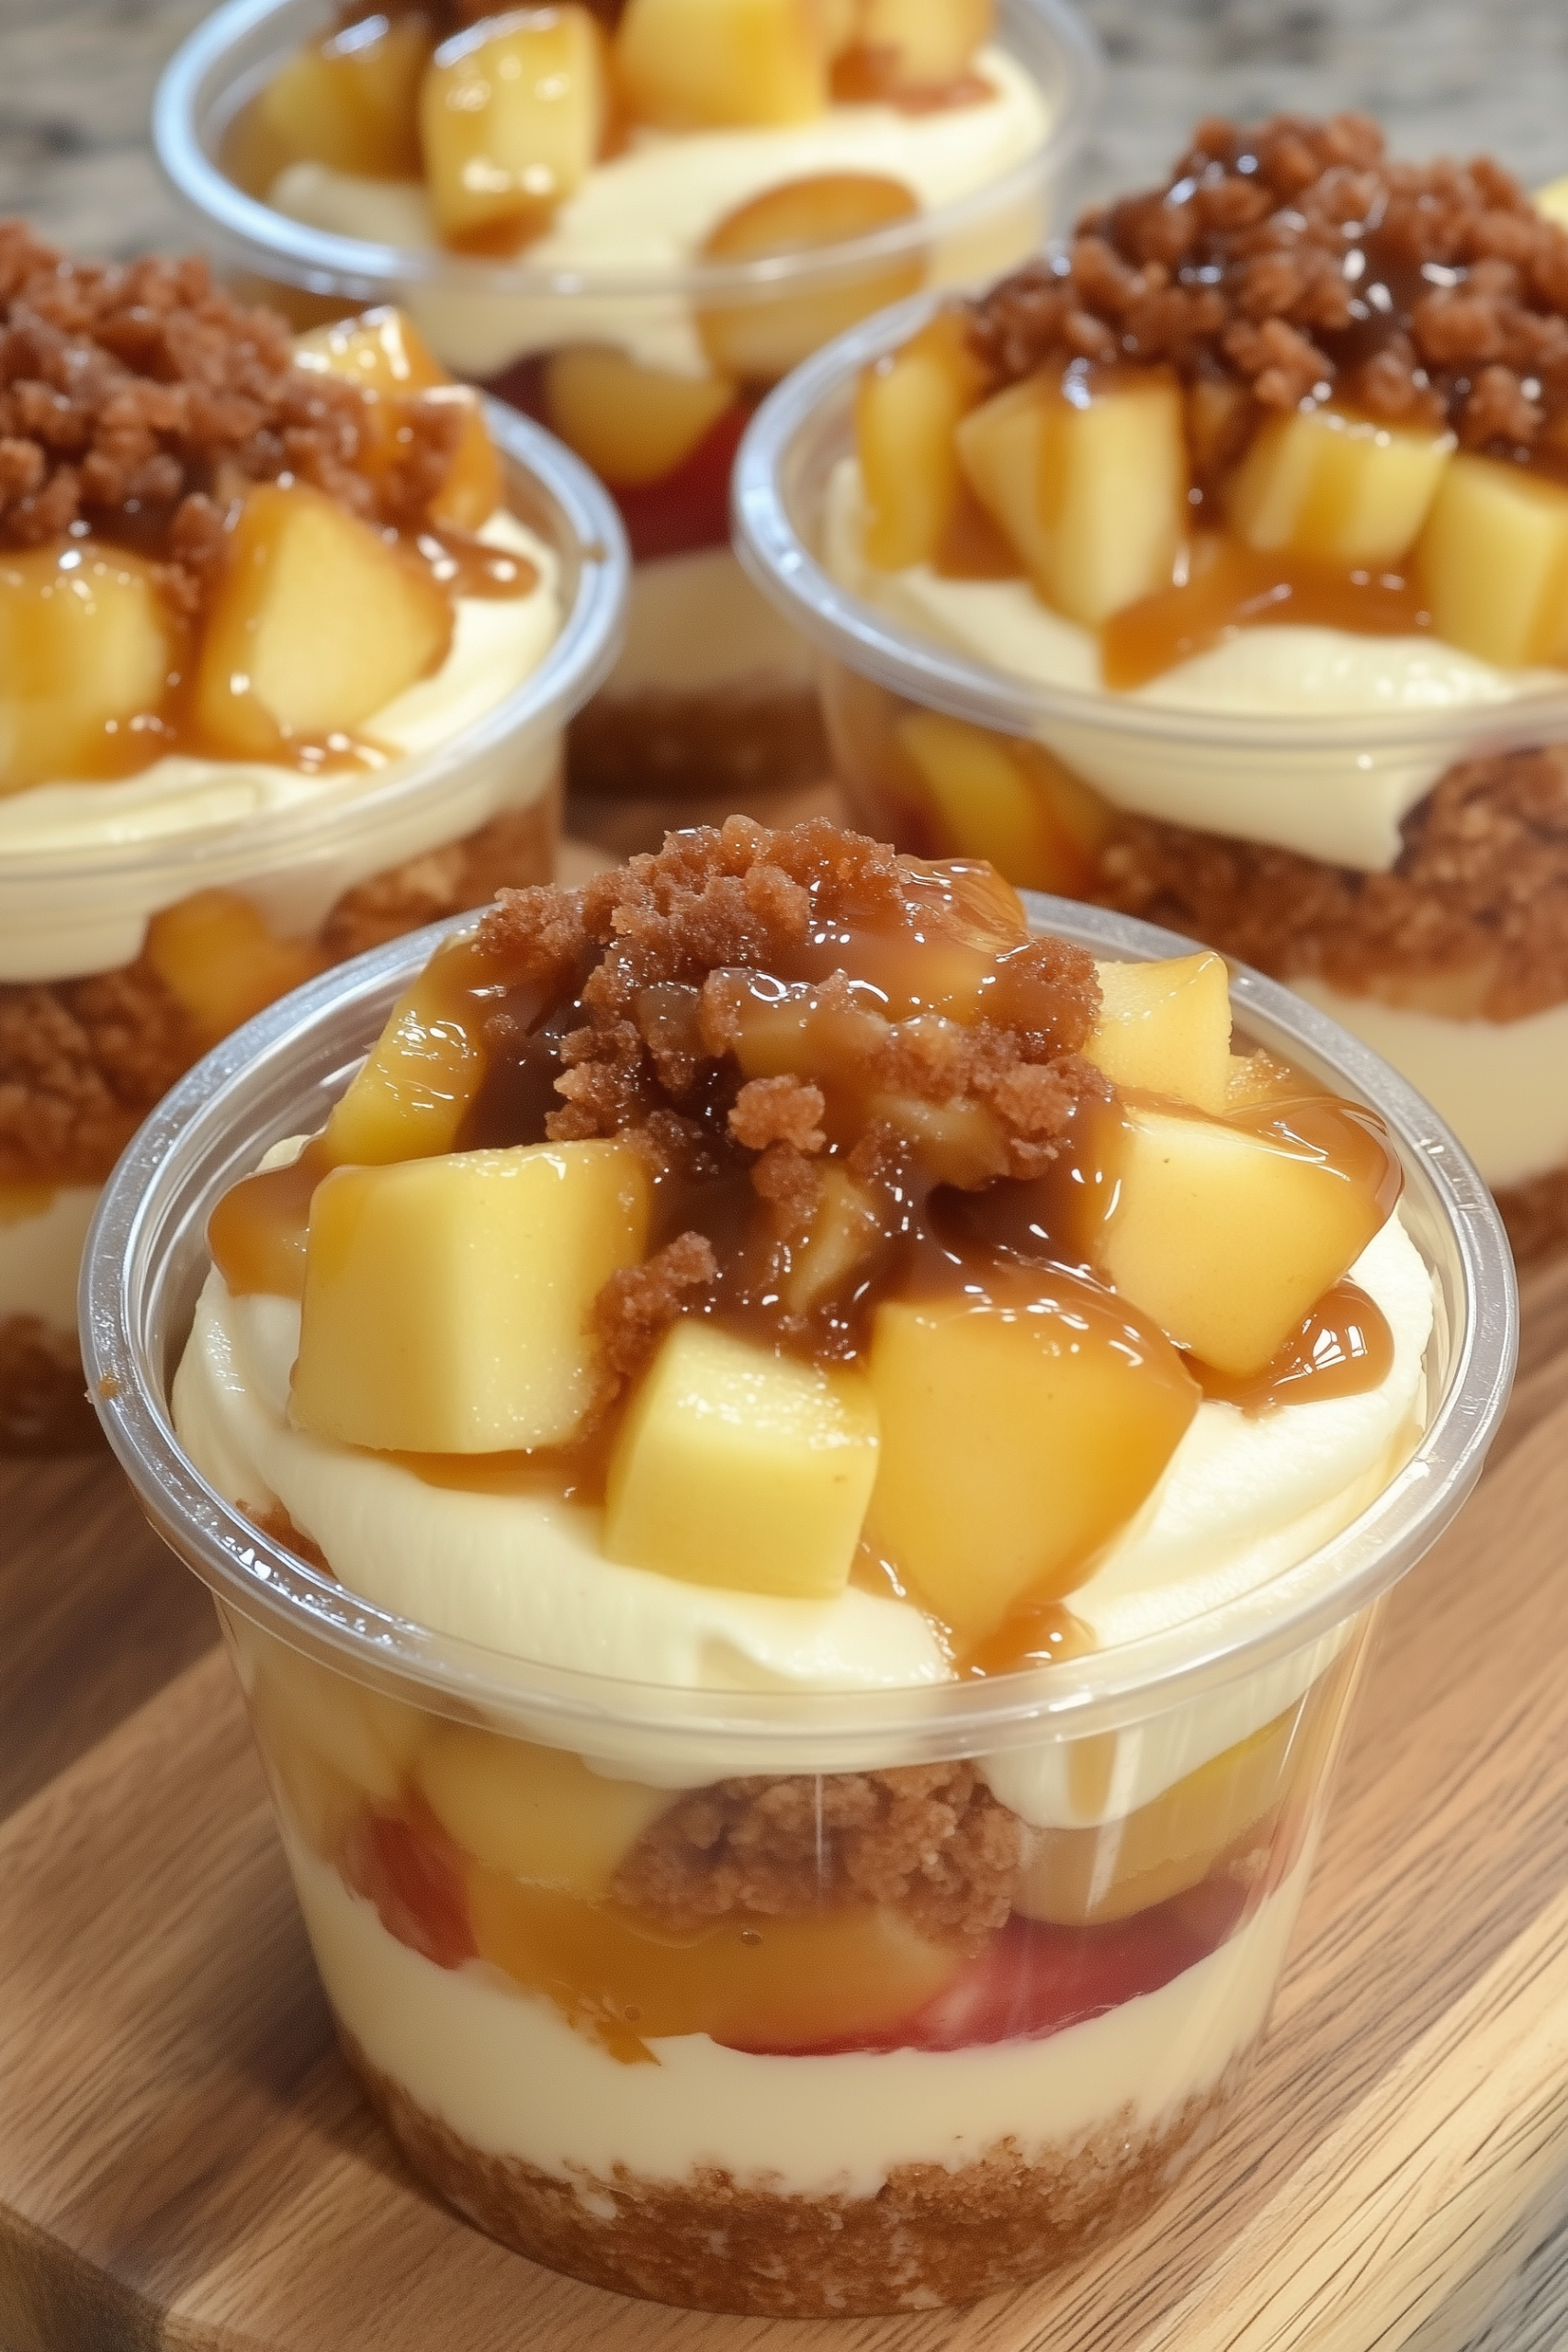
These Caramel Apple Dessert Cups are the perfect blend of comfort and simplicity—sweet, buttery caramel meets tart, juicy apples in an irresistible layered treat. Each cup is rich yet refreshing, with layers of warm caramelized apples, whipped cream, and a drizzle of gooey caramel sauce. Whether you’re hosting a fall gathering or simply craving a cozy dessert, these easy-to-assemble cups deliver all the flavor of a classic caramel apple pie—without the baking fuss.
Why You’ll Love This
- Quick & Easy: Only 25 minutes from start to finish—no special tools or baking required.
- Perfectly Balanced: Tart apples pair beautifully with sweet caramel for that nostalgic fall flavor.
- Customizable: Add nuts, spices, or even ice cream for your own twist.
- Individual Servings: Elegant, mess-free presentation ideal for parties or weeknight treats.
- Family Favorite: Loved by kids and adults alike—simple, cozy, and delicious every time.
Ingredients
- 3 cups peeled and chopped apples (preferably Granny Smith or Honeycrisp)
- ½ cup brown sugar
- ½ teaspoon ground cinnamon
- 1 tablespoon butter
- 4 cups whipped cream (or vanilla ice cream for variation)
- ½ cup caramel sauce
- Optional: lemon juice (to prevent browning), chopped pecans or walnuts for topping
Instructions
-
Cook the Apples:
In a medium skillet, melt the butter over medium heat. Add chopped apples, brown sugar, and cinnamon. Stir well and cook for 8–10 minutes, or until the apples are soft, glossy, and caramelized. Remove from heat and let cool slightly. -
Layer the Dessert Cups:
In small dessert cups or jars, layer the caramelized apples with whipped cream. Start with apples at the bottom, add a layer of whipped cream, then repeat until the cups are full. -
Add the Finishing Touch:
Drizzle caramel sauce generously over the top of each cup. For extra texture and flavor, sprinkle with crushed nuts or a dusting of cinnamon. -
Chill & Serve:
Refrigerate for 30 minutes before serving to let the layers set and flavors meld. Serve chilled or slightly warm for a cozy dessert experience.
Tips, Storage & FAQs
Tips for Success:
- Use tart apples like Granny Smith for a balanced sweet-tart flavor.
- Add a splash of lemon juice to keep apples from browning.
- For a richer taste, use salted caramel instead of regular caramel sauce.
- Layer in graham cracker crumbs or granola for a crunchy base.
- If serving warm, add whipped cream or ice cream just before eating to prevent melting.
Storage:
- Refrigerate: Store in an airtight container for up to 3 days.
- Reheat: Microwave for 30 seconds before adding whipped cream or caramel topping.
- Freeze: Not recommended, as whipped cream and apples can separate after thawing.
FAQs:
- Can I make these ahead of time? Yes! Prepare the apple mixture up to 2 days in advance and assemble before serving.
- Can I use canned pie filling? You can, but fresh apples provide better flavor and texture.
- Can I make this dairy-free? Substitute coconut whipped cream and vegan caramel sauce for a dairy-free version.
Final Thoughts
These Caramel Apple Dessert Cups are the definition of cozy indulgence—creamy, caramel-kissed layers of apples and whipped cream that taste like fall in a cup. They’re quick to prepare, endlessly adaptable, and elegant enough for guests. Whether you serve them after dinner or alongside coffee on a chilly afternoon, they deliver pure comfort in every bite.
📖 Recipe
Caramel Apple Dessert Cups
Ingredients
- 3 cups peeled and chopped apples preferably Granny Smith or Honeycrisp
- ½ cup brown sugar
- ½ teaspoon ground cinnamon
- 1 tablespoon butter
- 4 cups whipped cream or vanilla ice cream for variation
- ½ cup caramel sauce
- Optional: lemon juice to prevent browning, chopped pecans or walnuts for topping
Instructions
Cook the Apples:
- In a medium skillet, melt the butter over medium heat. Add chopped apples, brown sugar, and cinnamon. Stir well and cook for 8–10 minutes, or until the apples are soft, glossy, and caramelized. Remove from heat and let cool slightly.
Layer the Dessert Cups:
- In small dessert cups or jars, layer the caramelized apples with whipped cream. Start with apples at the bottom, add a layer of whipped cream, then repeat until the cups are full.
Add the Finishing Touch:
- Drizzle caramel sauce generously over the top of each cup. For extra texture and flavor, sprinkle with crushed nuts or a dusting of cinnamon.
Chill & Serve:
- Refrigerate for 30 minutes before serving to let the layers set and flavors meld. Serve chilled or slightly warm for a cozy dessert experience.
Notes




Leave a Reply