













Want to save this recipe?
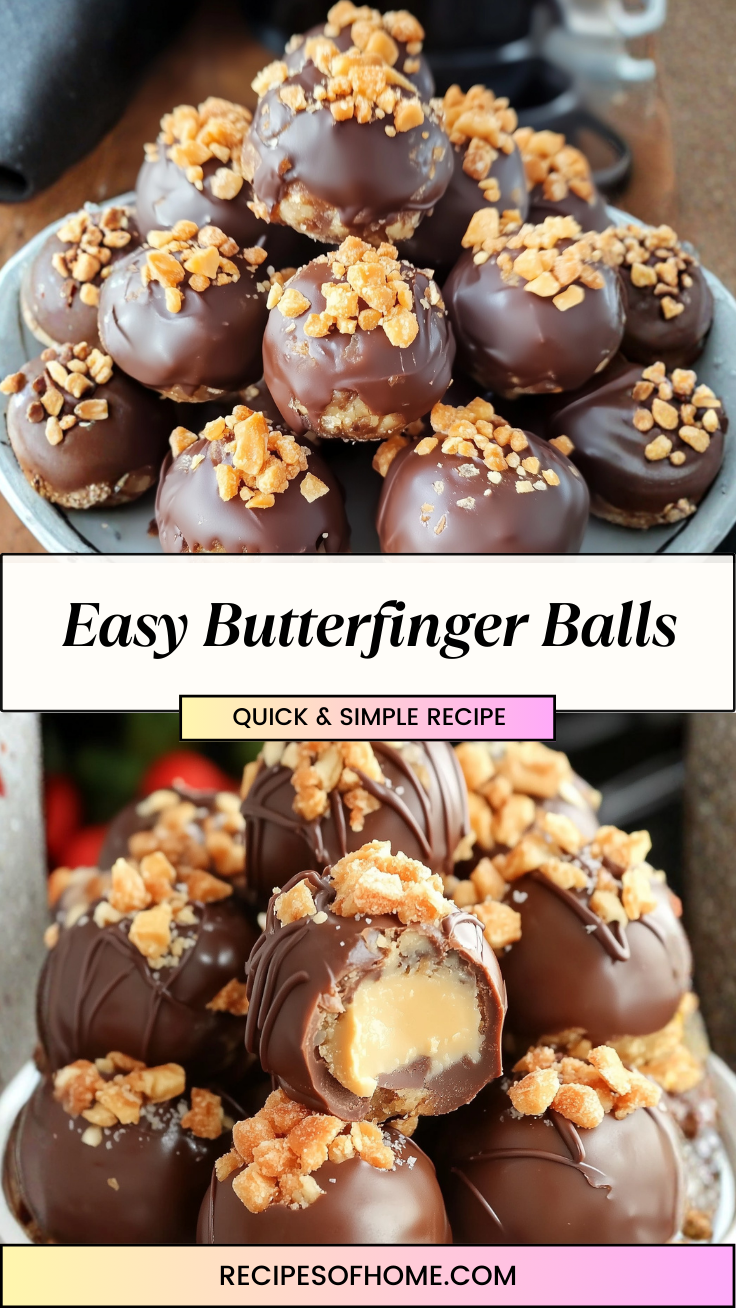
Nothing warms the soul quite like a tray of freshly made treats, and these Easy Butterfinger Balls are the ultimate “no-bake” hero for your next gathering. This recipe takes that iconic, crispety-crunchety peanut butter center we all love and transforms it into a decadent, bite-sized truffle draped in a smooth, silky chocolate shell. The contrast between the velvety chocolate coating and the crunchy, sweet interior is pure dessert “bliss” in every bite.
Serving these up feels like a true celebration, whether they are the star of a holiday dessert platter or a special after-school surprise. They look incredibly professional on a pedestal stand but are secretly simple enough for little hands to help with. Every time I set a plate of these down, they disappear faster than I can say “don’t lay a finger,” leaving everyone asking for the secret to that perfect peanut butter crunch.
Why You’ll Love It
- No-Bake Ease: Keep the oven off and save time with a recipe that comes together using just a few simple mixing and dipping steps.
- Irresistible Texture: You get the classic, shatter-crisp texture of a Butterfinger bar inside a soft, melt-in-your-mouth chocolate coating.
- Crowd-Pleasing Flavor: The timeless combination of chocolate and peanut butter is a universal favorite that appeals to all ages.
- Perfect for Gifting: These sturdy little balls hold up beautifully in treat boxes, making them an ideal homemade gift for neighbors or teachers.
- Make-Ahead Friendly: These treats actually benefit from a little time in the fridge, so you can prep them well before your event.
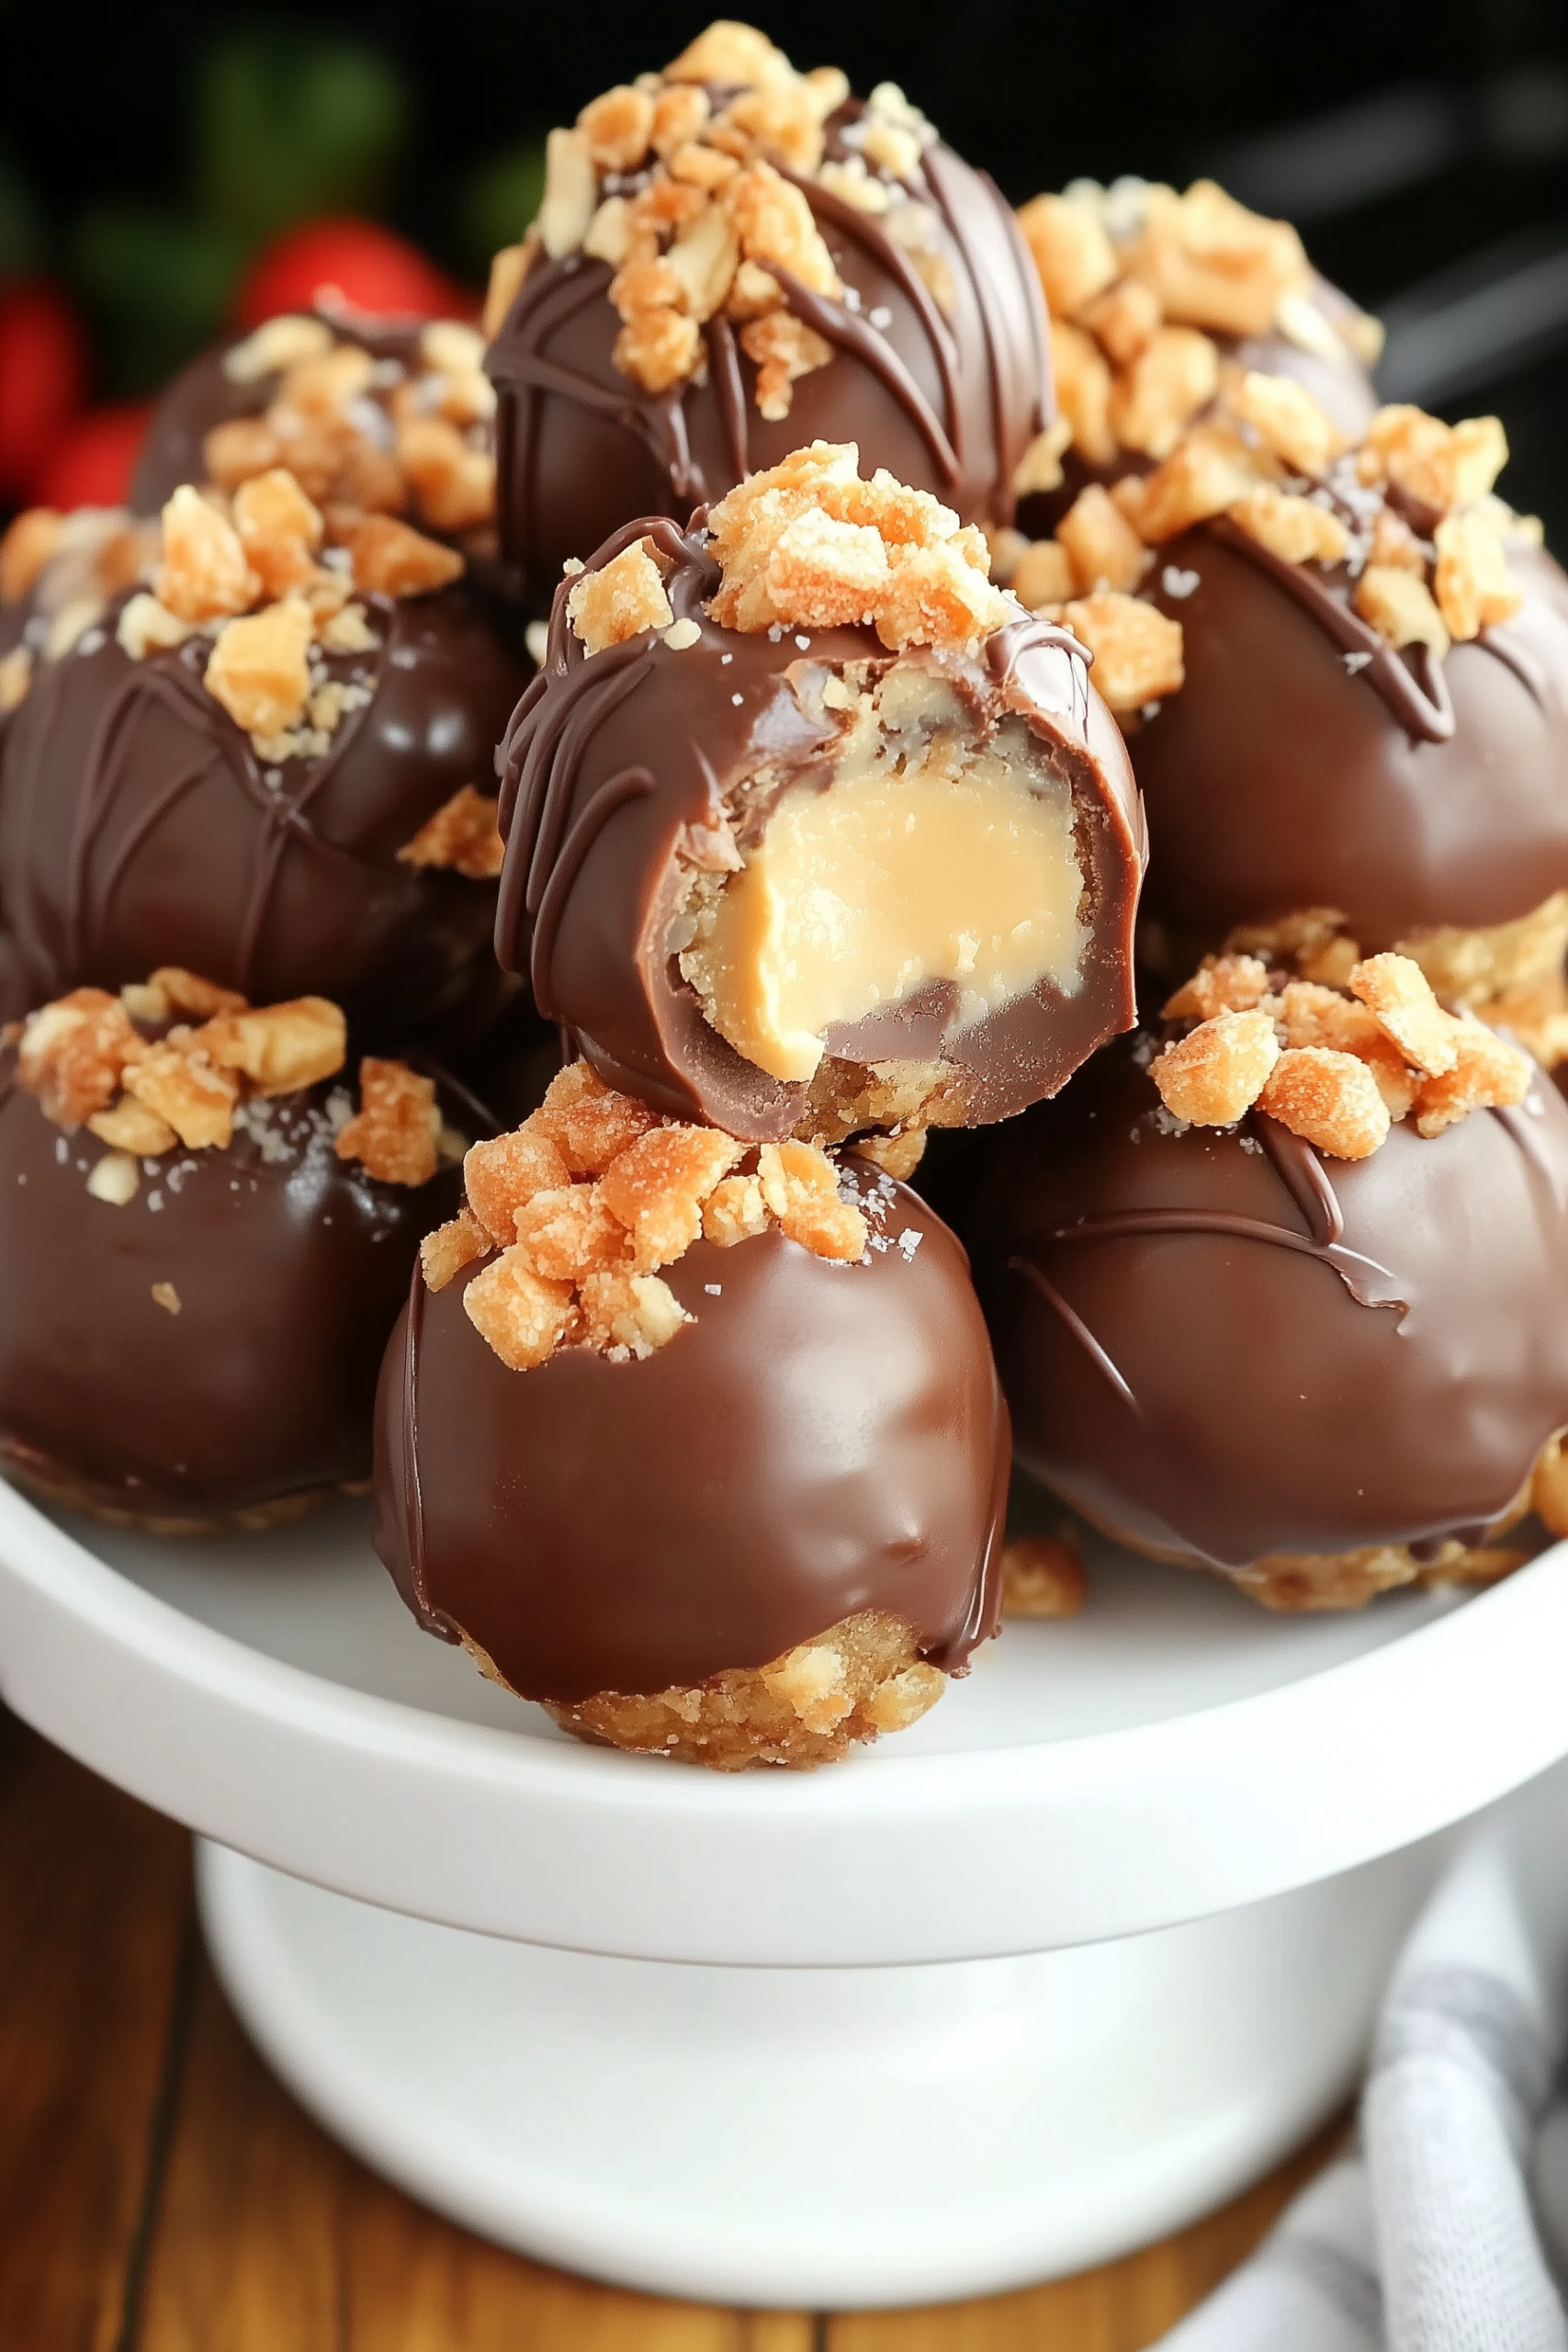
Ingredient Notes & Details
- Butterfinger Bars: These provide the essential flavor and crunch. You’ll crush them finely to mix into the base and keep some larger crumbles for the topping.
- Cream Cheese: The “secret weapon” that binds the crushed candy together while adding a subtle, creamy tang that balances the sweetness.
- Peanut Butter: Use a creamy variety to enhance the peanut flavor and ensure a smooth, scoopable texture for the centers.
- Chocolate Melting Wafers: High-quality dipping chocolate or almond bark works best here as it sets firmly and gives that satisfying “snap” when you bite in.
- Crushed Candy Topping: A final sprinkle of extra Butterfinger bits on top lets everyone know exactly what deliciousness is waiting inside.
Step-by-Step Instructions
Start by crushing your Butterfinger bars into a fine rubble—a food processor works great for this, or you can use a zip-top bag and a rolling pin for a bit of stress relief. In a large bowl, beat your softened cream cheese and peanut butter together until perfectly smooth, then fold in the crushed candy pieces until a thick, pliable “dough” forms.
Scoop the mixture into small, 1-inch balls and roll them between your palms until smooth. Place the balls on a parchment-lined tray and chill them in the freezer for at least 30 minutes; this is a non-negotiable step to ensure they don’t fall apart when they hit the warm chocolate.
Melt your chocolate wafers in 30-second intervals in the microwave, stirring until glossy. Using a fork or a dipping tool, submerge each chilled ball into the chocolate, let the excess drip off, and return it to the parchment. Immediately sprinkle with extra candy crumbles before the chocolate sets, then chill until firm.
Expert Tips
- Freeze Before Dipping: If the centers are room temperature, the warm chocolate will cause them to melt and lose their round shape. Chilling is key!
- Use a Toothpick or Fork: To get a clean finish, tap your dipping tool against the side of the bowl to remove excess chocolate before placing the ball on the parchment.
- Softened Cream Cheese: Ensure your cream cheese is truly at room temperature before mixing to avoid any tiny white lumps in your peanut butter base.
- Manage the Chocolate: If your chocolate starts to thicken as you dip, pop it back in the microwave for 10 seconds to restore its silky, dippable consistency.
- Small Batches: Only take a few balls out of the freezer at a time to dip, keeping the rest cold until you are ready for them.
Storage & Serving
- To Store: These are best kept in an airtight container in the refrigerator for up to 1 week. The cool temperature keeps the chocolate crisp and the center firm.
- To Serve: While they can be eaten straight from the fridge, letting them sit at room temperature for 10 minutes makes the peanut butter center even creamier.
- To Freeze: You can freeze these for up to 2 months in a freezer-safe bag. They make for a delicious “frozen” treat too!
📖 Recipe
Homemade Easy Butterfinger Bliss
Ingredients
- 1 lb approx. 3 cups Butterfinger bars, finely crushed (reserve ¼ cup for topping)
- 8 oz cream cheese softened to room temperature
- ½ cup creamy peanut butter
- 12 oz chocolate melting wafers or semi-sweet chocolate chips
- 1 tsp coconut oil optional, for a shinier chocolate finish
Instructions
- In a large mixing bowl, beat the softened cream cheese and peanut butter until light and fluffy.
- Fold in the finely crushed Butterfinger bars until the mixture is well-combined and holds together.
- Line a baking sheet with parchment paper. Scoop 1-tablespoon portions and roll them into smooth balls.
- Place the tray in the freezer for 30–45 minutes until the balls are very firm.
- Melt the chocolate wafers (and coconut oil, if using) in the microwave in 30-second increments, stirring until smooth.
- Using a fork, dip each chilled ball into the chocolate, letting the excess drip off.
- Place back on the parchment paper and immediately top with the reserved crushed candy.
- Refrigerate for at least 15 minutes or until the chocolate is completely set.
Leave a Reply