












Want to save this recipe?
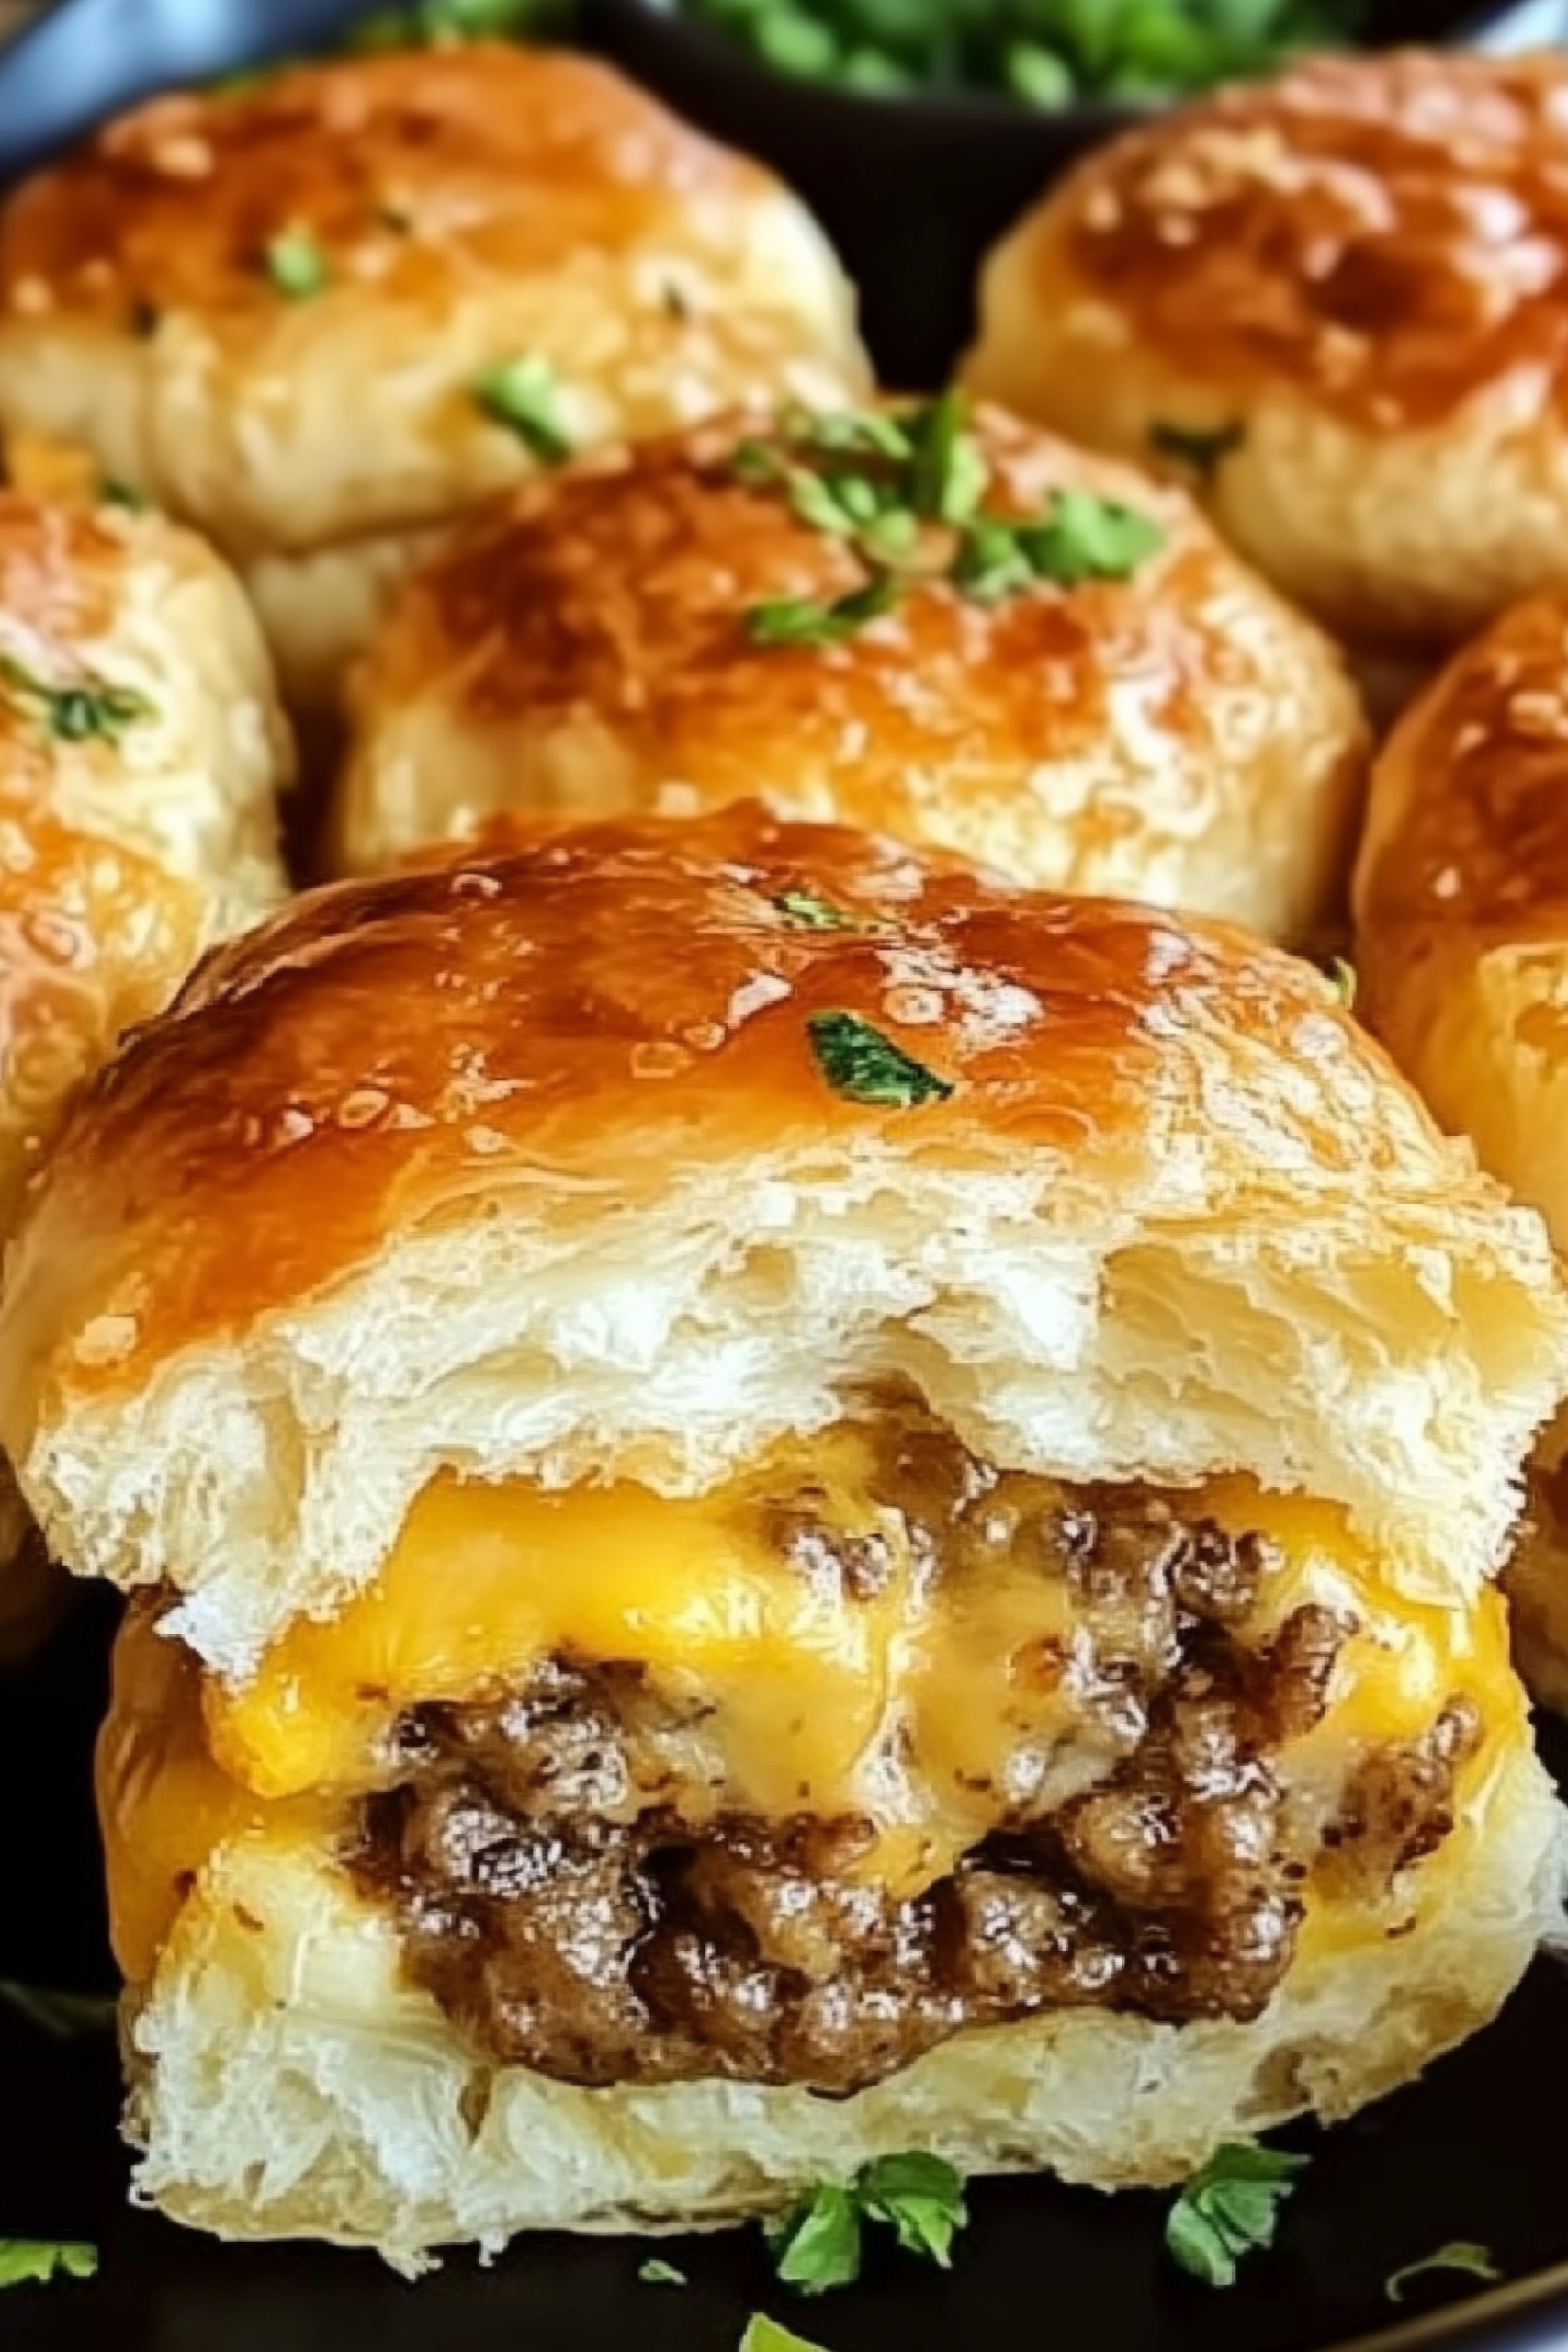
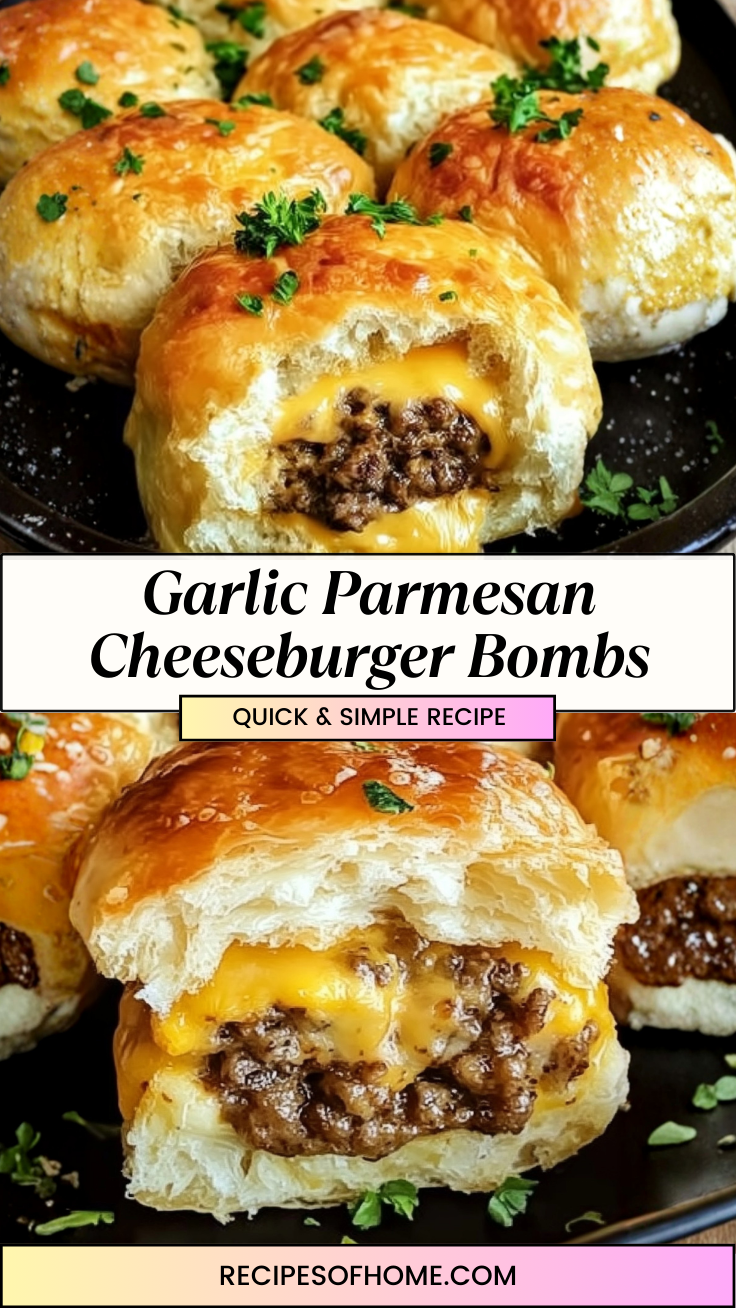
Imagine the scent of golden, buttery dough mingling with savory garlic and sizzling beef wafting through your kitchen. These Garlic Parmesan Cheeseburger Bombs are the ultimate crowd-pleaser, delivering all the indulgence of a gourmet burger tucked inside a flaky, melt-in-your-mouth pastry shell. When you pull these out of the oven, the tops are shimmering with melted Parmesan and fresh herbs, promising a satisfying crunch before hitting that gooey, cheesy center.
Serving these always feels like a win. Whether it’s a frantic weeknight where you need a hand-held dinner or a game day spread that needs a “wow” factor, these bombs deliver. They are substantial enough to be a main course but fun enough to serve as an appetizer. Seeing the cheese pull as someone breaks into a warm roll is the kind of kitchen magic that keeps everyone coming back for seconds.
Why You’ll Love It
- Handheld Convenience: No messy buns or slipping toppings; everything is perfectly contained for easy eating.
- Kid-Approved Flavors: It tastes exactly like a cheeseburger but in a fun “pizza pocket” style that children adore.
- Minimal Cleanup: Since the beef is browned in one skillet and the bombs bake on a single tray, your sink won’t be overflowing.
- Customizable Filling: You can easily sneak in finely diced onions or peppers to add nutrition without changing the texture.
- Impressive Texture: The contrast between the crispy, garlic-parmesan crust and the juicy, tender beef filling is addictive.

Ingredient Notes & Details
- Refrigerated Biscuit Dough: Using a “Grands” style flaky biscuit dough provides the best layers. You can use homemade pizza dough, but biscuits offer that buttery richness.
- Ground Beef: I recommend an 80/20 blend for the best flavor. If you want a leaner option, ground turkey or chicken works beautifully—just add a splash of Worcestershire sauce to keep it savory.
- Sharp Cheddar Cheese: Freshly grated melts better than the bagged kind, giving you that perfect gooey core. Swap for Pepper Jack if you want a spicy kick.
- Garlic & Parmesan Butter: This is the secret sauce. Brushing the tops with melted butter, garlic powder, and grated Parmesan creates a crust that rivals any bakery.
- Dried Parsley or Chives: These add a pop of color and a fresh finish to the savory crust.
Step-by-Step Instructions
Start by browning your ground beef in a skillet over medium heat. It’s crucial to drain the excess grease thoroughly; if the meat is too oily, it will make the bottom of your dough soggy. Once drained, stir in your seasonings and a handful of cheese so the mixture holds together slightly. This makes the stuffing process much easier.
Next, flatten each biscuit into a wide circle. Place a generous spoonful of the beef mixture and a cube of cheese right in the center. The “why” here is all about the seal: pinch the edges of the dough together tightly to form a ball. If there’s a gap, the cheese will escape and burn on the pan. Place them seam-side down on your baking sheet to ensure they stay closed. Finish with a heavy brush of that garlic-parmesan butter before sliding them into the oven. Watch for a deep golden brown color—that’s the sign that the dough is cooked through and the cheese is fully melted.
Tips for Success
- Don’t Overfill: It’s tempting to pack them full, but leaving a small margin of dough ensures you can get a tight seal.
- Cold Dough is Better: Keep your biscuit dough in the fridge until the very moment you are ready to wrap. Warm dough becomes sticky and harder to manage.
- Use a Silicone Mat: A Silpat or parchment paper prevents the bottoms from browning too quickly and makes cleanup a breeze.
- Seal with Water: If your dough isn’t sticking, lightly dampen your fingers with water to “glue” the seams shut.
- Let Them Rest: Give the bombs 3-5 minutes after pulling them from the oven. This allows the juices to set so they don’t run out on the first bite.
Storage & Reheating
Store any leftovers in an airtight container in the refrigerator for up to 3 days. To maintain that “fresh-baked” crunch, reheat them in an air fryer at 350°F for 3-4 minutes. If using a microwave, wrap them in a paper towel, but be aware the dough will be much softer. These also freeze well! Flash-freeze them on a tray before transferring to a bag; bake from frozen for an extra 10 minutes.
Serving & FAQs
What should I serve with these? I love serving these alongside a big green salad to cut through the richness, or with a side of “burger sauce” (mayo, ketchup, and relish) for dipping.
Can I make these ahead of time? You can brown the meat and shred the cheese 24 hours in advance. I don’t recommend assembling the “bombs” until right before baking, as the dough can get soggy if it sits with the filling for too long.
What if my cheese leaks out? Don’t panic! Even if a little cheese escapes, the “burnt cheese” edges are often the best part. Just make sure to use parchment paper so they don’t stick.
📖 Recipe
Homemade Garlic Parmesan Cheeseburger Bombs
Ingredients
- 1 tube 16.3 oz refrigerated flaky layers biscuits
- 1 lb lean ground beef
- 1 tsp garlic powder
- ½ tsp onion powder
- Salt and black pepper to taste
- 4 oz sharp cheddar cheese cut into ½-inch cubes
- 3 tbsp unsalted butter melted
- 2 tbsp grated Parmesan cheese
- 1 tsp dried parsley
Instructions
- Preheat your oven to 375°F and line a baking sheet with parchment paper.
- In a large skillet, brown the ground beef over medium-high heat until no longer pink. Drain the grease well.
- Stir garlic powder, onion powder, salt, and pepper into the beef. Let it cool slightly.
- Flatten each biscuit into a 4-inch circle using your fingers or a rolling pin.
- Place about 2 tablespoons of beef and one cube of cheese in the center of each circle.
- Gather the edges of the dough and pinch firmly to seal. Place seam-side down on the prepared baking sheet.
- In a small bowl, combine melted butter, Parmesan, and parsley. Brush the mixture generously over the tops of the bombs.
- Bake for 12–15 minutes, or until the tops are golden brown and the dough is cooked through.
- Serve warm with your favorite dipping sauces.


Leave a Reply